Warped Cylinder Head Cylinder Sleeve Diagnosis and Sourcing Guide
A warped cylinder head changes the clamp-load path across the gasket, block deck, and cylinder sleeve. Once that happens, the sleeve may see uneven sealing pressure, hotter spots, gas leakage, coolant intrusion, or flange fretting. The failed sleeve is often the most obvious part on the bench, but it is not always the root cause. In many engines, the real trigger is a mix of head flatness loss, incorrect liner protrusion, damaged counterbores, torque error, overheating, or contamination in the cooling system.
For buyers and rebuilders, the useful question is not only "what failed?" but "what evidence proves why it failed?" That answer affects warranty decisions, replacement criteria, dimensional controls, packaging, and supplier qualification. This article gives a practical way to evaluate warped cylinder head cylinder sleeve cases, compare sleeve types and tolerances, and source replacements with the right inspection gates. Driventus supplies cylinder sleeves and related engine components from Taizhou, Zhejiang, under IATF 16949:2016 and ISO 9001:2015 controls for B2B aftermarket, OEM, Tier-1, and repair-chain customers.
First Decision: Is the Sleeve the Cause, or Only the Victim?
A warped cylinder head rarely destroys a sleeve by itself. More often, it starts a chain reaction. The head loses flatness, the gasket crush becomes uneven, combustion gas escapes, coolant temperature climbs locally, and the sleeve begins to run with poor support or abnormal heat input. That is why the same visual symptom can point to very different faults.
Watch for these field signs:
Coolant loss with no obvious external leak
White smoke or steam after cold start
Bubbles or pressure rise in the expansion tank soon after start-up
Overheating isolated to one or two cylinders
Uneven gasket crush or fire-ring erosion
Vertical scoring on the thrust face of the sleeve
Polished hot zones near the top ring reversal area
Compression loss in one cylinder while adjacent cylinders test normally
Piston skirt scuffing, dark varnish, or washed-clean areas on the crown
Fretting marks below the sleeve flange or shiny witness marks at the counterbore
The failure window matters. A sleeve that fails within 500–5,000 km of installation usually points to an installation, machining, clamp-load, or cooling problem in addition to any part issue. A sleeve that survives for tens of thousands of kilometres before failing needs a broader review of duty cycle, maintenance, and thermal load.
For warranty triage, ask for evidence before accepting a batch-level claim: failure mileage, photographs before cleaning, gasket condition, head flatness readings, counterbore measurements, coolant history, and torque records. Without those details, a warped head can be mistaken for poor sleeve material or a machining defect.
Failure Modes That Link Head Warpage to Sleeve Damage
Once the head face distorts, the load path changes. That creates a few predictable failure modes. Some damage the sleeve directly. Others only look like sleeve failures until you trace the sequence back to the top end.
Failure mode
What it does to the sleeve
What to look for
What buyers should control
Head face warpage
Uneven gasket crush, gas leakage, local overheating
Fire-ring erosion, black gas tracks, coolant stains
Require head flatness data, not just visual inspection
</tr></thead><tbody> </tbody></table>Dry sleeves depend heavily on block support and press-fit geometry. If the bore is out of round, or the interference fit is wrong, the sleeve can distort after installation even when it measured correctly on the bench. Wet sleeves introduce a different risk set: lower seal integrity, protrusion control, and cylinder-to-cylinder variation. In both cases, a warped cylinder head can turn a borderline installation into an early failure.
A good sourcing file should therefore cover more than nominal bore size. It should define material grade, hardness range, flange geometry, outside diameter tolerance, wall thickness, bore condition, lower seal groove dimensions, surface finish, corrosion protection, and the exact checks required before installation.
Inspection Workflow: What to Measure Before You Blame the Supplier
The fastest way to avoid false claims is to inspect the whole system, not just the returned sleeve. A clean workflow connects the head, gasket, block, sleeve, piston, and cooling system. If one of those is missing, the conclusion is weaker.
1. Record the operating story
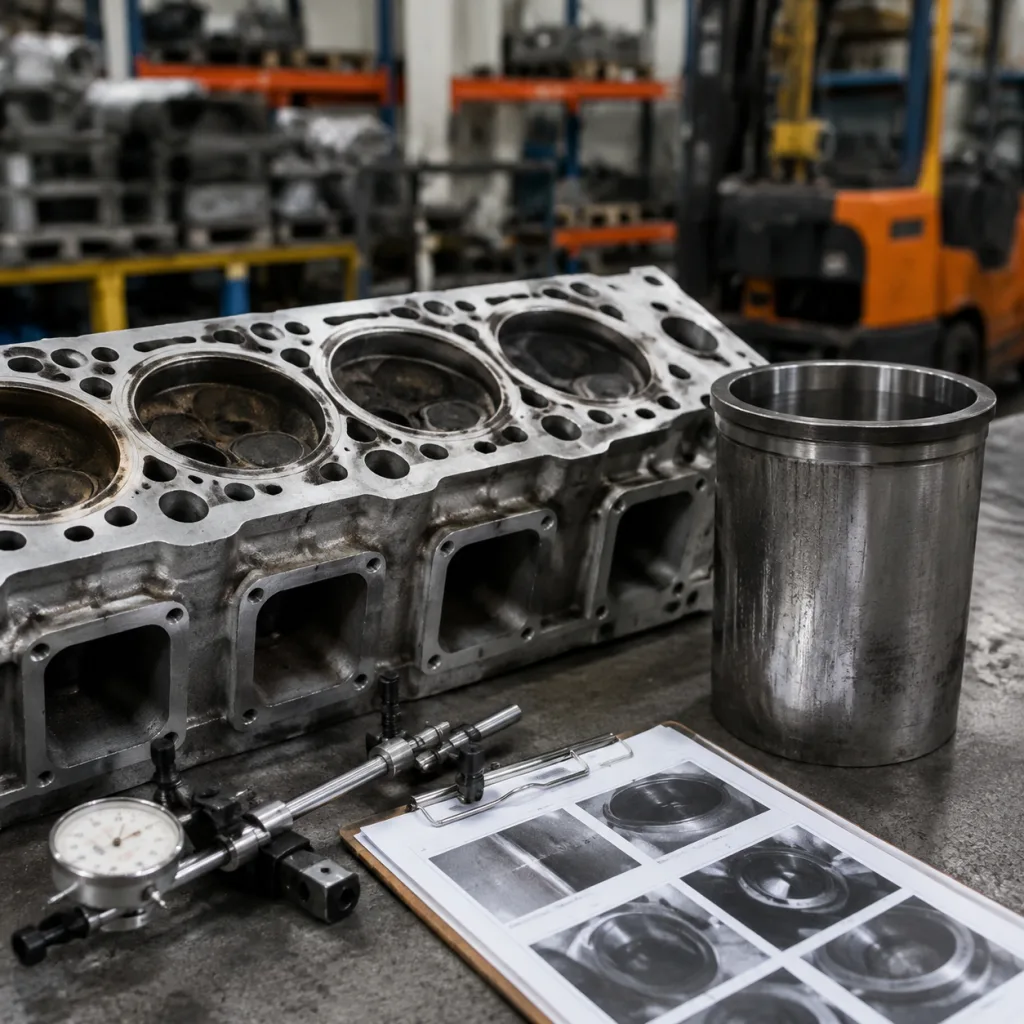
Start with the basics: engine model, fuel type, mileage or service hours, installation date, failure mileage, oil condition, coolant condition, and any reported overheating event. Photograph the head gasket, sleeve top face, piston crown, block deck, and coolant passages before cleaning. If multiple units failed, separate them by installer, vehicle type, duty cycle, and batch number.
2. Measure head flatness and gasket contact
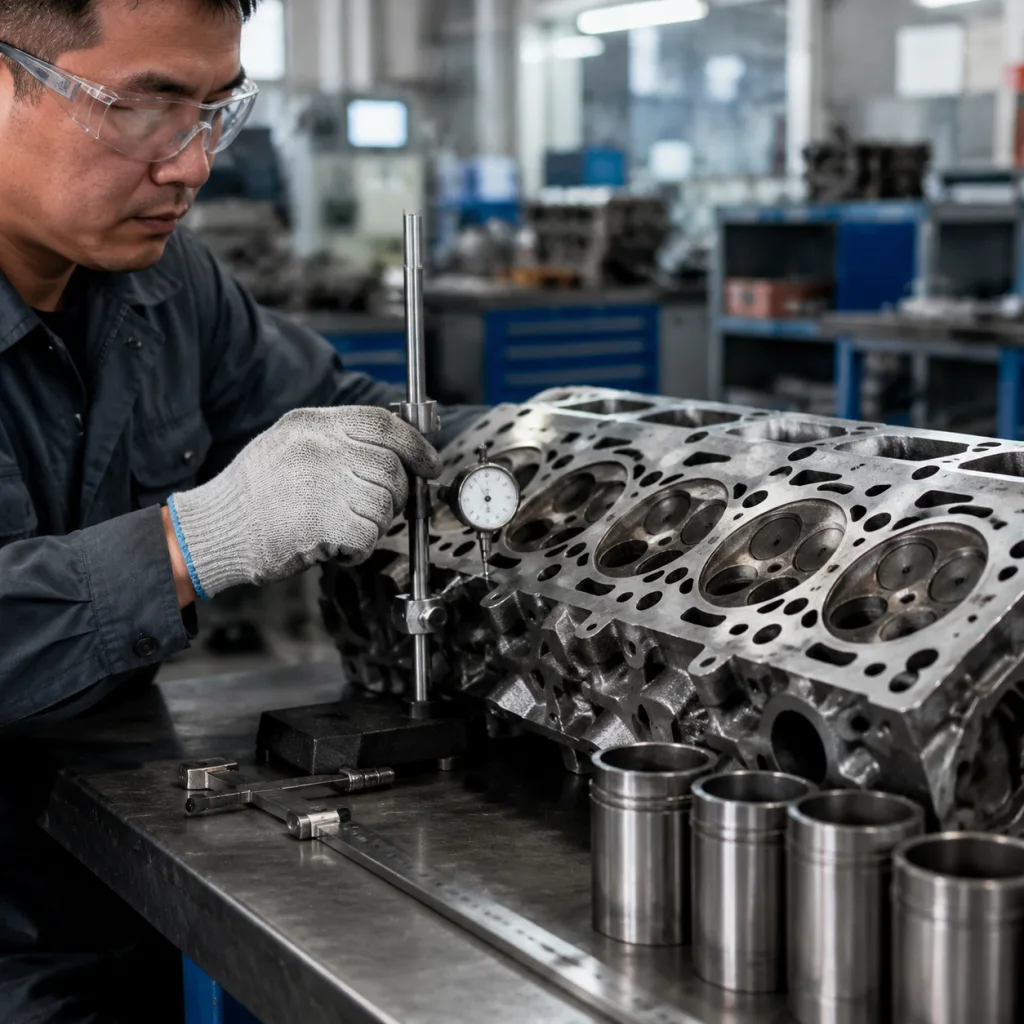
Use a straightedge and feeler gauges, a surface plate with a dial indicator, or a coordinate measuring system, depending on the claim value and shop capability. Check length, width, and both diagonals. Compare the result to the engine maker’s spec, not a generic limit.
As a practical warning sign, readings above about 0.05 mm on a short passenger-car head or 0.10 mm on a long heavy-duty head often justify deeper review if no better service limit is available. But the service manual always wins.
Also inspect the gasket itself. Uneven imprint, gas tracks, crushed fire rings, or coolant staining often reveal where clamp load was lost. If the gasket was discarded before inspection, one of the best clues is gone.
3. Check sleeve and block geometry
Measure:
Sleeve bore diameter at top, middle, and bottom
Bore ovality and taper at 90° intervals
Flange thickness and flange outside diameter
Sleeve protrusion above the deck, where applicable
Counterbore depth, width, concentricity, and surface condition
Dry-sleeve press-fit condition, including out-of-round and surface damage
Honed surface roughness and crosshatch angle
Fretting under the flange
Cavitation, corrosion, or pitting on wet-sleeve outer surfaces
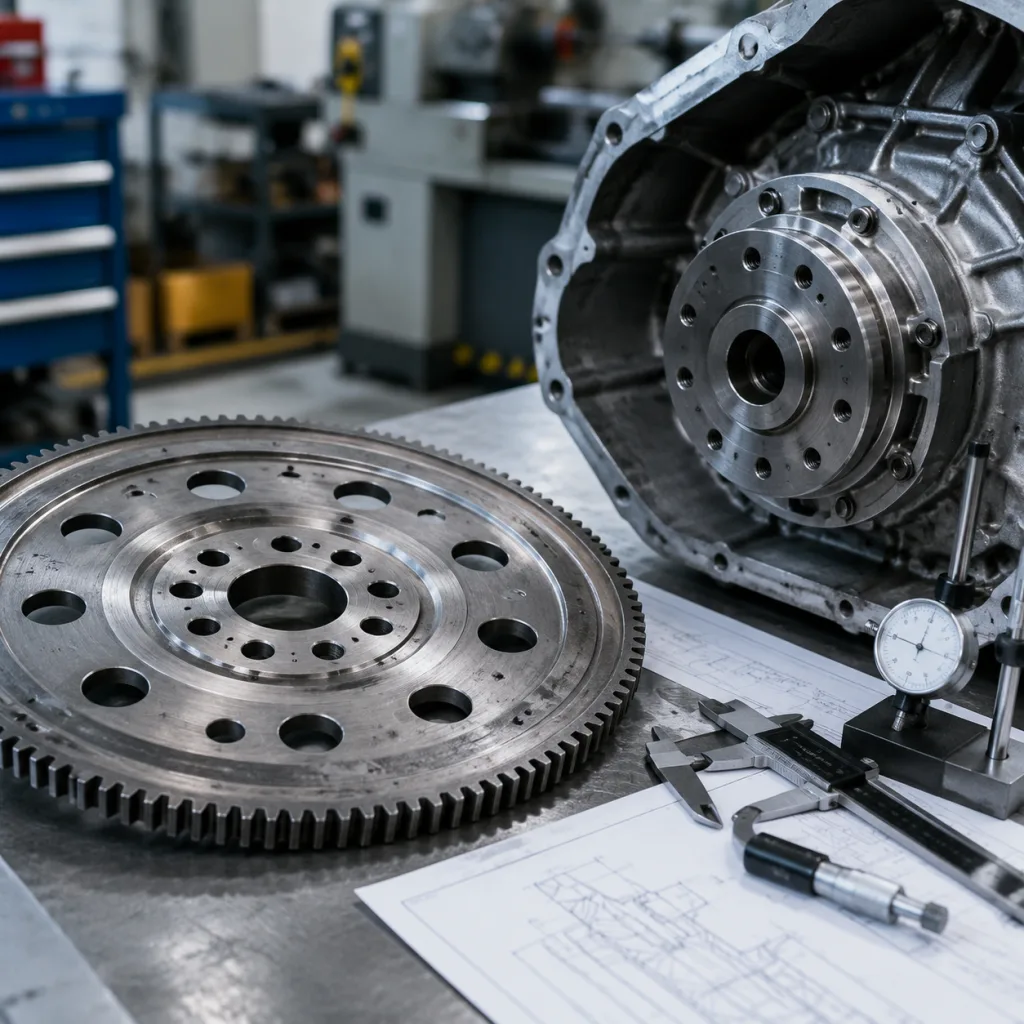
Use calibrated tools and keep the record in a format that can be compared with the drawing or service manual. A sleeve may be correct before installation and still fail after installation if the block support, counterbore, or protrusion is out of limits.
4. Capture traceability and process data
For higher-value claims, ask for batch number, material heat, machining route, final inspection, and packing date. Driventus maintains traceability controls within its quality system, aligned with IATF 16949:2016 and ISO 9001:2015.
A warped cylinder head cylinder sleeve claim should close only after the head, gasket, block, piston, lubrication, and cooling evidence are reviewed together. If the head was machined, replaced, or discarded before inspection, note that limitation clearly in the report.
Sleeve Specification Deep-Dive: The Numbers Buyers Should Lock Down
A replacement sleeve can match the nominal diameter and still fail early if the rest of the specification is vague. For purchasing, the drawing should be detailed enough that two suppliers would not interpret the same application differently.
At minimum, define these points:
Sleeve type: dry, wet, flanged, or non-flanged
Material grade and graphite structure, where relevant
Hardness range and test method
Finished, semi-finished, or rough-machined condition
Finished bore size or remaining machining allowance
Outside diameter tolerance and press-fit requirement
Flange height, flange thickness, and chamfer geometry
Liner protrusion target and maximum cylinder-to-cylinder variation
Lower O-ring groove dimensions for wet sleeves
Surface roughness target and whether plateau honing is required
Corrosion protection and packaging standard
Batch traceability and inspection report format
Applicable REACH (EC) No 1907/2006 material declaration requirements
Some applications also need tighter control of honing and bore geometry than a standard catalogue part can offer. In those cases, the important decision is whether the buyer wants a finished sleeve for direct installation or a semi-finished sleeve that will be bored and honed at the rebuild shop. Finished sleeves reduce local machining time. Semi-finished sleeves give remanufacturers more flexibility when dealing with worn or mixed-condition blocks.
For fitment, do not rely on the OE number alone. Provide the exact OE reference used in your market, the engine code, the sleeve type, the dimensions, and the required finish condition. Brand names are only for identification, not endorsement.
For commercial planning, unit price is usually driven by casting weight, machining time, honing requirement, heat treatment or stress relief, inspection level, packaging density, and order volume. That is why sample validation, pilot orders, and annual call-offs are often the safest sequence for a new programme.
A Real-World Sourcing Scenario: What Changes After an Overheat Claim
Picture a fleet repair network that sees repeated coolant loss on the same engine family. The first returned part is a sleeve with scuffing and flange witness marks. A quick review might blame the sleeve. A better review asks what happened before the sleeve failed.
The workshop records show one vehicle ran hot for several minutes after a thermostat fault. The head was found slightly warped. The gasket fire ring was uneven on one side. The counterbore showed light fretting. In that case, a replacement sleeve alone will not solve the repeat failure risk.
The repair standard should change in three places:
1. Installation checks become mandatory. Head flatness, block deck condition, counterbore condition, sleeve protrusion, bolt replacement, and torque procedure must be verified before assembly. 2. The sleeve specification becomes tighter. Buyers may request 100% flange-height inspection, tighter OD control, better corrosion protection, or more detailed bore-geometry reporting. 3. Packaging and storage standards improve. For ocean freight or humid warehouses, use VCI bag or paper, rust-preventive oil, carton separation, desiccant, and pallet protection so corrosion does not get mistaken for field damage.
This is where sourcing discipline matters. The cheapest sleeve may be acceptable in a stable rebuild environment. It is not the best choice when the engine family has a history of overheating, gasket failures, or head distortion. In that situation, buyers should compare suppliers at the same inspection level and packing standard, or the price comparison becomes meaningless.
If the claim repeats across multiple engines, tag and segregate parts from units with confirmed overheating, coolant contamination, or flatness problems. Cleaner data leads to better supplier decisions and fewer disputes later.
Q&A for Buyers and Rebuilders
Can a warped cylinder head ruin a new cylinder sleeve?
Yes. Uneven clamping can cause combustion leakage, local overheating, sleeve fretting, and bore distortion. The head, gasket, block counterbore, sleeve protrusion, torque process, and coolant condition should all be checked before the replacement sleeve goes in.
Should buyers specify finished or semi-finished sleeves?
It depends on the repair model. Finished sleeves reduce machining at installation. Semi-finished sleeves give rebuilders more control when blocks vary in wear or geometry. The right choice depends on whether the shop is doing direct replacement or remanufacturing.
What documents should be requested from a sleeve supplier?
Ask for drawings or dimensional tables, material and hardness records, inspection reports, batch traceability, packing specification, and quality certification. For automotive programmes, IATF 16949:2016 and ISO 9001:2015 alignment is important. Higher-risk projects may also need sample reports and PPAP-style documents.
What should a buyer do when a claim comes back without the head or gasket?
Treat it cautiously. If the head and gasket are missing, one of the main root-cause clues is gone. Ask for photographs, flatness data, coolant evidence, and torque records before assigning blame to the sleeve.
What is the most common sourcing mistake?
Buying only on nominal size and OE reference. That is not enough for engines with overheating history or tight protrusion requirements. The spec, inspection level, and packing method must be written into the purchase file.
Frequently asked questions
Yes. Uneven clamping can cause combustion leakage, local overheating, sleeve fretting, and bore distortion. The head, gasket, block counterbore, sleeve protrusion, torque process, and coolant condition should be inspected before installing a replacement sleeve.
It depends on the repair model. Finished sleeves reduce machining at the installer but need tight application control and defined surface roughness. Semi-finished sleeves allow local boring and honing, which is useful for remanufacturing operations handling worn or mixed-condition blocks.
Request drawings or dimensional tables, material and hardness records, inspection reports, batch traceability, packing specification, and quality certification. For automotive programmes, IATF 16949:2016 and ISO 9001:2015 alignment is relevant; for higher-risk projects, add sample inspection reports and PPAP-style documents if required.
If your team is reviewing sleeve failures, replacement specifications, or a new distributor programme, Driventus can help assess dimensions, materials, tolerances, MOQ, lead time, and export packing requirements. Send drawings, samples, annual forecast, or application data to [request a quote](/contact.html).