A valve cover oil leak can look almost identical to an oil filter housing leak. Both faults leave oil on the same side of the engine, then send it down the block, onto the belt drive, or onto a hot exhaust shield. For procurement teams and repair networks, the real challenge is not seeing oil — it is identifying which sealing surface failed and whether the replacement part matches OE dimensions, port layout, and thermal load. Driventus is an independent aftermarket manufacturer; brand names are referenced for fitment only. This guide focuses on the failure path, the inspection sequence, the point where replacement becomes unavoidable, and the sourcing checks that matter: IATF 16949:2016, ISO 9001:2015, and material compliance under REACH (EC) No 1907/2006.
Where the leak actually starts
The fastest way to separate a valve cover oil leak from an oil filter housing fault is to ignore the drip point and find the first wet point. Drips collect low. Failures start high.
A valve cover leak usually shows up at the head-to-cover perimeter, spark plug tube seals, or a corner where the gasket has hardened. An oil filter housing leak tends to begin at the filter cap, housing-to-block interface, cooler ports, or a sensor boss. Plastic housings complicate things because oil can travel along nearby lines and brackets before it becomes visible.
Clue
More likely source
Why it matters
Wet seam at cylinder head
Valve cover gasket
Leak begins at the upper sealing edge
Oil around filter cap or cooler
Oil filter housing
Seal, O-ring, or face may be failing
Burning oil smell after idle
Either
Oil reaches hot components
Oil on belt drive area
Either
Airflow and gravity spread the oil
Slow oil loss with no puddle
Either
Leak may occur only when hot
</tr></thead><tbody> </tbody></table>If the first wet point is above the housing, do not order the housing first. If it starts at the housing face, a new valve cover gasket will not solve the problem.
Failure modes by component
These two parts fail for different reasons, and that difference helps narrow the fix.
The valve cover side is usually about heat, aging, and clamp load. Rubber hardens. Plastic covers warp. Fasteners get overtightened. Once that happens, the gasket no longer seals evenly, and oil escapes at the weakest section.
The oil filter housing side is more likely to fail at a seal interface than at the whole body. Flattened O-rings, cracked polymer, damaged threads, or a distorted mounting face are the common causes. On designs with an integrated cooler, the cooler seal set can be the real fault rather than the housing casting itself.
Watch for these failure patterns
Hardened valve cover gasket or spark plug tube seals
Cracked valve cover around fastener bosses
Missing or pinched oil filter housing O-ring
Warped housing face after overtightening
Cooler seal leak with oil-to-coolant cross-contamination
Drain plug or oil cap damage that imitates a housing leak
Repeat failures are often a part-quality or dimensional issue, not just a labour issue. For procurement, that means asking for traceability, gasket compound details, hardness data, and verified fitment control.
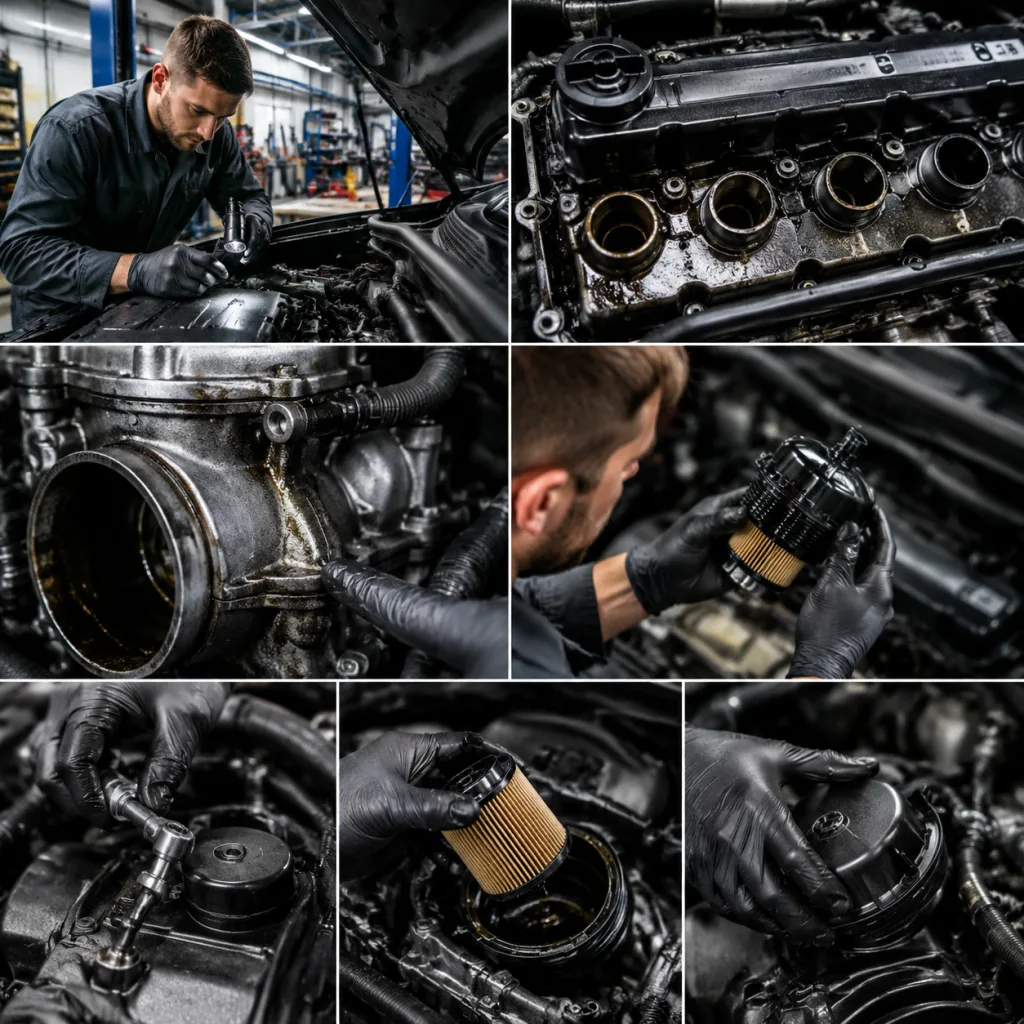
Inspection sequence that avoids misdiagnosis
A clean inspection beats guesswork. Start by degreasing the upper engine, then run it to operating temperature and inspect under bright light. If the leak is intermittent, UV dye helps reveal the source path.
1. Clean the valve cover, filter housing, hoses, and adjacent brackets. 2. Inspect the valve cover perimeter first, especially corners and tube seals. 3. Check the housing face, cap, sensor ports, and cooler connections. 4. Look for oil tracks across the timing cover and accessory bracket. 5. Confirm whether coolant loss is also present. 6. Review service history for overtightening or sealant misuse.
The sequence matters. If oil starts at the housing and spreads downward, a valve cover repair will not fix it. If it starts at the cover and runs onto the housing, replacing the housing is unnecessary. The visible drip point is only the end of the trail.
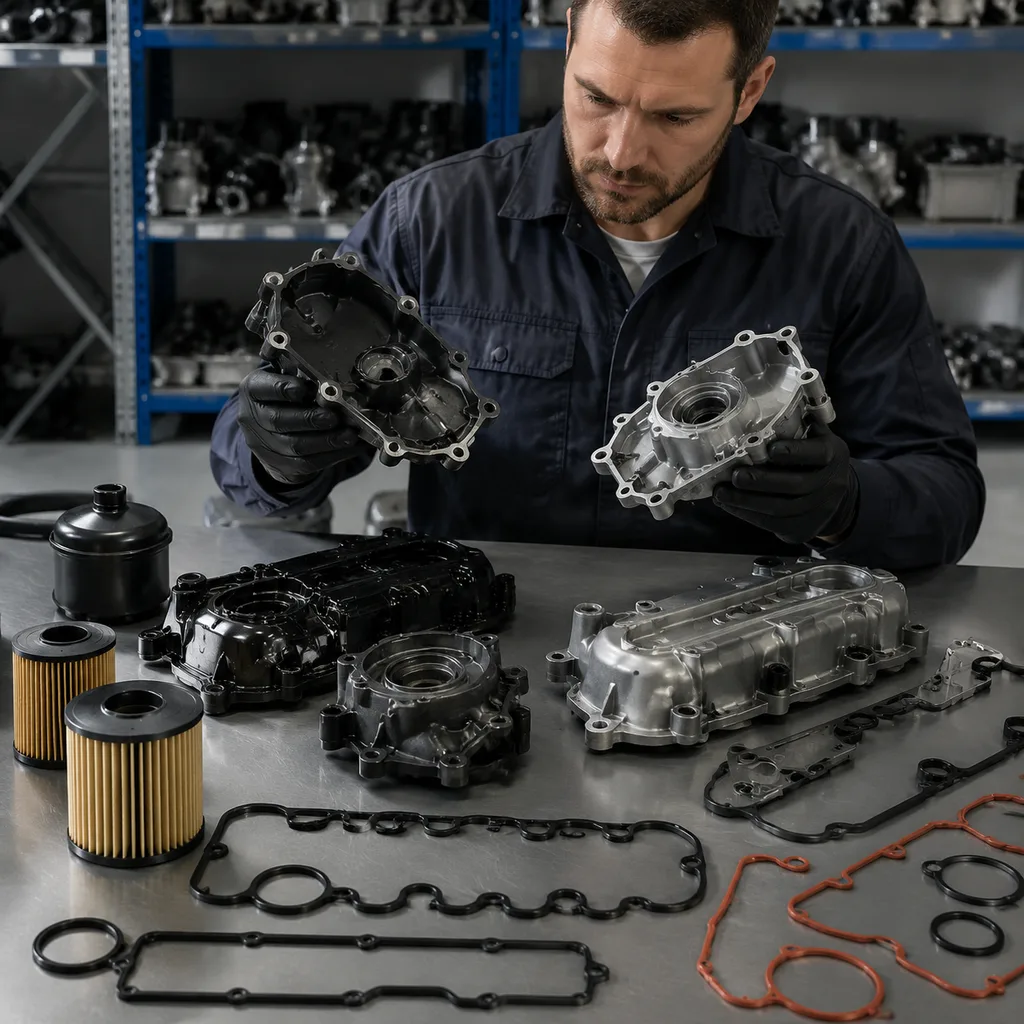
When the oil filter housing should be replaced
Replace the oil filter housing when the body or its sealing surfaces are no longer trustworthy.
Cracks in the polymer body or aluminium casting
Damaged or flattened primary seal grooves
Warped mounting face beyond acceptable flatness
Thread damage on cap or sensor ports
Oil and coolant cross-contamination from the cooler section
For aftermarket sourcing, insist on dimensional match and material confirmation. A valid replacement should match OE port positions, mounting points, sensor bosses, and seal groove geometry. Where applicable, ask for validation tied to thermal cycling and leak resistance methods used in supplier qualification. Driventus parts are produced under IATF 16949:2016 and ISO 9001:2015 controls, with REACH (EC) No 1907/2006 material awareness for regulated markets.
If the engine family uses cross-referenced numbers such as OE 06A107065, confirm the exact suffix and revision before ordering, because the housing, cooler, or adapter may differ by application.
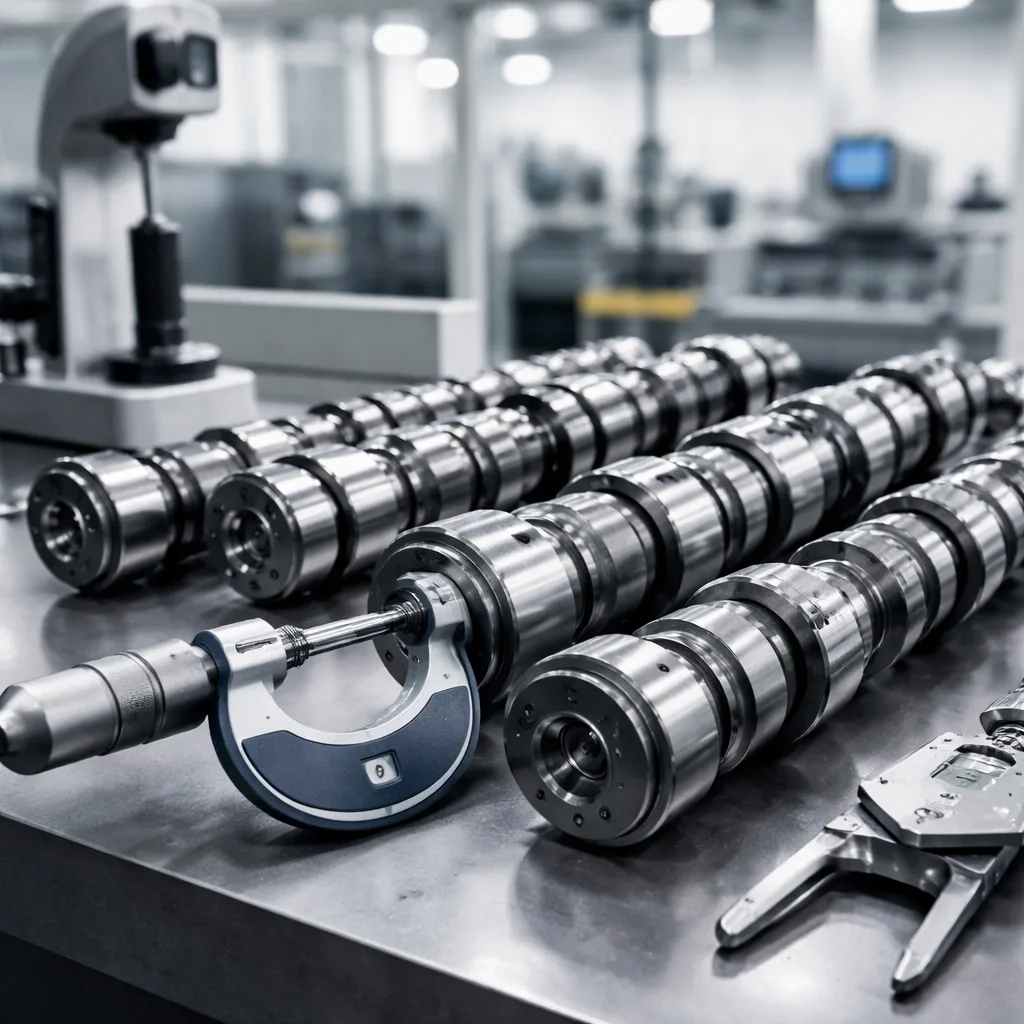
How to compare supplier data before you buy
For distributors, repair chains, and import managers, the risk is not only field failure. It is also fitment mismatch and returns from a part that looks correct but is not.
A housing can be off by a few millimetres and still look right in a catalog. That is enough to change port angle, gasket compression, or sensor alignment.
Compare these points before approval:
Dimensional inspection report with critical-to-fit features
Material specification for housing, seal, and O-rings
Pressure and thermal leak test records
Packaging that protects sealing faces and threads
Traceability for batch and mould or casting lot
Reference to IATF 16949:2016 and ISO 9001:2015 procedures
Sometimes the leak source is mixed. Oil may start at the valve cover, run forward, and collect near the oil filter housing. Or a housing leak may coat the cover and mislead the diagnosis. Replace both only when inspection confirms both sealing systems have failed, or when the labour overlap makes a combined repair more efficient.
A combined replacement is usually justified when:
The vehicle has high mileage and both seals are aged
The engine bay shows oil from top to mid-level surfaces
The housing includes an integrated cooler or thermostat module
Previous repairs used sealant incorrectly or overtightened fasteners
For fleet operators, the main benefit is less repeat downtime. For sourcing teams, the benefit is simpler stocking: housing, gasket set, and related O-rings can be purchased as one controlled package rather than one-off orders.
Frequently asked questions
Start with the highest wet point after cleaning the engine. If oil begins at the valve cover perimeter, the gasket or cover is suspect. If oil starts at the housing face, cap, or cooler ports, the housing seal set is more likely.
No. Replace only the failed component unless the body is cracked, warped, or the cooler section is contaminated. If the housing is plastic and heat-damaged, full replacement is usually safer than resealing.
Confirm OE cross-reference, port layout, seal groove dimensions, material, and pressure-leak test records. For regulated supply, ask for IATF 16949:2016 and ISO 9001:2015 documentation.
If you need a fitment check, batch quote, or private-label supply plan, contact Driventus here: /contact.html