A tensioner pulley is a small part, but replacing it correctly affects belt tracking, accessory-drive noise, bearing load, and warranty exposure. For distributors, repair chains, and sourcing teams, the question is broader than how a technician removes and installs the pulley. The supplied part must also match the OE geometry, bearing specification, running-surface finish, hardware interface, and packaging requirements used in daily service. This guide covers the replacement workflow, inspection points, and procurement checks for aftermarket tensioner pulleys used in passenger cars and light commercial vehicles. It is written for teams that need repeatable field outcomes across branches, installers, and markets. Driventus is an independent aftermarket manufacturer; vehicle brand names and OE references are used for fitment identification only.
When a Tensioner Pulley Should Be Replaced
A tensioner pulley should be replaced when inspection confirms bearing wear, belt misalignment, running-surface damage, or abnormal noise from the front-end accessory drive. In many service programmes, the pulley is replaced together with the belt and, where applicable, the complete automatic tensioner assembly. Installing one new component into a worn drive system can leave uneven loads in place and create repeat complaints.
Typical replacement triggers include:
Squeal, chirp, rumble, or grinding noise from the accessory drive.
Visible pulley wobble with the engine idling.
Bearing roughness, tight spots, or free play when the pulley is rotated by hand after belt removal.
Glazed, grooved, cracked, melted, or contaminated pulley running surface.
Belt edge wear caused by pulley offset, angular misalignment, or damaged flanges.
Spring tensioner indicator outside its normal operating range.
Heat marks or belt dust around the pulley bearing area.
For fleet and repair-chain programmes, inspection criteria should be documented in service bulletins, catalogue notes, or installer guidance. Clear criteria reduce unnecessary returns and help technicians separate pulley defects from belt routing errors, alternator overrunning-clutch faults, seized accessories, weak tensioner springs, and crankshaft damper problems.
Tools, Safety, and Pre-Installation Checks
Before replacement starts, the technician should identify the engine code, belt routing, pulley style, and whether the vehicle uses a fixed idler pulley, an automatic belt tensioner, or a serviceable pulley mounted on a tensioner arm. Procurement teams should make sure catalogue data and packaging notes support these distinctions, because visually similar pulleys can differ in offset, groove form, or mounting hardware.
Recommended workshop items:
Item
Purpose
Buyer note
Belt routing diagram
Prevents incorrect installation
Include technical image or QR support where possible
Correct socket, hex, or Torx bit
Removes pulley bolt without rounding
Check common fastener profiles by application
Torque wrench
Controls bolt preload
Reference vehicle service data rather than packaging-only torque claims
Belt wear gauge
Confirms whether the belt is reusable
Useful for repair-chain standardisation
Straightedge or laser alignment tool
Checks pulley plane
Helps reduce repeat noise complaints
Inspection light and mirror
Improves access in crowded engine bays
Useful where the pulley is partly hidden by brackets or covers
</tr></thead><tbody> </tbody></table>Safety checks are basic but important. Disconnect the battery where access puts hands near the starter cable, alternator terminal, or electric fan. Never pry against plastic pulleys or tensioner arms. Do not use impact tools on a tensioner arm unless the service procedure permits it. If coolant, oil, fuel, or power-steering fluid has reached the belt drive, the leak source must be repaired before the new pulley and belt are put into service.
For B2B sourcing, Driventus recommends confirming application data against our catalog, then checking the supplier’s quality system for incoming bearing controls, dimensional inspection, production traceability, and management-system alignment with IATF 16949:2016 and ISO 9001:2015.
Step-by-Step Replacement Procedure
The following sequence explains the general workshop approach for teams searching for tensioner pulley how to replace guidance. Vehicle-specific service information always takes priority, especially on engines with restricted access, stretch belts, one-time-use bolts, belt-driven coolant pumps, or tensioners with special locking procedures.
1. Confirm the complaint. Run the engine briefly and locate the noise or vibration source. Use appropriate diagnostic tools and keep hands, clothing, and test leads clear of rotating parts. 2. Record belt routing. Photograph the belt path or check the routing label before removal. Incorrect routing can reverse pulley contact, reduce wrap angle, or overload an accessory bearing. 3. Release belt tension. Rotate the tensioner in the specified direction using the correct tool. Lock the tensioner only if the design provides a locking hole or approved service position. 4. Remove the belt. Inspect ribs, backing, edges, and contamination. Replace the belt if it shows cracks, missing ribs, oil damage, glazing, swelling, or uneven edge wear. 5. Remove the pulley or tensioner assembly. Support the arm if required. Note washer position, spacer direction, bolt length, thread condition, and any dust shield or cap location. 6. Inspect adjacent components. Check the alternator overrunning pulley, water pump, crankshaft damper, A/C compressor pulley, power-steering pump, and other idlers for roughness, play, leakage, or misalignment. 7. Compare old and new parts. Verify outside diameter, groove count, groove profile or smooth crown, axial offset, bearing width, bore size, mounting face, and supplied hardware. 8. Install the new pulley. Seat the pulley squarely and tighten the fastener to the vehicle manufacturer’s service torque. Do not lubricate a dry-specified bolt or reuse a torque-to-yield bolt unless the service procedure allows it. 9. Refit the belt. Make sure every rib is fully seated in every grooved pulley and that the belt sits correctly on smooth pulleys and flanges. 10. Run and verify. Start the engine, observe belt tracking, listen for noise, and recheck the tensioner indicator position after the belt has settled.
The most common installation errors are belt misrouting, incorrect spacer orientation, reused damaged bolts, failure to seat belt ribs, and failure to identify a seized accessory component. These errors can cause immediate noise or belt walk even when the new pulley is dimensionally correct.
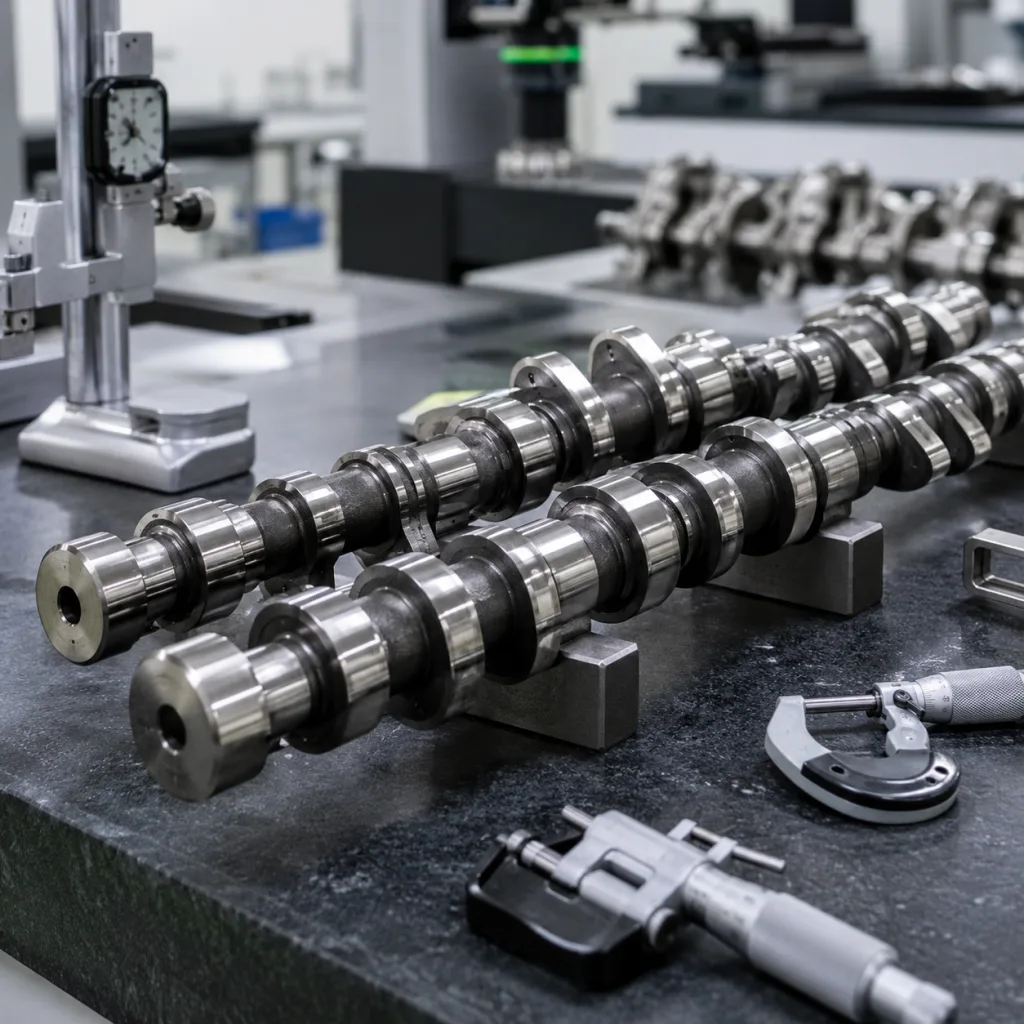
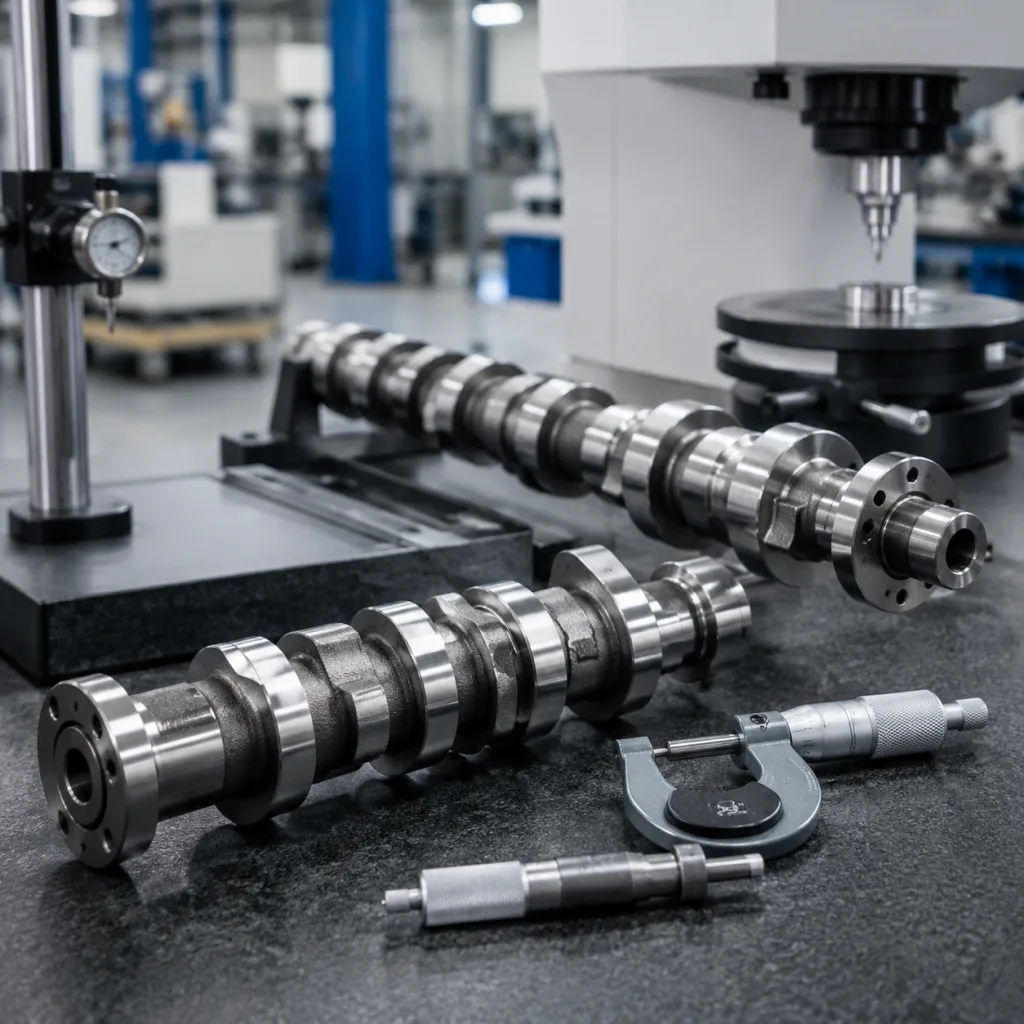
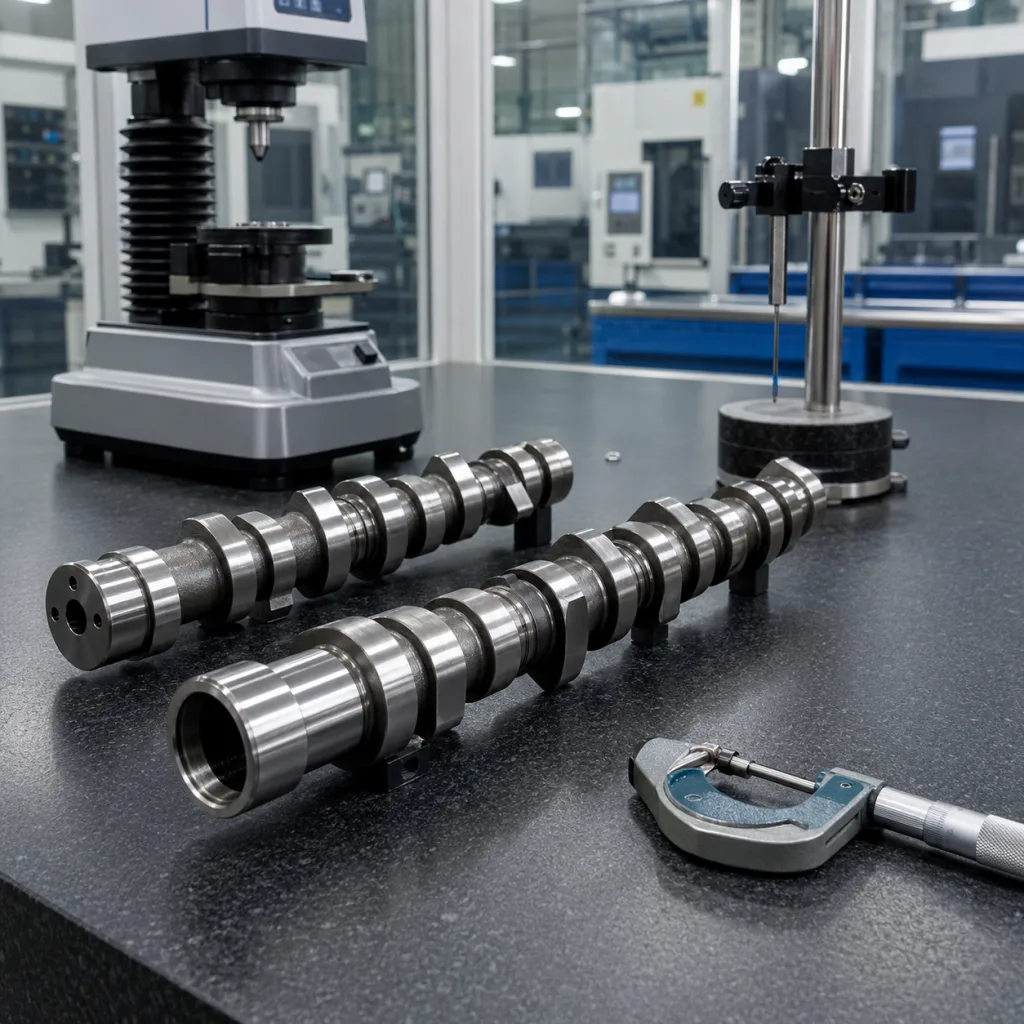
Dimensional and Material Checks for Procurement
Replacement success depends on part conformity as much as technician skill. A pulley that differs by a small amount in offset, groove position, bearing seat, or crown profile can cause belt edge wear, particularly in compact engine bays with short centre distances and multiple accessories.
Key specifications to request from suppliers:
Outside diameter and tolerance, measured at the belt contact surface.
Bore diameter, bearing seat tolerance, and bearing retention method.
Axial offset from mounting face to belt centreline.
Groove count, pitch, and profile for ribbed pulleys, or crown profile for smooth pulleys.
Bearing type, seal type, grease specification, internal clearance, and rated operating temperature.
Pulley material: steel, polymer, or aluminium, with coating or corrosion protection where applicable.
Fastener, spacer, dust cap, and washer configuration where supplied with the part.
Runout and dynamic balance controls, with reference to ISO 1940-1 where a balance grade is specified.
Hardness or coating verification using published methods such as ISO 6507 where relevant.
Material compliance documentation for REACH (EC) No 1907/2006 for EU supply.
Packaging protection against bearing contamination, impact damage, and mixed-part errors.
For OE part-number cross-references, use the buyer’s application database and state references in the form OE 06A… only where the enquiry already identifies that family. Driventus does not claim approval, sponsorship, or endorsement by any vehicle manufacturer.
Driventus produces tensioner pulleys, idler pulleys, complete belt tensioner assemblies, and related engine components. For private-label or application-specific designs, buyers can review custom manufacturing options covering drawings, samples, PPAP-style documentation where required by the customer, bearing and material confirmation, and packaging configuration.
Post-Installation Verification and Return Reduction
A short verification routine prevents many avoidable warranty cases. After installation, the technician should run the engine at idle, then briefly increase speed while observing the belt path. The belt should track centrally and should not walk across the pulley face. A new chirp, squeal, or rhythmic tick usually points to misalignment, wrong belt length, contamination, damaged ribs, or an accessory fault before it points to immediate bearing failure.
Recommended verification checklist:
Belt ribs fully seated on every grooved pulley.
No contact between belt edge and cover, bracket, flange, or engine mount.
Tensioner arm moves smoothly and stays within its indicator range.
Pulley rotates without visible wobble or side-to-side belt movement.
No abnormal bearing noise after warm-up.
Fastener torque recorded where the workshop system requires it.
Leak sources repaired before the vehicle is released.
For distributors, failure-analysis guidance should travel with the part or be available through technical support. Returned pulleys should be inspected for heat discolouration, damaged seals, impact marks, incorrect bolt imprint, thread damage, uneven belt residue, and signs of forced installation. These clues help separate product defects from installation errors or wider belt-drive faults.
A controlled supply programme should also include batch traceability, incoming bearing audits, dimensional sampling, packaging drop checks, and salt-spray or coating validation where the market requires corrosion resistance. Driventus manufacturing controls are aligned with IATF 16949:2016 and ISO 9001:2015, with inspection records available for agreed programmes.
Sourcing Notes for Distributors and Repair Chains
For high-volume aftermarket supply, buyers should avoid selecting a tensioner pulley by visual similarity alone. Confirm application range, engine code, production date, supersession logic, and market-specific vehicle variants. A single platform may use different pulley diameters, offsets, or belt layouts depending on alternator output, air-conditioning equipment, emissions package, steering system, or regional engine calibration.
A practical RFQ should include annual volume, target markets, required packaging, barcode format, acceptable substitutions, sample quantity, compliance requirements, and any preferred inspection standard. If the part is for a multi-location repair chain, request installation notes and a defect feedback loop so field data can be reviewed by batch, installer, and application.
Driventus can support distributors, wholesalers, OEM/Tier-1 purchasing teams, and repair-chain programmes with tensioner pulley supply from Taizhou, Zhejiang. Standard export support includes application matching, technical drawings where available, sample validation, branded or neutral packaging, batch traceability, and logistics coordination for more than 60 destination markets. For new projects, provide the OE cross-reference family, vehicle applications, photos of the removed sample, dimensional checks if available, target launch timing, and any local compliance requirements.
Frequently asked questions
It can be done if the belt is within service limits, clean, correctly routed, and correctly tensioned. In practice, many workshops replace the belt at the same time because belt wear, contamination, glazing, or rib damage can cause noise after the new pulley is installed.
Common causes include belt misrouting, incorrect spacer position, pulley misalignment, wrong belt length, fluid contamination, damaged belt ribs, a seized accessory pulley, or an alternator overrunning-pulley fault. The belt drive should be checked as a system before returning the part as defective.
Provide the application list, OE cross-reference family if available, annual volume, target market, packaging needs, sample photos, dimensional data, preferred inspection requirements, and compliance requirements such as REACH (EC) No 1907/2006 for EU supply.
If your team is reviewing tensioner pulley supply, share the application list and target volumes so Driventus can confirm fitment data, samples, and documentation. You can [request a quote](/contact.html)