Rear Main Seal Symptoms of Failure: B2B Diagnostic Guide
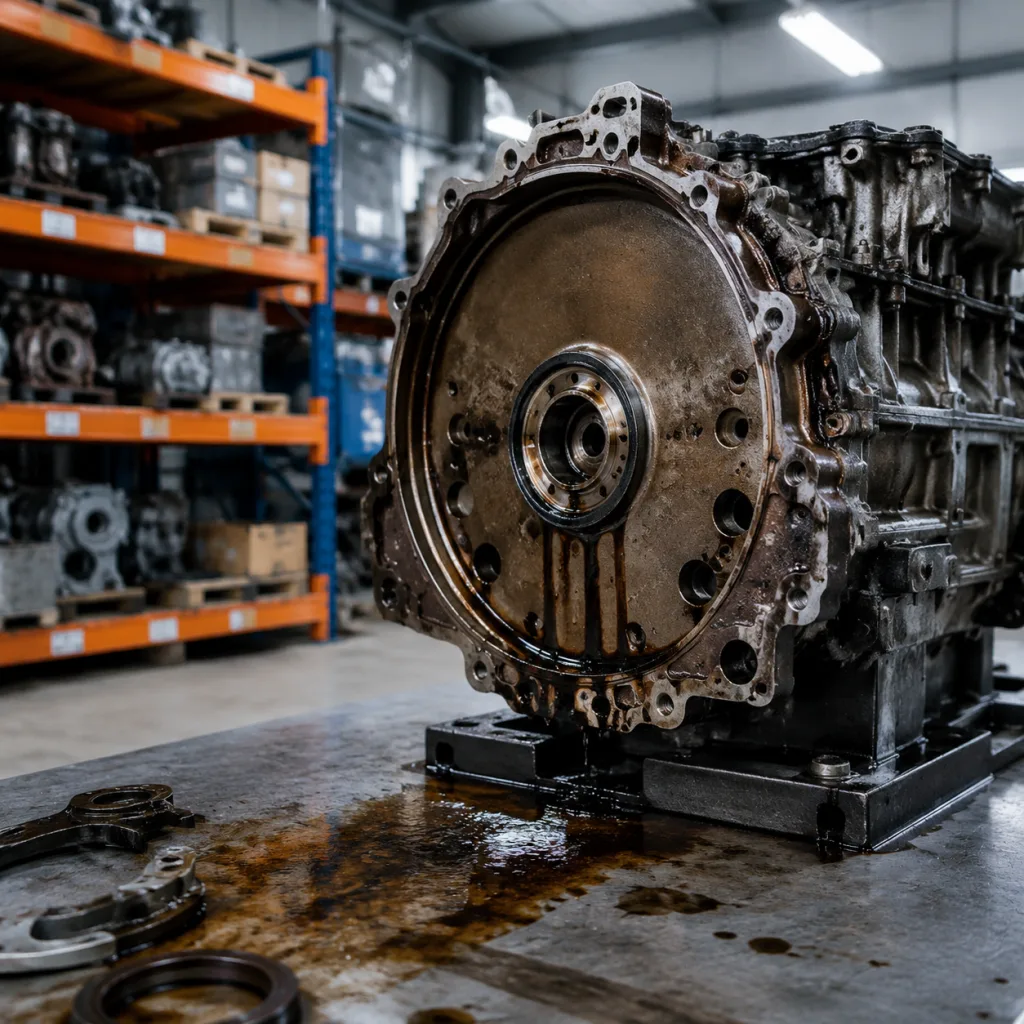
Rear main seal symptoms of failure are easy to misread because oil can travel from the back of the engine across the bell housing, transmission case, sump rail, and underbody before anyone sees the source. For distributors, repair networks, and sourcing teams, that creates two expensive errors: approving the wrong claim and replacing a part that was not the root cause. The rear main seal itself is small, but access is not. Many passenger-car jobs take 4–10 labour hours, and some AWD or light-commercial layouts take longer.
A credible diagnosis should separate the seal lip from the crankshaft surface, carrier alignment, crankcase pressure, and nearby gaskets. This guide focuses on the symptoms that matter, how to confirm them, where failures usually start, and what buyers should define when sourcing rear main seals for aftermarket or OE-equivalent programs. Driventus is an independent aftermarket manufacturer; brand names are referenced for fitment only.
Start Here: Is the Rear Main Seal Actually the Fault?
The first question is not "is there oil near the bell housing?" It is "where did the oil start?" A rear main seal sits at the back of the crankshaft, usually inside a carrier or block housing, and it must retain oil while the crankshaft turns from idle to highway load.
That makes the part sensitive to three things at once: geometry, material, and installation. If any of those are wrong, the leak may appear at the rear of the engine even when the true cause is elsewhere. For buyers and service managers, the decision framework is simple:
- If the leak begins at the crankshaft flange area and repeats after cleaning, treat the seal or sealing land as the primary suspect.
- If the rear of the engine is wet but oil is also present higher up, inspect upper gaskets and plugs first.
- If a new seal leaks immediately, look for installation error, distorted housing, or crankcase pressure before blaming the part.
- If the vehicle has heavy blow-by or PCV faults, the seal may be a symptom, not the root cause.
Because the seal sits between engine and transmission, replacement often means removing the gearbox, starter, flywheel or flexplate, and related hardware. A low-cost part can therefore become a high-cost event if the diagnosis is rushed. Buyers should treat the rear main seal as a precision engine-sealing component, not a generic rubber ring. For catalogued engine programs, the drawing should define ID, OD, width, lip profile, material grade, hardness, installation depth, and packaging constraints. Driventus supports rear main seal programs within broader engine-component sourcing; see our catalog for fitment mapping and batch-level inspection support.
Symptom Matrix: What the Leak Pattern Usually Means
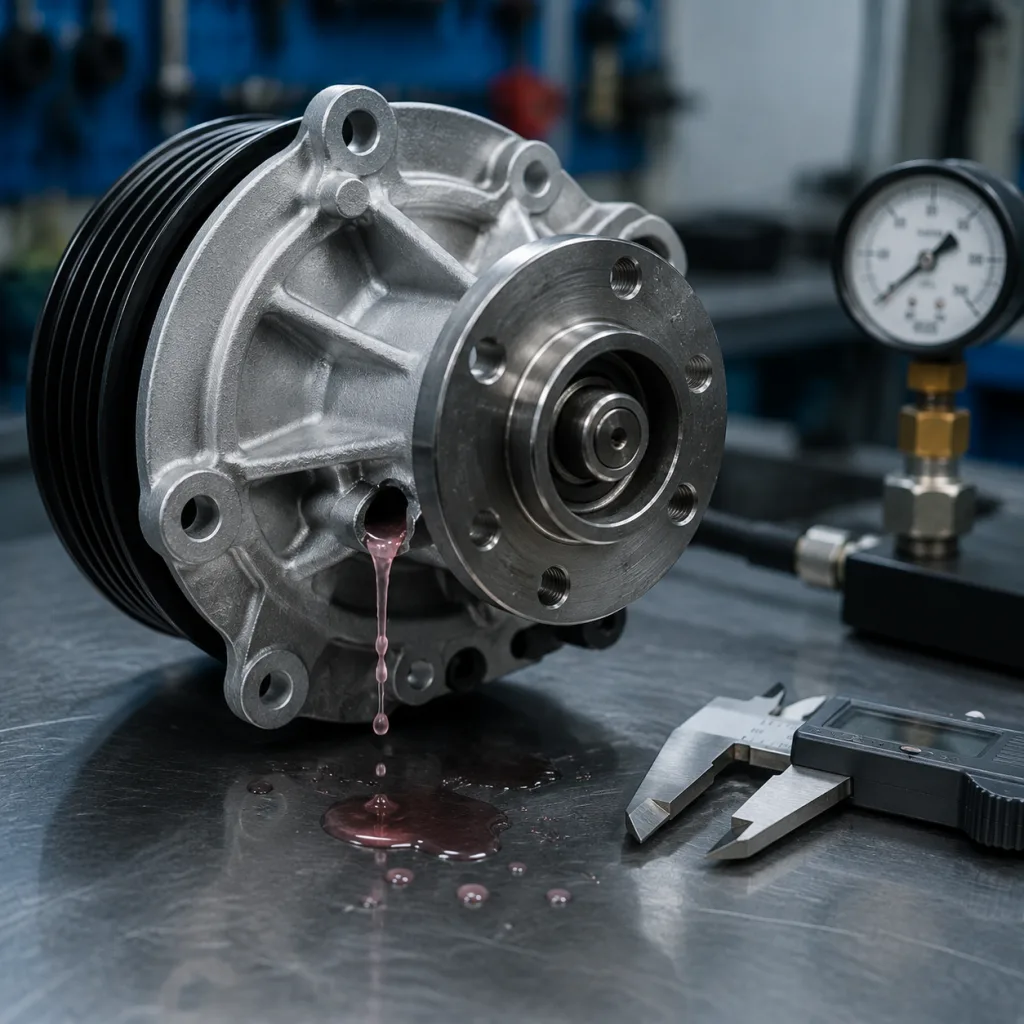
Rear main seal symptoms of failure usually show up as oil loss, contamination, or burning oil smell at the back of the vehicle. The table below links common observations to the most likely causes and the best next check.
| Symptom observed | What it often suggests | Best inspection point | Sourcing / warranty note |
|---|---|---|---|
| Oil dripping from the lower bell housing after hot running | Seal lip wear, hardened elastomer, or carrier leak | Clean the area, run to temperature, and road test again | Confirm compound compatibility with modern synthetic oils and high rear-block heat |
| Oil on the flywheel, flexplate, or clutch face | Active rear crank leak or carrier gasket leak | Remove inspection cover where possible and look at the spray pattern | Clutch contamination can turn a seal job into a much larger claim |
| Burning oil smell after driving | Oil touching exhaust parts, shields, or hot transmission surfaces | Trace the oil path under the car | Smell alone does not prove rear seal failure |
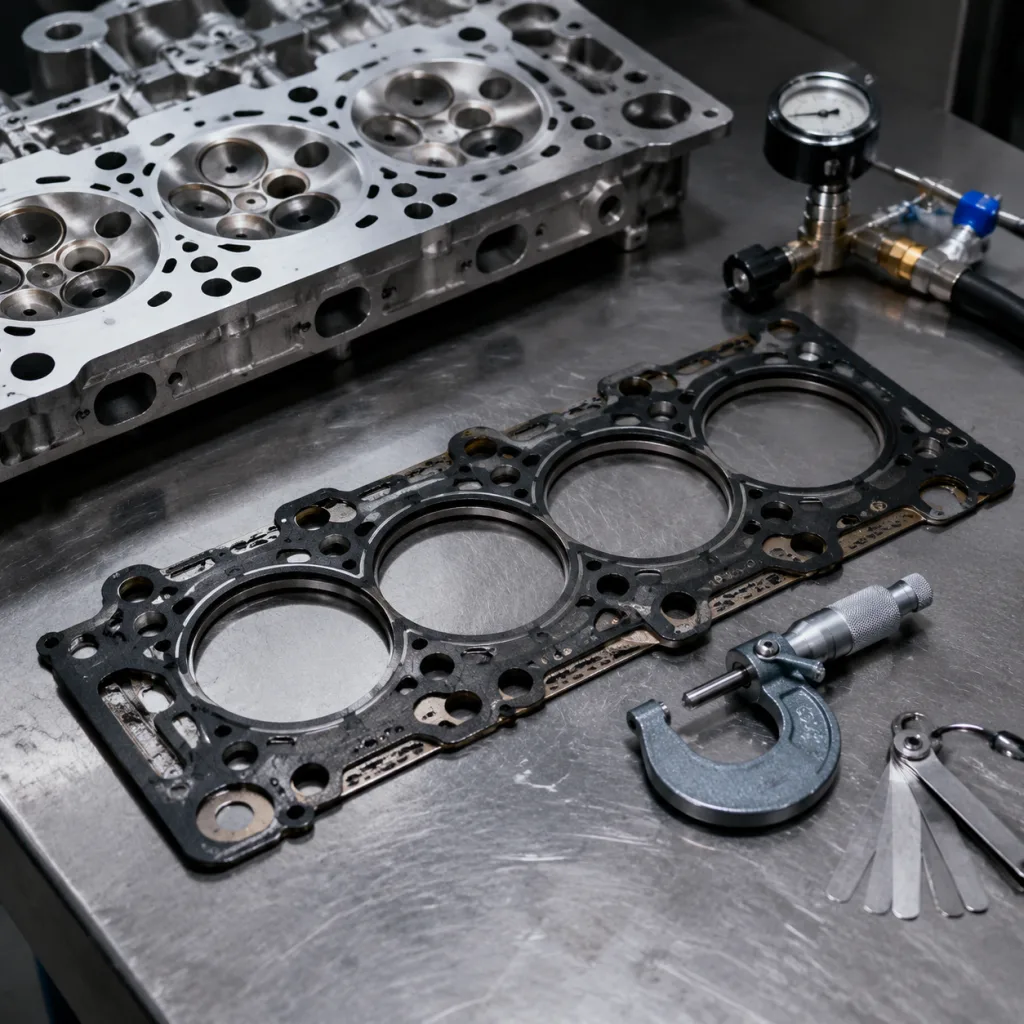
| Gradual engine oil loss with no front-engine leak | Rear engine leak or oil migration from upper points | Check valve cover gaskets, cam plugs, filter housing, vacuum pump, and sump rail | Do not approve a seal claim until upper leak points are ruled out |
| Oil mist around the crankshaft flange | Excess crankcase pressure or lip instability | Test PCV and breather flow | A new seal will not fix blow-by or a blocked breather |
| Leak starts immediately after installation | Cocked seal, wrong depth, rolled lip, or damaged PTFE form | Measure installed depth at multiple points | Installation control matters as much as part quality |

| Specification item | Why it matters | What buyers should require |
|---|---|---|
| Engine family and displacement | Confirms basic fitment | Engine code, fuel type, production range, and market region |
| Seal dimensions | Controls physical fit | ID, OD, width, lip position, chamfer, and tolerance target |
| Material grade | Affects heat and oil resistance | State NBR, ACM, FKM, PTFE, or equivalent performance need |
| Carrier type | Some seals are housing-integrated | Provide sample, drawing, bolt pattern, and dowel position |
| Installation direction | Prevents reverse fitting | Marking, sleeve, or packaging instruction showing lip direction |
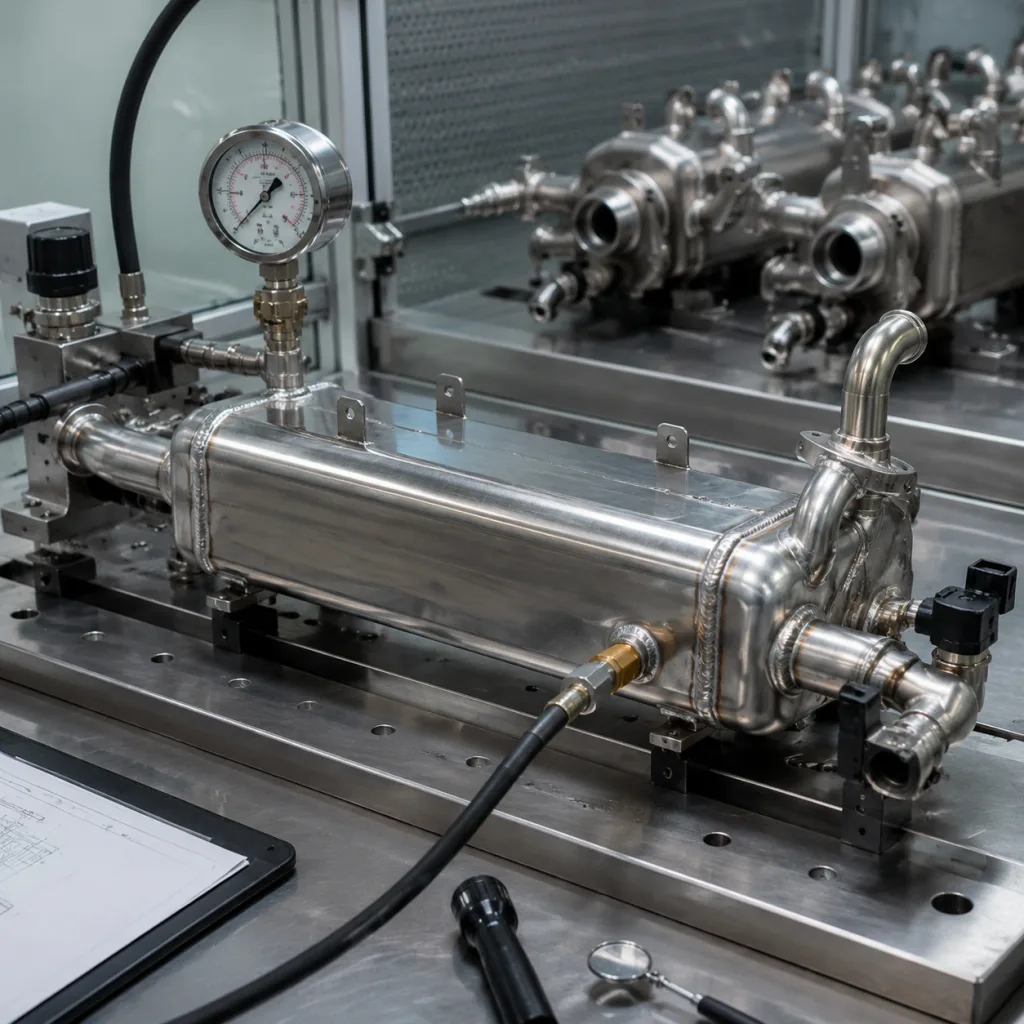
| Validation tests | Reduces early leak risk | Heat ageing, oil immersion, compression set, and leak-test expectations |
| Compliance needs | Required for import and customer audits | REACH, RoHS where relevant, and any customer-specific declaration |
| Traceability | Supports warranty analysis | Batch code, production date, cavity ID if used, and inspection record |
| Packaging | Prevents deformation and cataloguing errors | Individual bags or boxes, barcode labels, and controlled carton quantity |