Oil Pump Failure Oil Pressure Sensor: Diagnostics and Replacement
Low oil pressure warnings are not always caused by the pump itself. In many cases, the oil pressure sensor, wiring, or pressure relief valve creates symptoms that look like pump failure. For procurement teams and workshop buyers, the critical task is separating the actual failure mode before ordering parts. That cuts repeat labour, avoids unnecessary engine teardown, and improves warranty outcomes.
This article breaks the problem into failure symptoms, test logic, and sourcing checks. It also covers fitment and quality considerations that matter when sourcing oil pressure sensors for passenger car and light-duty applications. Driventus is an independent aftermarket manufacturer; brand names are referenced for fitment only. All production is controlled under IATF 16949:2016 and ISO 9001:2015, with material and process discipline suited to export markets in the EU, UK, US, Canada, Australia, and Brazil.
Start with the symptom: what the warning lamp is really saying
A failed pump and a failed sensor can produce the same driver complaint, so oil pump failure oil pressure sensor diagnosis starts with separating the signal from the problem. In service, the first clue is often when the warning appears. Hot idle is the usual trigger because oil thins out and system leakage rises.
Typical symptoms include:
Oil pressure warning lamp on at idle or during hot operation
Mechanical noise from the valvetrain, cam phasers, or timing chain area
Intermittent gauge readings or scan-tool data that jumps unexpectedly
Warning lamp flicker after extended highway driving or stop-start traffic
Diagnostic trouble codes related to pressure signal plausibility, open circuit, short to ground, or range/performance
The key question is simple: is the engine actually losing pressure, or is the reporting circuit lying? A bad sensor can send a fixed, low, or implausible signal even when hydraulic pressure is fine. A worn pump, blocked pickup, stuck relief valve, or excessive bearing clearance will usually show low pressure on a calibrated mechanical gauge as well. On many light-duty engines, a hot-idle pressure below roughly 0.5 bar / 7 psi is a red flag, but the engine-specific service spec always wins. Generic numbers are only a starting point.
The shortest reliable test path: gauge first, electronics second
Use a mechanical gauge before condemning the pump. That is the cleanest way to avoid replacing a sensor for a mechanical fault, or replacing a pump when the circuit is the real problem. A workshop workflow should be consistent so the buyer can support a repeatable claim file and avoid avoidable returns:
1. Verify oil level, viscosity grade, and filter condition. Confirm the fill is within the MIN–MAX range and that the oil spec matches OEM viscosity. 2. Check for sludge, aeration, fuel dilution, or coolant contamination in the drained oil. Milky oil, metallic glitter, or a burnt smell all change the diagnosis. 3. Measure actual pressure at the test port with a calibrated gauge. Use a gauge with known accuracy and bleed trapped air from the hose before reading. 4. Compare measured pressure with the service specification at hot idle, 2,000 rpm, and rated speed. 5. Inspect the sensor connector, harness routing, and ground path. Look for oil ingress, rubbed insulation, terminal spread, and poor retention. 6. Check for leaks around the sender port, adapter, or pressure gallery. A cracked housing or damaged seal can create intermittent readings and comebacks.
If the gauge reading is normal but the dashboard warning remains active, the sensor or circuit is the likely fault. If the gauge reading is low at all speeds, focus on the pump, pickup screen, pressure relief valve, and bearing wear. A sensor replacement will not correct true hydraulic loss, so the diagnosis must be verified before a purchase order is released. Record test temperature, rpm, oil grade, and gauge reading on the job card so supplier and warranty teams can trace the failure mode later.
What to verify before you order the part
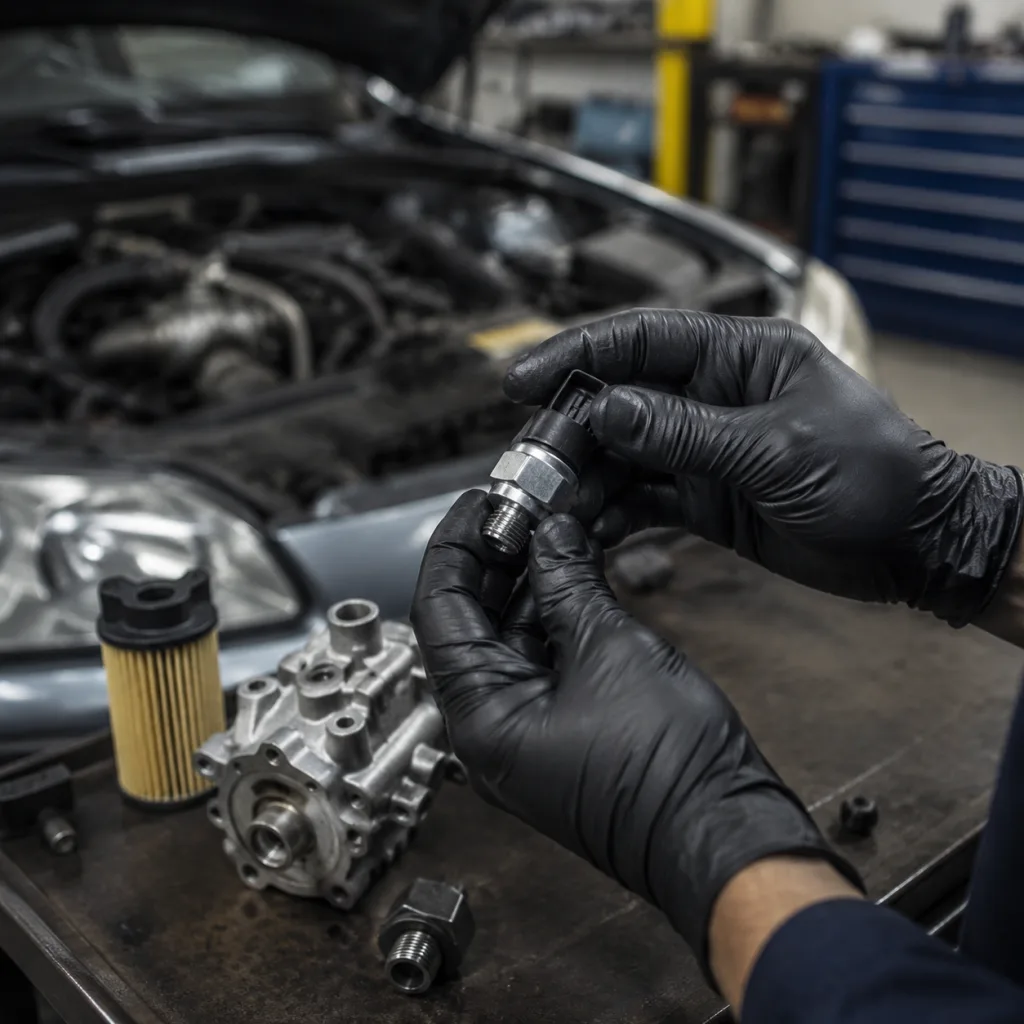
Before placing a purchase order, confirm the exact part family and electrical interface. For oil pressure sensors, the procurement check has to go beyond model year. A thread or connector mismatch can stop a vehicle from leaving the bay:
Thread size and sealing method: taper thread, parallel thread, or O-ring seal
Electrical connector type and pin count
Pressure range and switching threshold
Operating temperature range, typically from about -40°C to 125°C for passenger-car engine bay use
Output type: switch, variable resistance, or voltage signal
Mounting depth and hex size for access clearance
Media compatibility with engine oil, detergents, additives, and hot-soak conditions
Likely fault source vs. likely repair
Symptom
Mechanical gauge result
Likely cause
Correct action
Warning lamp on, engine quiet
Normal pressure, typically within spec
Sensor or wiring fault
Test circuit, verify reference/ground, replace sensor if confirmed
Lamp on, engine noisy
Low pressure, often below spec at hot idle
Pump, pickup, relief valve, or wear
Inspect lubrication system and do not clear the fault with a sensor only
Flicker at hot idle only
Marginal pressure near threshold
Worn bearings or tired pump
Verify at full operating temperature and compare with OEM limit
Erratic reading over bumps
Normal pressure
Harness, connector, or terminal fit issue
Repair wiring, secure routing, check for pin drag and corrosion
</tr></thead><tbody> </tbody></table>For catalog matching, use our catalog and cross-check the application data against the engine code, connector form, and measured dimensions. This is especially important when one model year uses more than one sensor calibration or thread format. As a sourcing rule, request a sample part only after confirming the original part number, thread pitch, sealing face, and signal type. That avoids dead stock from visually similar but electrically incompatible parts.
Replacement criteria that matter in purchasing
Replacement sensors should match the original envelope and signal behaviour. For buyers supporting repair chains or distributors, the acceptance criteria should be measurable, not cosmetic:
Dimensional match for body length, thread pitch, and shoulder position within tight drawing tolerance
Stable output over the specified temperature band with no signal drift outside the allowed switching or resistance window
Sealing integrity under engine vibration and thermal cycling, with no seepage after repeated hot/cold transitions
Corrosion-resistant terminals and connector fit that maintain contact pressure after multiple insertions
No leakage after thermal cycling and pressure hold testing at the rated test pressure
Consistent switching point or resistance curve across batch samples, with lot-to-lot variation controlled by SPC and incoming inspection
For higher-volume programmes, request validation against IATF 16949:2016 control plans and ISO 9001:2015 process records. Buyers should also ask for sample test evidence such as pressure actuation data, leak test results, and terminal pull-force confirmation before release. Where vehicles operate in regulated markets, material declarations should support REACH (EC) No 1907/2006 expectations. If a programme requires a non-standard connector, altered thread length, or revised calibration, our custom manufacturing process can be used for application-specific development. That is often the most efficient route when the oil pump failure oil pressure sensor specification changes mid-platform or across regional variants. For RFQ purposes, include annual volume, forecast MOQ, acceptable lead time, and required packing configuration so the plant can quote tooling, inspection, and logistics correctly.
Failure modes that cause repeat claims
A sensor often gets blamed for problems created by contamination, heat soak, vibration, or poor connector fit. Those failure modes matter because they drive repeat claims even after a replacement. Review them before release to stock:
Terminal plating quality and insertion force, ideally verified by mating-force testing to avoid loose-cavity complaints
Housing material resistance to engine bay temperatures and oil vapour exposure
Leak test results at the sealing interface, typically verified with air-under-water or pressure decay methods before packaging
Electrical continuity and signal repeatability across multiple cycles, including cold-start and hot-soak checks
Salt spray or corrosion exposure for humid markets, especially where road salt or marine exposure is common
Packaging that prevents thread damage in transit and preserves connector cleanliness
Also inspect for mould flash, thread burrs, damaged O-rings, and incorrect laser markings. For repeatable quality, buyers can ask for first-article samples, control-plan excerpts, and a lot traceability code on the carton or label. Driventus quality control is built around incoming material verification, in-process inspection, and final functional testing. Buyers can review the structure of the quality system before qualification. In engines where the sensor and pump are often replaced together, a bundled sourcing strategy can reduce downtime, but the root cause should still be verified before adding the pump to the order. The best results come from pairing clear diagnostic evidence with consistent supplier quality data and agreed inspection criteria for acceptance sampling and warranty return analysis.
When both parts should be replaced
Replace both parts only when the evidence supports it. A pump replacement makes sense if any of the following are found:
Confirmed low pressure on a mechanical gauge at idle and at elevated rpm
Excessive bearing clearance or metallic debris in the oil
Pickup screen blockage, collapsed pickup seal, or air ingestion at the suction side
Relief valve sticking, spring damage, or abnormal bypass behaviour
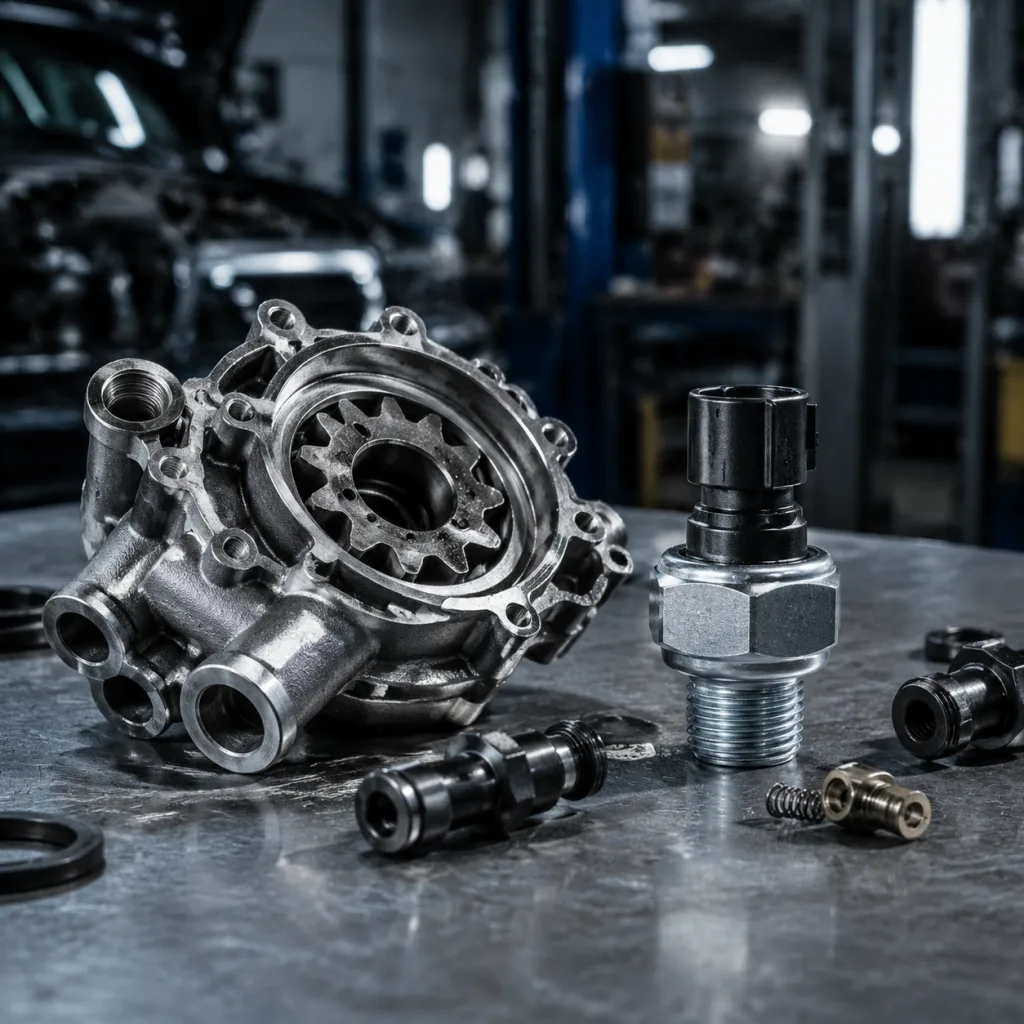
Visible wear marks on the pump gears or rotor set, or scoring on the cover plate
On high-mileage engines with repeated low-pressure events, the sensor may be the visible warning while the pump is the real mechanical issue. A useful rule is to replace the pump when measured pressure is below spec by more than about 15–20% after verifying correct oil grade and filter condition, or when the pressure trace drops off as oil temperature rises. In that case, a full lubrication-system inspection is more economical than fitting a new sender alone. For buyers sourcing related components together, our catalog and custom manufacturing support consolidated supply planning for aftermarket and repair-network programmes. This also reduces misdiagnosis, one of the most common causes of repeat oil pump failure oil pressure sensor complaints. For fleet and wholesale buyers, combining pump and sensor procurement can improve freight efficiency, but only after confirming that both part numbers are needed and the engine serial range matches the replacement set.
Frequently asked questions
Use a mechanical pressure gauge first. If measured pressure is normal and only the warning light or scan data is wrong, the sensor or wiring is likely at fault. If pressure is low on the gauge, inspect the pump, pickup, relief valve, and engine wear. Confirm the reading at hot idle and around 2,000 rpm before ordering parts.
No. A sensor only reports pressure. It cannot create hydraulic loss. A faulty sensor can trigger a false warning or incorrect gauge reading, but true low pressure comes from the lubrication system. If a vehicle shows both noise and low gauge readings, treat it as a mechanical lubrication fault until proven otherwise.
Confirm thread type, connector style, pressure range, sealing method, and output behaviour. For fleet or distributor supply, also check batch consistency, leak resistance, actuation point, and validation records under IATF 16949:2016 and ISO 9001:2015. It is also smart to confirm MOQ, lead time, packaging spec, and whether the quoted price includes any test or traceability requirements.
If you need matched oil pressure sensors, application support, or programme-level sourcing, contact Driventus for a review of your fitment and quality requirements. Request a quote at /contact.html