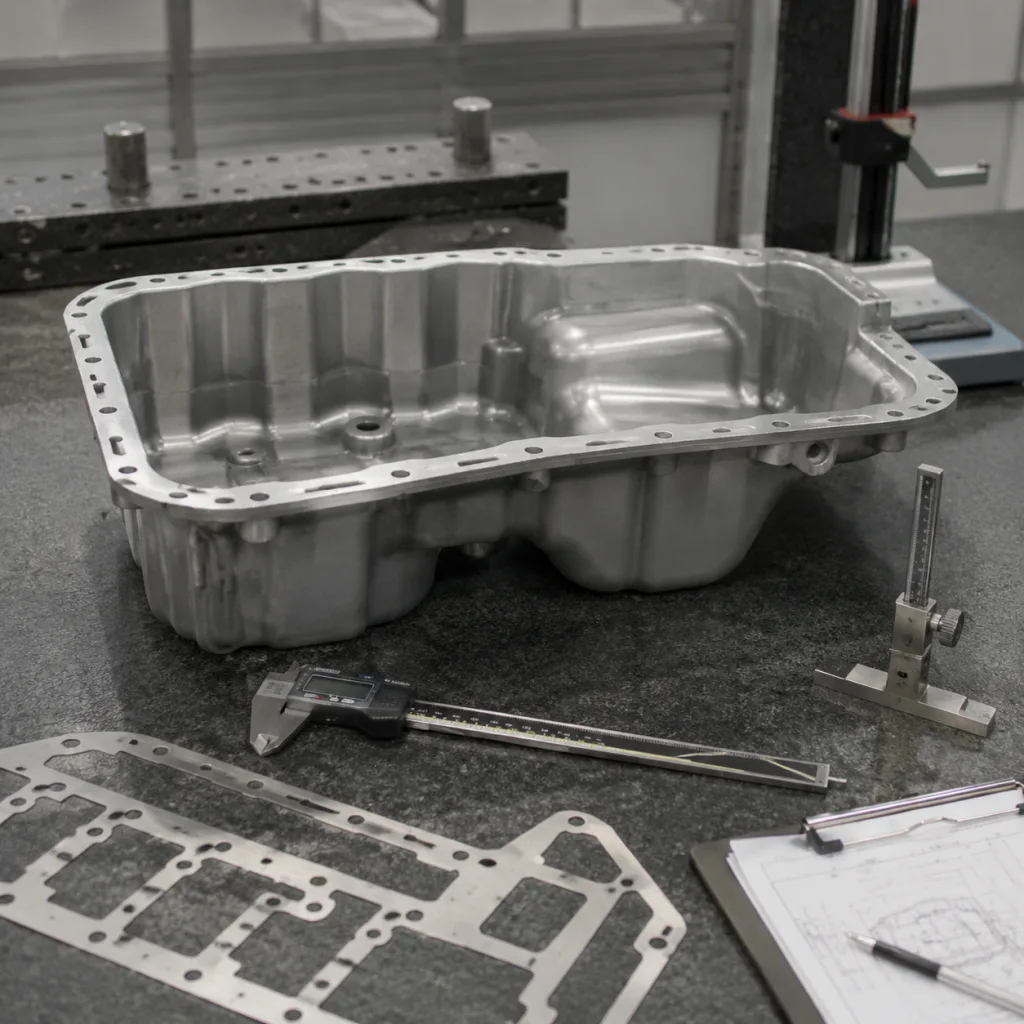
Low oil pressure is rarely a single-part problem. It can come from a failed pressure switch, a clogged pickup screen, a weak pump, bearing wear, aerated oil, or simple overrun on contaminated oil. For buyers and workshops, the key is to identify the failure mode before ordering parts. This low oil pressure repair cost guide breaks the decision into pressure readings, cost bands, inspection order, replacement scope, and sourcing checks. It also covers the fitment data and documentation that matter when buying aftermarket engine components. Driventus is an independent aftermarket manufacturer; brand names and OE references are used for fitment identification only.
First, confirm whether it is a pressure fault or a warning fault
A low oil pressure warning does not automatically mean the engine has true mechanical pressure loss. Many passenger engines idle around 10–20 psi when hot and rise to 40–70 psi at 2,000–3,000 rpm, but the correct limit is always the service specification for that engine code. The warning lamp often triggers near 3–8 psi, so a lamp that stays on at idle should be treated as a stop-and-test condition.
If the gauge reading is normal and the lamp still comes on, the repair usually starts with the sensor circuit. If the reading is low on a mechanical gauge, the engine needs mechanical diagnosis before further driving. That distinction saves parts spend and prevents avoidable engine damage.
Use these cost bands to decide how deep the repair will go
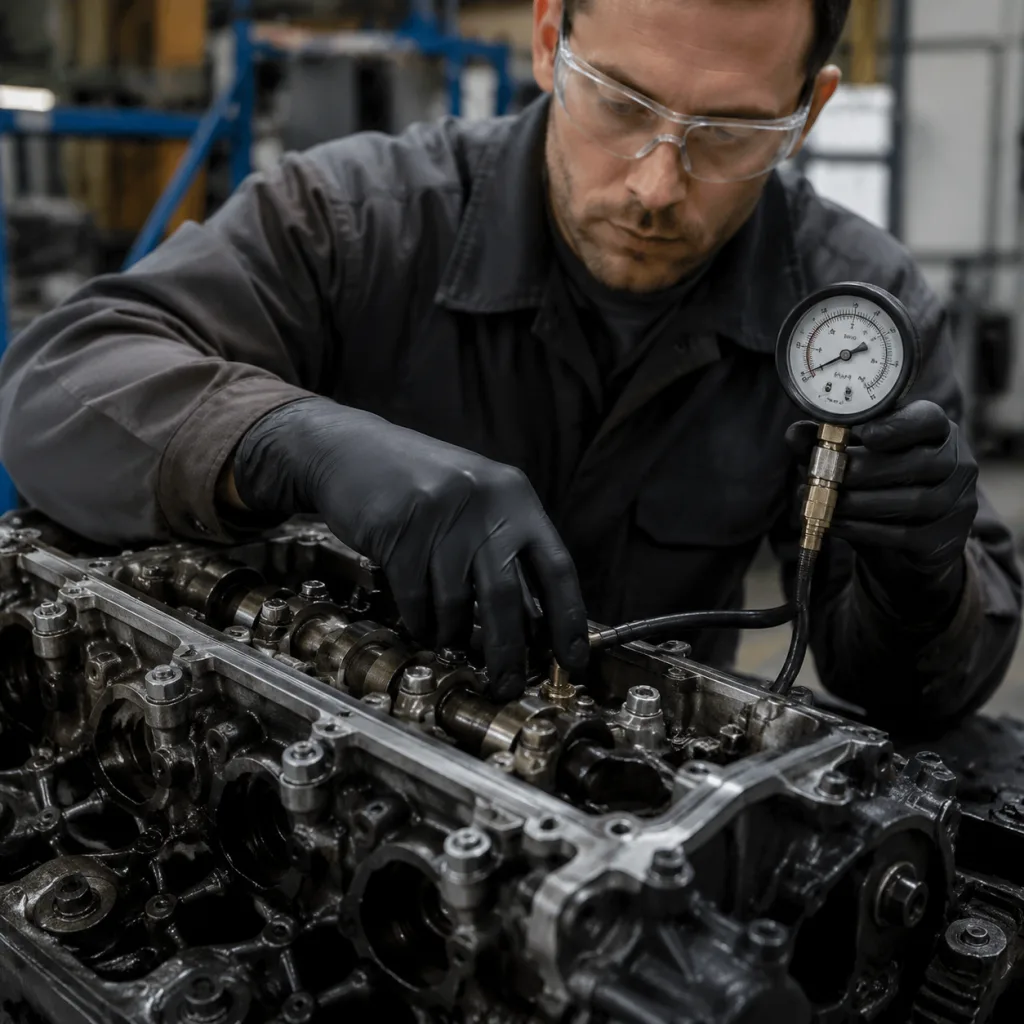
Repair cost is driven more by confirmed scope than by the warning itself. A sensor job is quick. A sump-off job is not. A full bottom-end repair can turn into a rebuild. Use the ranges below as planning bands, not fixed retail prices.
Tear down engine, measure clearances, replace bearings, inspect crankshaft
USD 120–700
10–25 h
USD 1,500–4,500
Internal damage
Major rebuild, remanufactured assembly, or complete engine replacement
USD 1,500–6,000+
12–35 h
USD 3,000–10,000+
</tr></thead><tbody> </tbody></table>Pricing usually follows the confirmed pressure pattern. Low at idle but better with rpm points toward bearing clearance or pump wear. Low at all speeds points toward pickup restriction, aeration, relief valve issues, or a more serious internal leak. Normal pressure with an active lamp points back to the sensor or wiring.
Follow this inspection sequence before you order hard parts
Start with the checks that are cheap, quick, and high-yield. Move to mechanical teardown only when the readings justify it.
1. Verify oil level on level ground after a 5–10 minute drain-back period, using the correct dipstick and fill quantity. 2. Confirm the oil grade and specification match the engine requirement, such as 0W-20, 5W-30, 5W-40, API SP, ACEA C3, or the maker-specific approval. 3. Check service history, mileage since the last oil change, oil condition, and filter brand or part number. 4. Replace the oil filter if history is unknown, the bypass valve rating is wrong, or restriction is suspected. 5. Test actual oil pressure with a calibrated mechanical gauge at the specified port; use a gauge accuracy of at least ±2 psi or ±2% full scale. 6. Compare cold idle, hot idle, and raised-rpm readings against the service specification after oil reaches roughly 80–100°C. 7. Inspect the sensor connector, wiring, terminals, pull strength, insulation damage, and ground path if the warning is intermittent. 8. Check for external leaks, sump dents near the pickup, incorrect sealant use, foaming, overfill, or oil aeration. 9. Cut open the removed filter and inspect for sludge, sealant fragments, bronze/copper bearing material, ferrous particles, or plastic timing guide debris. 10. Measure bearing condition, crankshaft journals, and oil pump clearances if pressure remains low at operating temperature.
What to record
Cold start, hot idle, and 2,000 rpm oil pressure readings in psi or bar
Oil temperature during testing, preferably measured by scan tool or sump probe
Oil viscosity, specification, batch if available, and brand used during testing
Mileage since last service, total vehicle mileage, and known repair history
Filter part number, bypass rating where known, and condition after removal
Debris type, sludge level, sealant fragments, or metal found in the sump or filter
Engine code, production year, VIN range where allowed, and relevant OE reference numbers
That record set makes the next order cleaner. It helps the supplier know whether the job needs only a sensor, a pump kit, sealing parts, bearings, or a full rebuild package.
What gets replaced depends on where the pressure loss is proven
Replacement scope should follow the failed system, not the symptom. In practice, the first wave of parts is often small. If the engine is opened, the order usually expands fast.
Common replacement items include:
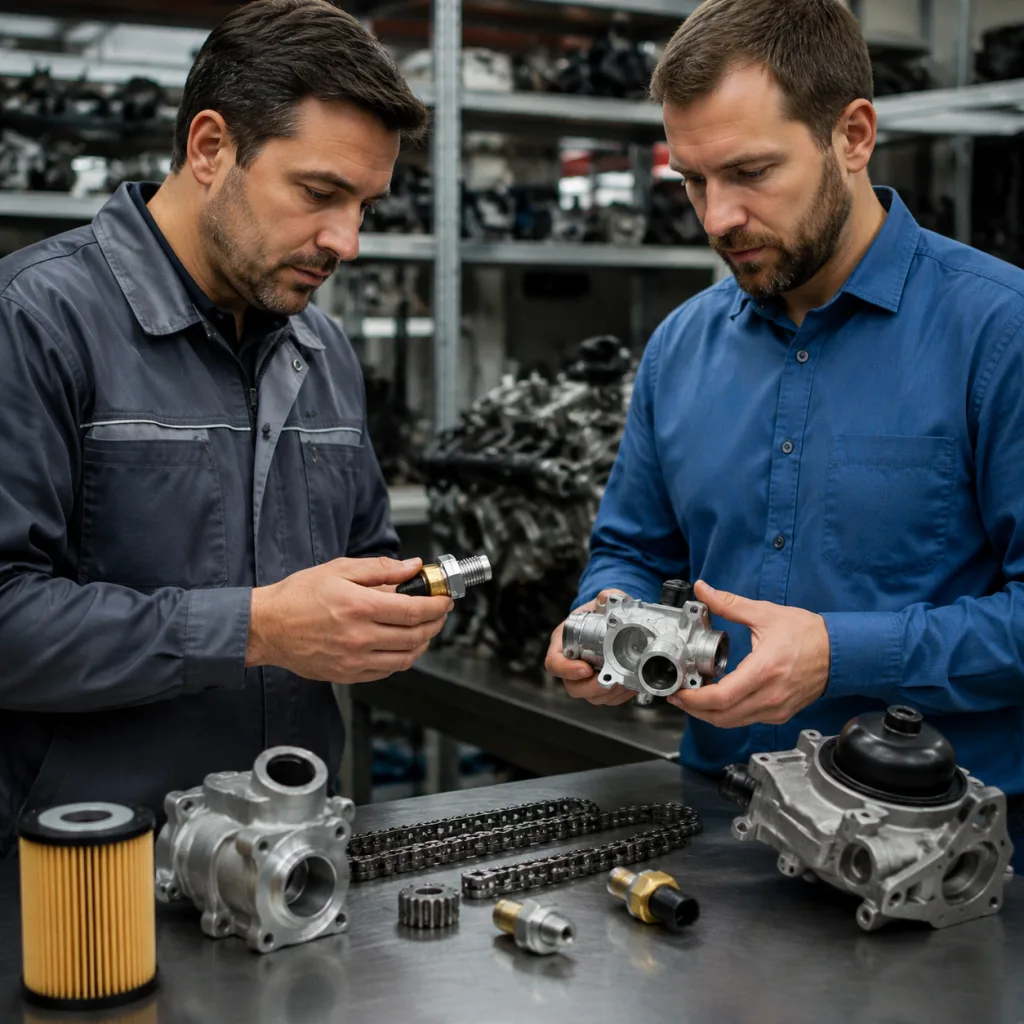
Oil pressure switch or sensor matched by thread, connector keying, pressure range, sealing washer, and switch point
Engine oil and filter that meet the required viscosity, specification, bypass pressure, anti-drainback layout, and flow capacity
Sump gasket, timing cover gasket, anaerobic sealant, RTV bead specification, or approved formed-in-place gasket system
Pickup tube, pickup screen, O-rings, support brackets, fasteners, and related seals
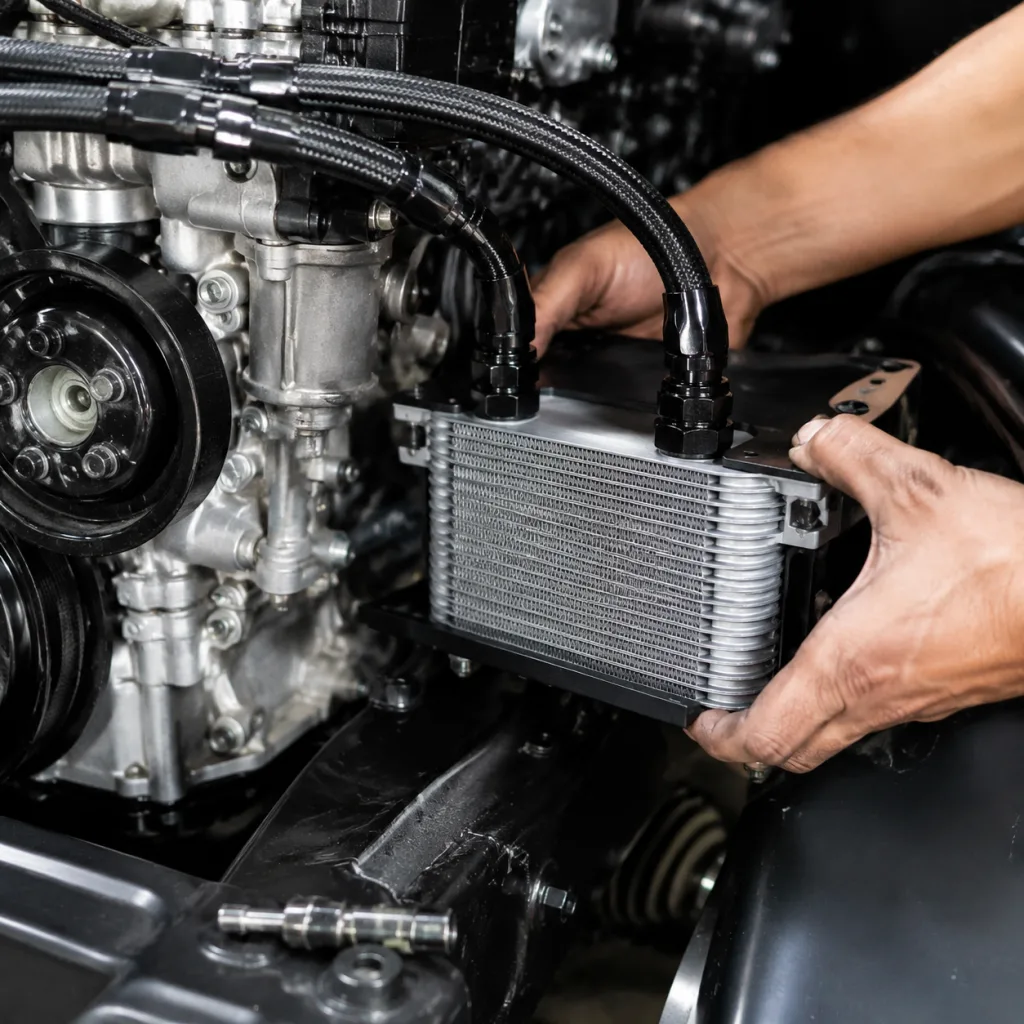
Oil cooler seals, filter housing gaskets, gallery plugs, or balance-shaft-module seals where leakage affects pressure
Main bearings and rod bearings, selected by standard, 0.25 mm, 0.50 mm, or maker-specific color/grade code during rebuild work
Thrust washers, crankshaft components, crank seals, or complete lower-end repair parts when wear is confirmed
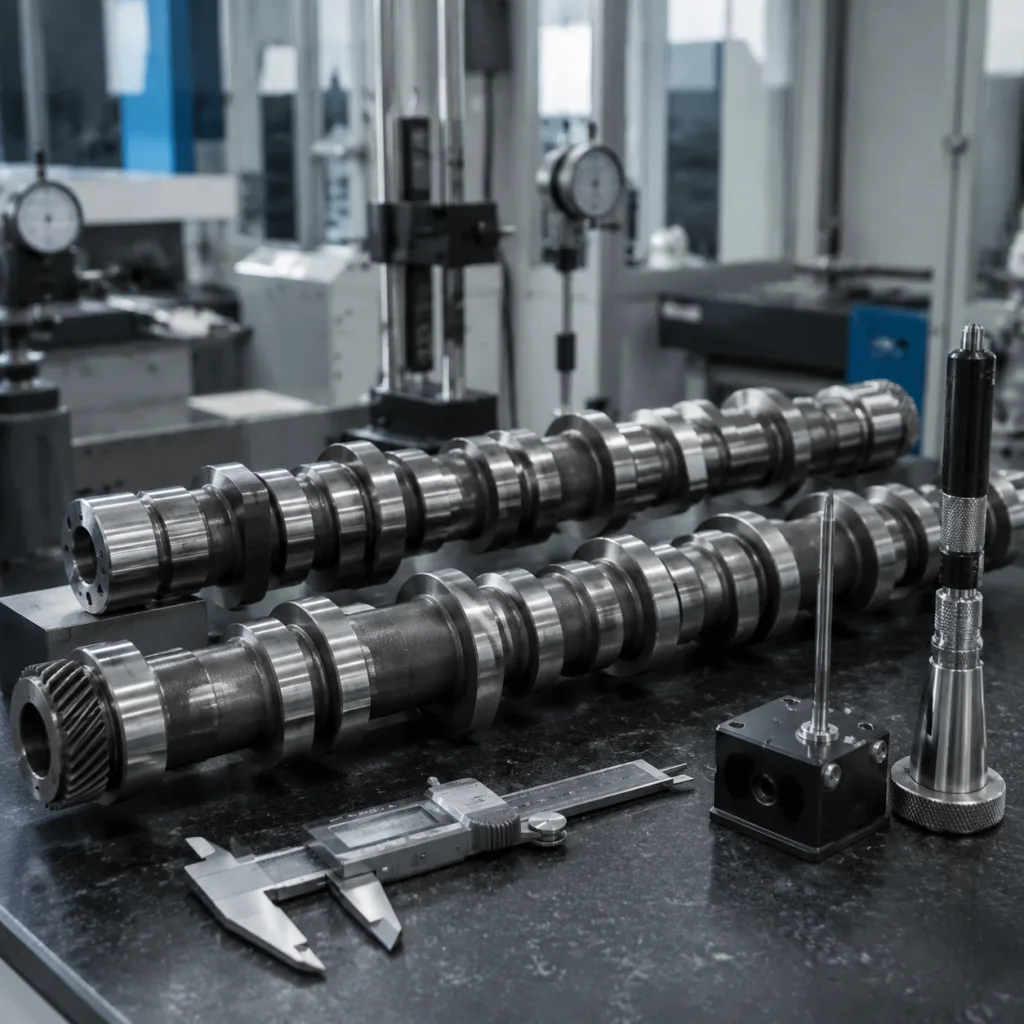
A sensor-and-filter order may be enough for a false warning or a dirty service history. A sump-off repair usually needs the pickup seals, sump gasket, drain plug washer, and correct sealant in the same box. Rebuild work is different again: bearing size, journal diameter, housing bore, oil clearance, and engine code must be confirmed before ordering. Typical bearing oil clearances are often measured in the 0.025–0.075 mm range depending on engine design.
If the issue points to broader engine wear, it may be more efficient to source a matched set of internal engine parts from our catalog or discuss dimensional requirements through custom manufacturing. For related product families, see engine components.
The spec details and fitment checks that prevent costly mismatches
This is where many orders fail: the part looks right, but the thread, sealing face, or calibration is wrong. Procurement teams should verify technical compliance, dimensional control, and traceability before placing volume orders.
Relevant references include:
IATF 16949:2016 for automotive quality management systems in the supply chain
ISO 9001:2015 for documented process control and continual improvement
REACH (EC) No 1907/2006 for chemical compliance in the European Union
SAE J2527 for durability-oriented test practice where applicable to components and validation plans
PPAP-style documentation, control plans, IMDS material data, and batch traceability where required by the buyer
Fitment checks should include OE cross-reference confirmation, engine code, production date range, thread size, connector type, sealing method, gasket thickness, housing depth, pickup tube geometry, pump drive style, relief valve calibration, and fastener pattern. For pressure switches, confirm M10x1.0, M12x1.5, 1/8 NPT, or other thread form before ordering. For pumps and pickups, verify rotor width, pickup depth, screen angle, mounting hole center distance, and relief valve arrangement. A 1–2 mm difference in pickup height or gasket stack-up can affect oil supply during braking, cornering, or low-level operation.
If a listing references OE 06A107065 or a similar OE 06A… format, the buyer should still confirm engine code, revision level, application year, supersession history, and whether the part is pump-only, pump-with-pickup, or kit-with-seals. For quality documentation, review our quality system.
How workshops and distributors should buy for this job
For diagnostic repair work, the best purchase is the smallest one that fully solves the confirmed fault. That sounds obvious, but it prevents comebacks. It also cuts dead stock.
A practical buyer checklist:
Match the exact OE cross-reference, engine code, production range, and revision where available
Confirm gasket, O-ring, sealant, torque, oil, and chemical compatibility
Verify thread size, connector shape, switch point, sensor range, installation depth, and sealing face
Request inspection or test data for pressure-related parts, such as leakage, relief valve function, and dimensional reports
Check pack labels, batch identification, carton quantity, barcode format, and traceability records
Ask whether the supplier supports private label, kitting, mixed-SKU orders, and application-specific inserts
Confirm minimum order quantity, price breaks, lead time, repeat supply, and safety stock for service demand
Align packaging requirements for workshop use, distributor resale, e-commerce shipping, or export shipment
MOQ and lead-time logic should reflect the part category. Small sensors and sealing kits may support lower MOQs, commonly 100–500 pieces per SKU, because tooling and packing costs are modest. Machined oil pumps, pickup assemblies, and bearing kits usually require higher planning quantities, often 200–1,000 pieces per SKU, especially when private-label cartons, barcodes, or mixed applications are requested. Sample orders may ship in 7–15 days when stock exists; production orders often require 30–60 days, and new tooling, validation, or packaging artwork can extend the schedule to 60–90 days.
Workshops should avoid buying isolated parts when the job naturally requires a kit, such as an oil pump with seals, pickup O-rings, sump gasket materials, drain plug washer, and fasteners. Distributors should focus on coverage accuracy, stable part-number mapping, defect rate targets, packaging consistency, and reorder forecasting so repeat orders remain predictable.
If you need volume supply, mixed-SKU support, or application-specific packaging, use request a quote to align part numbers, quantities, documentation, and delivery requirements.
Frequently asked questions
Yes. A faulty sensor, damaged connector, poor terminal contact, wrong switch point, or wiring issue can trigger a warning without true pressure loss. Always confirm actual pressure with a calibrated mechanical gauge before replacing major engine parts.
No. If actual oil pressure is low, continued operation can damage bearings, camshafts, timing components, turbocharger feed points, and the oil pump within minutes. Shut the engine down, record the measured pressure, and inspect it before restart.
Ask for the OE cross-reference, engine code, measured hot-idle and 2,000 rpm pressure readings, oil specification used during testing, gasket or seal dimensions, thread and connector details, MOQ, lead time, and any available test or traceability records. That reduces mismatch risk, repeat labour, and returns.
If you are sourcing sensors, pumps, gaskets, pickup seals, or engine rebuild parts, contact Driventus for application support, MOQ, lead-time, and quotation details at /contact.html.