How to Diagnose Engine Ticking Noise: A Practical Guide
Engine ticking noise usually starts as a light, regular sound that changes with engine speed. For procurement teams, fleet repair planners, and workshop buyers, the useful question is not whether the noise is loud, but whether it points to valvetrain wear, exhaust leakage, lubrication issues, injector operation, or a rotating assembly problem. A structured diagnosis reduces unnecessary parts replacement and helps match the failed component to the right OE-equivalent part family. This matters when sourcing gaskets, lifters, timing components, water pumps, or related engine parts for repeat repairs. Driventus is an independent aftermarket manufacturer; brand names are referenced for fitment only. The steps below focus on symptom pattern, inspection sequence, and replacement criteria, with reference to published standards such as IATF 16949:2016, ISO 9001:2015, and REACH (EC) No 1907/2006 where material compliance is relevant.
Decision Tree: What the Tick Is Telling You
Start with the sound pattern
Not every tick means the same thing. Some engine noise is normal injector clicking, and it stays light, even, and consistent. A fault-related tick is usually sharper, louder, or tied to temperature, oil pressure, or load.
Sort it before you touch parts
Use three buckets: normal injector noise, external leak or contact noise, and internal mechanical noise. That first split keeps you from ordering the wrong kit. It also tells you whether the first quote should cover gaskets and fasteners, oiling components, or a deeper repair set.
What matters most
Cold-start duration, hot-idle behavior, and whether the noise tracks engine speed more closely than vehicle speed are the fastest clues. If the tick appears within 5-30 seconds after start, think oil drain-back, lifter bleed-down, or delayed oil delivery. If it is loudest at the exhaust flange, start outside the engine.
Step-by-Step Check Sequence
1) Confirm operating conditions
Check oil level on level ground after a 5-minute shutdown. Note whether the noise changes at idle, during a light snap throttle, or only under load. That pattern often decides the next step before any disassembly.
2) Rule out lubrication problems
If live data is available, confirm hot-idle oil pressure against the OEM minimum. A reading below spec raises the probability of lifter, cam, or bearing wear. Also verify oil viscosity, because the wrong grade can make a healthy engine sound noisy.
3) Localize the source
Use a mechanic’s stethoscope or a hose to narrow the sound to a small area. Top-end noise points toward valvetrain or timing components. Noise near the exhaust side usually deserves a gasket and flange inspection first.
4) Scan before removing covers
Pull DTCs for misfire, cam/crank correlation, and oil-related faults. A scan result can save time and prevent unnecessary teardown.
5) Inspect the likely failure zone
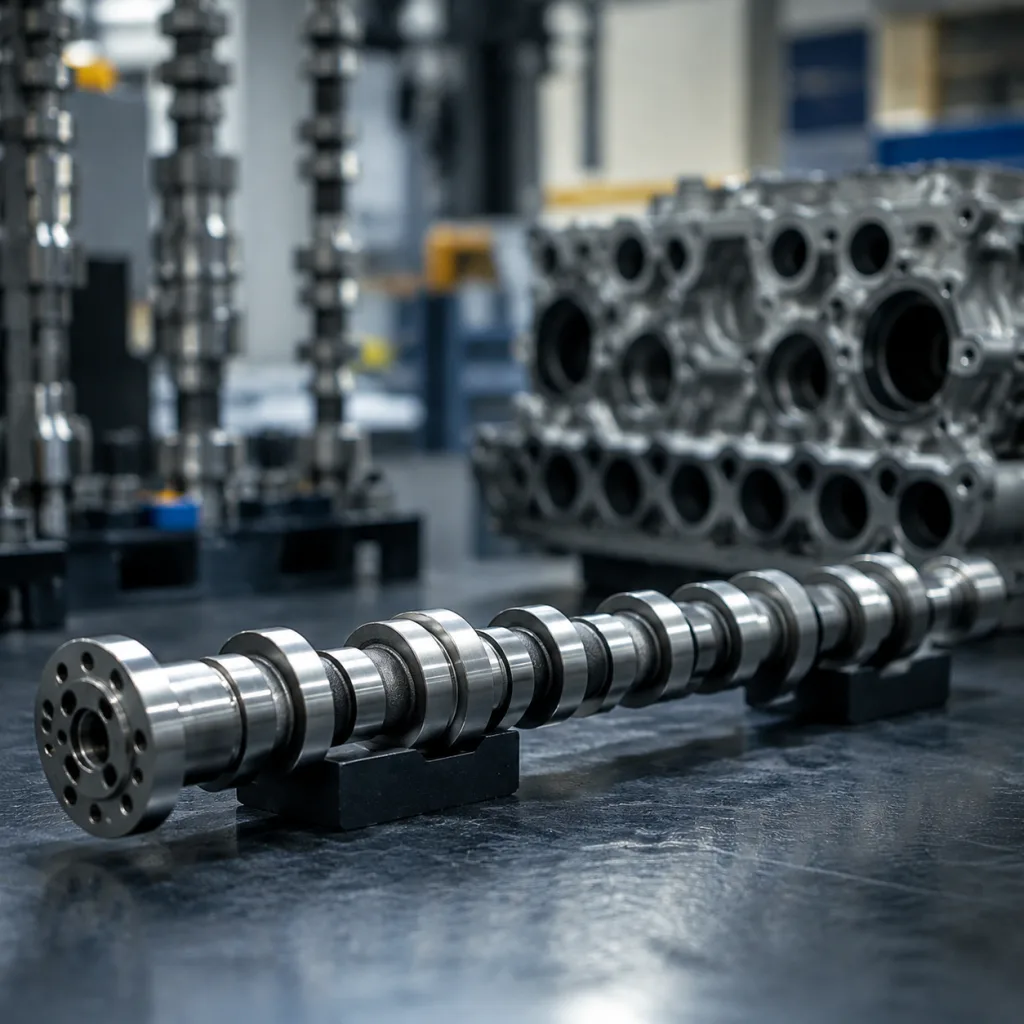
If the tick stays at the top end, check rocker lash, lifter collapse, and cam lobe wear. If it is coming from the exhaust side, inspect manifold bolts, gasket edges, and flange flatness. A change in lash beyond OEM spec is often the first measurable clue.
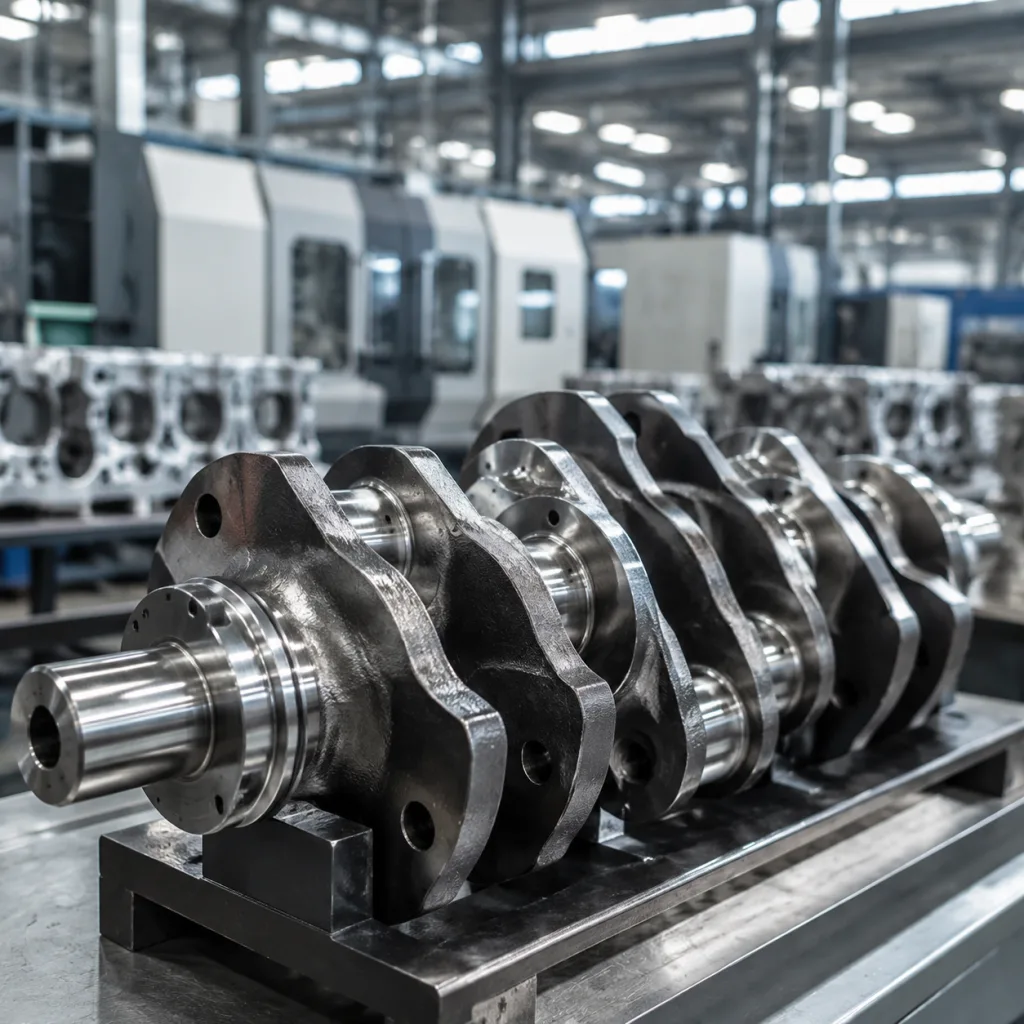
Failure Modes: Common Causes and Replacement Logic
A ticking engine usually falls into one of a few repeatable failure modes. The right replacement depends on which one you identify.
- Exhaust manifold leak: replace the manifold gasket, distorted hardware, and corroded studs; check flange flatness before reassembly.
- Hydraulic lifter or rocker wear: replace the affected set where the design requires matched wear, and verify clean oil supply before restart.
- Low oil pressure or delayed fill: replace the oil filter, inspect the pickup screen, and confirm pump clearances.
- Timing chain tensioner noise: replace the tensioner, guides, and any chain that has exceeded the service limit.
- Accessory bearing noise: replace the alternator, idler, or tensioner pulley if roughness or radial play is present.
Replacement scope matters
If the fault is wear-related, do not quote only the loudest component. Pair the part with seals, gaskets, fasteners, and any one-time-use hardware. That cuts comeback risk and keeps the repair coherent.
Spec Deep-Dive: Tolerances Buyers Should Verify
Fitment data to request
Ask for the engine code, OE part number, gasket thickness, hole pattern, bolt grade, and sealing material. If the part is rubber or composite, confirm the temperature range and the elastomer type before approval.
Tolerance checks that matter
For many aftermarket parts, a practical incoming inspection starts with dimensional confirmation against the drawing or OE sample. Critical gasket profile dimensions often sit around ±0.2 mm unless the OE print is tighter. For exhaust sealing, flange warpage above roughly 0.20 mm across the face is usually enough to create a tick under load.
Why the spec detail pays off
Buying on description alone is how fitment errors happen. Buyers get better results when they match the fault to the correct material, sealing profile, and thermal range instead of only matching the vehicle model.
Scenario: When the Noise Is Worse Cold or Under Load
A cold-start tick that fades as the engine warms often points to oil drain-back, lifter bleed-down, or a small exhaust leak that closes up with heat. A tick that gets louder under load can point to a manifold leak, accessory bearing, or a deeper mechanical issue.
If the sound changes with engine speed but not road speed, it is probably engine-related. If it appears only in gear, at one road speed, or near a certain body load, check mounts, heat shields, and underbody contact points before ordering internal engine parts.
If the tick becomes a knock, grows quickly, or comes with metal in the oil filter, stop treating it as a minor noise. That is the point where the repair set usually expands beyond the visibly failed part.
When a Tick Means Stop the Engine
Some symptoms move the diagnosis out of the routine lane.
- Repeated misfire after ignition and fuel checks
- Low compression or a large cylinder-to-cylinder spread
- Metal debris in the drain pan, filter pleats, or sump screen
- Cam timing deviation beyond the learned adaptation range
- A tick that turns into a dull knock above 2,000 rpm
Escalation rule
If the fault includes bore damage, bearing noise, or timing slip, quote the matched repair set instead of a single component. Include seals, gaskets, fasteners, and any torque-to-yield hardware. That reduces partial repairs and improves warranty control.
Sourcing After Diagnosis
Once the failure mode is clear, sourcing becomes simpler and more defensible.
What to ask suppliers for
- OE cross-reference and engine code match
- Drawing or dimensional data for sealing surfaces and thickness
- Material declaration for rubber, metal, or composite parts
- Lot traceability and date code format
- Packaging standard and carton quantity
Buying logic that helps fleets
Price should be judged as installed cost, not unit cost alone. A cheaper part with a higher comeback rate is often more expensive in service. For recurring engine families, stable availability and consistent batch control usually matter more than a one-time discount.
Compliance and traceability
For repeat supply, compare suppliers on PPAP discipline, batch traceability, and material control. Driventus operates under IATF 16949:2016 and ISO 9001:2015 processes, and material compliance can be aligned with REACH (EC) No 1907/2006 where applicable.
Frequently asked questions
No. Some ticking is normal injector noise. It becomes a fault when it is louder than expected, changes with temperature or load, appears with misfire or low oil pressure, or is accompanied by metal debris. A useful rule is that normal injector ticking stays consistent and light, while fault-related ticking tends to sharpen, deepen, or change with operating conditions.
Yes. An exhaust manifold gasket leak is a common cause of sharp ticking, especially at cold start. Check for soot, loose fasteners, and flange distortion before opening the valvetrain. If flange flatness is outside the OEM limit or a feeler gauge shows a gap above about 0.10 mm at the leak point, replacement is usually justified.
Confirm engine code, OE cross-reference, critical dimensions, seal material, and batch traceability. For repeat supply, request documentation under IATF 16949:2016 or ISO 9001:2015-controlled processes. It also helps to confirm MOQ, quoted Incoterms, and lead time so the purchase order matches the repair window.
If you need OE-matched engine parts after diagnosis, send the engine code and fault details to [request a quote](/contact.html).
Request a Quote