High Oil Consumption Oil Filter Housing: Causes and Checks
High oil consumption is not always caused by worn piston rings or valve stem seals. On many engines, the oil filter housing is a practical inspection point because it combines sealing surfaces, coolant passages on some designs, and pressure-control features that can create leaks or internal bypass faults. If the housing is cracked, warped, fitted with the wrong gasket, or assembled with a degraded oil cooler seal, oil loss can resemble engine wear even when the source is external. Driventus is an independent aftermarket manufacturer; brand names are referenced for fitment only. For procurement teams and repair networks, the priority is to verify the failure mode before replacing the assembly. That means checking the symptom pattern, mating surfaces, thread condition, thermal distortion, and OE cross-reference fitment such as OE 06A107065 where applicable. We support B2B buyers with documented production control under IATF 16949:2016 and ISO 9001:2015, and we publish fitment and validation data so sourcing decisions are based on measurable requirements rather than assumptions.
Is the housing the fault, or just the symptom?
High oil consumption oil filter housing complaints often sit in the middle of a diagnostic fork: the housing may be the source, or it may simply expose a broader sealing or pressure problem.
A housing-related loss usually shows one of three patterns:
- External seepage: oil appears at the cap, cooler face, drain-back path, or block interface.
- Pressure distress: a restricted passage or failed bypass can push oil past marginal seals.
- Misread consumption: oil trails on the engine are mistaken for internal burn-off.
The fastest way to avoid a bad call is to separate consumption from leakage. If the oil level drops but the exhaust stays clean, the evidence usually points away from rings and toward a housing, gasket, or cooler interface.
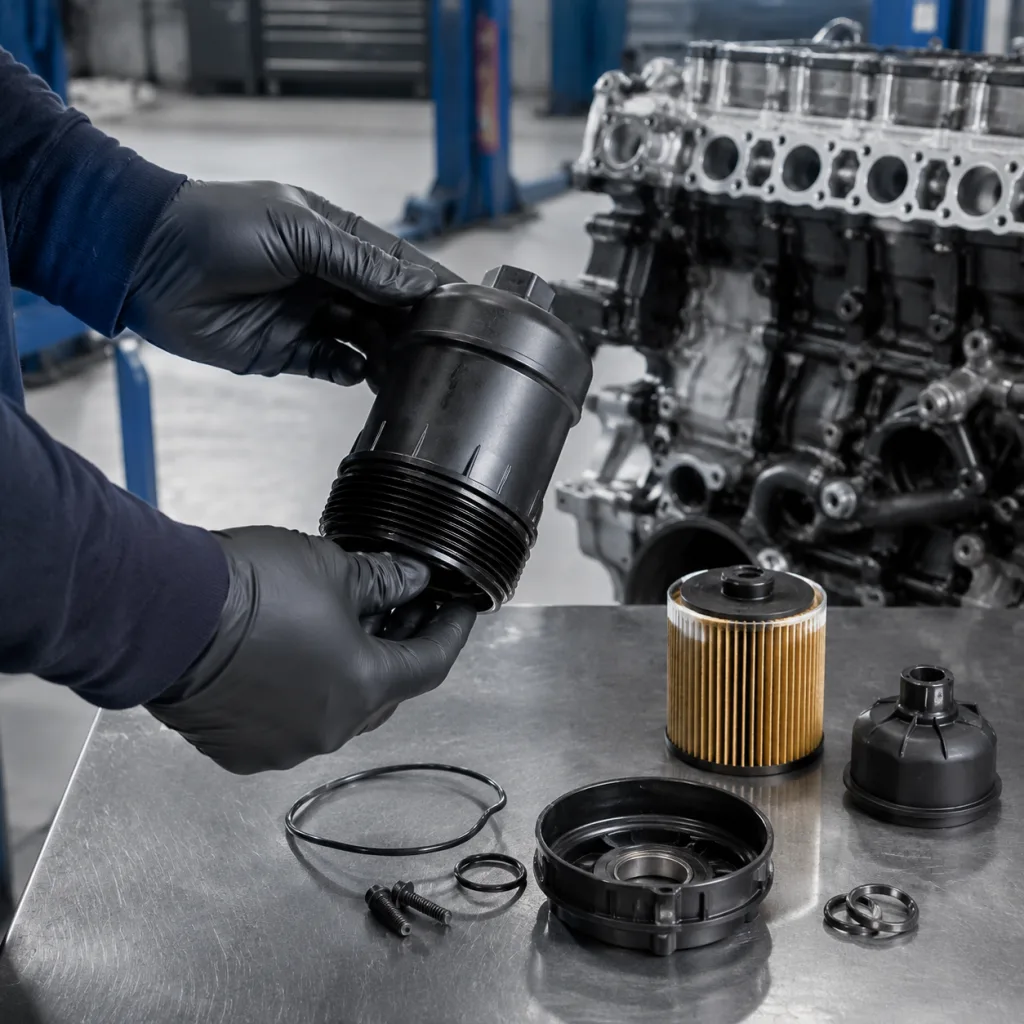
Common failure triggers include reused O-rings, over-tightened caps, impact damage, heat-cycle shrinkage, and plastic housings that warp after repeated thermal load. In fleets, the same vehicle can be topped up for months before the real leak path is found.
Before approving replacement, look for a repeatable pattern: wetness concentrated around one edge of the housing, oil pooled after parking, seepage that returns after a few hot cycles, or visible cracking when the unit is removed and flexed. If the evidence is scattered across the engine bay, the housing may not be the only problem.
How to inspect it without guessing
Use a fixed sequence. Skipping steps leads to unnecessary part swaps.
1. Clean the assembly and run the engine to operating temperature. 2. Inspect the housing perimeter, cap, cooler joints, and drain lines with a torch, mirror, or UV dye. 3. Check for oil trapped in recessed areas; slow leaks often pool before they spread. 4. Verify fastener torque against the service data for that exact engine. 5. Remove the housing only after confirming the leak path.
What matters most
- Flatness of the mounting face
- O-ring groove depth and surface finish
- Thread condition on the cap and sensor ports
- Crack growth around bosses and hose necks
- Seal compression after reassembly
If the housing includes an oil cooler, inspect the coolant side too. Cross-contamination can begin as a minor interface leak and become obvious only later.
Measurable checks
Buyers and technicians should ask for numbers rather than vague descriptions:
- Mounting-face flatness: keep within the OE drawing tolerance; for machined aluminium parts, a practical target is often 0.05-0.10 mm across the sealing land.
- Cap threads: aim for at least 80% clean thread engagement with no galling or cross-thread marks.
- O-ring squeeze: typically 15-30% compression, depending on groove design and material.
- Torque: use the platform-specific service value; some serviceable plastic caps sit in the 20-30 N·m range, but the engine spec controls.
- Leak check: no visible weeping after hot idle and cooldown inspection.
A pass/fail photo log with flatness, torque, and groove condition helps separate genuine housing defects from installation errors.
When should the housing be replaced?
Replacement is justified when the part no longer meets fit, seal, or structural requirements.
| Check point | Acceptable condition | Replace when |
|---|---|---|
| Mounting face | No visible distortion | Warpage or gouging is present |
| Plastic body | No cracks, whitening, or heat damage | Hairline cracks or embrittlement appear |
| Seal grooves | Smooth and continuous | Nicks, compression set, or ovality exist |
| Threads and ports | Full engagement, no cross-threading | Stripped or distorted threads are found |
| Oil cooler interface | Dry and uniform contact | Coolant or oil cross-leakage is present |