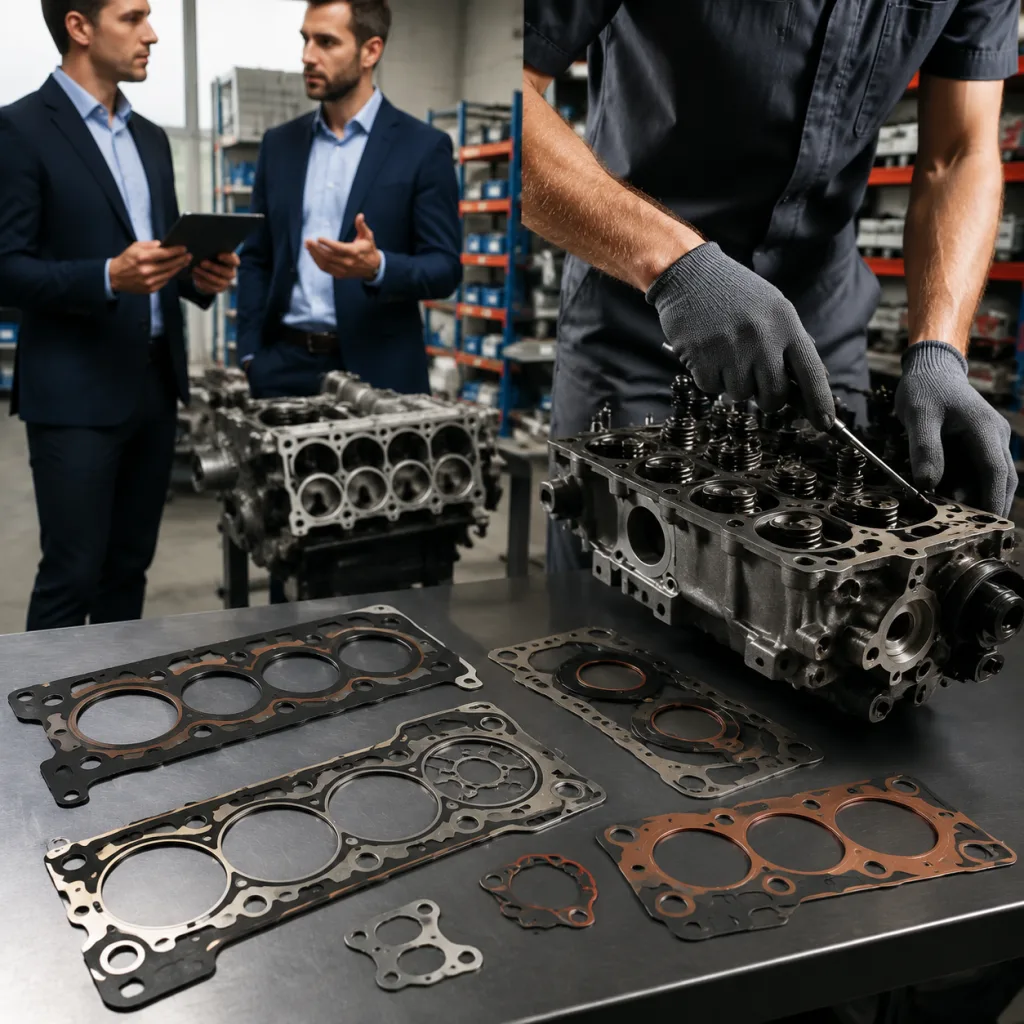
A head gasket leak is rarely just a gasket story. It can start with one severe overheat, a rough deck surface, stretched bolts, detonation, coolant contamination, liner-height error, or the wrong thickness grade for the engine. By the time the part reaches a warranty desk, the evidence is often blurred by coolant loss, secondary overheating, oil contamination, and workshop rework.
For procurement teams, the commercial question is sharper: which failures justify supplier action, which point to installation or engine-condition problems, and which require a change in application data, kit contents, packaging, or workshop process? This article reviews head gasket leak causes and fixes from that sourcing angle. It links symptoms to leak paths, turns common failure modes into measurable checks, and shows what buyers should request before approving repeat orders or accepting field claims.
Driventus is an independent aftermarket manufacturer; brand names are referenced for fitment only.
Start with the leak path, not the complaint
A head gasket seals three circuits at the joint between the cylinder head and engine block: combustion gas, coolant, and engine oil. Once the seal path fails, the symptom depends on which circuits connect. “Uses coolant” is not enough. A buyer or technical manager needs the leak path, the test result, and the repair context.
In workshop screening, numbers beat customer descriptions. Escalate the case before approving replacement if the cooling system drops 15–30 kPa within 10 minutes, the reservoir pressurises from cold within 1–2 minutes, or one cylinder shows 15–25% lower compression than adjacent cylinders.
Symptom
Likely leak path
What it means for procurement
Combustion gas in coolant
Cylinder to water jacket
Possible fire-ring overload, liner protrusion error, detonation, or clamp-load loss. Record CO₂ block-test colour change or exhaust gas ppm in coolant.
Coolant loss with no external leak
Coolant passage to combustion chamber
Often confused with a pump, radiator, hose, or heater-core fault. Record litres topped up per 1,000 km or per operating week.
White exhaust smoke after warm-up
Coolant entering cylinder
Can damage oxygen sensors, EGR, DPF, or catalyst. Check the affected cylinder with a borescope after overnight soak.
Oil in coolant or coolant in oil
Oil and coolant gallery cross-leak
Requires bearing, lubrication, and cooling-system checks. Oil with more than trace water or glycol should trigger filter cut-open review.
Repeated overheating
Gas entering cooling system or coolant loss
Often the result, not the initiating cause. Record thermostat opening temperature and fan cut-in/cut-out data.
External seepage at block-head joint
Coolant or oil edge seal failure
May relate to surface finish, coating, torque process, or head/block distortion. Photograph leak position by cylinder and edge.
Hard starting after coolant loss
Coolant entering one or more cylinders
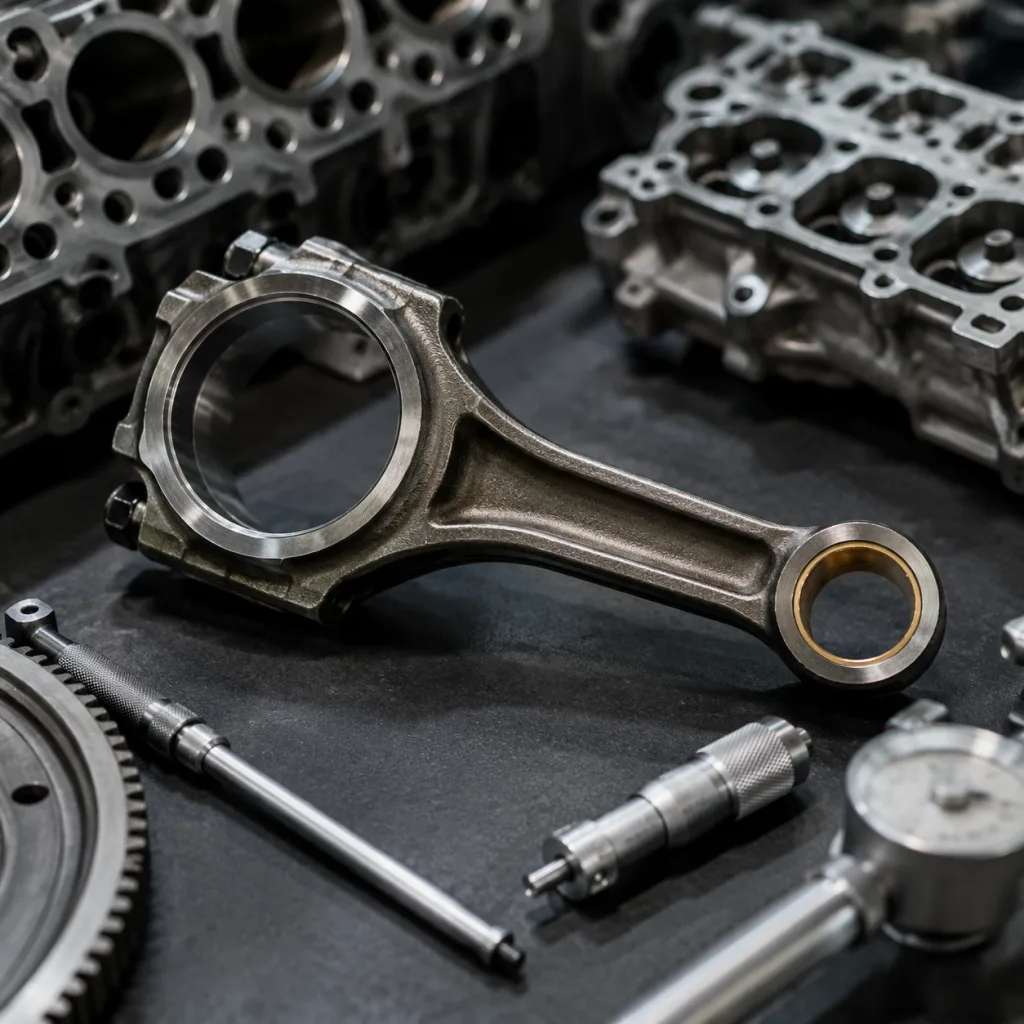
Raises hydro-lock risk and possible connecting-rod or bearing damage. Remove plugs/injectors before cranking if coolant entry is suspected.
</tr></thead><tbody> </tbody></table>Repair chains should code symptoms consistently. A practical set is: C1 combustion-to-coolant, C2 coolant-to-cylinder, C3 oil/coolant cross-leak, C4 external seepage, C5 repeat overheat after repair, and C6 installation damage.
That coding matters. A 0.3% claim rate on one engine family and a 2.0% rate on another are not the same business problem. With consistent codes, buyers can see whether failures cluster by engine, workshop, batch, vehicle duty cycle, or catalogue application.
Failure-mode map: seven causes buyers should separate
Most head gasket failures fall into a few technical categories. Keep them separate during warranty review. If every return is labelled “gasket failed,” the purchasing team loses the difference between a product nonconformity, a damaged engine, and a bad installation process.
Overheating. Excess temperature can soften aluminium heads, relax bolt load, distort the head or block, and damage elastomer or fluoroelastomer coatings. Upstream causes include blocked radiators, failed thermostats, air pockets after coolant service, restricted heater cores, weak water pumps, wrong cap pressure, and fan faults. Many aluminium heads are permanently distorted after severe operation around 115–125°C coolant temperature, especially if the driver continues under load. Ask repair networks to record maximum observed coolant temperature, cap rating, and whether the radiator shows a 10–20°C inlet-to-outlet temperature drop during controlled warm running.
Incorrect surface finish. MLS gaskets usually need a smoother and more controlled finish than older composite designs. Typical MLS targets are often around Ra 0.4–1.2 µm with low waviness, although the engine/gasket specification is decisive. Too much roughness cuts or abrades the coating. Too much waviness prevents uniform sealing. A deck can look clean and still fail early because of chatter marks, sanding grooves, or pitting near coolant holes.
Loss of clamp load. Reused torque-to-yield bolts, stretched fasteners, dirty threads, wrong lubrication, missing washers, incorrect torque-angle steps, or contaminated blind holes reduce sealing pressure. Fluid trapped in a blind hole can cause hydraulic lock and a false torque reading. Compare removed bolt free length against the service limit; even 0.5–1.0 mm permanent stretch on a critical bolt can affect load distribution.
Detonation or abnormal combustion. Pre-ignition, knock, poor fuel, injector faults, incorrect calibration, or excessive boost can overload the fire ring or stopper area. The common signature is local gas cutting between the bore and a nearby coolant passage. On turbocharged engines, unexplained repeat burn-through should trigger scan-tool data, injector balance checks, boost-control checks, and confirmation of the correct fuel grade.
Liner protrusion or block distortion. On wet-liner and some heavy-duty engines, uneven liner height creates uneven gasket compression. Low protrusion reduces fire-ring load; excessive protrusion concentrates stress. Common diesel targets are roughly 0.03–0.15 mm protrusion, with cylinder-to-cylinder variation often controlled within 0.02–0.03 mm. The engine specification always wins. Claims without liner measurements are weak evidence for product defect.
Material or specification mismatch. Wrong thickness, bore diameter, coolant-hole layout, coating chemistry, stopper design, or oil/coolant compatibility can shorten service life. The part may install cleanly and fail only after thermal cycling. Examples include selecting the wrong 1-notch/2-notch/3-notch diesel gasket for piston protrusion, using an MLS gasket on a surface prepared for composite, or fitting an early coolant-hole pattern to a later casting.
Coolant and corrosion issues. Wrong antifreeze concentration, mixed coolant chemistries, hard water, delayed coolant service, and chemical sealer residue can corrode coolant-hole areas or attack coatings. For many markets, a 45–55% glycol mix with deionised or low-mineral water is a useful control range unless the vehicle maker specifies otherwise. High chloride, mixed OAT/HOAT/IAT coolants, scale, and sealer deposits also reduce heat-transfer stability.
The sourcing conclusion is simple: do not treat head gasket leak causes and fixes as a brand-change exercise. The corrective action may sit in machining, cooling-system maintenance, installation procedure, calibration, catalogue data, or gasket specification. Supplier scorecards should separate suspected product nonconformity from no-fault-found, installation error, overheat-damaged engine, application mismatch, and insufficient evidence.
A pre-replacement sequence that protects the warranty file
Before a gasket is replaced, the workshop should prove three things: the leak path, the initiating condition, and whether the engine is fit to seal again. For fleets and repair chains, this can become a one-page sign-off sheet attached to every claim.
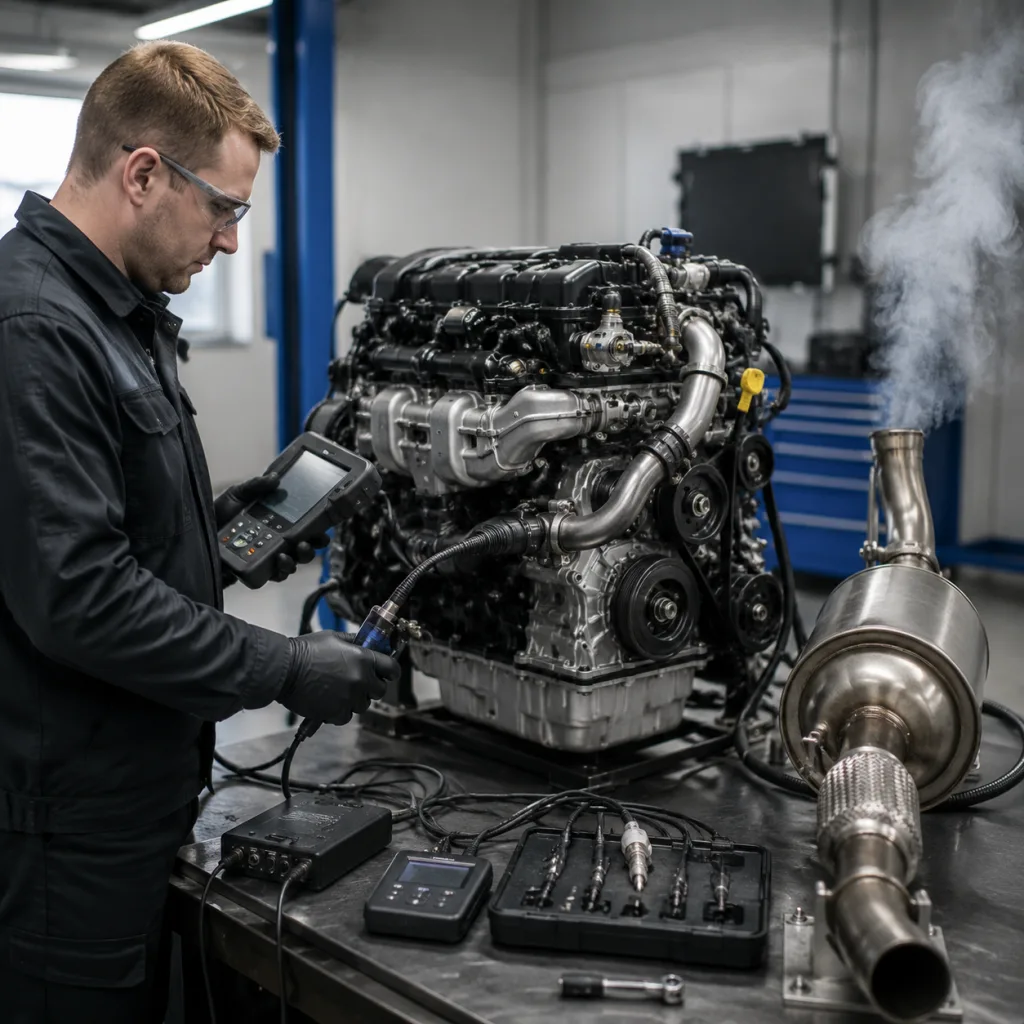
1. Confirm the symptom. Use cooling-system pressure testing, combustion-gas detection in coolant, cylinder leak-down, compression testing, borescope inspection, and exhaust observation as needed. One test may miss an intermittent thermal leak. Pressure-test to cap rating, often 90–140 kPa on many passenger vehicles, and record loss after 10 and 20 minutes. For compression, record all cylinders; variance above roughly 10–15% should trigger further diagnosis.
2. Check the cooling system. Inspect radiator flow, thermostat function, fan operation, water pump impeller condition, cap rating, hose collapse, heater-circuit restriction, and trapped air. A basic release process is cold-fill, vacuum-fill where available, bleed high points, warm to thermostat opening, confirm at least two fan cycles, then road-test or load-test until temperature stabilises.
3. Review the operating history. Overheating, low-coolant operation, towing, high-load use, wrong antifreeze concentration, previous head work, and prior sealer use affect the claim decision. If scan-tool freeze-frame data exists, retain coolant temperature, intake temperature, engine load, knock correction, misfire counters, and boost pressure.
4. Inspect oil and coolant. Look for emulsification, combustion residue, rust, scale, corrosion particles, sealant residue, and mixed coolants. If glycol contamination is suspected, keep at least 100 ml of oil and coolant in labelled containers for supplier review.
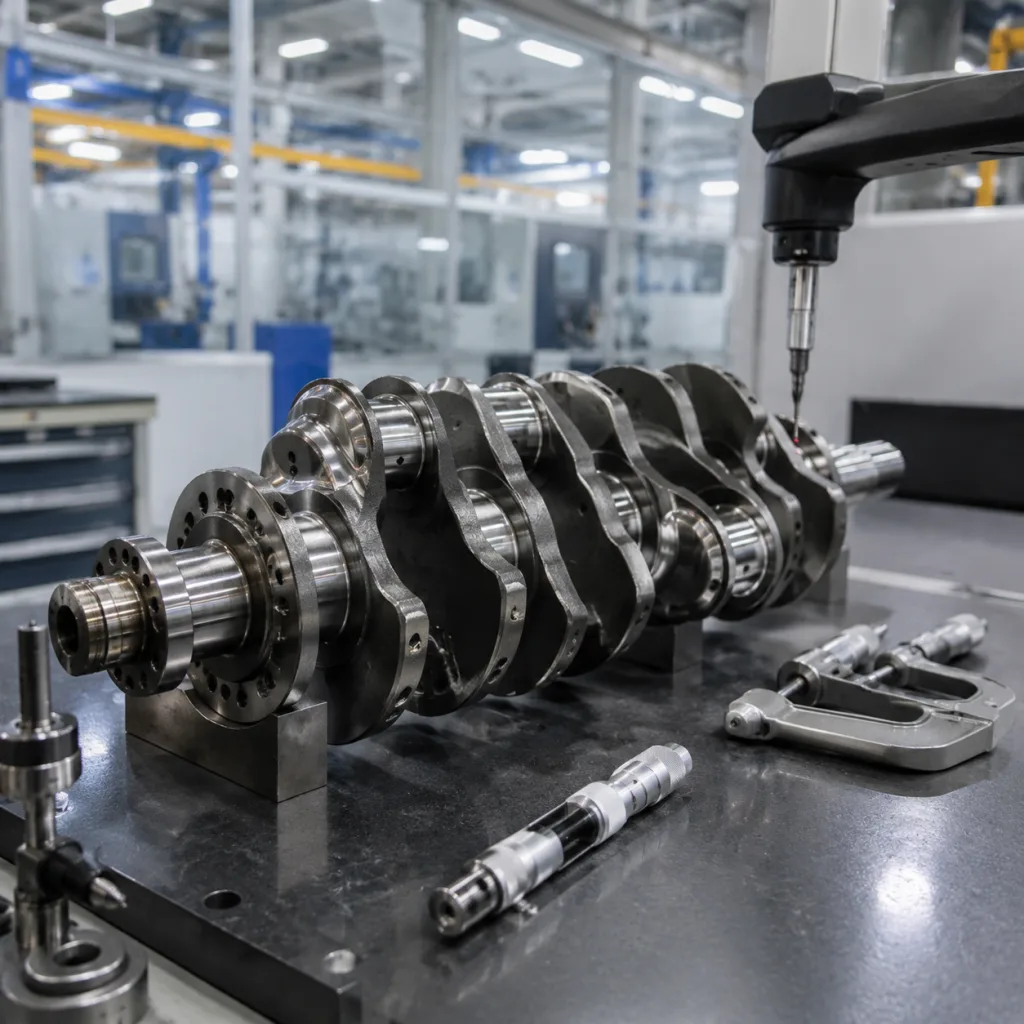
5. Measure head and block condition. Check flatness, waviness, surface roughness, cracks, erosion around fire rings, pitting near coolant holes, and indentation around dowels or bolt holes. Use calibrated tools and engine-maker limits. As a screening guide, many light-vehicle aluminium heads require flatness within about 0.03–0.05 mm over short spans and 0.05–0.10 mm overall. MLS surface finish should be checked with a profilometer, not a fingernail.
6. Examine fasteners and threads. Verify bolt length, thread stretch, washer condition, thread cleanliness, and blind-hole condition. Replace torque-to-yield fasteners where specified. Clean thread holes with the approved tool, blow them out carefully, and check for bottoming. Do not interchange lubricated and dry torque instructions.
7. Photograph the removed gasket before cleaning. Mark orientation and cylinder position. Minimum useful image set: full face A, full face B, each bore close-up, suspected leak track, head deck, block deck, bolt set, packaging label, and batch mark.
A returned gasket should ship flat between cardboard or plastic boards. Do not fold it into a box. Bending an MLS gasket after removal can destroy gas tracks, coating transfer, crushed fire-ring evidence, fretting marks, coolant staining, and oil wash patterns. That can turn a valid technical case into an inconclusive one.
The repeat-failure fix: parts kit plus controlled process
A new gasket will not rescue a warped head, corroded block, dirty threads, wrong bolt set, or trapped air in the cooling system. The durable repair is a controlled process, not a single part swap.
Workshop release controls
Match the gasket to engine code, bore size, thickness, coolant-hole layout, emissions configuration, and production-year change. For diesel thickness grades, measure piston protrusion at each cylinder and select the notch/hole grade from the service table. Do not blindly copy the removed gasket.
Clean mating faces without aggressive abrasives that embed particles, round edges, or change the required surface profile. Avoid rotary abrasive discs on aluminium decks unless the engine maker explicitly allows them.
Measure flatness, waviness, and surface roughness against repair data. A straightedge and feeler gauges are useful for screening; MLS applications with stated Ra/Rz limits need a surface roughness tester.
Pressure-test and crack-check the cylinder head when there is overheating history, coolant loss, or unexplained combustion gas in coolant. Heated water or air-pressure testing may find cracks that cold testing misses.
Use new torque-to-yield fasteners where required. Verify bolt length, pitch, washer orientation, and lubrication. If the procedure says 40 Nm + 90° + 90°, a final torque substitute is not equivalent.
Follow the required tightening sequence, torque stages, angle tightening, and any warm-up or recheck instructions. Use calibrated torque and angle tools; 6–12 month calibration intervals are common in professional workshops, depending on use.
Flush contaminated oil and coolant systems after cross-contamination. Replace filters and fluids as needed. Severe coolant-in-oil events may require a short-interval oil and filter change after run-in.
Bleed the cooling system and verify fan cycling, thermostat opening, radiator temperature drop, cap function, heater output, stable operating temperature, and residual pressure after cool-down.
Record head flatness, block flatness, roughness where measured, bolt kit used, torque/angle sequence, coolant concentration, and final pressure test.
Replacement part requirements
For aftermarket programmes, the gasket should be validated against dimensional and material requirements, including:
Bore and oil/coolant passage position consistency, with critical holes commonly controlled within ±0.10–0.25 mm depending on drawing requirement
Controlled total thickness and layer stack-up; MLS total thickness is often held within about ±0.03–0.05 mm, with stopper height controlled separately where specified
Correct stopper, embossment, or fire-ring geometry for the target combustion pressure, verified by section measurement or optical profile checks on first articles
Coating adhesion, coverage, elasticity, and heat resistance, including cross-hatch or peel checks and thermal ageing where required
Coolant and oil resistance against representative glycol, OAT/HOAT coolant, engine oil, and temperature exposure
Compatibility with aluminium head/cast-iron block combinations where differential expansion increases coating and embossment demand
Reliable identification, batch marking, and application data: engine code, thickness grade, supersession, and kit contents on labels
Packaging that prevents bending, corrosion, edge damage, and coating abrasion during export, using flat board support, desiccant for humid routes, and carton drop/stack controls
Driventus supplies engine sealing and related powertrain components through our catalog, including items for distributors and repair-chain programmes that need stable fitment coverage. As a purchasing rule, do not approve a cheaper gasket if the saving removes bolt-kit inclusion, traceability, reinforced packaging, or thickness-grade accuracy. Those items usually cost less than one repeat labour claim.
Supplier comparison: what separates a gasket source from a catalogue seller
Catalogue coverage helps only if drawings, materials, tooling, inspection, packaging, and corrective actions are controlled batch after batch. Procurement teams should evaluate head gasket suppliers on process evidence, not SKU count alone.
Relevant frameworks include IATF 16949:2016 for automotive production quality management and ISO 9001:2015 for general quality management systems. EU-market material review may also require REACH (EC) No 1907/2006 consideration.
Control item
What to verify
Why it matters
Dimensional inspection
Bore, passage, dowel, and bolt-hole positions; typical CMM/optical checks against ±0.10–0.25 mm drawing tolerances
Prevents installation and sealing mismatch
Thickness measurement
Layer stack-up, stopper height, or composite body thickness; check multiple points, not one edge
</tr></thead><tbody> </tbody></table>For a new SKU, request 5–20 first-article samples depending on complexity, with dimensional report, material certificate, coating report, and packaging photos before bulk release. For stable repeat orders, agree an AQL plan. Many aftermarket buyers use tightened inspection for launch lots and relax only after three consecutive conforming batches.
Commercial terms should reflect technical risk. Fast-moving passenger-car gasket sets may support MOQ of 100–300 sets per part number. Slow-moving heavy-duty or special-thickness applications may require 50–100 sets or tooling amortisation. New-tooling lead time is commonly 45–75 days after drawing/sample approval; repeat production is often 25–45 days, excluding freight.
Compare price as landed, claim-adjusted cost. A gasket that is USD 0.40 cheaper but creates one additional labour claim per 500 units may be more expensive than a higher-spec part with stronger coating control, packaging, and application data.
Our quality system is structured for documented inspection, traceability, and corrective action. For customers needing a gasket adapted to a specific engine family, coating requirement, thickness option, or private-label programme, Driventus can review drawings, samples, and application data through custom manufacturing.
Warranty Q-and-A: what evidence should decide the claim?
Good field data turns a disputed return into an engineering review. For importers, distributors, and repair chains, the claim template should separate mandatory evidence from useful optional data. If mandatory evidence is missing, the claim should remain pending rather than be accepted or rejected on opinion.
What application data is required? Vehicle application, engine code, fuel type, power rating, model year, and market.
How should service life be recorded? Installation date, removal date, mileage or operating hours, and whether the failure occurred at 0–500 km, 500–5,000 km, or after longer service.
What part traceability is needed? Part number, batch number, packaging label, and purchase channel.
What cooling-system evidence matters? Coolant type, concentration, water quality if known, service history, and refractometer reading where available. Add cooling-system pressure test result, test pressure, duration, and pass/fail criteria.
What proves or disproves overheating? Dashboard warning history, customer complaint description, maximum recorded coolant temperature where scan data exists, thermostat and fan data, and any signs of continued driving after coolant loss.
Which engine measurements should be attached? Compression or leak-down results by cylinder, head and block flatness, surface roughness, crack-test findings, and photos of tools in position. For wet-liner engines, include liner protrusion readings at four points per liner and variation between cylinders.
What installation evidence is most important? Fastener replacement confirmation, bolt part number, thread condition, torque stages, angle values, lubricant condition, and the workshop job sheet.
What photos should be mandatory? Gasket faces, head deck, block deck, suspected leak path, coolant and oil condition, spark plugs or injectors, cooling-system parts relevant to the complaint, packaging label, and batch mark.
How fast should suppliers respond? A practical escalation rhythm is containment within 24–48 hours, preliminary 8D response within 5 working days, and verified corrective action with retained-sample comparison within 10–15 working days where evidence supports a possible product issue.
When claims are grouped only by part number, recurring installation or cooling-system problems stay hidden. When they include measured engine condition and repair-process data, buyers can separate product nonconformity from upstream engine defects. That improves claim decisions, stocking policy, installer training, technical bulletins, and supplier corrective action.
Frequently asked questions
For procurement and professional repair programmes, chemical sealers should not be treated as a durable fix. They may temporarily mask symptoms, restrict small coolant passages, contaminate the cooling system, and complicate later diagnosis. A confirmed combustion, coolant, or oil cross-leak normally requires gasket replacement and correction of the root cause, including machining, fastener, cooling-system, and torque-process checks.
Repeat failures often result from unresolved overheating, warped mating surfaces, reused torque-to-yield bolts, poor thread preparation, incorrect surface finish, or an incorrect torque-angle procedure. The gasket should not be evaluated separately from the cooling system, fasteners, and engine machining condition. Buyers should require measurement records, not only a statement that the head was cleaned and refitted.
Ask for material specification, dimensional inspection controls, coating validation, batch traceability, packaging method, application-data control, and quality certification. For automotive supply chains, IATF 16949:2016 and ISO 9001:2015 documentation should be reviewed during supplier qualification. For commercial planning, also request MOQ by SKU, repeat-order lead time, first-article report format, retained-sample policy, and claim-response timing.
If you need gasket samples, application review, or export quotation support for a distributor or repair-chain programme, you can [request a quote](/contact.html).