Engine Overheating Engine Bearing: Causes and Checks
Engine overheating and engine bearing damage often appear together, but they do not always start from the same fault. A rising coolant temperature can thin the oil film, reduce bearing protection, and turn a borderline clearance problem into a failure. In severe cases, the first clues are low oil pressure, a knock, or metallic debris in the filter. For procurement teams and repair buyers, the key is to separate thermal damage from lubrication failure before ordering parts. That means checking coolant circulation, oil condition, bearing clearances, and crankshaft finish before replacement. Driventus is an independent aftermarket manufacturer; brand names are referenced for fitment only. We supply engine components to B2B buyers across aftermarket, OEM, and repair-chain channels, with documented production controls under IATF 16949:2016 and ISO 9001:2015.
First question: heat problem or bearing problem?
Before you quote parts, decide which failure came first. That choice changes the repair path.
A hot engine can damage a bearing in two ways: by thinning the oil enough to collapse the film, or by creating a cooling fault that later exposes a pre-existing wear issue. The second case is common. A customer reports an overheat, but the bottom end already had poor oil pressure, high clearance, or contaminated oil.
Use the fastest split:
If temperature rose but the engine stayed quiet, start with the cooling system.
If the engine knocked hot, inspect the bearings and oil pressure together.
If the filter shows glitter, assume internal wear until proven otherwise.
If the crank is seized, treat the crankshaft, rods, pump, and block as a system.
A bearing failure rarely comes from heat alone. It usually needs heat plus oil starvation, contamination, or excess clearance.
What overheating does to the oil film
When coolant temperature rises beyond the normal operating range, oil viscosity drops and film thickness falls. At 100°C, a common SAE 5W-30 oil can lose roughly 20-30% of its viscosity compared with 40°C. That reduction is enough to push a marginal bearing out of hydrodynamic support at idle or hot restart.
Once the film thins, the shell and journal touch. Then the failure can move fast:
overlay fatigue starts at the loaded zone
wiping exposes the copper layer
journal scoring begins
debris circulates through the oiling system
A practical warning sign is hot idle oil pressure dropping more than about 10-15% from the engine’s known-good value after an overheat event. That does not prove bearing damage by itself, but it is enough to treat the bottom end as suspect until verified against service data.
Failure modes you can sort in minutes
Use symptoms to separate a cooling fault from a bearing fault. This is where buyers and technicians save time.
Symptom
Likely cause
What to check
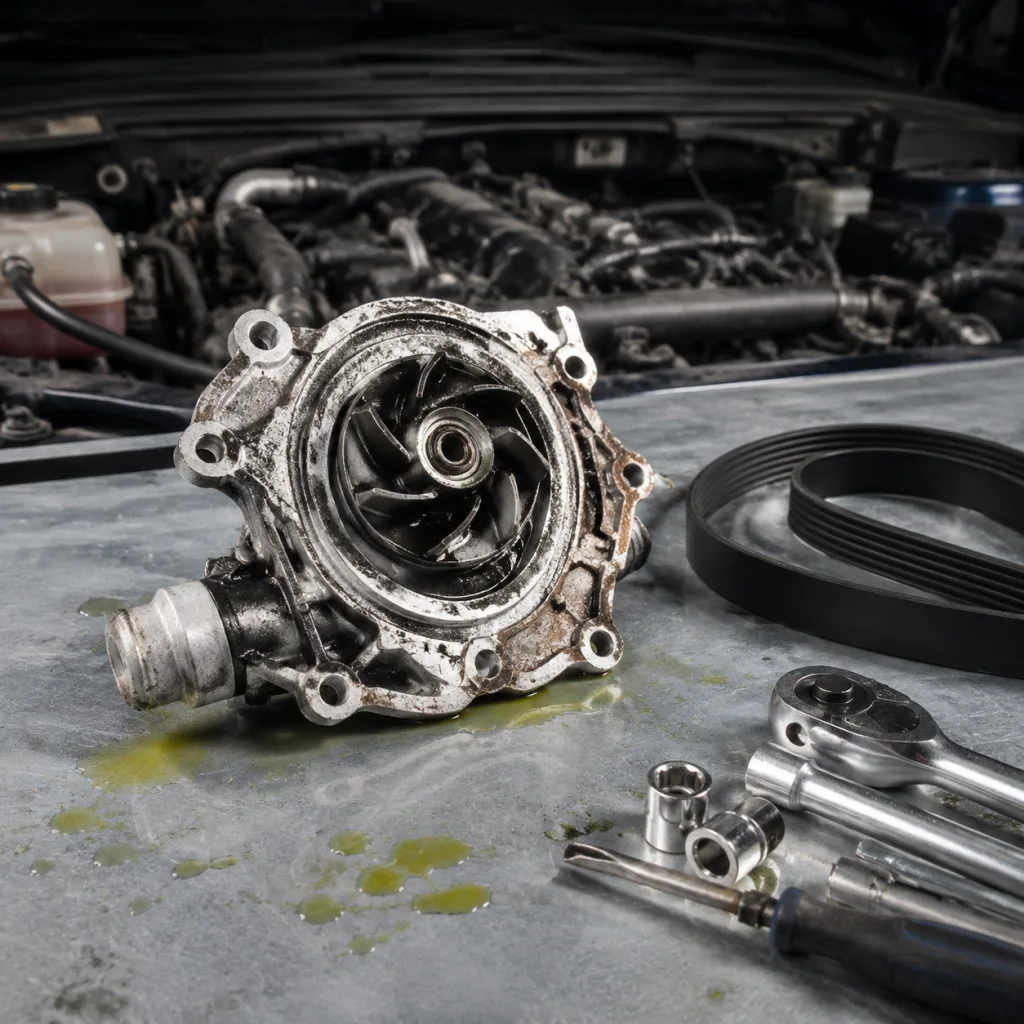
Temperature climbs, no knock
Cooling system fault
Thermostat, fan, radiator flow, water pump
Hot idle knock
Bearing clearance or oil thinning
Oil pressure, shell wear, journal condition
Metallic glitter in oil
Bearing material loss
Drain plug, filter media, sump pan
Low oil pressure after overheating
Oil viscosity breakdown
Correct grade, pump wear, relief valve
Seized crank or rod
Severe lubrication failure
Journal blueing, scuffing, rod distortion
</tr></thead><tbody> </tbody></table>Do not replace bearings only because the engine overheated once. Confirm whether shell wear is local, uniform, or accompanied by crankshaft damage. If hot idle pressure is below the manufacturer’s minimum spec by more than 5-7 psi on a passenger-car engine, or below 10 psi on many light-duty applications, teardown is usually justified before release to service.
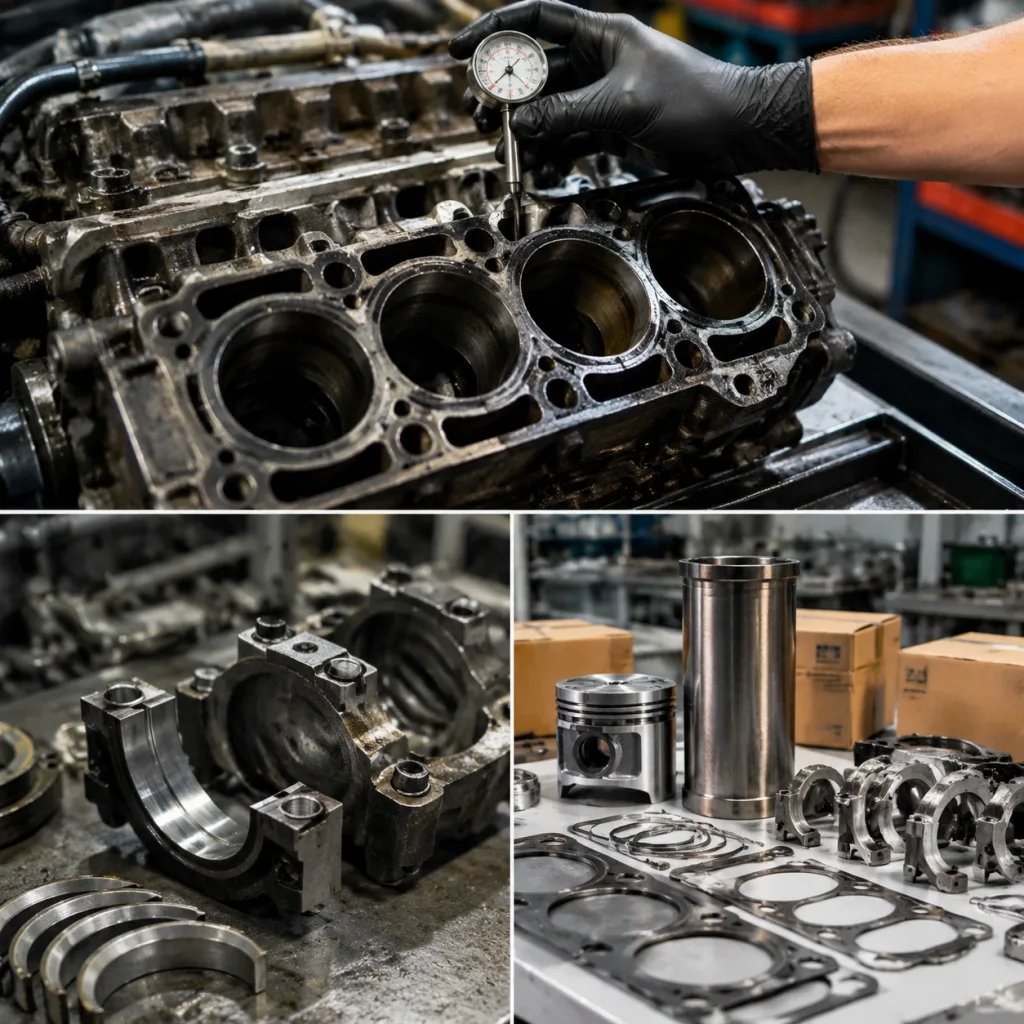
Step-by-step inspection before you order parts
Follow the sequence in order. Skipping steps often leads to wrong part selection.
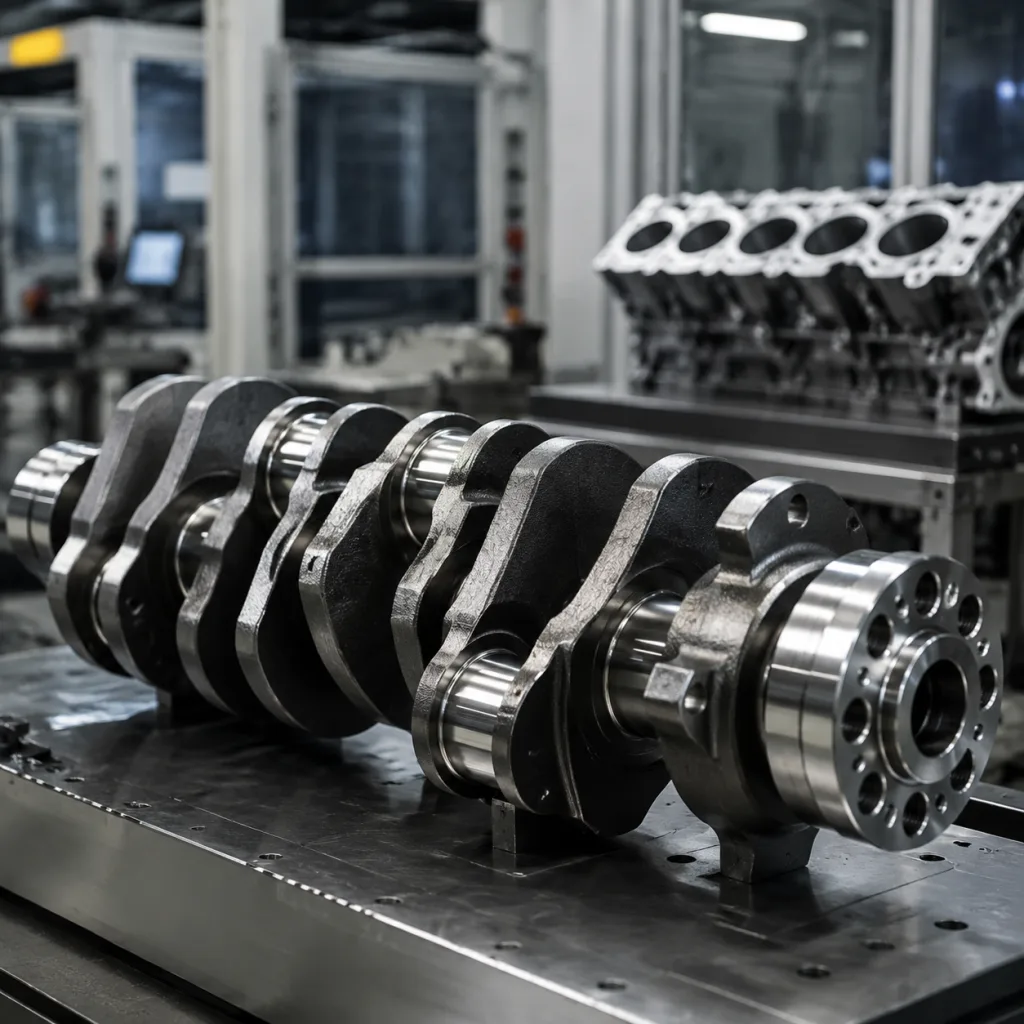
1. Drain the oil and cut open the filter. Look for copper-colored or silvery flakes. 2. Measure oil pressure against service data. Record idle, 2,000 rpm, and peak regulated pressure. 3. Check coolant level, thermostat opening, fan operation, and water pump flow. 4. Remove the sump and inspect shells for wiping, pitting, and copper exposure. 5. Measure crankshaft journals with a micrometre and compare to specification. Typical wear limits are often around 0.01-0.03 mm, but the exact limit must follow the engine manual. 6. Check main bore alignment and connecting rod big-end roundness. 7. Verify clearances with plastigage or direct measurement, depending on workshop practice.
If journal scoring exceeds service limits or ovality is out of tolerance, bearings alone are not enough. The repair may need crankshaft grinding or replacement, plus matched undersize shells where applicable. Do not release a bearing order until the journal diameter, required oil clearance, and any oversize or undersize code are confirmed in writing.
Replacement and matching rules that matter
For procurement, the critical requirement is dimensional match. Bearing material, thickness, chamfer, oil hole location, and tang position must suit the engine build.
What buyers should verify
nominal size and any oversize or undersize code
shell width and thrust face arrangement
journal diameter and required oil clearance
coating type, if specified by the application
packaging traceability and batch identification
Typical oil clearance targets for many passenger-car journal bearings fall in the 0.020-0.060 mm range, while some heavy-duty or performance applications may run differently; always confirm the engine-specific spec before purchase. If measured clearance exceeds the upper limit by more than 0.010 mm, or if shell crush is insufficient to hold position during dry assembly, replacement should include the corrected shell grade and any required crankshaft service. If the engine family uses OE 06A107065 or similar cross-reference numbers, confirm fitment by engine code, not by brand assumption. Driventus can support validation against dimensional drawings, sample measurements, and application data. For engines requiring special material stacks or modified oil grooves, see custom manufacturing.
What quality proof to ask the supplier for
Industrial buyers should ask for process evidence, not only a part number.
IATF 16949:2016 for automotive quality management
ISO 9001:2015 for controlled production systems
REACH (EC) No 1907/2006 for regulated substances in the EU market
Dimensional inspection records for shell thickness and roundness
Material and coating verification where required by the application
The useful controls are measurable: shell thickness tolerance, overlay thickness, and packaging contamination level. Ask suppliers to quote actual control values on the inspection report, such as thickness held within ±0.01 mm, roundness within 0.01-0.02 mm, and coating thickness or surface finish recorded by lot. A robust bearing supply programme also needs traceability from incoming strip material to finished lot. Review control plans, inspection frequency, and packaging cleanliness. Our quality system is documented for B2B buyers who need stable repeatability across replenishment orders.
When recurring heat events change the sourcing brief
If overheating is a repeat field complaint, the buying decision should include failure history, not only unit price. Engines with repeated heat events need bearings that can tolerate short-duration oil film collapse without immediate wipe.
Common sourcing priorities:
correct alloy stack and overlay thickness
consistent crush and shell seating
clean edge finishing to reduce stress risers
stable lead times for repair programmes
carton and VCI packaging suitable for export
For commercial planning, compare total landed cost, not just ex-works price. A common MOQ for a custom engine bearing order may start at 1,000-3,000 sets per part number, while catalogue replenishment can be lower if existing stock is available. Lead time is often 25-35 days for repeat tooling and standard production, and 45-60 days when a coating, packaging, or dimensional change is required. Request a price break by annual volume tier, and ask for sample approval before production release: for example, 5-10 pre-production sets, then pilot lot approval, then mass production. Review our catalog for adjacent engine components, including related sealing and cooling parts that often determine bearing life. If your programme includes a mixed BOM, custom manufacturing can support application-specific packaging, labelling, and dimensional control. For broader engine part families, see /products/engine-components.html.
Frequently asked questions
Yes, but usually only when heat also reduces oil viscosity or oil pressure. In many cases, overheating exposes an existing lubrication or clearance problem rather than being the only root cause.
Not automatically. Inspect oil condition, journal dimensions, clearance, and shell wear first. Replace bearings when wear, scoring, debris, or loss of overlay is confirmed.
Ask for dimensional inspection data, material traceability, and evidence of IATF 16949:2016 or ISO 9001:2015 control. For EU supply, REACH compliance information is also relevant.
If you are matching hot-running engine applications to the correct bearing specification, we can review dimensions, drawings, and fitment data with you. Use our request a quote page to start: /contact.html