Engine Knocking Noise Engine Mount: Diagnosis and Replacement
An engine knocking noise does not always mean internal engine damage. Often, the source is external: a worn, collapsed, or separated engine mount that lets the powertrain shift under load, contact the subframe, or transmit vibration into the body. For procurement teams and workshop buyers, the key is to separate an engine knocking noise engine mount issue from injector noise, exhaust contact, or driveline backlash before ordering the wrong part.
Driventus is an independent aftermarket manufacturer; brand names are referenced for fitment only. Our engine mount programmes are produced under IATF 16949:2016 and ISO 9001:2015 controls, with dimensional checks, hardness verification, and material traceability supporting B2B supply.
This article walks through what the noise usually means, how to confirm the failure fast, what can mimic it, and what to verify before sourcing replacements for fleets or multi-site repair networks.
Decision: mount fault or engine fault?
The first question is not “what part is noisy?” It is “what changes the noise?” A mount-related knock usually appears when engine torque changes quickly. Drivers may report a single clunk on start-up, a thud during gear changes, or a repeated tap when accelerating uphill. The sound often grows louder in reverse, during tip-in/tip-out events, or when the air conditioning compressor adds load.
Signs that point toward the mount include:
Visible engine movement on throttle blips
Harsh vibration at idle, often between 650 and 900 rpm on passenger-car applications
Contact marks on brackets, heat shields, or the subframe
Split rubber, fluid leakage, or separated metal-to-rubber bonds
Noise that changes with load rather than engine speed alone
A true internal engine knock usually tracks rpm and persists even when the vehicle is stationary. A mount fault often changes when the drivetrain twists against its supports. That distinction matters because it prevents unnecessary engine work. For procurement checks, ask the workshop whether the noise appears in Park/Neutral, in Drive with brakes applied, or only on road load; that split often stops the wrong part from being ordered.
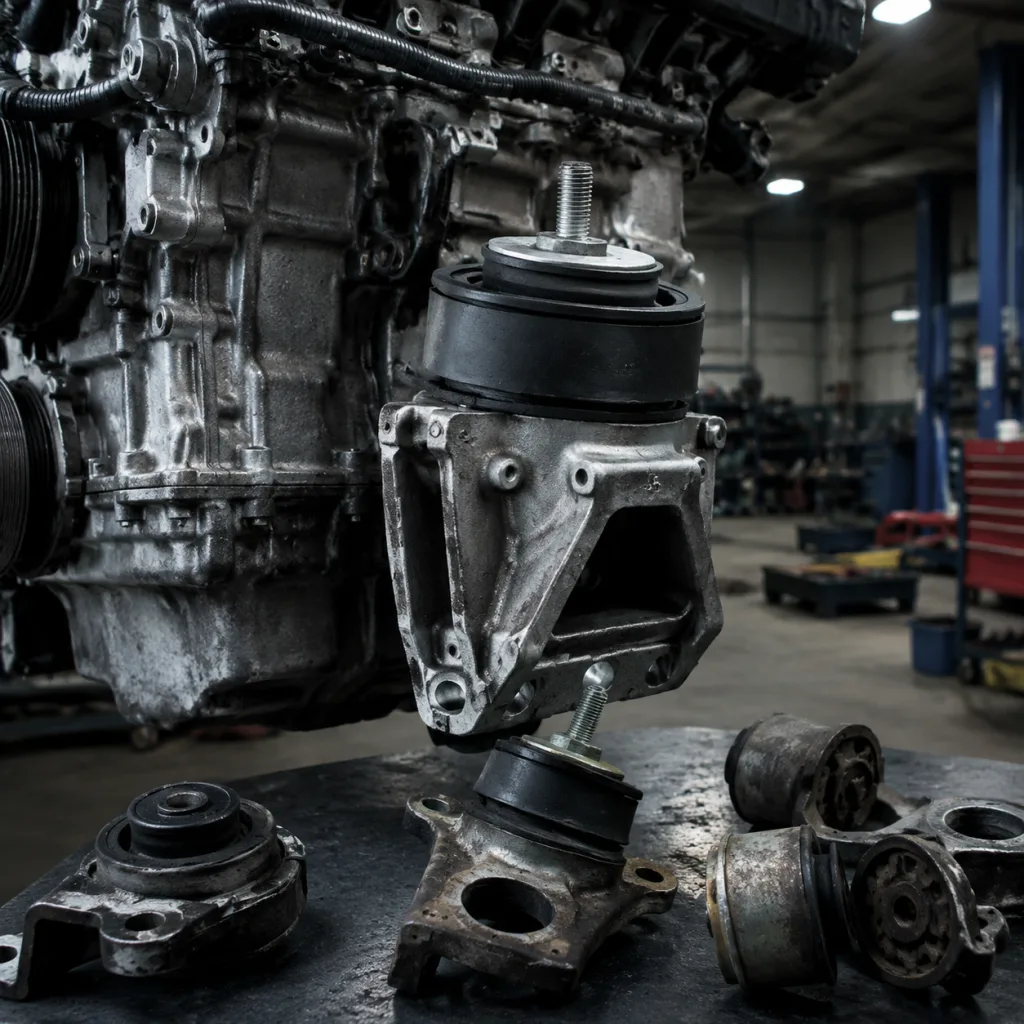
How to confirm it in the bay
Standardized inspection saves time and prevents repeat misdiagnosis. Start by confirming the complaint, then inspect the mount set and the surrounding hardware before loading the powertrain.
1. Inspect all mounts, not only the suspected side. 2. Check for torn rubber, collapsed hydraulic sections, and separated brackets. 3. Look for witness marks on the fan shroud, exhaust, radiator support, or axle tunnel. 4. Verify fastener condition and torque after any prior repair. 5. Test in drive and reverse with brakes applied, if safe and permitted by workshop procedure. 6. Measure engine movement against a fixed reference point if the bay layout allows it.
As a practical guide, movement above about 5 to 10 mm during a light throttle blip usually deserves deeper inspection. Near 15 mm or more, treat the mount or bracket as suspect until proven otherwise. Small movement can still create knock noise under load, which is why clearance checks are more reliable than visual judgment alone. Record when the complaint occurs, capture photos of any witness marks, and attach them to the parts request before release.
What else can mimic a bad mount
Not every knock is a mount failure. Heat, oil contamination, road shock, and incorrect installation all shorten service life, but adjacent components can create the same complaint.
Cause
Inspection clue
Likely action
Rubber fatigue
Cracks, hardening, surface separation
Replace the mount set if wear is uneven
Hydraulic leakage
Oil residue, sagging mount body
Replace the defective mount immediately
Oil or coolant exposure
Swollen rubber, soft surface, contamination
Fix the leak before fitting a new part
Impact damage
Bent bracket, broken stop, contact marks
Replace bracket and mount as required
Incorrect installation
Twisted bush, loose bolts, misalignment
Refit to torque and verify ride position
</tr></thead><tbody> </tbody></table>If the vehicle has already been repaired once, compare the removed part with OE dimensions, stud position, and bracket geometry before ordering the next batch. On some model lines, the same badge can use multiple mount variants by engine code or transmission. Validate every mounting point, bracket offset, and thread spec before release, then check the sample against the incoming batch so the hole pattern sits centered and the mount installs without preload.
Replacement spec: what matters and why
A good replacement engine mount must do more than match the opening in the bracket. It has to control movement under load without adding harsh vibration at idle. Dimensional match is necessary, but it is not enough.
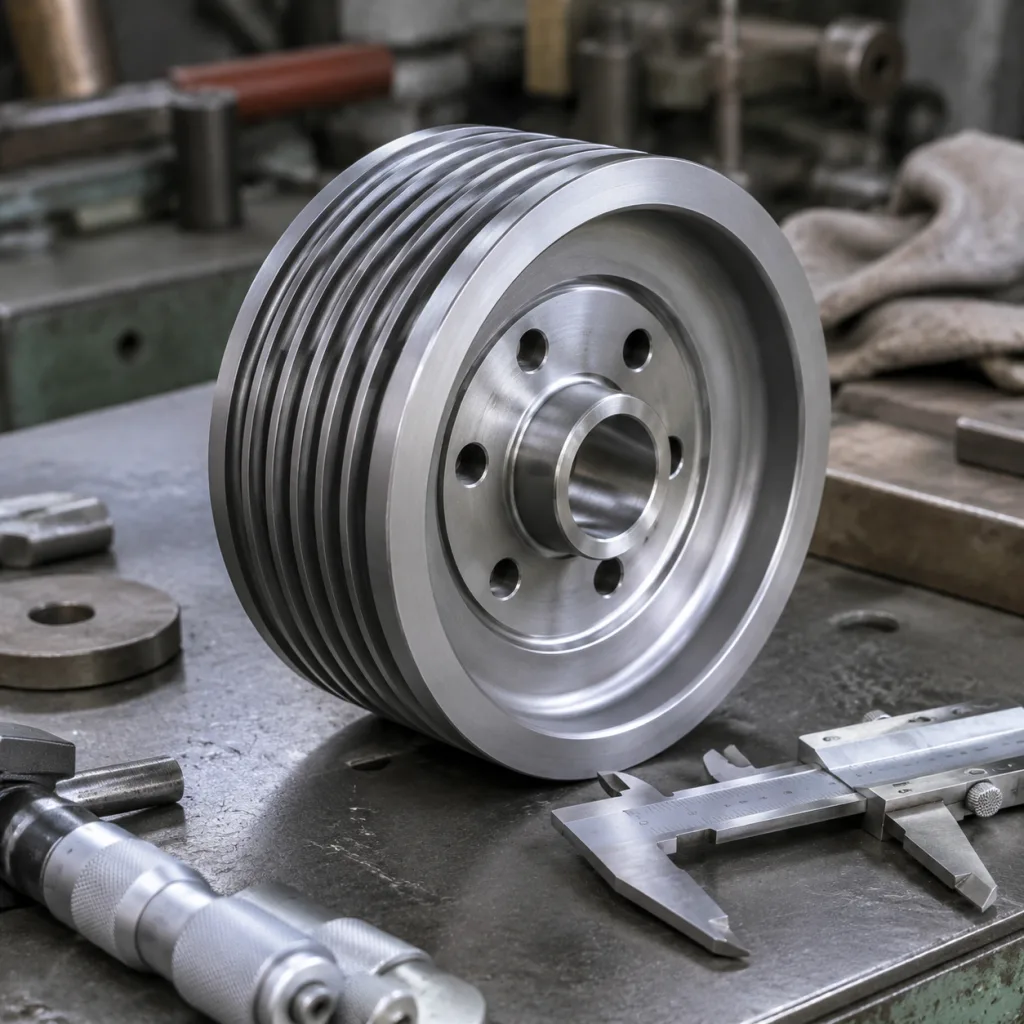
For sourcing and QC, verify:
Overall height, stud length, and hole spacing, ideally within OEM-equivalent tolerances and with a controlled fit window on critical interfaces
Rubber hardness, usually specified as a target band rather than a single point; many passenger-car mounts sit in a Shore A range around the mid-50s to low-70s depending on application
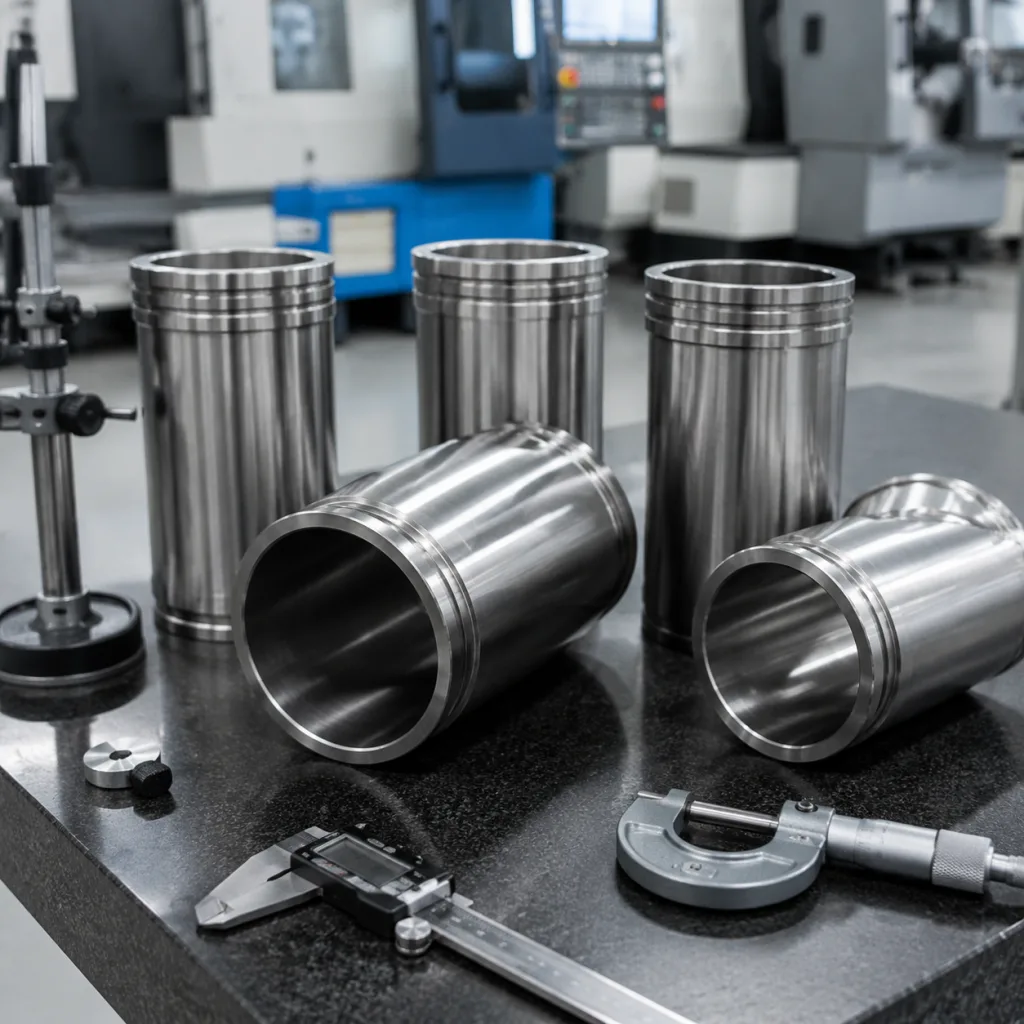
Hydraulic chamber integrity, where applicable, with no seepage, air voids, or visible wall deformation
Corrosion protection on brackets and inserts, including coating coverage at welds and edges
Static load and cyclic durability records, including cycle counts and pass/fail criteria for compression set, bond retention, and leak resistance
Packaging and traceability for batch control, including lot code, date code, and carton label readability
Ask suppliers to state tolerances on each critical feature. In many aftermarket programmes, critical hole spacing and bracket-to-bracket dimensions are held to about ±0.3 mm to ±0.5 mm, while non-critical molded rubber dimensions may carry a wider band if fit and function stay stable. Where the design uses hydraulic fill, request the leak-test conditions, not a generic approval statement.
Driventus supplies mounts under IATF 16949:2016 and ISO 9001:2015 process controls. For applications that require market-specific compliance, material declarations may support REACH (EC) No 1907/2006 documentation requests. When fitment is unclear, cross-reference by OE number, such as OE 06A107065, only for the already identified vehicle application. For model lines with multiple engine codes or automatic/manual variants, sample validation before volume release is the safer path.
Repair scenario: when to replace, when to hold
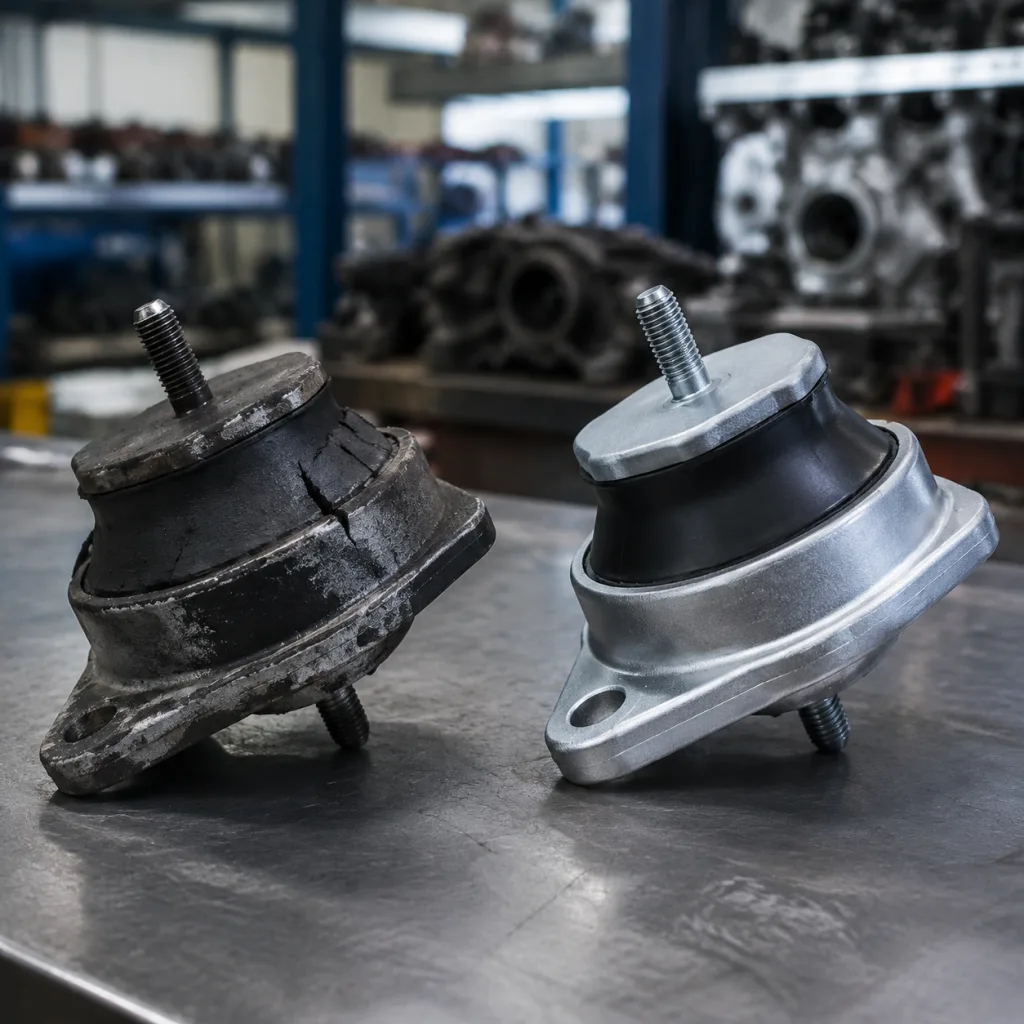
Reuse only makes sense when the mount shows no cracking, no fluid loss, no bracket damage, and no abnormal engine movement under load. In practice, a worn mount often means the opposite side is not far behind, because the load has shifted across the system.
Replace the mount when:
The rubber is split or detached
The engine rocks excessively during a load test
The mount has leaked hydraulic fluid
The bracket is bent or the stop has been contacted
A prior repair used a non-matching part
A sensible shop threshold is simple: replace instead of reuse when the engine moves far enough to touch a shroud, hose, or bracket, or when the mount no longer returns smoothly after the load is removed. If the vehicle comes back with the same knock after installation, inspect exhaust hangers, subframe bushes, and transmission mounts next. The fault may be adjacent rather than isolated. For fleets, document the before-and-after idle condition and road-test result so repeated complaints can be tied back to the correct root cause and not mistaken for a bad replacement part.
Sourcing for fleets and distributors
For B2B buyers, the right engine mount programme is not only about fit. It is also about stable supply, repeatable test data, and the ability to consolidate SKUs across brands and model years.
If you are replacing mounts across a fleet, ask for dimensional drawings, hardness ranges, and pack-level labeling before release. That reduces receiving errors and helps workshop teams confirm the correct side and variant at intake. For larger programmes, OEM-style validation, road-load review, and packaging customization can be aligned to your internal standard. A request a quote step is usually the fastest way to confirm lead time and batch size. In practice, buyers should expect MOQ and price to move together: prototype or validation lots are often low, while production orders are usually more efficient at carton or pallet quantities. For planning, request three numbers up front—sample lead time, production lead time, and the MOQ threshold that unlocks the target unit price—so purchasing can compare landed cost across suppliers rather than only looking at list price.
Frequently asked questions
Yes. A collapsed or separated mount can let the engine touch the body or transmit vibration at idle. The sound often becomes clearer when shifting into drive or reverse, or when the A/C loads the engine. In many cases, the complaint is most obvious between idle and about 1,200 rpm because the powertrain changes position as torque comes on.
Mount knock usually changes with load and vehicle movement. Internal engine knock tends to follow engine speed more directly and continues in neutral. A stationary torque test helps separate the two. If the noise appears only when the vehicle rocks on its mounts, or if witness marks are present near the subframe or shroud, inspect the mount first.
Not always, but it is often sensible when one side has failed from age or contamination. Replace all affected mounts if the engine sits unevenly, or if the remaining mounts show similar cracking or collapse. For buyers, the better decision is usually based on condition and variant count rather than a fixed pair rule: if the opposite mount has the same mileage exposure, similar heat history, or visible rubber hardening, replacing both reduces comeback risk.
If you need OE-fit engine mounts for regional aftermarket supply, fleet repair, or private-label programmes, contact Driventus for specifications, tolerances, MOQ, and lead times: /contact.html