Bent Valve Valve Spring Diagnosis for Engine Buyers
A bent valve valve spring complaint usually arrives with an uncomfortable question: did the spring cause the valve damage, or did a timing, over-revving, assembly, or engine-event failure damage both parts? For procurement teams, the answer affects warranty exposure, stock quarantine, kit strategy, and supplier approval. A weak or fractured spring can allow valve float and piston contact. A valve already bent can overload the spring, retainer, guide, seat, and follower. Treating the visible damage as the root cause is how repeat failures enter the channel.
Driventus manufactures valve springs and related engine components in Taizhou, Zhejiang for aftermarket distributors, OEM/Tier-1 supply chains, and repair chain programs. This guide is written for sourcing engineers, category buyers, warranty teams, and importer quality managers who need a practical way to connect symptoms, measurements, replacement decisions, and supplier controls. It covers failure paths, inspection sequence, replacement criteria, specification points, claim separation, MOQ planning, and lead-time checkpoints. Driventus is an independent aftermarket manufacturer; brand names are referenced for fitment only.
Start with the failure story, not the broken part
A valve train complaint is easy to misread if the spring is judged only after the cylinder head has been stripped and cleaned. First reconstruct the mechanical path. Then measure. The same bent valve valve spring return can come from low spring load, wrong installed height, timing loss, piston contact, guide wear, retainer mismatch, or a packaging/application error.
In many passenger-car gasoline engines, valve spring installed heights are commonly in the 32-45 mm range. Open heights are often 8-13 mm lower. Those ranges are only orientation points; the approved engine drawing or validated buyer specification must control the decision.
Low compression or leak-down through intake/exhaust
Do not approve claim without measurement report
Noise at idle or high rpm
Coil bind, spring surge, retainer mismatch, insufficient clearance
Valve not seating squarely; abnormal follower movement
Verify design against installed height and maximum lift
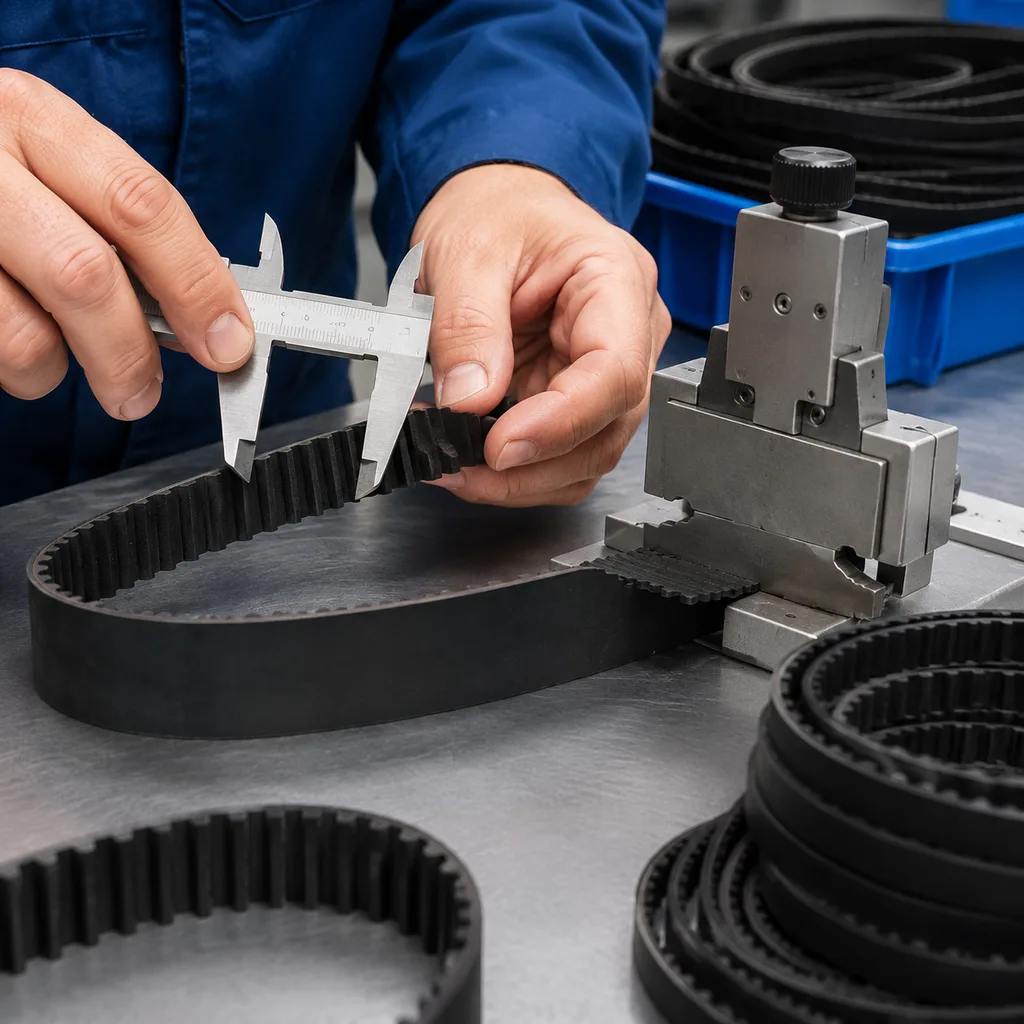
Loss of compression after belt/chain failure
Spring may be intact but shock-loaded
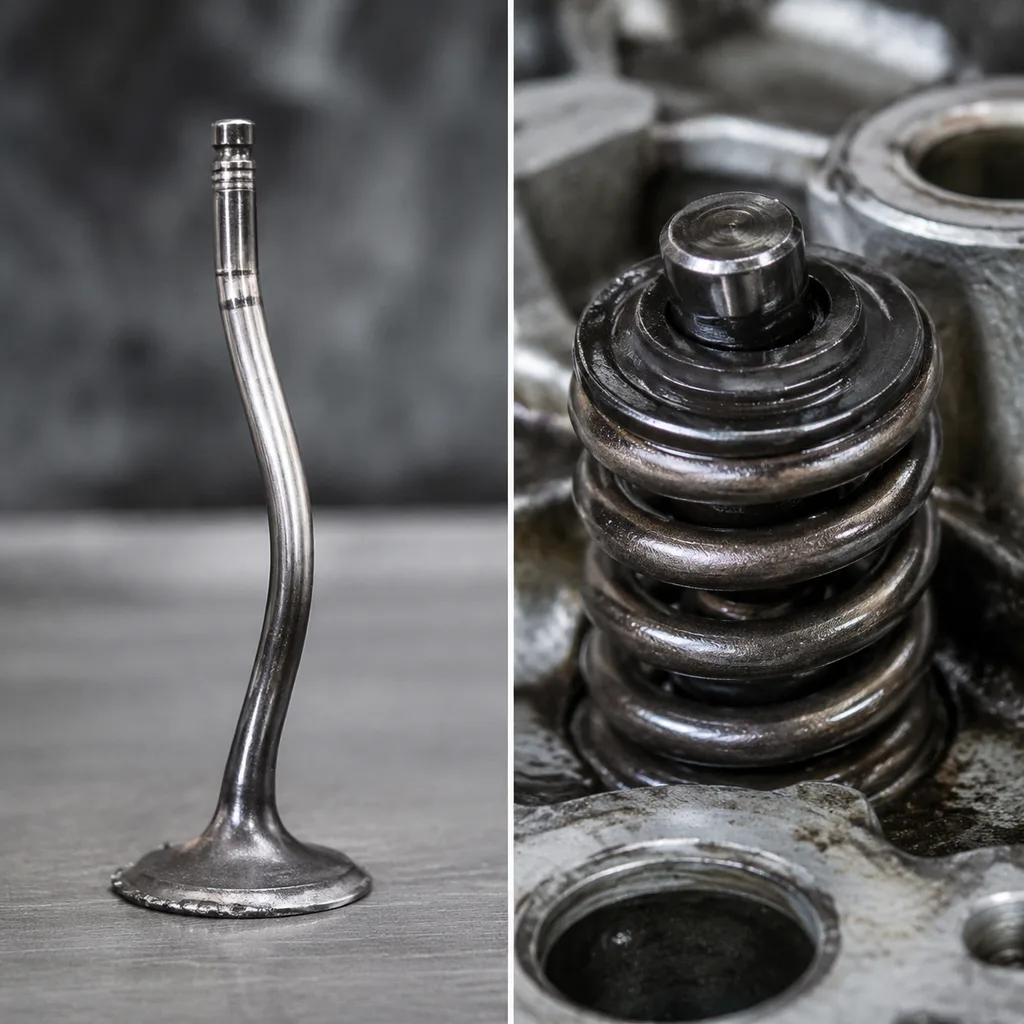
Stem runout, head deformation, piston impact marks
Replace valves and springs as a controlled kit where contact occurred
Repeat failure after repair
Wrong spring rate, wrong application, wrong installed height
Guide or seat damage left in service
Audit catalog data, labels, and installer instructions
High oil consumption after event
Seal disturbed by retainer/spring misalignment or side load
Bent stem damaging guide or stem seal
Inspect guide clearance, seal contact, and stem finish
</tr></thead><tbody> </tbody></table>A spring does not need to break to create a field failure. If load at installed height drops below specification, the valve may lose control at speed. As a screening rule, a measured seat load more than 8-10% below the released drawing value, or a spread greater than 5% across springs from the same engine set, should trigger containment until the application specification is checked.
Also look for secondary marks. If the valve was bent first, the spring may show side wear, retainer offset, or unusual stress marks because the load path is no longer straight. Visual appearance alone is weak evidence. Load, height, runout, and mating-part condition decide the case.
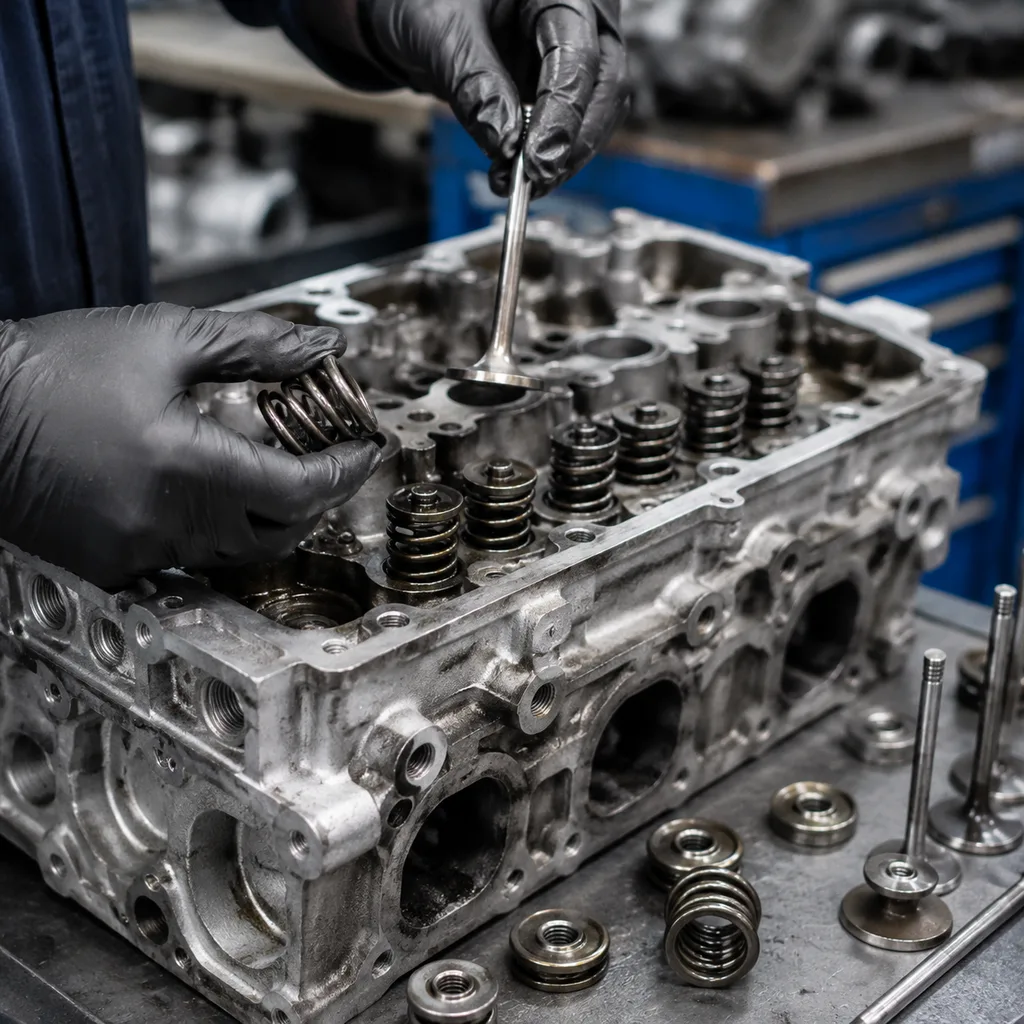
A warranty inspection sequence that prevents argument later
Warranty disputes often start because the first inspection was incomplete. The repair shop sees a failed engine. The distributor sees a returned spring. The manufacturer receives cleaned parts with no context. Use a fixed sequence so every party works from the same evidence.
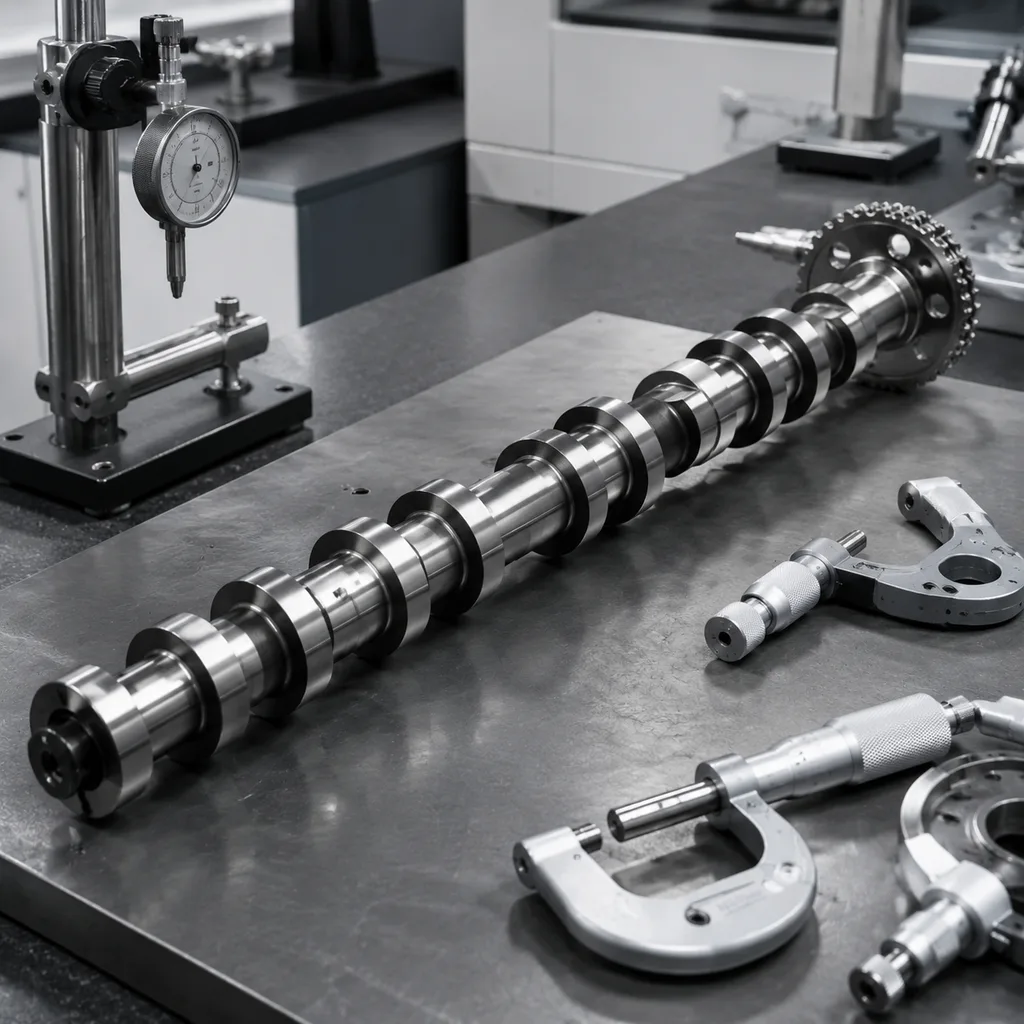
1. Capture the operating history before parts move. Record timing belt or chain event, over-speed event, overheating, oil condition, oil grade, previous cylinder head repair, mileage, engine code, repair date, part number, batch code, and whether the fault appeared immediately or after 500-5,000 km. 2. Run compression and leak-down tests before disassembly where possible. Leakage through the intake or exhaust port points to valve sealing loss. For claim triage, cylinder-to-cylinder compression deviation over 15-20% or leak-down over 20-25% is usually enough to justify head removal, subject to OEM limits. 3. Remove camshaft, rocker, or follower load according to service procedure. Each valve must be checked without external force. Mark every valve, spring, retainer, collet, and follower by cylinder position. 4. Check valve stem runout. Use V-blocks or a suitable fixture. Any visible wobble is a warning sign. Use the engine manufacturer’s service limit for final judgment; many workshop limits fall around 0.02-0.05 mm on the stem and 0.05-0.10 mm near the head, depending on valve size and engine type. 5. Measure the spring as a spring, not as a piece of wire. Record free length, installed height load, and open height load with calibrated equipment. Free length alone cannot confirm function. Record test height to 0.1 mm. Do not compare loads unless the springs were tested at the same height. 6. Inspect the parts that can make a good spring look bad. Retainers, collets/keepers, spring seats, guides, seals, followers, rockers, and lash adjusters can introduce side load, fretting, cracking, offset wear, or false contact patterns. Check guide clearance by the correct gauge method. 7. Compare the parts with validated application data. Confirm engine code, valve lift, installed height, retainer design, spring seat, and kit contents. A 0.5-1.0 mm retainer or seat difference can shift seat load enough to affect valve control. 8. Photograph and document before cleaning. Witness marks, corrosion, oil deposits, and impact patterns disappear quickly. Minimum photo set: packaging label, batch mark, complete cylinder head, piston crown, valve face, valve stem, spring ends, retainer, collets, and tester display.
For B2B supply programs, Driventus recommends retaining failed parts, photos, batch labels, packaging, and measurement sheets until the claim is closed: normally at least 90 days for distributor claims and 180 days for launch or fleet programs. Evidence protects the importer, the repair network, and the manufacturer. Buyers can review related engine component ranges in our catalog, including valve train, gasket, piston, and water pump categories.
Replace one part or build a controlled repair kit?
The cheapest repair is not always the lowest-cost warranty decision. In a bent valve valve spring case, impact load can travel through the valve stem, guide, retainer, collets, spring, spring seat, cam follower, and sometimes the hydraulic lash adjuster. If piston contact occurred, replacing only the visible casualty may restore compression briefly while leaving a second failure in place.
Use set replacement when any of the following are confirmed:
Valve stem runout exceeds the engine manufacturer’s service limit; investigation is commonly triggered once runout exceeds 0.02-0.05 mm on light-vehicle valves.
Valve head has impact marks, margin damage, tuliping, or uneven seating.
Spring has broken coils, corrosion pits deeper than superficial staining, heat discoloration, polished side-wear marks, or loss of squareness.
Seat load or open load is outside the approved drawing tolerance. Common production tolerances are often controlled within ±5-8% for load, though buyer drawings may be tighter.
Installed height cannot be restored using approved seats or shims. Do not stack unapproved shims; a 0.5 mm installed-height error can materially change load and coil-bind margin.
Retainer groove, collets/keepers, or spring seat show fretting, cracking, or deformation.
Cylinder head guide clearance is outside service limits.
Valve stem seal contact is offset, or the seal was damaged by side loading.
Follower, rocker, lash adjuster, or cam contact pattern is abnormal.
For distributors, kit design is a commercial risk control. Valves without matched springs can reduce the first invoice but increase repeat labor and claim exposure. Springs without installed-height guidance create the same risk from the opposite direction. For an interference engine after belt or chain failure, a practical service kit may include 8, 12, 16, or 24 valves, matching springs, retainers/collets where required, stem seals, head gasket, and head bolts.
Where demand volumes justify it, Driventus can support application-specific kits through custom manufacturing, including spring load targets, surface treatment, packaging, labeling, and inspection documentation agreed before production.
The spring spec details that actually change engine behavior
Valve springs look interchangeable until the engine runs at speed. Small changes in wire diameter, coil count, heat treatment, shot peening, coating, or installed height can change valve control, cam loading, fatigue life, and warranty rate. Sample fit and free-length comparison are not enough for sourcing approval.
Verify these points before placing the program:
Material grade: commonly high-carbon spring steel or alloy spring steel selected for fatigue resistance and heat stability, such as 55CrSi, 60Si2Mn, SAE 9254, or equivalent grades agreed by drawing.
Wire diameter tolerance: critical because it strongly affects rate and load. For many valve springs, wire diameter tolerance is commonly ±0.02-0.05 mm, depending on wire size and process capability.
Outer and inner diameter: must clear the spring pocket, retainer, guide, and seal. Typical OD/ID tolerances are often around ±0.10-0.20 mm unless the application requires tighter control.
Free length: useful for identification and screening, but not proof of load. Typical control may be ±0.3-0.8 mm depending on spring length.
Installed height load: the key value for valve seating, idle stability, and low-speed control. The purchase specification should state exact test height, target load, tolerance, and test speed.
Open height load: confirms control near maximum lift and helps prevent float. Define open height as installed height minus net valve lift, not as a generic compressed length.
Coil bind clearance: must retain validated margin at full lift after tolerance stack-up. A common engineering target is at least 1.0-1.5 mm total clearance to coil bind after retainer, seat, and machining tolerances are considered.
Spring rate: should control the valve without overloading the cam and follower. Request N/mm or kgf/mm rate data between two specified heights, not an estimated catalog value.
Squareness and parallelism: needed to reduce side load and maintain retainer alignment. A typical check may limit squareness to about 1.5-3.0° or an agreed mm deviation over spring length.
Surface condition: shot peening, polishing, phosphate, oiling, electrophoretic coating, or other corrosion protection must be defined. Salt-spray or humidity targets should match the logistics route and stocking period.
Heat treatment control: furnace records, hardness, and load-retention results should be traceable by lot. Stress-relief temperature and time should be locked in the control plan after PPAP or sample approval.
Traceability: batch number, material heat, heat treatment lot, inspection status, and packaging date. Export cartons should allow trace-back from distributor shelf label to production lot.
For supplier assessment, applicable quality management references include IATF 16949:2016 and ISO 9001:2015. For the EU market, buyers may also request chemical substance declarations aligned with REACH (EC) No 1907/2006. These standards support management control; they do not replace part validation.
Product defect or engine-event damage? Use the evidence split
A returned spring is not automatically a defective spring. Timing error, piston contact, over-speed, incorrect installed height, wrong retainer, or damaged guide can destroy otherwise correct parts. The reverse is also true: material, dimensional, coating, heat-treatment, or packaging issues can cause failures even when installation was correct.
Use the pattern, not the loudest opinion.
Finding
More consistent with product issue
More consistent with engine or installation issue
Multiple springs from the same batch show low load
Yes, especially if more than 3 pieces fail the same load test
Less likely
One cylinder affected immediately after timing failure
Less likely
Yes
Fracture starts at corrosion pits across several units
Possible coating, storage, or packaging issue
Possible operating environment issue
Coil bind marks after cam upgrade or wrong application
Less likely
Yes
Retainer not seated correctly in collets/keepers
Less likely
Yes
Load test within specification, valve bent
No
Likely piston contact, guide issue, or timing event
Springs mixed between applications in one box
Possible packaging or labeling issue
Possible warehouse or installer issue
Side wear on spring with damaged guide
Secondary effect possible
Likely misalignment from engine damage
</tr></thead><tbody> </tbody></table>For importers and distributors, the strongest claim process is evidence-based. Request the failed component, mating parts when available, photos before cleaning, vehicle/application data, operating history, installation notes, and measurements from calibrated tools.
For batch containment, isolate by same part number, production date, heat-treatment lot, and carton label range first. Then test a meaningful sample, such as 5-13 pieces depending on stock quantity and buyer AQL practice. Driventus supports these reviews through its documented quality system, including incoming material control, in-process inspection, final sampling, and traceability records.
Supplier controls that keep replacement programs stable
For replacement valve spring programs, unit price is only one variable. The buyer also needs stable load from batch to batch, packaging that survives export logistics, traceability that supports claims, and documentation that satisfies the destination market.
A sourcing checklist should include:
IATF 16949:2016 or ISO 9001:2015 certification status and audit availability.
Drawing control with revision history, approved tolerances, and change notification rules. Require written approval before changes to material, tooling, heat treatment, coating, or packaging.
Material certificates and heat treatment records by batch.
Load testing at installed and open heights with calibrated equipment. For production lots, buyers commonly require first-off approval, in-process checks every 1-2 hours, and final sampling by agreed AQL.
Fatigue test method, cycle target, and sample size for validation lots. Depending on application severity, validation may require 1 million to 10 million cycles at defined stress range, temperature, and frequency.
Dimensional inspection for wire diameter, coil count, free length, OD/ID, squareness, and parallelism.
Surface treatment control, including shot peening and corrosion protection. Define rust-prevention oil, bag type, desiccant use, and maximum storage period.
Packaging that prevents corrosion, mixed parts, label loss, and deformation during sea freight. Inner packs should separate part numbers and reduce spring-to-spring abrasion; cartons should meet agreed drop, stacking, and humidity requirements.
Label data suitable for distributors: application, part number, batch, quantity, and independent aftermarket disclosure.
Claim support process covering sample retention, measurement review, and corrective action timing. A practical 8D timeline is 24-48 hours for containment, 5-10 working days for initial analysis after sample receipt, and 20-30 days for confirmed corrective action where process changes are required.
Commercial planning should connect MOQ, price, and lead time to engineering risk. Existing validated part numbers can often be quoted at lower MOQ because tooling and process windows already exist. Customized wire size, load target, coating, or retail packaging normally increases MOQ and setup cost.
For RFQ planning, prepare annual volume, first order quantity, target price, packaging format, application data, and quarterly forecast. Sampling may take 2-4 weeks for an existing design and 4-8 weeks for a new or modified spring. Mass production after approval commonly needs 30-60 days, with sea freight added separately.
Driventus manufactures valve springs and related engine components for export to more than 60 countries. Programs can be structured for aftermarket distribution, Tier-1 supply support, or repair chain replenishment. Driventus is an independent aftermarket manufacturer; brand names are referenced for fitment only. If your team is reviewing a bent valve valve spring claim or preparing a replacement sourcing project, you can request a quote with samples, drawings, or target application data.
Frequently asked questions
Yes. If spring load is too low, the valve can float at high engine speed and contact the piston. However, many bent valves are caused by timing failure, over-revving, incorrect assembly, or guide and seat problems. Confirm the cause with compression testing, leak-down testing, valve runout, installed-height load, and open-height load. A seat-load loss of roughly 8-10% versus drawing value should trigger further review.
Often yes, especially if piston-to-valve contact occurred. Even unbroken springs may have been shock-loaded. Inspect free length, seat load, open load, squareness, retainer contact, guide clearance, and corrosion before reuse. Many repair programs replace valves, springs, retainers, collets, and seals together to reduce repeat labor and warranty risk.
Request drawings, material certificates, heat treatment records, installed-height and open-height load test results, fatigue validation data, coating details, packaging specifications, and batch traceability. Supplier quality management certification to IATF 16949:2016 or ISO 9001:2015 is also useful for audit and risk control. For new programs, also request MOQ, sample lead time, production lead time, change-control rules, and claim response timing.
If you need support reviewing failed samples or sourcing replacement valve springs, Driventus can assess drawings, target loads, packaging, and batch documentation. Contact our team at /contact.html