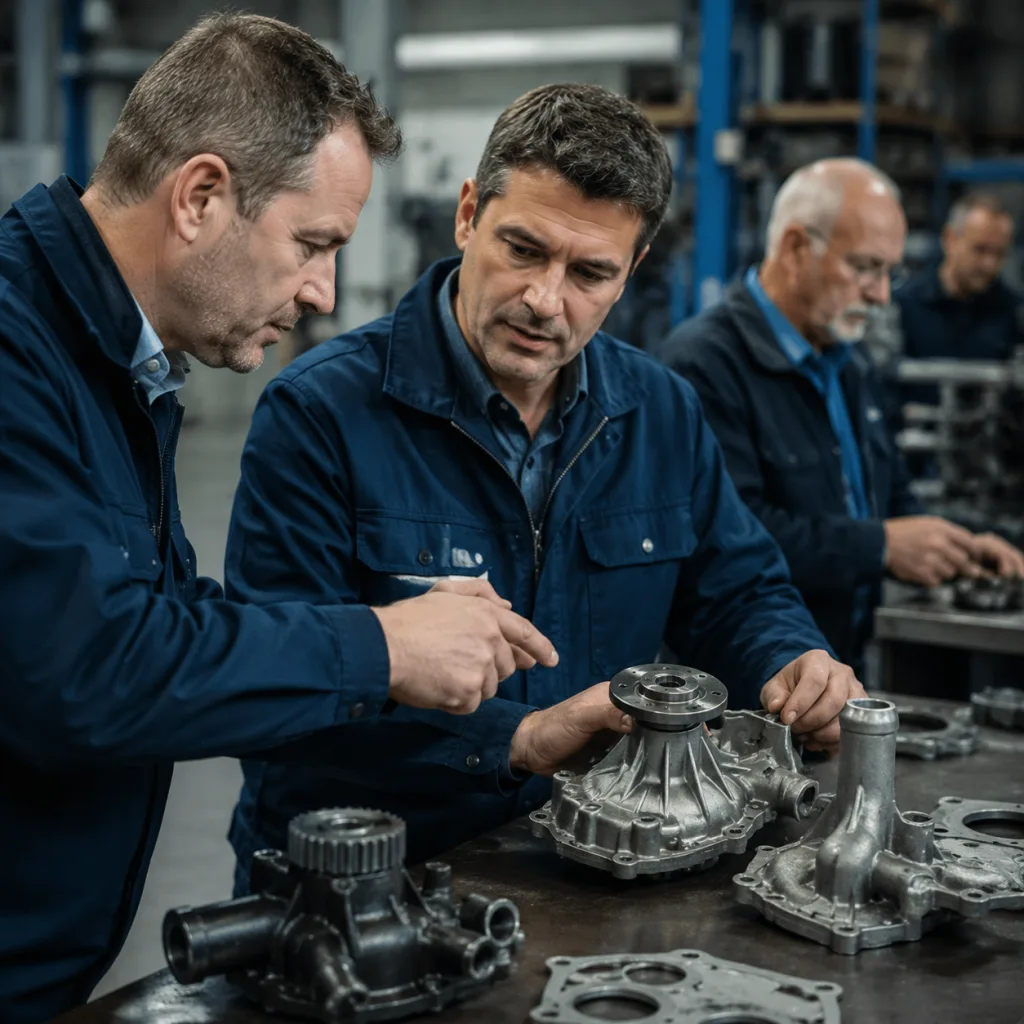
A wet engine front cover can send a sourcing team down the wrong path. Coolant from a water pump weep hole may run along the block and collect near the oil pump housing. Engine oil from a crankshaft seal, oil pump cover, or timing-cover joint can also be thrown across the water pump area by the pulley and belt. The visible stain is rarely the whole story.
For distributors, repair chains, and sourcing engineers, the problem is bigger than diagnosis. A wrong call can trigger unnecessary replacement, labour-credit claims, stock disputes, and repeat repairs. This article gives buyers a practical way to separate a water pump leak from an oil pump-related leak, define the evidence needed before approval, and specify replacement parts with measurable sealing, pressure, dimensional, packaging, MOQ, pricing, and lead-time controls. Driventus is an independent aftermarket manufacturer; brand names are referenced for fitment only.
Decision Point: Is the Leak Coolant, Oil, Both, or Old Residue?
Start with the fluid, not the component. On many engines, the water pump and oil pump sit within 50–150 mm of each other, especially when the oil pump is integrated into the front cover or crank-driven assembly. Fan airflow, belt rotation, crank pulley throw-off, and road splash can move fluid 100 mm or more from the true source.
A water pump leak oil pump complaint usually belongs to one of four buckets:
Coolant exits the water pump weep hole or gasket and tracks toward the oil pan, timing cover, or oil pump housing.
Engine oil leaks from the oil pump cover, front crankshaft seal, oil pan corner, or timing-cover joint and contaminates the water pump area.
Coolant and oil are both present after overheating, belt contamination, incorrect sealant use, poor assembly, or multiple aged seals.
Residue from a previous repair, pressure wash, coolant refill, or spill is mistaken for an active leak.
Use a simple approval rule: do not accept “wet oil pump exterior” as proof of oil pump failure. Require three facts before authorising replacement or warranty credit: fluid type, highest wet point after cleaning, and installation condition.
For repair-chain programs, a six-photo record is enough to remove most ambiguity: before cleaning, after cleaning, cold pressure test, hot idle, 2,000–3,000 rpm hold, and close-up of the highest wet point. This protects both sides. Buyers avoid replacing the wrong part, and suppliers avoid rejecting a valid field failure because the evidence is incomplete.
Inspection Matrix: Match the Symptom to the Source
Technical support teams and warranty processors need a repeatable screen before ordering replacement oil pumps, water pumps, crank seals, or gasket kits. The matrix below is designed for that first review.
Observed symptom
Likely source
Inspection method
Procurement note
Pink, green, blue, or orange residue under pump nose
Water pump weep hole or gasket
Pressure-test cooling system cold and hot; typical cap pressure is 0.9–1.5 bar depending on application
Check gasket material, impeller clearance, bearing seal design, and weep-hole machining cleanliness
Dark oil film around crank pulley
Front crankshaft seal or oil pump housing
Clean area, run engine 10–15 minutes, inspect with UV dye if required
Confirm seal bore finish, cover flatness, seal installation depth, and pulley contact surface condition
Mixed sludge near timing cover
Coolant and oil cross-contamination or external overlap
Surface damage, incorrect sealant, misalignment, or wrong installation sequence
Measure mating face, fastener torque, shaft runout, and seal lip witness mark
Include installation guidance and gasket/seal kits in bulk programs where possible
</tr></thead><tbody> </tbody></table>The sequence matters. Clean the area with brake-cleaner or approved degreaser, dry it with low-pressure air, then run the engine until the thermostat opens. Do not diagnose from the lowest drip point. Gravity and airflow can move coolant or oil by 100–200 mm.
Useful warranty thresholds include: no active leak after a 15-minute hot idle and 5-minute 2,000 rpm hold; no fresh dye trail from the oil pump joint; no coolant pressure drop beyond the vehicle maker’s service limit during a 10–20 minute pressure test; and no oil pressure outside the application specification when measured with a calibrated gauge. The job card should record coolant pressure, oil pressure, engine temperature, mileage, oil grade, and repair history.
Failure Modes: How an Oil Pump Gets Blamed for a Water Pump Leak
Oil pumps do not fail only by losing pressure. In the field, many complaints involve external sealing, especially where the pump shares a sealing stack with the crankshaft seal, timing cover, oil pan, and water pump.
Common oil-pump-related failure modes include:
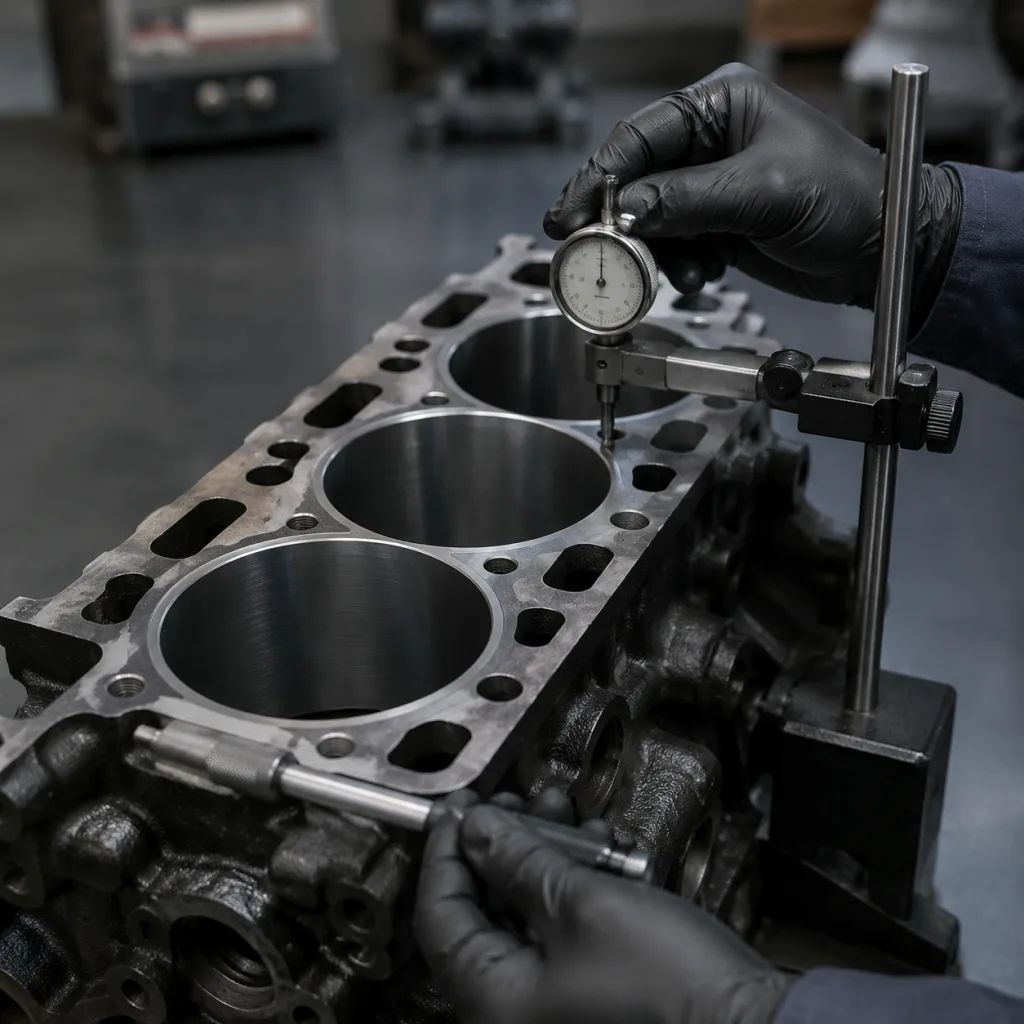
Cover gasket leakage: Poor surface finish, housing distortion, incorrect sealant bead size, dirty mating faces, or uneven bolt torque can open a leak path. For many aluminium housings, buyers should specify sealing-face flatness in the 0.03–0.08 mm range over the critical gasket area, subject to drawing.
Front crankshaft seal leakage: Oil spreads radially from the crank pulley and can look like pump body leakage. Seal bore diameter, bore roundness, installation depth, and shaft contact finish need control.
Porous casting or machining breakthrough: Less common, but serious. Suppliers should apply casting inspection and pressure or leak-test controls on the oil cavity and cover joint.
Relief valve sticking: Unstable or excessive local pressure can worsen a marginal gasket joint. Spring free length, load at compressed height, plunger diameter, and bore finish should be checked by batch.
Incorrect pump-to-block alignment: Misalignment can damage the crank seal lip or create uneven sealing compression. Dowel locations, bolt-hole position, and crank concentricity are critical.
Return analysis should follow the stain path. If the oil pump is dry above the joint but wet below it, oil may be migrating from a higher timing-cover location. If coolant crystallisation appears above the oil pump, inspect the water pump, thermostat housing, bypass pipe, or hose joint first.
A practical return file should include mileage and operating hours, engine code, installation date, gasket or sealant used, bolt torque record, mating-surface photos, oil-pressure reading at hot idle and 2,000 rpm, coolant pressure-test result, and UV-dye status. Without these records, an oil pump returned wet with coolant residue is not confirmed oil pump leakage.
Driventus supplies engine oil pumps, water pumps, gaskets, and related engine components through our catalog, with application coverage for aftermarket distributors and repair networks.
Replacement Gate: When the Oil Pump and Seals Actually Need Changing
Do not replace the oil pump just because the front cover is wet. Replacement should be tied to leakage evidence and functional inspection. Otherwise the original fault can remain, and the new installation may introduce a second leak at the crank seal, gasket surface, or sealant joint.
Use this gate before approving replacement:
1. Verify oil pressure at idle and specified engine speed using a calibrated mechanical or electronic gauge. Record oil grade, oil temperature, rpm, and engine temperature. 2. Inspect the front crankshaft seal contact surface for grooving, corrosion, eccentric wear, or a hardened seal track. A visible groove may require a sleeve, pulley replacement, or seal-position change depending on application. 3. Measure mating-face flatness where the pump seals to the block or timing case. A typical buyer specification is 0.05 mm maximum local distortion on the sealing land unless the drawing states otherwise. 4. Check pressure relief valve movement where accessible. The plunger should move freely without scoring, burrs, or varnish deposits. 5. Inspect fasteners for incorrect length, thread damage, missing washers, bottoming, or prior over-torque. Sensitive applications need torque-angle or torque-sequence guidance in service packs. 6. Confirm that coolant residue is not coming from the water pump weep hole, hose joint, thermostat housing, bypass pipe, or heater connection.
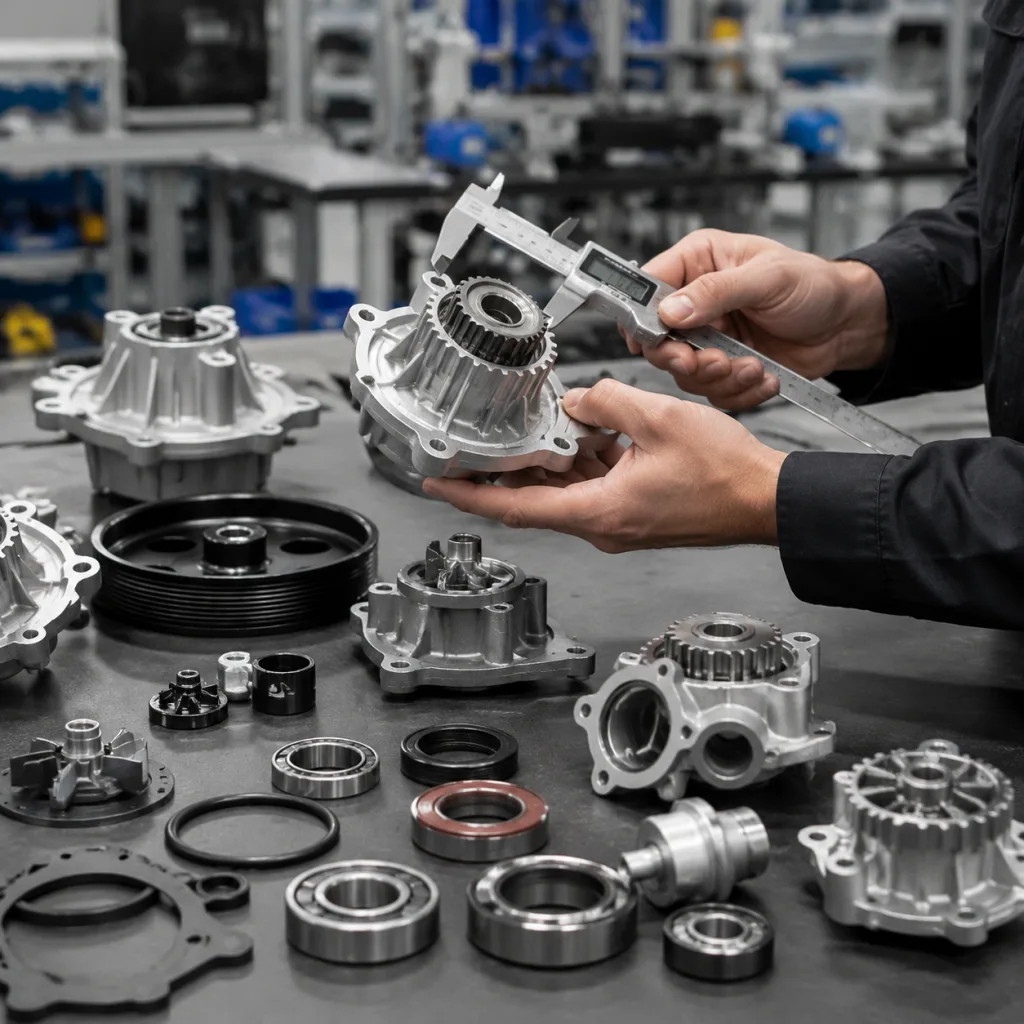
For sourcing, application listings are not enough. Ask for the data that determines fit and durability: housing alloy, gear or rotor material, rotor hardness, relief spring specification, sealing-face flatness, rotor end clearance, pump body-to-cover clearance, seal material, gasket material, and packaging protection for machined faces.
Useful RFQ values include rotor end clearance, outer rotor-to-housing clearance, relief valve opening pressure, pressure-flow curve, leak-test pressure and acceptance limit, and 100% or sampling inspection plan. If the OE file is unavailable, the supplier should benchmark a new OE sample and submit a dimensional comparison report instead of quoting from photos only.
Driventus oil pumps are produced under a documented quality system aligned with IATF 16949:2016 and ISO 9001:2015. These standards do not guarantee a specific field result, but they support process control, traceability, corrective action, and documented inspection. For regulated markets, material declarations may also be required under REACH (EC) No 1907/2006.
RFQ Deep-Dive: Specs That Separate a Quote From a Usable Pump
A weak RFQ produces parts that look correct and still create installation, leakage, or warranty problems. This is especially risky when one program includes oil pumps, water pumps, gaskets, crank seals, and timing-cover assemblies.
Build the RFQ around the product, the evidence, and the commercial model:
Target application, engine code, displacement, fuel type, model year range, market region, and left-hand/right-hand drive differences where relevant.
OE cross-reference format where available, for example OE 06A… or OE 11251…, without implying vehicle manufacturer approval.
Critical dimensions: mounting hole pattern, dowel locations, shaft or crank interface, pickup location, sealing-face geometry, seal bore, cover thickness, and bolt lengths.
Relief valve opening pressure target, pressure-flow curve, and test oil viscosity if supplied by the technical file.
Material requirements for housing, gears, rotors, seals, and gaskets, including aluminium grade or iron grade where specified.
Tolerance targets for sealing-face flatness, bore roundness, rotor pocket depth, gear end clearance, and dowel-position accuracy.
Validation requirements: pressure test, flow test, leakage test, dimensional inspection, cleanliness inspection, salt-spray or coating check where applicable, and packaging drop protection.
Documentation: PPAP-level documents where applicable, control plan, inspection reports, material certificates, IMDS/REACH declarations if required, and batch traceability.
Commercial terms: annual forecast, first order quantity, delivery schedule, packaging format, label language, barcode requirement, warranty handling method, and target Incoterms.
MOQ and lead time depend on tooling status, validation depth, and packaging complexity. For an existing aftermarket oil pump with available tooling, a practical trial order may start around 100–300 pieces per part number. Mixed-container distributor programs often use 300–1,000 pieces per SKU to reach stable unit cost. A new casting, new rotor set, or private-label box can move first production to roughly 60–120 days after sample approval. Repeat orders from active tooling are commonly planned at 30–60 days, depending on machining capacity, inspection workload, and shipment method.
Compare pricing by cost driver, not by the final number alone. Aluminium casting weight, CNC machining time, rotor or gear material, spring and valve design, 100% leak testing, gasket/seal inclusion, carton design, label complexity, and inspection-document level all affect cost. A bare pump in neutral bulk packaging is not comparable to a pump supplied with gasket, crank seal, branded box, installation sheet, and batch-level inspection report.
For OEM and Tier-1 projects, Driventus can support custom manufacturing based on drawings, samples, or technical specifications. For aftermarket distributors, we can review cross-reference lists, MOQ planning, packaging requirements, and phased launch schedules before quotation.
Scenario Control: Stop Repeat Leak Claims Before They Reach the Field
Picture a distributor receiving ten claims on the same oil pump SKU. The photos show wet housings, but half the units have coolant crystals above the pump and no oil trail from the cover joint. Treating all ten as pump defects would hide the real pattern.
Leak prevention has to connect factory control with field evidence. A visually clean oil pump can still fail if sealing geometry, relief valve movement, casting integrity, or machined-face protection is weak.
Relevant factory controls include:
CNC machining of sealing faces with controlled surface finish. Buyers can specify target roughness, for example Ra 1.6–3.2 µm for many gasketed aluminium faces, subject to gasket type and drawing.
In-process checks for rotor pocket depth, gear end clearance, housing bore, and cover flatness. Critical dimensions should use documented gauges or CMM checks, not visual inspection only.
Relief valve spring load verification at defined compressed height, plus plunger free-movement checks before assembly.
Air or oil leakage testing according to internal control plans. The RFQ should state whether testing is 100% or sample-based, with test pressure, hold time, and allowable pressure decay or bubble standard.
Casting inspection for shrinkage, cracks, cold shuts, machining breakthrough, and porosity. High-risk cavities should be controlled by pressure test, impregnation rules, or supplier casting audits.
Seal installation depth and lip orientation checks using a fixture or depth gauge, with lubrication instructions to prevent dry-start damage.
Cleanliness control to reduce debris in oil passages. Where required, specify residual particle limits and washing or flushing process controls.
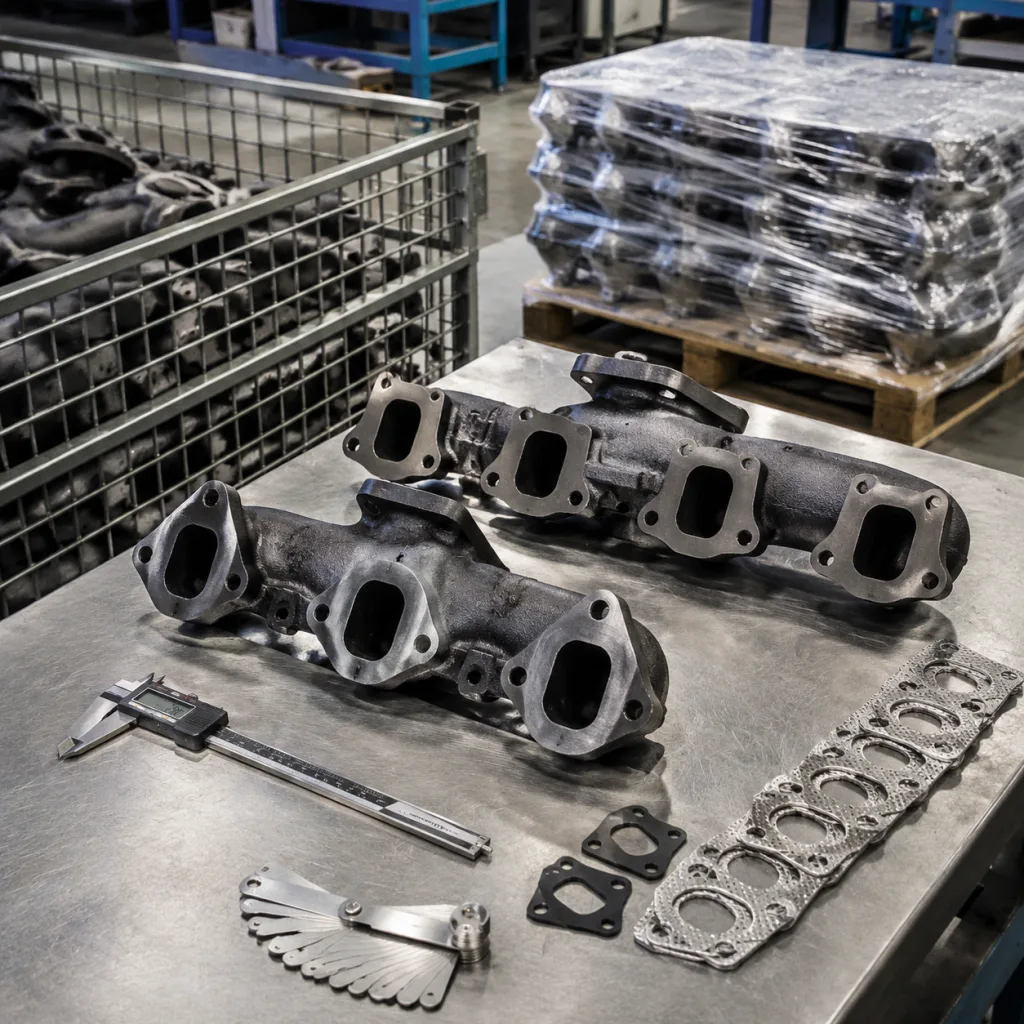
Protective packaging for machined faces and gasket surfaces, including caps, VCI bag where appropriate, separators between parts, and drop-tested export cartons.
IATF 16949:2016 and ISO 9001:2015 provide a framework for traceability and corrective action. Product-level requirements still need to be agreed by drawing, control plan, purchase specification, or approved sample. For higher-volume programs, request batch coding on the pump body, carton, or label so a claim can be linked to casting lot, machining date, assembly operator, and test record.
A useful scorecard separates claims into confirmed product defect, installation or mating-surface issue, and no-fault-found or misdiagnosis. Track claim rate by part number and by 1,000 units shipped, not only by total cases. If a part exceeds the agreed threshold, the corrective-action request should cover containment stock, return analysis, dimensional recheck, process audit, and updated control plan.
The field sequence stays short: identify the fluid, clean the area, run the engine under the leak condition, then inspect from the highest wet point downward. That is how buyers prevent a coolant leak from becoming an oil pump defect on paper.
Frequently asked questions
Yes. Coolant from the water pump weep hole or gasket can track down the timing cover and collect near the oil pump housing. Clean the area, pressure-test the cooling system at the specified cap pressure, run the engine hot, and photograph the highest wet point before replacing the oil pump.
Replacement is justified when leakage is confirmed from the pump housing, cover joint, front seal area, or casting, and when installation surfaces, fastener torque, seal condition, and oil pressure have been checked. Wet residue alone is not enough evidence.
Yes. Driventus supplies oil pumps, water pumps, gaskets, seals, and other engine components for B2B customers. Driventus is an independent aftermarket manufacturer; brand names are referenced for fitment only.
If you are reviewing a recurring leak claim or sourcing oil pumps for a new program, share the engine code, OE cross-reference, forecast quantity, target MOQ, photos, drawings, packaging request, and required test documents. We will review feasibility and quotation logic. You can [request a quote](/contact.html).