Water Pump How to Replace: Workshop Steps That Matter
Replacing a pump is straightforward only when the new part matches the housing depth, bolt pattern, seal face, pulley offset, and coolant flow path. This guide gives a practical workshop sequence for technicians, distributors, and fleet buyers who need a repeatable process rather than a generic checklist. The key is to inspect the old unit before removal, confirm the mating surfaces and drive components, flush contaminated coolant, and verify the refill and bleed procedure before the engine returns to service. For B2B buyers, the job also exposes sourcing risk: inconsistent casting dimensions, poor bearing preload, and weak documentation can create repeat failures. Driventus is an independent aftermarket manufacturer; brand names are referenced for fitment only.
1. Confirm the failure and match the replacement
Start with the symptom, not the part number alone. A pump with a failed seal usually leaves a tell-tale coolant trail at the weep hole, while a worn bearing often produces shaft play, pulley noise, or belt dust. Overheating can also come from a blocked radiator, air trapped in the system, or a sticking thermostat, so verify the full cooling circuit before you order.
Record these details before disassembly
Engine code and build variant
Pulley type, offset, and belt drive layout
Number of bolt holes and hose-port orientation
Gasket style: paper, formed rubber, or O-ring
Any corrosion, cavitation marks, or cracking on the old housing
If the engine uses a timing belt to drive the pump, plan the belt, tensioner, and seals as a set. That reduces repeat labour and avoids returning to the same access point twice.
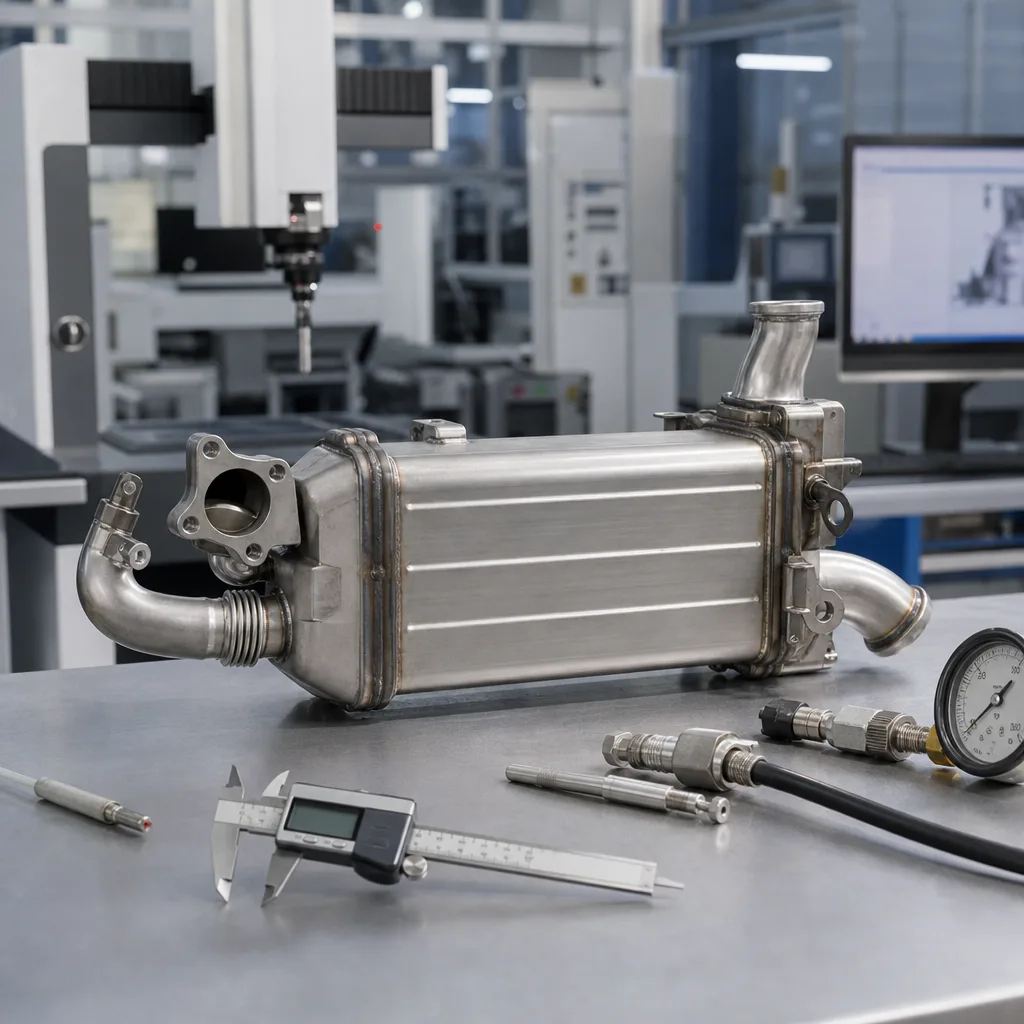
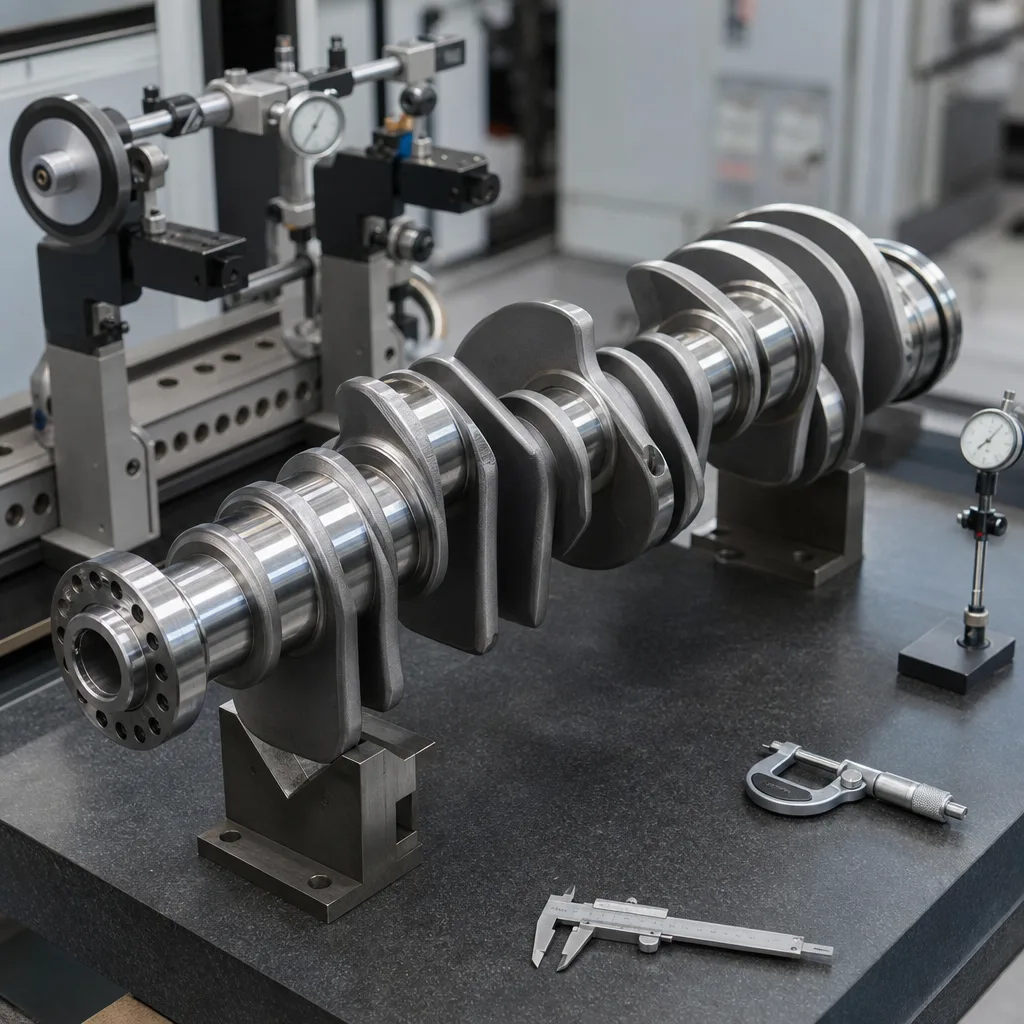
2. Prepare tools, coolant, and the work area
A clean installation starts with the right consumables and inspection tools. Use a torque wrench in the correct range, a straightedge for the mating face, fresh coolant that meets the vehicle specification, and new seals. If the system uses a bleed screw or vacuum fill tool, have it ready before the pump comes off.
Item
What to verify
Why it matters
Torque wrench
Calibration and range
Prevents warped housings and stripped threads
Straightedge
Flatness of the mating face
Detects distortion before the new seal is compressed
New gasket or O-ring
Correct profile and material
Reduces leakage and chemical incompatibility
Drain pan and caps
Clean and sealed
Avoids coolant contamination
Vacuum fill or bleed tool
Compatible with the cooling system
Reduces trapped air and hot spots
</tr></thead><tbody> </tbody></table>For procurement teams, ask for traceability, dimensional reports, and material declarations aligned with IATF 16949:2016, ISO 9001:2015, and REACH (EC) No 1907/2006. If the vehicle programme has separate thermal validation requirements, record those against the supplier's test file as well.
3. Remove the old unit without damaging the mating face
Drain the coolant into a clean container if it will be tested or reused according to site policy. Disconnect the battery on vehicles where the accessory drive or fan system creates an electrical hazard. Remove the belt, fan shroud, or timing cover as required, then loosen the pump fasteners in a cross pattern so the casting does not twist.
1. Mark hose positions and bracket locations before removal. 2. Crack the bolts loose gradually and keep them in order. 3. Lift the pump straight off the face; do not pry against the alloy housing. 4. Remove old gasket residue with a plastic scraper or approved solvent. 5. Inspect the block face, bolt threads, and coolant passages for scale or pitting.
If the old pump shows heavy rust, oil contamination, or cavitation erosion, inspect the radiator cap, hoses, and thermostat before installation continues. A new pump will not compensate for a blocked or pressurised system.
4. Install and torque the replacement correctly
Dry-fit the new pump first. The bolt holes should align without force, and the gasket should sit flat without distortion. If the workshop manual calls for sealant, apply only the specified amount and only to the specified area. More sealant is not better; excess can break free and contaminate the coolant circuit.
1. Place the new gasket or O-ring and confirm full seating. 2. Start all bolts by hand to avoid cross-threading. 3. Tighten in stages and follow the service-manual sequence. 4. Refit the belt or timing components and check alignment. 5. Rotate the engine by hand where the procedure requires it, then recheck tension and tracking.
Common mistakes to avoid
Reusing a flattened gasket or hardened O-ring
Torquing one bolt fully before the others are seated
Refill with the correct coolant mix and bleed the system slowly. Air pockets can create local hot spots, heater performance complaints, and false overheating reports. Run the engine to operating temperature, then confirm that the thermostat opens, the heater output stabilises, and the cooling fan cycles as expected.
Check the pump weep hole, hose joints, drain plug, and thermostat housing for seepage.
Recheck coolant level after the first heat cycle and again when the engine is cold.
Look for belt misalignment, pulley wobble, or unusual bearing noise after the road test.
Record the job date, coolant type, and lot or batch reference for fleet traceability.
If a branch network or wholesaler needs repeatable supply, standardise the replacement kit around the vehicle family and keep a single approval file for fitment notes, quality records, and export documentation. That reduces claims and simplifies reordering.
6. When a replacement needs supplier support
Workshop installation and sourcing are connected. A pump that fits the first vehicle but not the second can still fail a fleet programme if the housing depth, impeller clearance, or seal material varies. That is why dimensional control matters as much as box labelling.
Use a supplier that can document:
Dimensional inspection against the approved drawing
Material compatibility for coolant exposure and temperature cycling
Leak, noise, and bearing-endurance test records
Export-ready traceability for mixed-market distribution
If you also buy related engine hardware, see engine components for adjacent fitment families. The goal is not only to replace a failed part once, but to keep the same result across distributors, workshop chains, and OEM-adjacent applications without adding avoidable returns.
Frequently asked questions
If access overlaps, the coolant is contaminated, or the engine has overheated, replace or test the thermostat during the same visit. The labour difference is small compared with a second teardown if the old thermostat sticks.
No. Use a new gasket or O-ring every time, and apply sealant only where the service manual specifies it. Reused sealing material is a common source of seepage, torque variation, and repeat warranty claims.
Request dimensional reports, traceability records, material declarations, and test evidence for leak and endurance performance. For export supply, ask how the documentation aligns with IATF 16949:2016, ISO 9001:2015, and REACH (EC) No 1907/2006.
If you need a matched replacement plan, sample review, or export quotation, contact us at [request a quote](/contact.html).