Valve Seat Recession: Causes, Checks, and Replacement
Valve seat recession is a wear condition that reduces sealing height between the valve face and the valve seat. In service, the issue usually appears first as low compression, higher exhaust temperature, hard starting, misfire under load, or valve lash that keeps tightening after adjustment. On engines that run lean, tow heavy loads, or use fuels with poor lubrication, the valve seat can lose material faster than expected. Driventus is an independent aftermarket manufacturer; brand names are referenced for fitment only. For procurement teams and rebuild shops, the key task is not just identifying the symptom, but confirming whether the root cause is seat wear, guide wear, incorrect hardness, or a machining mismatch. This article explains the fault path from symptom to inspection to replacement, and shows what to verify before you source a new valve seat.
How to tell valve seat recession from other wear
Valve seat recession means the valve sinks deeper into the cylinder head as the seat face wears or deforms. That changes the installed valve height and can reduce the clearance needed for stable operation.
Typical symptoms include:
Compression loss on one or more cylinders, often 10–20% below the healthy cylinders on the same bank
Valve lash that tightens after a short service interval, sometimes from a nominal 0.20–0.35 mm cold setting down to near zero
Rough idle, misfire, or poor cold starting
Hot exhaust valves, especially under sustained load
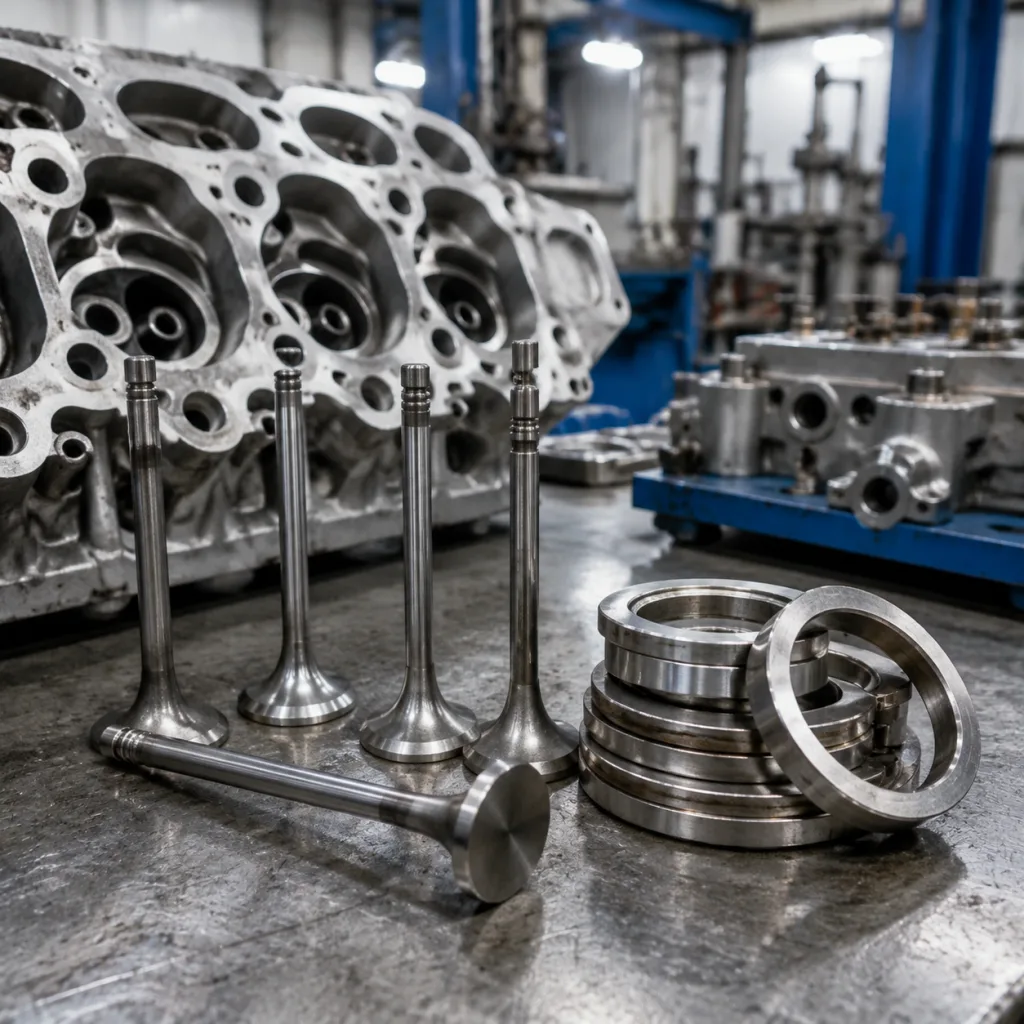
Burning or pitting at the valve-to-seat contact band
In a teardown, a normal exhaust seat contact band is often about 1.0–1.5 mm wide on light-duty gasoline applications, while recession problems can show a band that is too narrow, too far inboard, or visibly sunk below adjacent seats. The condition is often confused with stem wear or guide wear. A worn guide can also change valve geometry, but valve seat recession usually leaves a clear contact pattern on the seat face and an abnormally deep valve position in the chamber. For repeatable diagnosis, record valve stem protrusion, seat height, and lash before and after resurfacing so you can separate true recession from guide-related geometry shift.
Why seats fail: the main paths to recession
The failure mechanism depends on the engine duty cycle and the seat material. In practice, the most common causes are heat, poor contact geometry, contamination, and material mismatch.
Cause
What happens
Inspection clue
Excess exhaust heat
Softens the contact area and accelerates wear
Discoloured seat, burned valve face, elevated exhaust gas temperature
Uneven witness pattern, runout above 0.03 mm on finished seat
Contamination
Abrasive particles cut the seating surface
Scratches, embedded debris, abrasive scoring on valve face
Incorrect lash or assembly
Valve does not fully seat
Localised hot spotting, tuliped valve face, rapid lash loss
</tr></thead><tbody> </tbody></table>For engines running alternative fuels or high-load commercial duty, the margin is smaller. Seat material, interference fit, and concentricity matter more than cosmetic appearance. As a sourcing rule, buyers should expect the finished seat to hold concentricity within 0.02–0.05 mm depending on engine class, with hardness commonly specified in the 35–50 HRC range for many alloy steel exhaust seats and higher for nickel-based or sintered formulations. A seat that measures correctly on diameter but arrives with unstable hardness or poor microstructure can still fail early, so request both dimensional and metallurgical evidence when the engine sees severe duty.
Inspection sequence before you authorize replacement
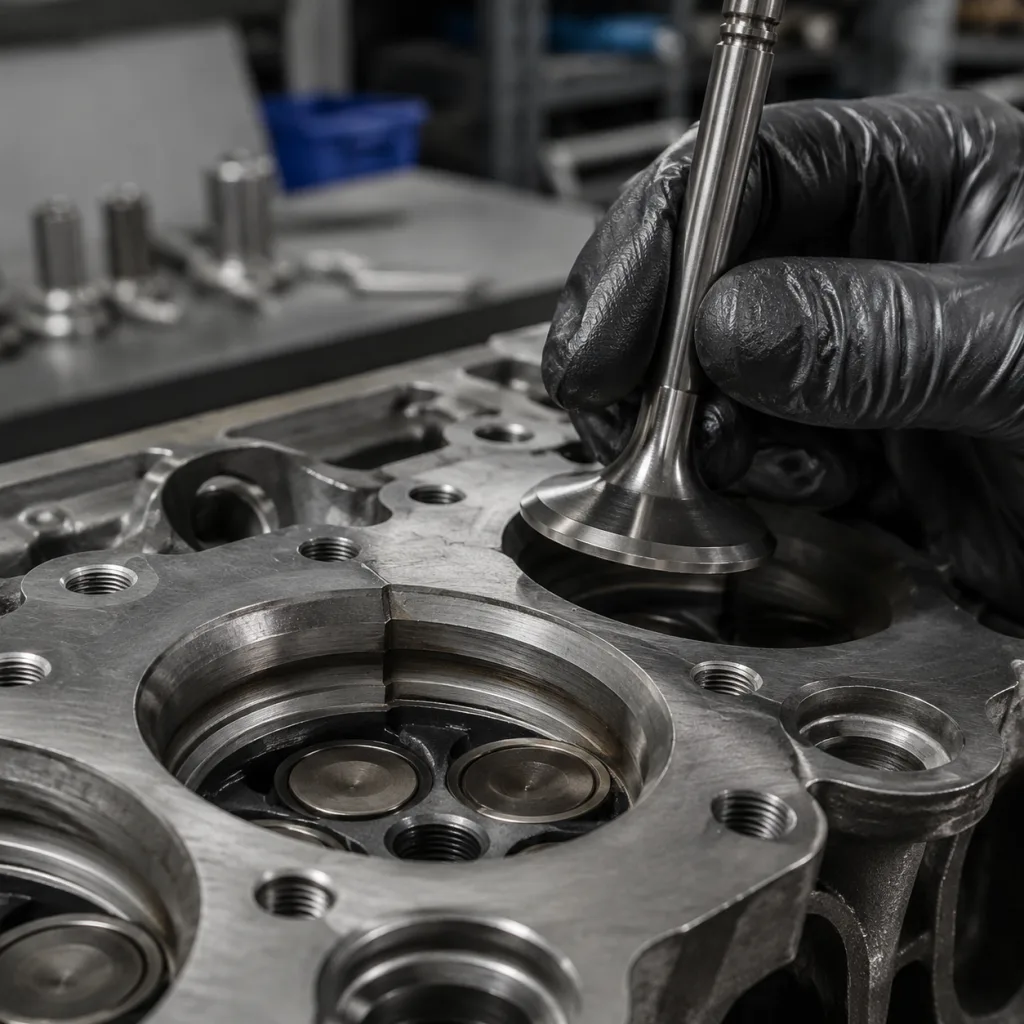
A proper inspection combines visual checks with dimensional measurement. Do not rely on surface appearance alone.
1. Measure valve lash and compare it with the service record. 2. Check valve stem protrusion and installed height. 3. Remove the head and inspect the seat contact band with marker dye or layout fluid. 4. Measure contact width and concentricity with the valve face. 5. Inspect the guide for side play, then check for cracks around the seat pocket. 6. Measure seat pocket diameter, seat outside diameter, and counterbore depth before deciding whether the head can accept an oversized replacement. 7. Confirm the seat face angle and throat angle match the intended valve profile, usually within 0.5° on production rebuild work.
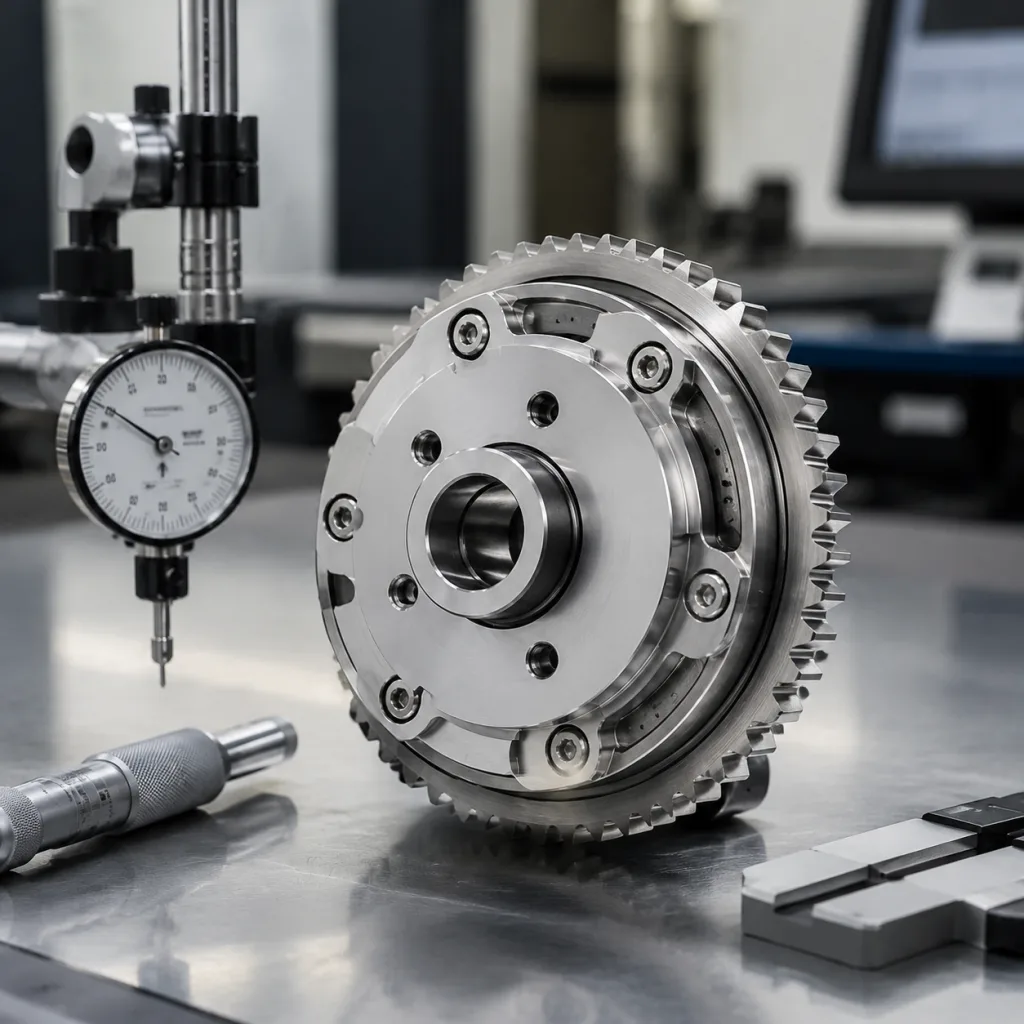
Key checks for procurement teams
Material grade and hardness range, with a target tolerance window and test method noted on the report
Interference fit into the head pocket, often controlled around 0.05–0.12 mm depending on head material and seat diameter
Seat OD/ID and chamfer geometry
Concentricity and runout after installation
Compatibility with the target engine family and fuel type
Sample quantity for first-article validation, typically 2–5 pieces per part number
If the buyer is quoting a rebuild programme, ask for a first article dimensional report, hardness certificate, and one installation sample from the production lot. For published quality control practice, review our quality system and compare the part family details in our catalog.
When replacement beats re-cutting
Replacement is justified when the seat shows measurable recession, cracking, burn-through, or loss of the correct contact geometry. In a remanufacture or engine rebuild, the new seat must match the head pocket and valve profile, not just the nominal diameter.
What to confirm before ordering:
Correct alloy selection for intake or exhaust service
Stable hardness after heat treatment, with batch results inside the agreed spec band
Machine finish suitable for the intended valve angle
Interference fit that supports retention without distorting the head
Traceability to IATF 16949:2016 and ISO 9001:2015 production control
Minimum order quantity, package count, and lead time for the production run
Typical commercial sourcing logic is straightforward: prototype or validation lots may be shipped in 1–20 pieces, small repair orders often start at 50–200 pieces, and production programs usually price better at 500+ pieces per part number. Lead time often changes with process route: in-stock standard seats can ship in 3–7 days, machining-only replenishment commonly takes 2–4 weeks, and custom tooling or non-standard geometry may take 4–8 weeks depending on drawing approval and sample sign-off. If the application needs a non-standard geometry, Driventus can support custom manufacturing for dimensional adaptation, material selection, and sampling. For buyers working from an OE cross-reference, validate the replacement against the target drawing or sample part before release.
Buying valve seats for rebuild programs
Procurement decisions should focus on repeatability, not only unit price. A valve seat that machines correctly in one batch but shifts hardness or fit in the next batch can create field returns and warranty cost.
Driventus supplies valve seats for aftermarket, OEM, and Tier-1 channels from Taizhou, Zhejiang, with export experience in 60+ countries. We support dimensional control, material verification, and batch traceability for rebuild programmes that need consistent installation results.
For buyers managing annual usage, the practical buying model is to separate engineering validation from volume release. Start with a sample set, confirm fit on the target head, then lock the drawing, hardness range, and acceptance criteria before opening a blanket PO. On repeat orders, quote by annual forecast, target lot size, and packaging requirement; that lets suppliers hold raw material and reduce unit cost without sacrificing tolerance control. Relevant standards and compliance references include IATF 16949:2016, ISO 9001:2015, and REACH (EC) No 1907/2006 where applicable to material declaration. For part families tied to engine rebuild kits, buyers can also review engine components for broader sourcing alignment.
Frequently asked questions
No. Heat load, incorrect valve lash, misalignment, contamination, and guide wear can all contribute. Material quality matters, but it is only one part of the failure path. In procurement terms, a good material choice still fails if hardness, fit, or concentricity drift outside the controlled range.
Only if the remaining material thickness, hardness, and fit remain within specification. If the seat is cracked, deeply recessed, or out of concentricity, replacement is safer. As a practical rule, if re-cutting removes too much material to preserve the intended contact width or interference fit, the seat should be replaced instead of reused.
Confirm dimensions, material grade, hardness, interference fit, and target engine compatibility. If the application is critical, request samples and dimensional reports before production release. For ongoing supply, also confirm MOQ, pack quantity, lead time, and whether the supplier can hold the same revision and heat-treatment route across replenishment lots.
If you are matching an existing part, need batch traceability, or want to validate a drawing, please [request a quote](/contact.html).