Rod Knock Causes and Fixes: Diagnosis and Parts Checks
Rod knock is a deep metallic knock from the lower end of the engine. In most cases it points to excessive clearance between the connecting rod bearing and the crank journal, but the root cause can be oil starvation, contaminated oil, bearing fatigue, journal damage, or incorrect assembly torque. For procurement and workshop teams, the practical question is not only what the noise means, but which measurements, tolerances, and parts checks must be confirmed before a repair order is raised. Driventus is an independent aftermarket manufacturer; brand names are referenced for fitment only. This article explains the usual failure chain, the inspection sequence, and the replacement checks that help reduce repeat repair risk. Where part sourcing is required, see [our catalog](/products.html), [our quality system](/quality.html), [custom manufacturing](/oem-services.html), and [request a quote](/contact.html).
Rod Knock: Noise, Cause, Or Consequence?
Rod knock is a symptom first and a root cause only after inspection confirms why the bearing lost control of clearance. The sound usually comes from the connecting rod big-end bearing striking the crank journal once the oil film fails.
Fast symptom check
Deep, low-frequency knock that tracks engine speed
Stronger under light load, throttle blips, or deceleration
Hot idle oil pressure that may drop below spec
Metallic debris in the filter, drain pan, or sump magnet
A knock that becomes clearer as the engine warms
A useful shop distinction is this: piston slap is often lighter and higher in the block, while rod knock is sharper at the pan or lower block. Main-bearing noise can sound similar, but it often spreads across more of the crankcase. Start with sound location, then confirm oil pressure and debris before assuming the bottom end is the only issue.
Failure Chain: What Usually Breaks First
The usual rod knock causes and fixes follow a short failure chain. Something reduces lubrication, clearance opens up, the bearing wears faster, and the journal is damaged if the engine keeps running.
Trigger
What fails next
What to check
Low oil level
Bearing runs dry
Dipstick, leak points, fill history
Oil starvation
Oil film collapses
Pump output, pickup blockage, passages
Contaminated oil
Abrasive wear increases clearance
Filter debris, sludge, fuel dilution
Overheating
Oil thins and loses film strength
Cooling history, discoloration, oil condition
Wrong torque or stretch
Bearing crush is incorrect
Rod bolt torque angle or stretch
Journal damage
Surface scoring accelerates wear
Diameter, taper, ovality
Wrong bearing grade
Clearance falls outside target
Engine code, color code, oversize selection
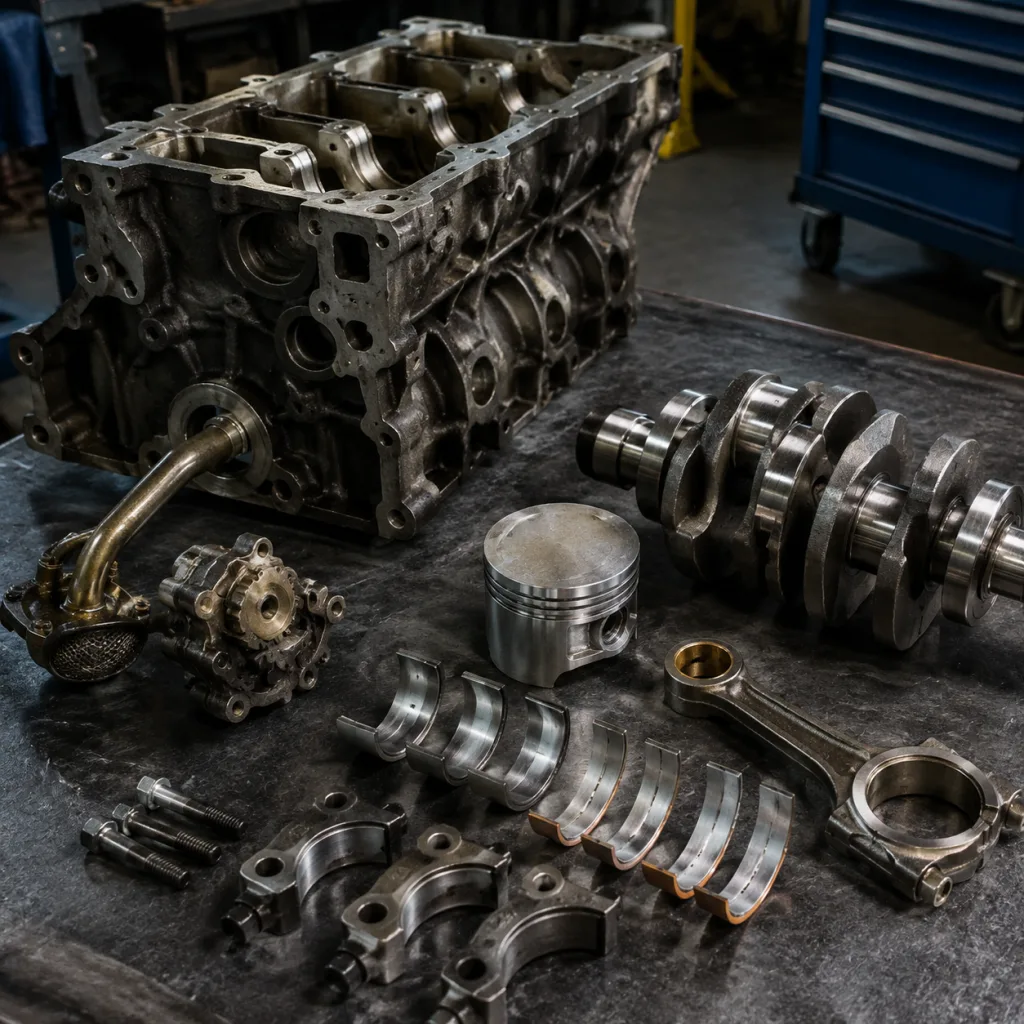
</tr></thead><tbody> </tbody></table>The key point is that a noisy bearing is often the last event, not the first. If the engine has already run with a strong knock, treat the crankshaft, rod, and shell set as a system. A single damaged bearing can hide broader clearance loss elsewhere in the engine.
Diagnosis Sequence: Do These Checks In Order
A step-by-step inspection keeps the repair from turning into a guess.
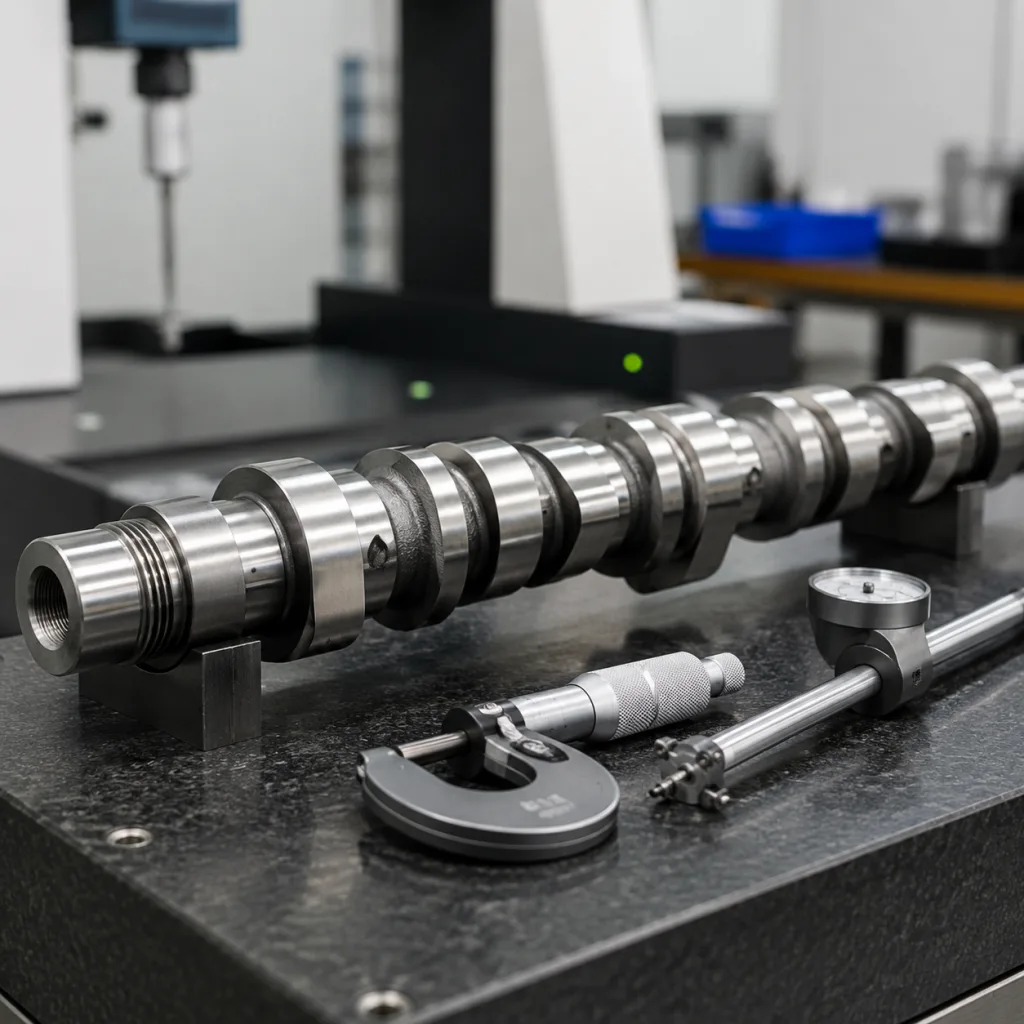
1. Confirm the noise with a stethoscope or chassis ear and rule out valve train, injector, and accessory noise. 2. Check hot idle oil pressure and repeat at about 2,000 rpm against the service spec. 3. Inspect the drained oil and filter for glitter, copper-colored particles, sludge, or fuel smell. 4. Remove the sump and look for heat tint, wiped shells, or a seized rod cap. 5. Measure each crank journal for diameter, taper, and out-of-round with a micrometer. 6. Check rod big-end bore size, side clearance, and fastener condition. 7. Measure assembled clearance with Plastigage or a bore gauge after cleaning.
Reject any journal that is blue, deeply scored, or outside the roundness limit in the manual. Repair manuals often allow only very small out-of-round and taper values, so even a slight deviation can change the decision from polish to grind to replace. If one rod has failed badly, inspect the rest of the bottom end instead of releasing only a local fix.
Decision Guide: Repair, Rebuild, Or Replace
The right fix depends on how far the damage has spread.
Bearing wear only: replace the shells, clean the oil system, and correct the original lubrication issue.
Journal scoring or out-of-round: regrind or replace the crankshaft if the engine design allows it, then verify the finished size.
Rod damage or bolt stretch: replace the connecting rod assembly and fasteners as a matched set.
Oil system contamination: clean galleries, cooler, pump, pickup, and filter housing before restart.
Pump failure or low output: replace the pump if measured flow or relief-valve action is out of spec.
For a workshop, the decision is usually economic as much as mechanical. A clean bearing-only failure may be repairable quickly. A heat-damaged crank with metal through the oiling system is a rebuild case. If the engine is rare or downtime is expensive, compare repair time, machine work, and parts lead time before choosing the path.
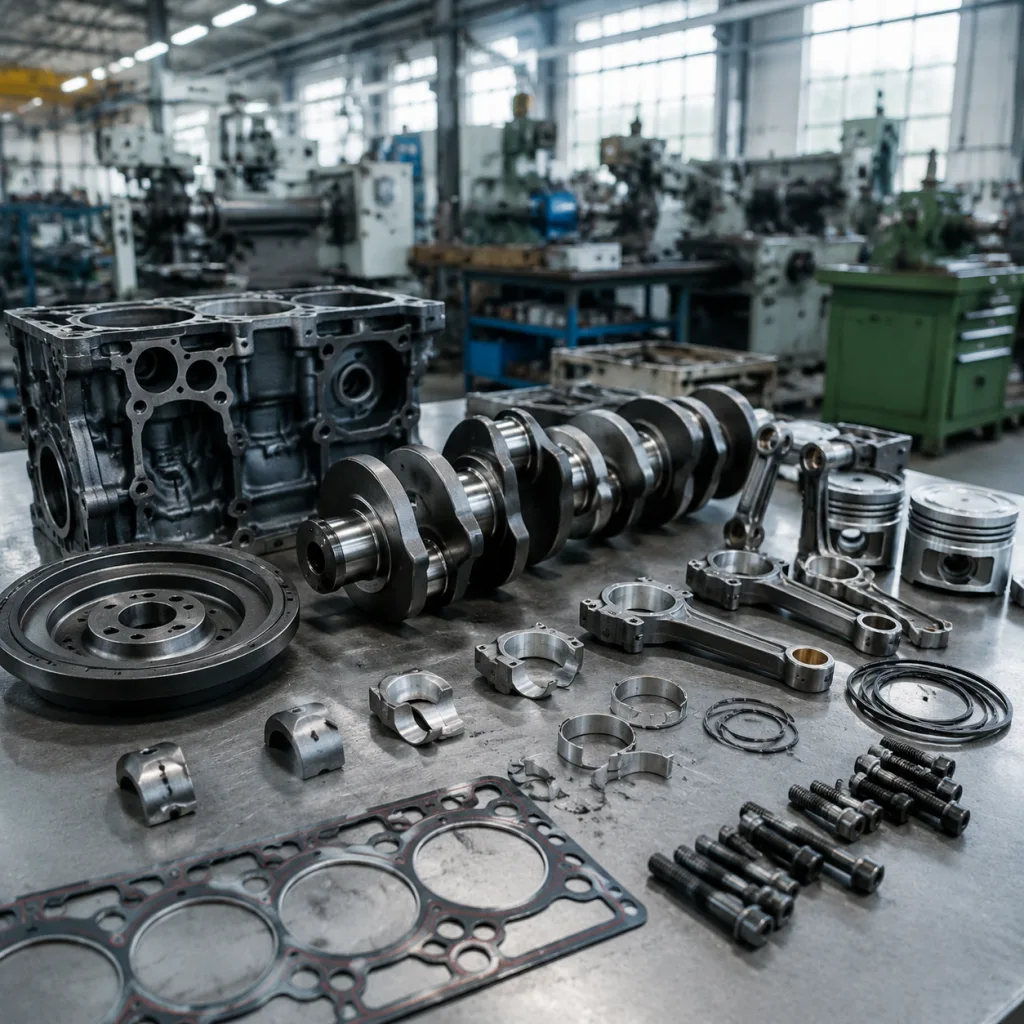
Parts Check: What Buyers Should Verify Before Ordering
Buying the wrong parts is one of the easiest ways to turn a rod knock repair into a comeback. Before release, verify these points:
Bearing shell material and coating spec
Journal size range and surface finish requirement
Rod bolt grade, tightening method, and reuse policy
Oil pump capacity and relief-valve function
Cleanliness control for galleries and assembly parts
Package quantity, MOQ, and whether mixed-size kits are allowed
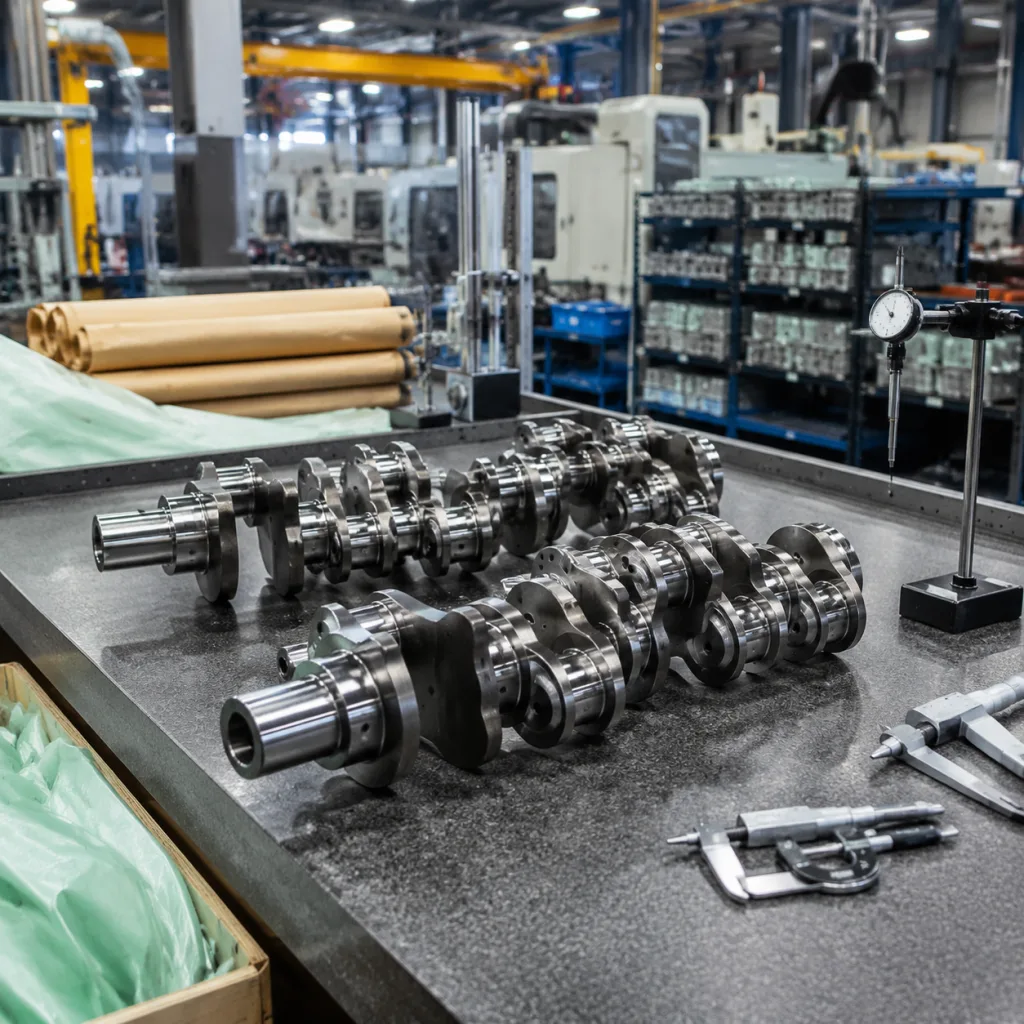
Request a dimensional control sheet that shows journal diameter, shell thickness, and clearance targets. For critical engine parts, ask for traceable lot numbers, packaging that prevents edge damage, and inspection documents tied to the same revision level. When comparing suppliers, use landed cost, not unit price alone: part price, freight, inspection paperwork, tooling if any, MOQ, and lead time all affect the real job cost. Driventus operates under IATF 16949:2016 and ISO 9001:2015 systems, with export experience across aftermarket and OEM supply channels. For compliance-sensitive programs, material declarations and chemical control should also be aligned with REACH (EC) No 1907/2006 where applicable.
How To Avoid A Repeat Knock
A repeat knock usually means the root cause never got corrected. The prevention plan is simple, but the discipline has to be consistent.
Use the correct oil grade for the duty cycle
Prime the oil system before first start after rebuild
Set rod bolt torque or stretch exactly to spec and record it
Clean oil passages, cooler lines, and the filter housing
Replace damaged journals instead of polishing away measurable damage
Verify idle and hot running pressure after restart
Recheck oil and filter condition after the first heat cycle or first 500-1,000 km, per service policy
For multi-site repair teams, standardized inspection sheets reduce repeat failures faster than ad hoc judgment. Stock the fast-moving bearing grades locally, and keep oversize or slow-turn parts on planned lead time. That keeps the shop out of emergency sourcing and gives the rebuild a better chance of lasting.
Frequently asked questions
Yes, if the damage is limited to bearings and the crank journals remain within specification. If the crank is scored, out of round, heat damaged, or below minimum size after machining, a deeper rebuild or replacement is usually required.
No. Thicker oil may reduce noise briefly, but it does not correct bearing wear, journal damage, or oil starvation. It can also mask a failure that needs inspection and may delay a necessary repair decision.
At minimum, inspect and often replace the bearing shells, rod bolts if specified, oil filter, and any damaged crank or rod components. Flush the oil system before restart, and replace the oil pump if output or relief function is out of spec.
If you need matched engine components, inspection support, MOQ guidance, or OEM-style supply documentation, start with our [request a quote](/contact.html).