Piston Ring Symptoms of Failure: Diagnosis and Fixes
Piston ring symptoms of failure usually show up as rising oil consumption, blue exhaust smoke, crankcase blow-by, and reduced or uneven compression. Even so, those signs do not automatically confirm a ring problem. Worn cylinder bores, stuck oil control rings, blocked PCV circuits, valve stem seal leakage, turbocharger seal leakage, overheating, detonation damage, and installation errors can all create similar complaints. Good diagnosis starts with the symptom pattern and then confirms the cause through compression and leakdown testing, plug or injector reading, bore measurement, piston groove inspection, and crankcase ventilation checks before any parts are ordered. This article lays out a workshop-level path from symptom to root cause, inspection, and replacement, with a focus on engines used in aftermarket, fleet, agricultural, industrial, and rebuild programs. It also explains what sourcing teams should verify when buying ring sets for consistent sealing performance, controlled oil consumption, and fewer warranty returns. Driventus is an independent aftermarket manufacturer; brand names are referenced for fitment only.
Common Symptoms and What They Mean
The most common piston ring symptoms of failure are easy to recognize in the workshop, but none of them should be treated as proof on their own. The real job is connecting the complaint to the actual failure mode: lost compression sealing, weak oil control, excessive ring groove clearance, or bore wear.
Symptom
Likely ring-related cause
What is happening mechanically
First check
Blue smoke after idle or deceleration
Stuck or worn oil control ring, carbon-packed drain-back holes, glazed bore
High manifold vacuum draws oil left on the cylinder wall into the chamber when throttle is reopened
Oil consumption trend, plug ash, PCV function, borescope for glaze
Higher cylinder pressure pushes combustion gas past the rings and can pull oil upward past a weak ring pack
Compression and leakdown, then crankcase pressure and PCV check
Low compression on one or more cylinders
Broken top or second ring, worn bore, cracked ring land, excessive end gap
The chamber cannot hold cranking pressure, especially at low rpm
Dry/wet compression, leakdown, then borescope
Crankcase pressure or blow-by
Loss of ring seal, ring flutter, excessive end gap, ring land damage
Combustion gas leaks into the crankcase and overloads the breather system
PCV/breather flow, leakdown to crankcase, dipstick tube pressure
Oil-fouled spark plugs or wet injector tips
Oil control ring collapse, ring sticking, severe bore wear
Oil reaches the chamber and leaves wet deposits, carbon, or ash
Cylinder-to-cylinder plug comparison and oil use history
Rough idle or hard starting
Poor cylinder sealing at cranking speed
Reduced effective compression weakens combustion stability and cold start performance
Compression balance, cranking speed, battery voltage
High oil consumption with little visible smoke
Oil ring sticking, low-tension oil ring, blocked drain-back, PCV carryover
Oil is burned gradually or routed through the intake rather than showing as obvious smoke
Intake tract inspection, PCV separator, plugs, oil-use records
</tr></thead><tbody> </tbody></table>A few symptom patterns are especially useful:
Blue smoke after a long idle or on overrun often points more toward oil control ring sticking, bore glazing, or valve stem sealing than to a completely broken top ring.
A clear wet-test improvement, often around 10-20% or more over the dry reading, usually supports ring or bore sealing loss rather than a valve fault.
Heavy blow-by with only moderate compression loss can happen when the ring pack still gives acceptable static cranking numbers but leaks badly under firing pressure.
One weak cylinder may indicate a broken ring, cracked land, local scoring, injector wash, or debris damage rather than general engine wear.
All cylinders low and even may suggest overall bore wear, incorrect hone finish, excessive installed ring gap, poor break-in, or an engine that never seated its rings correctly after rebuild.
For workshops and fleets, the practical takeaway is simple: diagnose the pattern, not just the symptom. Compression, leakdown, smoke behavior, oil consumption, crankcase pressure, and plug condition should all point in the same direction before parts are sourced.
Likely Causes Behind Ring Failure
Ring failure is usually the result of another problem, not the starting point. In many rebuilds, a damaged ring pack reflects issues in air filtration, lubrication, cooling, combustion control, machining accuracy, or installation practice. Replacing the rings without fixing the underlying cause often leads to repeat oil consumption, poor seating, or early blow-by.
Wear and contamination
Contaminated intake air from a leaking filter seal, split duct, or poor dust control can cause three-body abrasion that wears the ring face and cylinder wall together. In off-road and agricultural service, dust ingestion can produce visible vertical scoring in a short service interval.
Dirty oil, fuel dilution, or extended drain intervals speed up groove wear and can restrict free ring movement, especially in the oil ring assembly.
Carbon buildup around the second ring or oil ring groove can stick the ring in place and stop it from following the bore correctly.
Heat and lubrication problems
Oil starvation reduces hydrodynamic film thickness at the wall/ring interface and can quickly lead to scuffing, micro-welding, and ring face distress.
Overheated oil loses viscosity reserve and film strength, increasing metal-to-metal contact under high load.
Cooling-system faults can raise piston crown and land temperature enough to distort grooves, collapse ring tension, or close end gap when hot.
Combustion-related damage
Detonation and pre-ignition can hammer the top land, crack the ring groove, and fracture the top ring. This is a common root cause when a replacement ring breaks again soon after overhaul.
Injector faults or over-fueling can wash lubricant from the cylinder wall, creating rapid bore and ring wear plus local scoring.
Overboost, sustained overload, or high exhaust temperature increase ring face temperature and land stress, especially in turbocharged diesel and heavy-duty gasoline applications.
Machining and installation issues
Insufficient end gap can cause ring butting at operating temperature. Once the ends touch, the ring has nowhere to expand, which can scuff the wall, seize the ring in the groove, or break the land.
Excessive end gap reduces gas sealing and increases blow-by, especially on the top ring.
Cylinder taper or ovality beyond service limit prevents full circumferential contact, so the ring seals only part of the stroke.
Incorrect plateau hone or roughness profile can delay seating, raise oil consumption, or wear the ring face too aggressively. In practice, ring manufacturers often specify a compatible finish window rather than relying on a generic “fresh hone.”
Incorrect ring orientation such as upside-down second rings, damaged oil rails, or overlapped expander ends can create immediate oil control complaints after startup.
Wrong groove-to-ring fit allows flutter, pumping, sticking, or unstable gas sealing at speed.
Component condition problems
Worn piston grooves increase side clearance and reduce ring stability.
Cracked, peened, or hammered ring lands prevent any new ring from maintaining correct support.
Bore scoring gives oil a direct path into the chamber and can abrade a new ring set almost immediately.
If the cylinder wall is polished smooth, the rings may never seat properly. If the piston land is damaged, replacing only the rings is usually a short-term fix. For rebuild programs, the root cause should be recorded on the job card before sourcing parts, especially when multiple identical engines are in service and failure trends need to be controlled.
Inspection Steps for Workshop Diagnosis
Use a fixed inspection sequence so diagnosis is repeatable, auditable, and suitable for workshop, fleet, or warranty review. The goal is to separate genuine piston ring symptoms of failure from complaints caused by valves, turbocharger oil leakage, head gasket faults, or crankcase ventilation issues.
1. Confirm the complaint
Before testing, record:
oil consumption in L/1,000 km, qt/1,000 mi, or L/100 operating hours
when smoke appears: cold start, hot idle, deceleration, acceleration, boost, or constant load
recent overheating, detonation, injector problems, dust ingestion, or lubrication events
whether the engine has had a recent overhaul, glaze-break hone, or partial top-end repair
This history often narrows the fault quickly. Smoke on overrun leans toward oil control issues; blow-by under load points more toward combustion sealing loss.
2. Perform a compression test
Run a compression test on all cylinders with:
fully charged battery
consistent cranking speed
throttle position per service procedure
engine temperature noted as hot or cold
Record:
absolute pressure for each cylinder
highest-to-lowest spread
number of compression strokes to peak pressure
As a field rule, cylinder variation greater than about 10-15% deserves follow-up, although the engine maker's service limit should always take priority. Compression on its own does not tell you whether the leak path is rings, valves, or head gasket.
3. Follow with a leakdown test
Leakdown testing helps localize the leakage path and is often more useful than compression for ring diagnosis.
Air at the oil filler, breather, or dipstick tube indicates ring, bore, or piston leakage.
Air at the intake indicates intake valve leakage.
Air at the exhaust outlet indicates exhaust valve leakage.
Bubbles in coolant indicate possible head gasket or casting faults.
On many service engines, a warm-engine reading below about 10% leakage is generally healthy, while 20% or more on one cylinder is a strong indicator for teardown. Exact thresholds vary by application, test pressure, and service literature, so compare against OEM procedure where available.
4. Compare dry and wet compression
Add a small measured amount of clean engine oil only after the dry test is complete.
A meaningful rise in pressure supports ring or bore sealing loss.
Little or no change shifts attention toward valves, seats, or head sealing.
This is still a screening method rather than a final verdict, but it remains useful before teardown.
5. Inspect plugs, intake, and PCV system
Read spark plugs or cylinder-specific injector tips by cylinder. Also check:
PCV valve or breather metering function
blocked separators, breathers, or return passages
oil pooling in the intake manifold or charge-air piping
abnormal turbo compressor housing oil residue on forced-induction engines
A restricted PCV system can raise crankcase pressure enough to imitate ring failure by increasing oil carryover and reducing drain-back from the top end.
6. Use a borescope before disassembly
A borescope can show whether ring replacement is realistic without stripping the engine immediately. Look for:
vertical scoring
polished glaze
crosshatch loss
carbon ridge at the top of ring travel
oil wash patterns
local hot spots or piston crown wetting
This step is especially useful for fleet triage because it helps determine whether the engine is a realistic ring-only candidate or already a machining job.
7. Measure the bore correctly
If teardown proceeds, measure each cylinder with a dial bore gauge referenced to an outside micrometer. Check for:
diameter at multiple heights
taper from top to bottom of ring travel
ovality in thrust and non-thrust directions
wear ridge near top dead center
surface finish suitability for the replacement ring face or coating
A common workshop practice is to measure near the top, middle, and bottom of ring travel in two axes, then compare the results to service limits. A bore can look acceptable visually and still be outside taper or out-of-round limits for a successful re-ring.
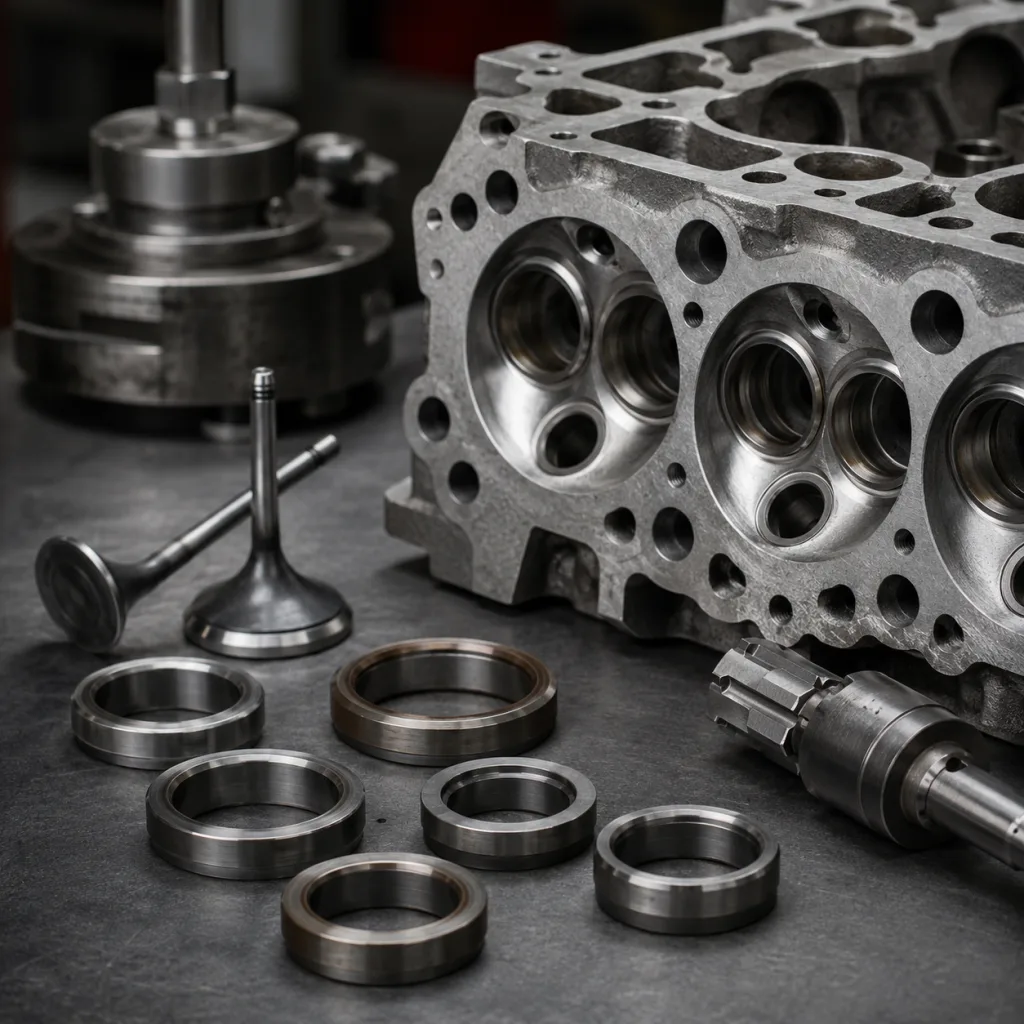
8. Inspect the piston and ring grooves
Check:
ring groove side clearance
land cracking, peening, or chipping
carbon packing in grooves and oil drain-back holes
free movement of removed rings in the groove
signs of butting, microwelding, scuffing, or breakage
If the groove is worn or the land is damaged, a new ring set will not maintain stable face contact or gas sealing.
9. Verify ring fitment during rebuild
Before final assembly, confirm:
ring end gap in the actual finished bore, squared at the specified measurement depth
correct ring orientation and any top-mark identification
oil ring expander ends are butted, not overlapped
side clearance in each groove
bore finish compatibility with ring material and face coating
For fleet or production rebuilds, record all pre-strip and assembly measurements. That documentation helps distinguish ring wear from bore wear, machining error, or assembly nonconformance.
When Replacement Is the Right Call
Replacement makes sense when measurements show that the ring pack is the failed component and the rest of the sealing system is still within repairable condition. A ring-only repair should be based on measured data, not assumption, because it only works when bore geometry, surface finish, and piston groove condition still support proper seating.
Replace the rings when
the bore remains within service limits for diameter, taper, and ovality
the wall finish can support break-in and oil retention
piston grooves are within side-clearance limits and free of land damage
the ring pack shows sticking, wear, collapse, or breakage without major piston distress
there is no deep scoring that will continue to pass oil or abrade the new rings
This is the typical case for controlled re-ringing, especially where the lower end is still serviceable and measurements support a standard-size replacement.
Re-machine or replace major components when
taper or ovality exceeds service limit
vertical scoring is deep enough to catch a fingernail or measure beyond finish-up tolerance
the top ridge is excessive
piston lands are cracked, pounded, or chipped
groove wear exceeds specification
the engine shows detonation, seizure, or contamination damage
In these cases, a ring-only repair often leads to slow seating, persistent oil use, blow-by, and repeat warranty claims.
Pay special attention to the oil control ring
The oil control ring can fail independently of the compression rings and may create severe smoke or oil consumption before compression falls outside specification. Check for:
collapsed expander tension
carbon-packed rails
blocked drain-back holes in the piston
incorrect rail or expander assembly
wrong radial wall or tension for the piston groove design
That is why an engine can post acceptable compression numbers and still burn oil heavily.
Ring replacement is not only about the ring set
Successful sealing depends on the entire tribological system:
ring material matched to engine duty cycle
face coating matched to bore material and finish
end gap appropriate to operating temperature and application load
groove clearance within specification
correct honing method and plateau finish
proper lubrication and break-in procedure
For repeat repairs, match the ring set to the measured bore and groove condition, not only to the catalog application. Ignoring bore wear, piston groove wear, or finish compatibility is a common reason a re-ring job comes back with the same complaint.
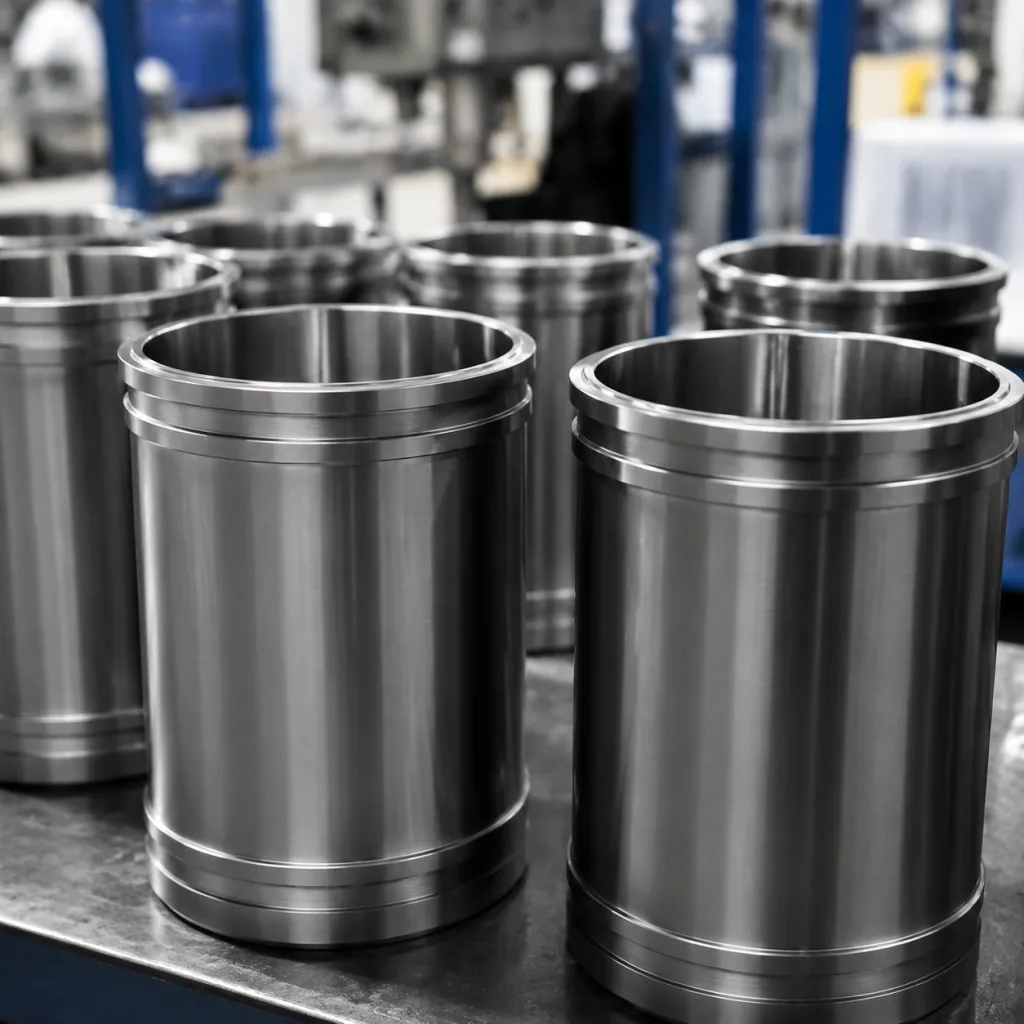
Sourcing Rings for Fleet and Aftermarket Use
Procurement teams should ask for more than a part number and nominal engine application. In scaled rebuild programs, ring selection directly affects blow-by control, oil consumption, break-in time, service life, and warranty cost. A solid sourcing process verifies dimensions, material system, coating, and lot consistency.
Technical data to request
Before approval, request:
nominal bore and oversize availability
ring thickness by groove position
radial wall depth
free gap or installed tension data where applicable
groove compatibility range
material type for top, second, and oil control rings
face coating or surface treatment details, such as phosphate, chrome, nitrided steel, PVD, or moly-faced construction where applicable
recommended end-gap range and installation notes
These details matter because ring sets that appear interchangeable may still differ in axial thickness tolerance, radial tension, face profile, or coating system. Those differences affect seating and oil control.
Quality and traceability checks
For controlled sourcing, ask for:
batch or lot traceability
dimensional inspection standards for axial thickness, radial wall, end gap, and flatness
coating or surface-treatment control records where applicable
packaging controls to prevent rail distortion, face damage, or size mixing
nonconformance and corrective-action process
repeat-lot consistency data for long-term supply programs
For export or OEM-adjacent programs, verify control under IATF 16949:2016 and ISO 9001:2015. For EU-bound supply, confirm REACH (EC) No 1907/2006 documentation where required.
Fitment validation for rebuild programs
Do not rely only on engine family naming. Confirm:
finished bore size
groove width by ring position
radial depth requirement
oil ring construction type, such as one-piece or three-piece
piston material and groove design
duty cycle: passenger, light commercial, heavy-duty, agricultural, industrial, or stationary power
This is particularly important in older engines, mixed-market applications, and rebuild environments where previous machining may have changed the required size from standard to oversize.
Procurement considerations for fleet and wholesale buyers
Fleet and wholesale buyers should also review:
MOQ and lead time
standard and oversize stocking plan
mixed-size availability for phased rebuild programs
labeling and barcode requirements for warehouse accuracy
kit consolidation with pistons, liners, bearings, or gasket sets
private-label, drawing-based, or sample-based supply support
Review our catalog, the broader engine components range, and the quality system documentation before placing volume orders. If your program needs drawing-based parts or packaging changes, see custom manufacturing. Driventus is an independent aftermarket manufacturer; brand names are referenced for fitment only.
Frequently asked questions
Yes. The oil control ring can lose scraping function or stick in the groove while the compression rings still produce acceptable cranking pressure. That is why blue smoke, oil use, leakdown to the crankcase, borescope evidence, and plug reading are often more useful than compression alone.
Replace only the rings if bore diameter, taper, and ovality are within limit, the surface finish is suitable, and the piston grooves and lands are still serviceable. If measurements show excessive taper, out-of-round, scoring, cracked lands, or groove wear, a partial repair is unlikely to hold.
Ask for full dimensional data, material and face-coating specification, inspection and traceability records, packing controls, and installation guidance including end-gap recommendations. For controlled sourcing, request evidence of IATF 16949:2016, ISO 9001:2015, and REACH (EC) No 1907/2006 support where applicable.
If you need replacement rings matched to bore size, groove width, finished bore condition, and duty cycle, send the engine code, measured wear data, ring dimensions, and annual volume to our team. Start here: [request a quote](/contact.html).