oil pressure sensor · 2026-05-27

Low Oil Pressure Oil Pressure Sensor: Diagnosis and Replacement

A low oil pressure warning does not always mean the engine has low actual oil pressure. On many vehicles, the first place to check is the oil pressure sensor, the wiring, and the connector condition. A drifting signal, internal diaphragm fault, contamination at the port, or a poor ground can trigger an oil pressure lamp or a false gauge reading. For procurement teams and workshop buyers, the key question is whether the sensor has failed electrically, mechanically, or because the engine has an underlying lubrication issue. This article sets out a practical diagnostic path: symptoms, likely causes, inspection steps, and replacement criteria. Driventus is an independent aftermarket manufacturer; brand names are referenced for fitment only. Our parts are produced under IATF 16949:2016 and ISO 9001:2015 controls, with material and corrosion considerations aligned to the operating environment of modern powertrains.

What a low-oil-pressure warning can mean

A warning lamp or low-reading gauge can be caused by several different faults:

  • Actual low engine oil pressure from worn bearings, a blocked pickup, or an oil pump issue
  • A failed oil pressure sensor with incorrect output at idle or under load
  • Damaged harness wiring, high resistance, or intermittent connector contact
  • Oil leaks, sludge, or contamination at the sensor port
  • Mismatch between sensor type and instrument cluster or ECU calibration

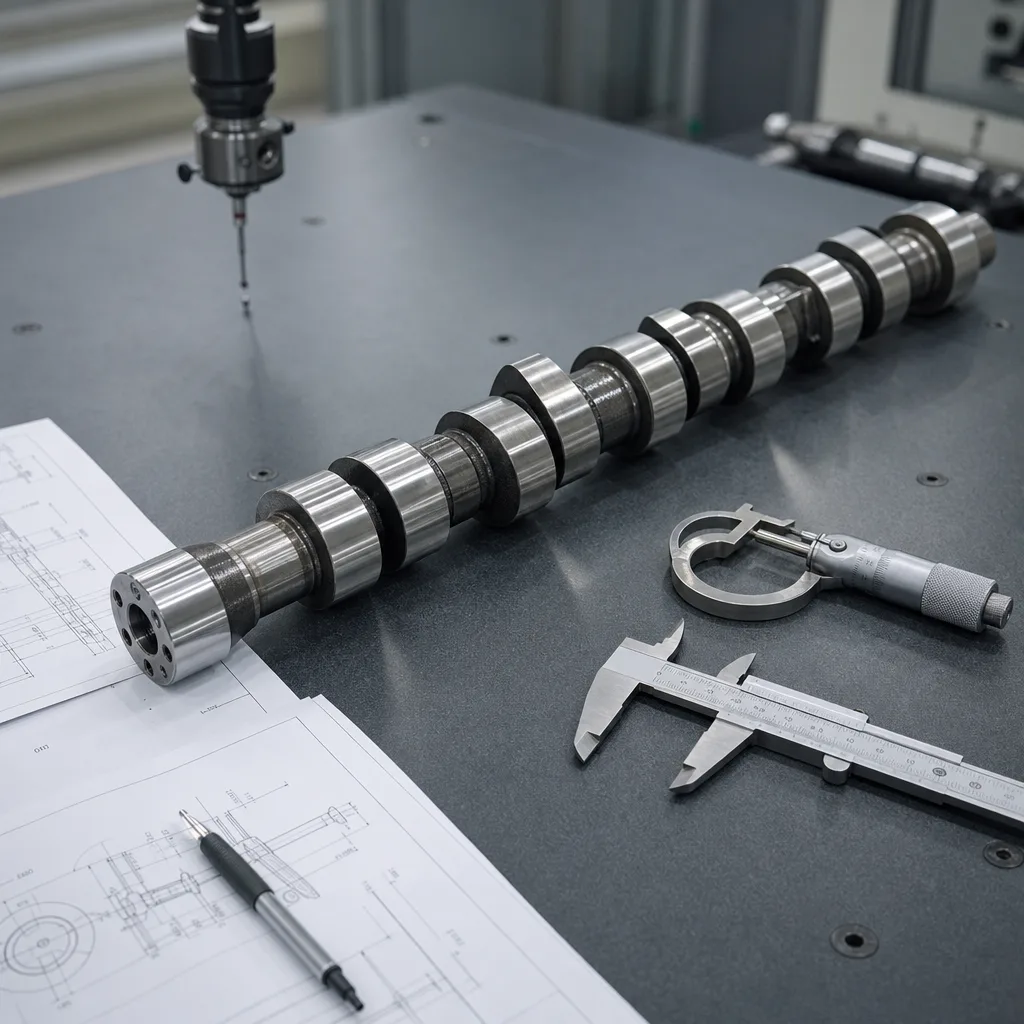
For service departments, the first step is to separate an electrical signal problem from a mechanical lubrication problem. Do not replace the sensor before confirming oil level, oil grade, and basic engine condition.

Diagnostic checks before replacing the sensor

Use a structured check rather than a single fault code.

1. Verify oil level on a flat surface after a correct drain-back period. 2. Confirm the correct viscosity and specification for the engine family. 3. Inspect the connector for oil ingress, green corrosion, bent pins, or terminal spread. 4. Check harness continuity and ground quality against the service data. 5. Measure engine oil pressure with a mechanical gauge at idle and at the specified test speed. 6. Compare the mechanical reading with scan data or cluster input, if available.

If the mechanical gauge shows normal pressure but the warning remains active, the sensor or circuit is the likely fault. If the gauge confirms low pressure, the sensor is not the root cause.

Sensor failure modes and replacement triggers

Oil pressure sensors fail in predictable ways. The most common are diaphragm fatigue, internal calibration drift, contamination of the sensing port, connector sealing failure, and heat damage from prolonged high under-bonnet temperatures.

</tr></thead><tbody> </tbody></table>For fleet and workshop buyers, replacement should follow a validated test result, not only a dashboard warning.

Fitment and OE-reference control

Oil pressure sensors may look similar but differ in thread size, pressure range, connector keying, warning threshold, and response curve. That is why dimensional match matters as much as electrical compatibility.

What to verify before ordering

  • Thread form and sealing method: tapered thread, parallel thread, or O-ring seat
  • Operating pressure range and switch point
  • Connector style, pin count, and orientation
  • Mounting depth and hex size for tool access
  • Temperature resistance and oil compatibility
  • Any OE cross-reference shown as OE 06A107065 or similar in the catalogue

Driventus supplies fitment-focused replacements for aftermarket channels, repair chains, and procurement teams that need stable repeat ordering. Check our catalog and use OE cross-references only as fitment references, not as manufacturer endorsement.

Quality controls relevant to sourcing teams

For B2B buyers, the sensor should be assessed as a controlled electro-mechanical component, not a simple commodity part. Relevant controls include raw-material traceability, sealing validation, terminal retention, leak testing, response consistency, and packaging that protects connector pins during transit.

Driventus operates under our quality system aligned to IATF 16949:2016 and ISO 9001:2015. For programmes that require special housings, connector variants, or private-label packaging, custom manufacturing is available. Buyers should request dimensional drawings, test reports, and application lists during qualification.

Published compliance references may also include REACH (EC) No 1907/2006 where material declarations are required by the importer, and application-specific testing to confirm stable output under thermal cycling.

Replacement notes for workshops and distributors

When replacing a failed sensor, clean the port before installation and confirm there is no debris in the oil gallery. Use the specified torque value from the service manual; over-tightening can crack the housing or distort the seal. If the sensor uses thread sealant, apply only the approved type and avoid contaminating the sensing end.

After installation:

  • Start the engine and check for leaks
  • Confirm lamp extinguish timing or gauge movement
  • Recheck live data or mechanical pressure if the fault was intermittent
  • Clear codes and perform a road test where required

If the fault returns after replacement, stop and reassess the lubrication system. A correct sensor cannot compensate for a genuine low-pressure condition.

Frequently asked questions

Yes. A sensor with internal drift, contamination, or an electrical fault can trigger a warning even when mechanical oil pressure is normal. Always confirm with a mechanical gauge before replacing parts.

If a mechanical gauge confirms normal pressure, the sensor or circuit is the likely issue. If the gauge also shows low pressure, the lubrication system needs diagnosis before any sensor replacement.

Verify thread type, connector design, pressure range, and OE cross-reference fitment. Ask for drawings, test data, and traceability under IATF 16949:2016 and ISO 9001:2015 controls.

If you need fitment guidance, test documentation, or a sourcing quotation for replacement sensors, please [request a quote](/contact.html).

Request a Quote
Failure mode Typical symptom Inspection result Action
Internal driftWarning lamp at normal pressureMechanical gauge normalReplace sensor
Open circuitNo signal or fixed readingBroken wire or terminal faultRepair circuit, then retest
Contaminated portSlow response or erratic signalSludge or varnish presentClean port, replace if damaged
Seal failureOil seepage at bodyWet connector or threaded areaReplace sensor and seal
Mechanical engine faultPersistent low pressureGauge confirms low pressureDiagnose lubrication system