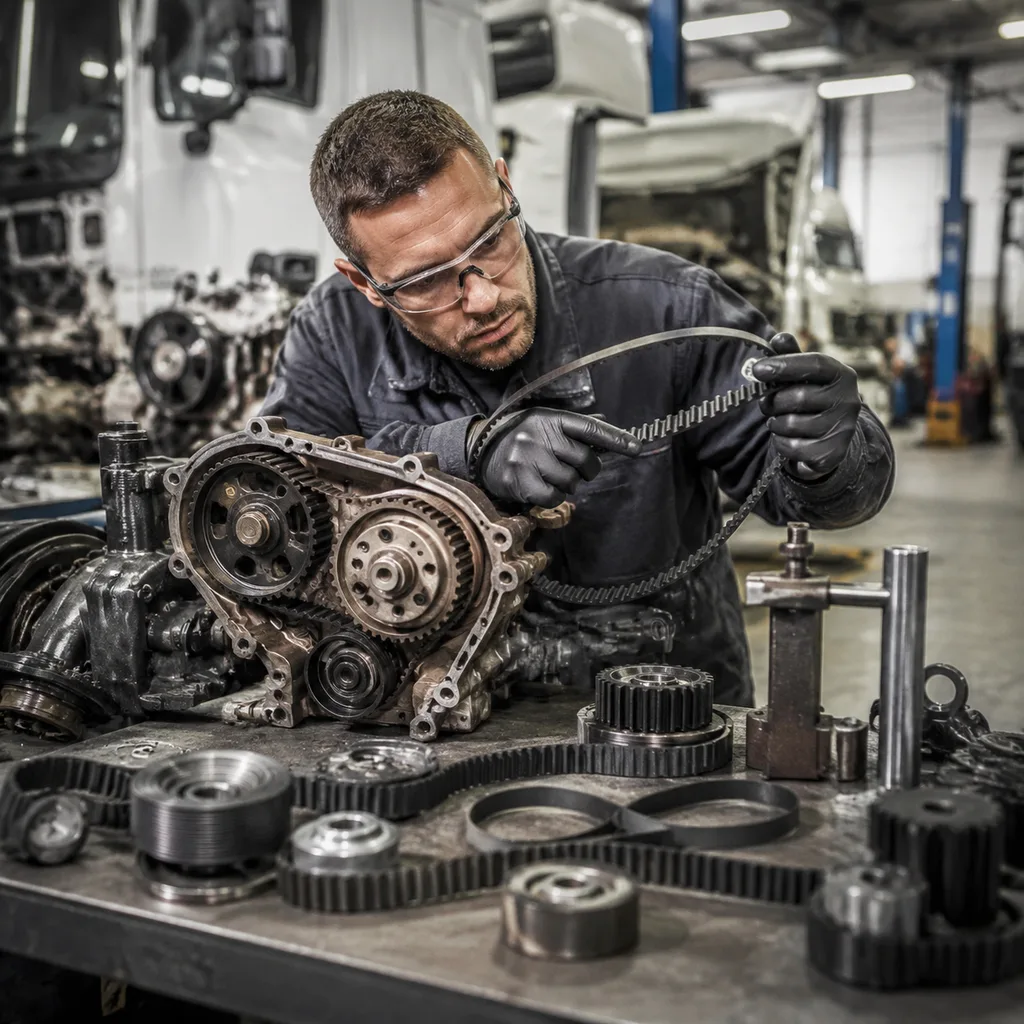
How to Diagnose Timing Belt Failure in Fleet Engines
A timing belt failure is not just a belt problem. In fleet and repair-chain operations it can become a cylinder-head repair, a repeat-labour dispute, a catalogue correction, or a supplier claim—especially on interference engines, where a few extra seconds of cranking after a belt slip can bend valves. The useful question is not “did the belt fail?” but “what changed the cam/crank relationship, and why?”
This article explains how to diagnose timing belt failure using field evidence that procurement and technical teams can act on: symptom pattern, timing deviation, belt tooth condition, belt width and profile, tracking marks, tensioner pointer position, bearing play, contamination source, service mileage, and kit content. The aim is to separate belt wear from root causes such as weak tensioners, seized idlers, water pump drag, oil or coolant leakage, pulley misalignment, installation error, wrong application data, or an overdue interval.
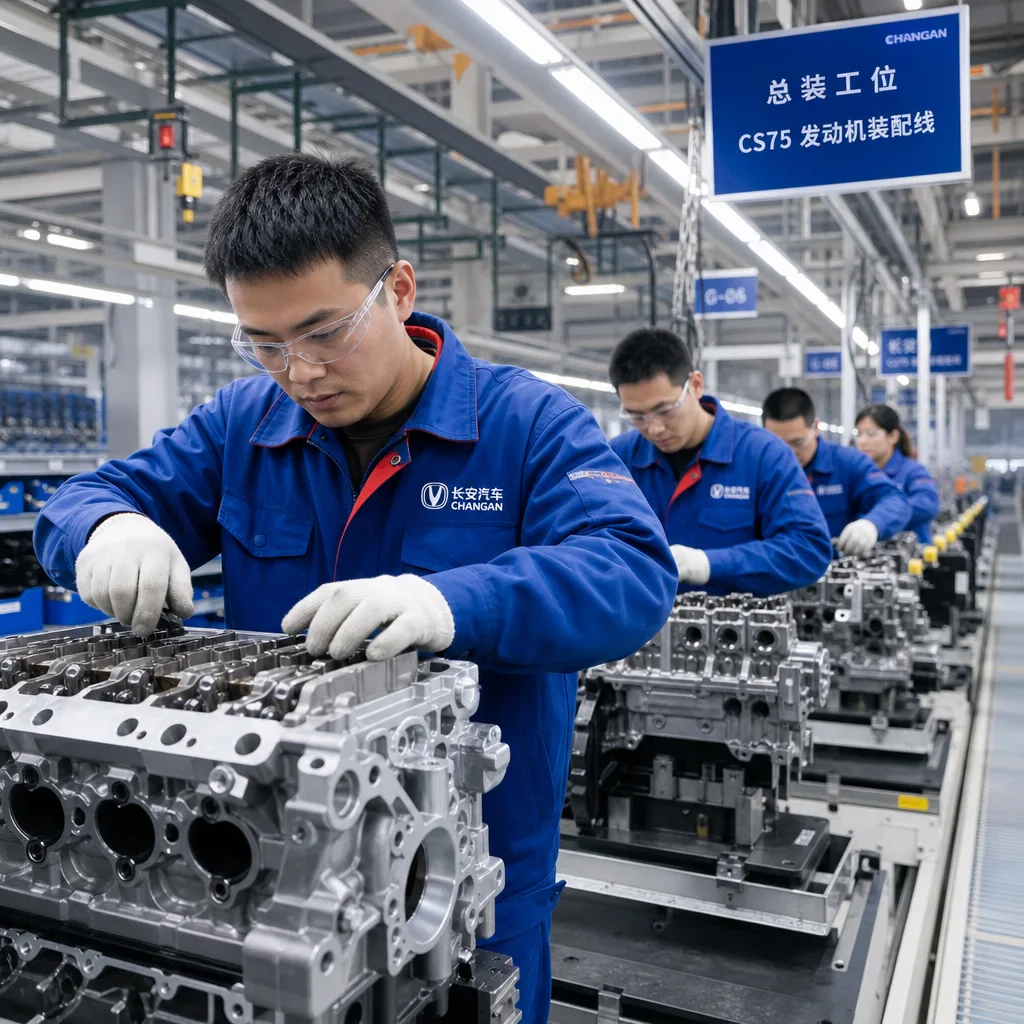
Driventus manufactures engine and powertrain parts in Taizhou, Zhejiang, under IATF 16949:2016 and ISO 9001:2015 controls. Driventus is an independent aftermarket manufacturer; brand names are referenced for fitment only.
Start with the symptom—but do not let it decide the claim
The first report from the workshop is often too broad: “no start”, “noise”, “misfire”, “belt broke”. Treat that report as a triage input, not a diagnosis. The same complaint can come from a defective component, a seized rotating part, a leaking seal, incorrect belt indexing, wrong fitment, or an installation shortcut.
Symptom observed
What it points toward
What to do before the engine is rotated again
Engine cranks faster than normal and will not start
Broken belt, stripped teeth, lost camshaft synchronisation, low compression after valve contact
Stop cranking; inspect belt integrity and timing position through cover access where possible
Recheck using the correct locking/alignment method; paint marks are not evidence
</tr></thead><tbody> </tbody></table>For interference engines, the safest rule is simple: if abnormal cranking speed, cam/crank correlation codes, or visible timing deviation are reported, stop starter operation. Remove the upper cover where practical, photograph the installed condition, and prove belt integrity before continuing. If timing is off by more than one tooth, add compression or leak-down testing before vehicle release.
Field teams should be required to send six basic images with any claim: belt teeth, belt back surface, belt edge, tensioner pointer or damper position, odometer/vehicle data, and the suspected oil or coolant source. Those images often decide whether the case is product-related, application-related, installation-related, or caused by vehicle-side leakage.
A diagnostic sequence that protects evidence before teardown
The order of work matters. Once the belt is removed, many of the best clues—pointer position, belt tracking, cover contact, timing offset—are gone. Use this sequence when a repair chain, distributor technical desk, or fleet maintenance team needs a repeatable process.
1. Identify the vehicle exactly. Record engine code, model year, production split, mileage, duty cycle, service history, prior belt invoices, kit brand, production batch, invoice date, and installed mileage. If the customer catalogue uses OE-style references, record them generically, such as OE 06A… or OE 11251…. 2. Classify the timing of the complaint. Immediate noise after installation, failure within the first 1,000 km, and failure near the service interval are three different patterns. Do not group them together. 3. Read fault codes before clearing anything. Cam/crank correlation faults, misfire codes and freeze-frame no-start data may confirm synchronisation loss. Clearing codes early weakens the evidence file. 4. Prevent uncontrolled rotation. Avoid repeated starter operation. Rotate by hand only when the service procedure allows it. If resistance rises sharply, stop; valve contact or a seized component is possible. 5. Inspect the outside first. Look for wet oil, dried coolant, burnt rubber dust, melted cover plastic, loose cover fasteners, damaged mounts, bent brackets, or foreign objects. Record whether contamination is wet, dry, burnt, or mixed with belt dust. 6. Open the covers without disturbing the system. Photograph belt position, tooth condition, edge wear, tracking and tensioner pointer position before loosening anything. 7. Verify mechanical timing. Align crankshaft and camshaft marks using the correct procedure and locking tools where required. Do not trust paint marks from the previous installer. If timing has moved, count the number of teeth. 8. Inspect rotating components after belt removal. Rotate idlers, tensioners and belt-driven water pumps by hand. Record roughness, binding, noise, leakage, heat marks and side play. 9. Measure the belt. Confirm tooth count, width and tooth profile against the catalogue application. A 1–2 mm width difference, or the wrong curvilinear/trapezoidal tooth form, can cause tracking noise and early tooth wear. 10. Test compression or leak-down when timing has slipped. If timing was off or the belt broke, do not assume a new kit completes the repair. Leak-down above typical workshop limits, such as 20–30% on one or more cylinders, should trigger cylinder-head inspection.
This is the practical core of how to diagnose timing belt failure: first prove whether the camshaft and crankshaft lost their relationship; then prove what made that happen. The belt is often the visible casualty. The initiating fault may be a weak tensioner, seized roller, pump drag, contamination, wrong part, or installation sequence error.
For network control, make these fields mandatory on claim forms: engine code, mileage at installation, mileage at failure, belt batch, photos before removal, timing deviation in teeth, component rotation findings, contamination status and repair invoice date.
Read the belt drive like a failed system, not a failed strip of rubber
A timing belt operates as part of a drive system. If a new belt is installed over a failing idler, weak tensioner or leaking pump, the next failure may look like a belt defect even when the first cause was elsewhere. For B2B claim review, inspect the belt and every driven or guiding component together.
Belt evidence that changes the diagnosis
Missing teeth: often linked to overload, seized component, heat, contamination, or repeated tooth jump. Note whether tooth loss is localised in one zone or spread across multiple belt sections.
Cracked tooth roots: suggests ageing, high temperature, ozone exposure, exceeded service interval, or poor storage. If cracks appear before installation, review stock age and storage conditions.
Glazed back surface: points to slipping, excessive friction, bearing seizure, or cover rubbing. Heat polish plus rubber dust near one roller is a strong clue.
Frayed edge: usually means misalignment, damaged flange, bent bracket, foreign-object contact, or incorrect belt width. Compare the failed edge with the engine-block side and cover side to identify belt-walk direction.
Oil-swollen rubber: indicates leakage from crankshaft seal, camshaft seal, valve cover or timing cover. Oil softens the compound and can lift tooth fabric; the belt must be replaced after the leak is repaired.
Coolant residue: suggests water pump, hose or housing leakage. Dried residue may be white, pink or green depending on coolant type, and it can reduce tooth strength.
Clean break across belt width: may indicate shock loading, installation crease, locked component, severe over-tension, or forced rotation with a jammed camshaft. Inspect tensile cords for pulled, melted or sharply cut ends.
Tooth wear with belt intact: can come from low tension, worn pulley teeth, wrong tooth profile, or operation beyond the recommended interval. Compare pitch/profile with a known-good sample if mismatch is suspected.
Component checks that often reveal the first cause
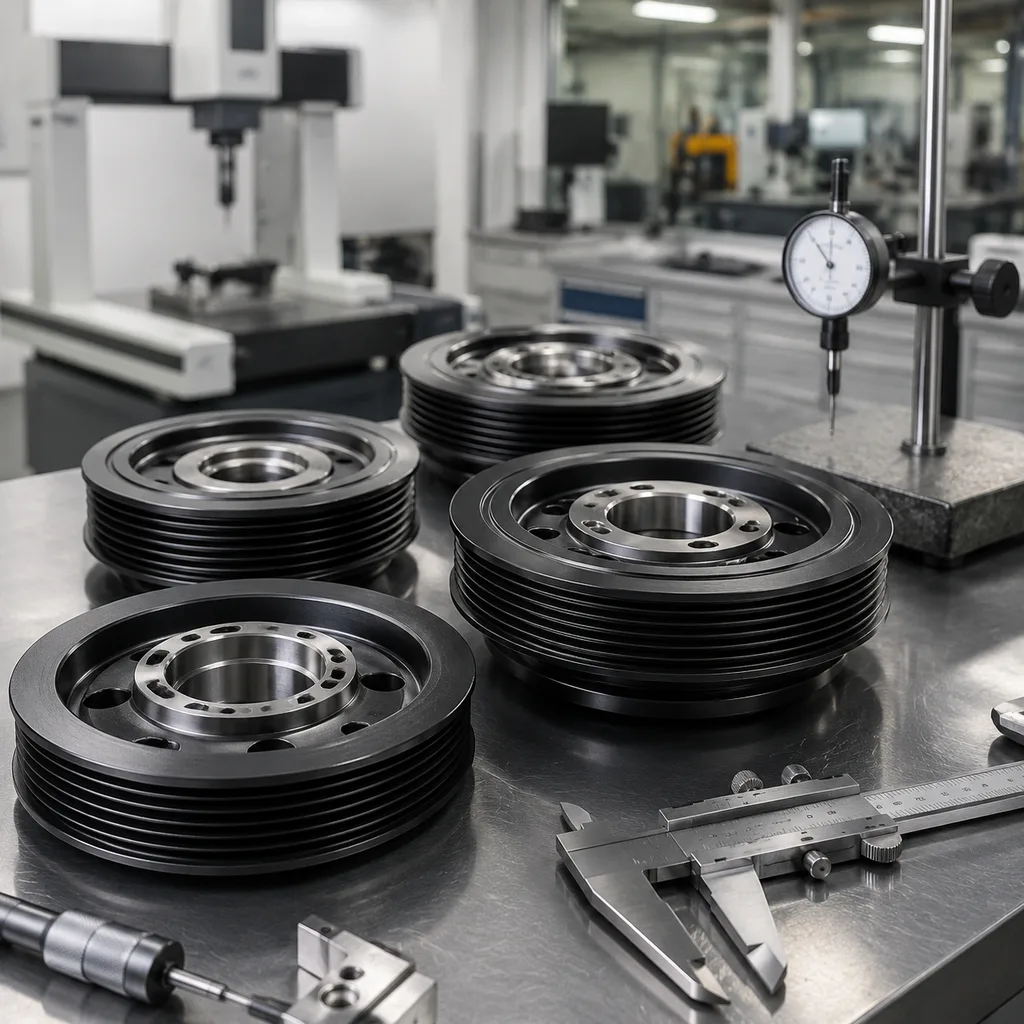
Spin each idler and tensioner after belt removal. Reject obvious notchiness, grease escape, seal damage, blue heat marks, binding, or axial movement visible by hand. For formal warranty inspection, use the engine or bearing supplier’s specified radial and axial play limits. A bearing does not need to be fully seized to overload the belt; rising friction is enough.
Mechanical tensioners require pointer position checks after manual crankshaft rotation, not only during first setup. Hydraulic tensioners need inspection for leakage, slow extension, collapsed damping, stuck pins and incorrect pin removal sequence. Belt-driven water pumps need inspection at the weep hole, shaft seal, shaft play and impeller resistance. A pump beginning to seize can strip teeth before it locks completely.
Procurement teams should treat the kit as risk control. If the water pump is belt-driven, if mount and cover removal make labour expensive, or if the engine family has known roller/tensioner exposure, a belt-only repair may be cheaper on the invoice but more expensive in repeat labour. For sourcing teams reviewing replacement ranges, Driventus lists related engine components in our catalog, including timing-related engine parts where applicable.
Failure-mode matrix: what the evidence means for sourcing decisions
The value of diagnosis is not only deciding who pays for one failure. It should improve catalogue accuracy, kit content, installer instructions and future sourcing specifications. Use the physical evidence to assign the case to a root-cause family.
Physical evidence
Probable root cause
Procurement implication
Teeth sheared over several ribs
Camshaft seizure, water pump lock, torque spike, repeated tooth jump
Require pump/roller rotation evidence; review kit inclusion and bearing/pump specification
Belt broken with no oil or heat marks
Over-tension, installation damage, shock load, exceeded service interval
Verify mileage, installation procedure, belt handling and tensioner setting
One edge heavily worn
Pulley misalignment, bent bracket, wrong guide flange, wrong belt width
Improve packaging instructions, route diagrams, QR notes and kit completeness
</tr></thead><tbody> </tbody></table>For B2B supply, useful claim coding normally falls into five groups: product manufacturing issue, catalogue/application mismatch, installation process issue, vehicle-side contamination or seizure, and service-interval overrun. Do not let “belt broken” become a claim code. It is a symptom.
Each category needs evidence: pre-removal photos, mileage, engine code, installation date, belt batch, failed component position, timing deviation and contamination status. Without those fields, suppliers and workshops argue from opinions rather than facts.
The sourcing lesson is direct. Timing belt programmes need application-specific bill of materials control, validated tensile cord construction, stable rubber compound selection, bearing durability checks, packaging that prevents belt distortion, and clear fitment data by engine variant. A belt with a near-correct length but wrong profile or width can still create early noise, tracking faults and tooth wear.
Driventus supports programme-level evaluation through custom manufacturing when buyers require private-label kits, specific packaging, market-specific cross-reference mapping or defined kit content for repair-chain programmes.
After the diagnosis: choose the repair scope and prove the fix
Once the failure mode is understood, define the replacement scope conservatively. For many engines, the correct repair is a kit: belt, tensioner, idlers and—where driven by the belt—water pump. Add seals when oil or coolant contamination is present. Reusing a doubtful roller, pump or tensioner transfers the original risk to the new belt.
Post-installation verification should be recorded, not assumed:
Confirm crankshaft and camshaft locking tools or alignment procedures match the engine code.
Confirm belt tooth count, width, tooth profile and route before tensioning.
Rotate the engine manually through the specified number of crankshaft revolutions, commonly two full turns where the service procedure permits.
Recheck crankshaft and camshaft alignment after rotation, not only before rotation.
Confirm tensioner pointer position under the specified condition; some designs are checked cold, others after warm-up.
Verify that the belt tracks correctly and does not contact covers, flanges or pulley edges.
Torque idlers, tensioners, pump and fasteners to specification using calibrated tools; record torque where warranty process requires it.
Start the engine only after covers, mounts and ancillary belts are correctly installed.
Listen for chirping, slapping, rubbing and bearing noise during initial operation.
Re-scan fault codes and confirm cam/crank correlation where scan data is available.
Run or road-test under controlled conditions, then recheck for coolant and oil leakage.
If compression is low after a belt slip or break, the belt installation is not the complete repair. Bent valves, damaged guides or piston contact must be documented before warranty responsibility can be assigned. A distributor should not approve a belt-only credit when evidence shows a leaking pump, oil-soaked belt, seized idler, wrong application part, or timing marks that were already incorrect.
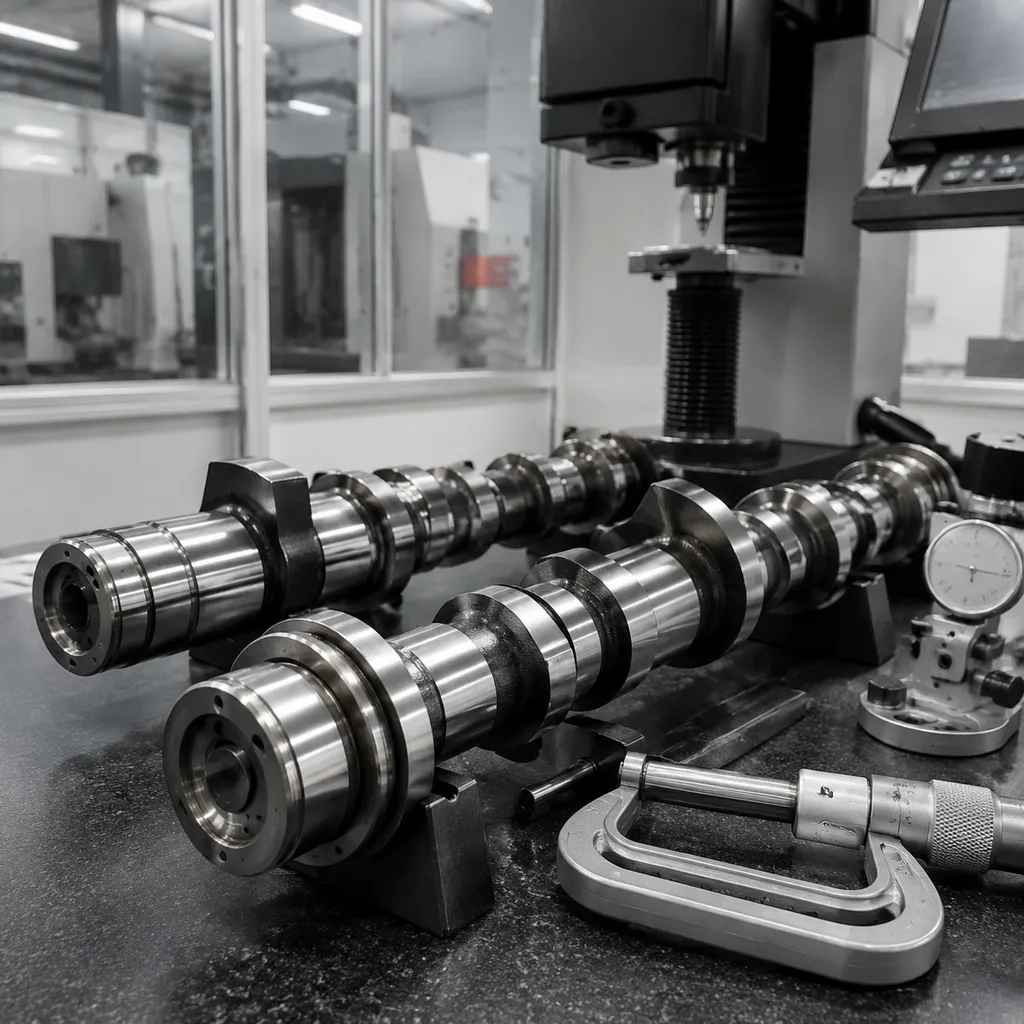
Purchase specifications should turn these lessons into measurable requirements: tooth count, pitch/profile, belt width and length; rubber compound and fabric adhesion; tensile cord construction; bearing noise/play limits; pump leakage and rotation checks where supplied; batch traceability from incoming material through packaging. Driventus production is managed under a quality system aligned with IATF 16949:2016 and ISO 9001:2015. For export markets, material and chemical compliance requests may reference REACH (EC) No 1907/2006 where applicable to the supplied article and destination market.
Driventus is an independent aftermarket manufacturer; brand names are referenced for fitment only. No approval or endorsement by a vehicle manufacturer is implied.
Buyer Q&A: programme controls that prevent repeat belt claims
What should buyers audit first when timing belt claims repeat? Start with the failure pattern. Are complaints concentrated in one engine family, one installer group, one kit version, one production batch, or one mileage band? A cluster after installation points to fitment, instructions, tensioner setup or kit content. Failures near the service interval point more toward maintenance interval, vehicle condition or normal wear.
Which catalogue details cause the most damage when wrong? Engine-code coverage, build-date splits, regional variants, belt width, tooth count and tooth profile. A part that “almost fits” can run long enough to leave the workshop, then create noise, edge wear or tooth damage.
When is a full kit better than a belt-only SKU? Use a full kit when the pump is belt-driven, when cover and mount removal make labour high, when idler/tensioner failure is common on the engine family, or when fleets want lower repeat-labour exposure. Belt-only SKUs still have a place in price-sensitive channels, but they should not be the default for every repair-chain programme.
What should be written into the sourcing specification? Include belt tooth profile, width and length verification; retained master samples for high-volume SKUs; tensile cord and rubber compound requirements; heat-ageing performance; tensioner and idler bearing validation for noise, grease retention, seal integrity and rotation consistency; pump inclusion rules; shelf-life and packaging controls; and traceability by batch, production date and purchase order.
How should returns be managed? Require photos, mileage, engine code, timing-mark evidence, belt batch, contamination status, component rotation findings and measurement data. Without this package, the return should be logged as insufficient evidence rather than assigned automatically to product defect.
What information speeds quotation and programme planning? Share target annual volume, first-order quantity, top engine families, required kit content, private-label artwork, barcode rules, carton strength and destination market. Stocked or established applications can usually move faster. New private-label kits need sample confirmation, packaging approval, pilot batch inspection and mass-production scheduling.
For programme discussions, application samples or kit quotation, teams can request a quote with target engine families, annual volume, required kit content, branding needs and packaging requirements.
Frequently asked questions
Stop repeated cranking, remove the necessary cover access, and verify whether the belt is intact and correctly timed. On interference engines, further rotation can increase valve and piston damage, so photograph the installed condition and timing marks before disassembly.
It is not recommended when the tensioner condition is unknown. A weak, rough or incorrectly set tensioner can cause poor belt tracking, noise, tooth jump or early belt damage, leading to repeat labour and warranty claims.
Specify complete kits where appropriate, maintain accurate engine-code cataloguing, require batch traceability, and train workshops to document contamination, bearing condition, alignment, timing deviation and installation verification before approving claims.
If your team is reviewing timing belt kits, engine component coverage or failure evidence from the field, Driventus can support technical sourcing discussions. Share your application list, annual volume forecast, required kit content and packaging requirements through /contact.html