How to Diagnose Blow-By: Symptoms, Tests, and Next Steps
Blow-by is combustion gas leakage past the piston rings and into the engine crankcase. It is not a diagnosis on its own; it is a symptom that can point to worn rings, cylinder bore wear, stuck ring packs, damaged pistons, incorrect ring end gap, or restricted crankcase ventilation. For procurement teams and service managers, the job is to separate normal background leakage from a condition that justifies parts replacement. That means checking symptoms in sequence, recording test values, and confirming whether the root cause is mechanical wear or an assembly issue. This article shows how to diagnose blow-by with practical shop checks, what findings point to ring, piston, or bore problems, and when replacement parts should be sourced. Driventus is an independent aftermarket manufacturer; brand names are referenced for fitment only.
How to Tell Whether Blow-By Is Normal or Failing
Blow-by is not automatically a defect. Some combustion gas leakage past the rings is normal, especially in high-precision engines with good ventilation. The question is whether the leakage has crossed into a failure mode.
Watch for these signs:
- Excess crankcase pressure at the oil filler or dipstick tube
- Oil mist from the breather system
- Oil leaks that worsen after load or long idle periods
- Reduced compression or uneven cylinder balance
- Smoke from the crankcase vent on high-mileage engines
The pattern matters more than a single symptom. Note whether the issue appears cold, hot, at idle, under load, or on deceleration. That helps separate ring sealing loss from ventilation restriction or turbo-related oil carryover. A practical shop warning sign is a filler cap that pulses strongly at hot idle, oil mist that is visibly expelled from the breather, or pressure that pushes oil past seals and gaskets after the engine reaches temperature. If symptoms are trending worse month by month, treat it as a wear condition and capture baseline measurements before teardown.
Where Blow-By Comes From First
Before you tear down an engine, rule out the simplest causes. The likely root cause usually falls into one of six buckets:
1. Worn or stuck compression rings 2. Excessive cylinder wear or taper 3. Incorrect ring end gap or side clearance 4. Damaged pistons, ring lands, or skirts 5. Restricted crankcase ventilation 6. Scored bores, glazing, or poor honing finish
If the engine was recently rebuilt, assembly error moves up the list. If the engine has high mileage and oil use has crept up over time, wear is the more likely explanation. Turbocharged engines can show stronger symptoms because boost increases the sealing load on the ring pack. That distinction matters for sourcing: rings alone may be enough in a clean bore, but not when bore wear or piston damage is already present. As a quick filter, verify ventilation first, then compare all cylinder readings against one another, then inspect the bore. A spread greater than about 10-15% in compression, or a leak-down result that is sharply worse than neighboring cylinders, usually means the problem is not a simple breather restriction.
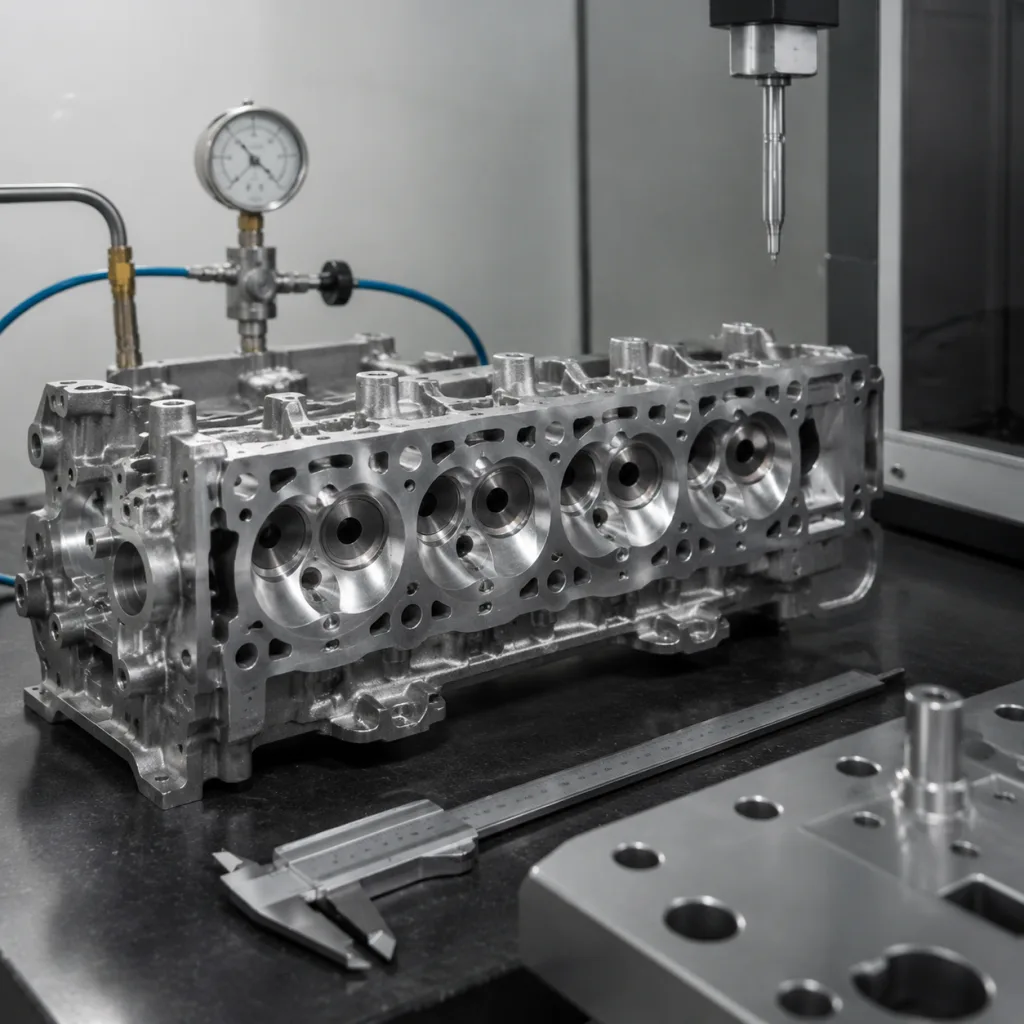
Step-by-Step Test Order That Actually Works
Use the same sequence every time so the result is defensible and easy to compare across units.
| Check | What to inspect | What it indicates |
|---|---|---|
| Crankcase ventilation | Hoses, separator, PCV valve, breather restriction | Pressure not caused by ring leakage |
| Compression test | Dry readings across all cylinders | General sealing condition |
| Wet compression test | Reading change after oil addition | Ring seal versus valve seal |
| Leak-down test | Air loss path and percentage | Location of leakage |
| Bore inspection | Taper, ovality, scoring, glazing | Cylinder wear or finish problem |
| Piston inspection | Ring lands, skirt damage, carboning | Mechanical damage or ring sticking |