Front Crankshaft Seal Symptoms of Failure: Diagnosis Guide
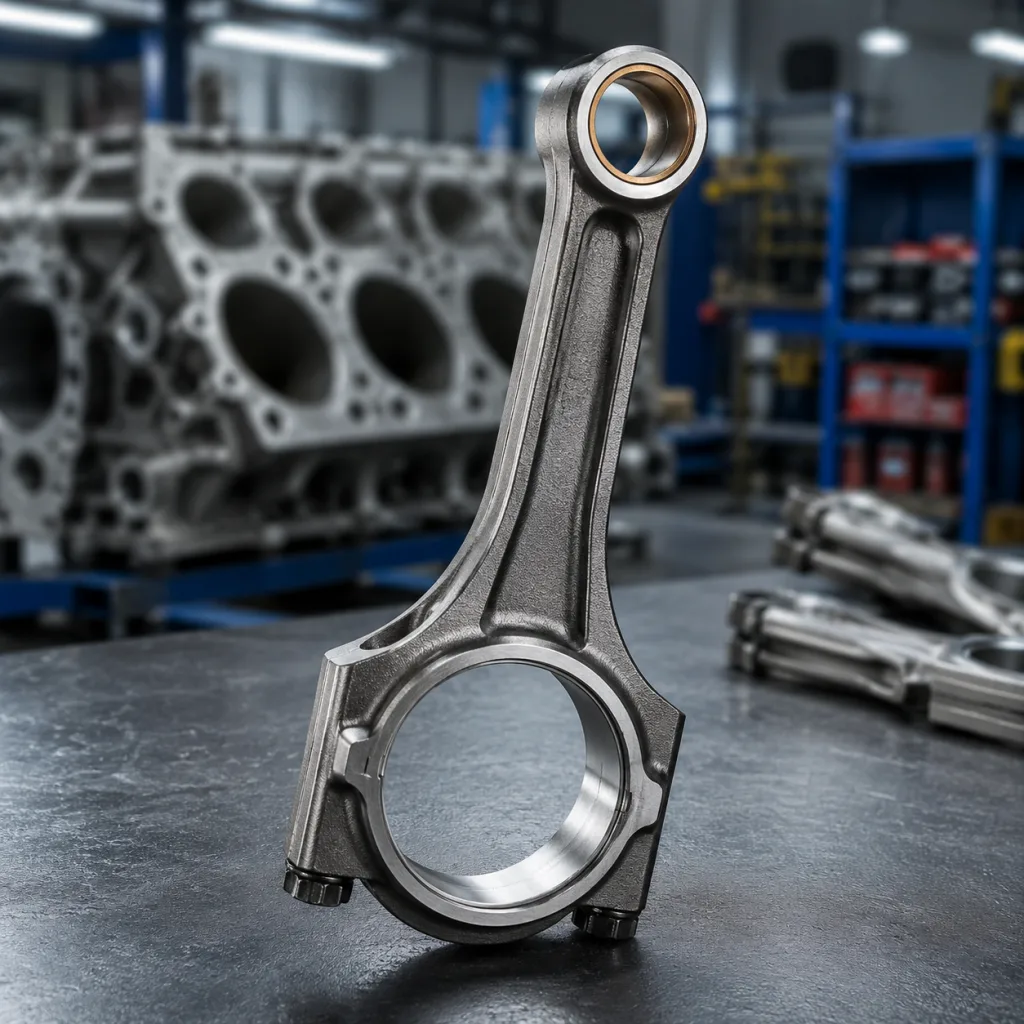
A front crankshaft seal keeps engine oil contained at the front of the crankshaft, usually behind the harmonic balancer or timing cover. When it begins to fail, the leak often starts as a light seep before becoming visible around the pulley, belt drive, or lower timing area. For procurement teams and workshop managers, the challenge is separating seal wear from related faults such as crankshaft journal wear, blocked crankcase ventilation, excess crankcase pressure, or installation damage. Driventus is an independent aftermarket manufacturer; brand names are referenced for fitment only. Our seals support B2B replacement programs with dimensional control, material selection, and validation aligned to IATF 16949:2016 and ISO 9001:2015. This article covers the main symptoms, likely causes, inspection points, and the checks to complete before ordering a replacement part.
What drivers and technicians usually notice first
The earliest front crankshaft seal symptoms of failure are often easy to miss. In many cases, the first sign is not a heavy drip but a light oil film at the front of the engine after a few heat cycles. Because oil spreads quickly across nearby components, the source can be harder to pinpoint than the visible mess suggests.
Common early signs include:
Oil film behind the crank pulley or harmonic balancer
Fresh oil on the lower timing cover or front seal housing
Oil mist on nearby belts, tensioners, or pulleys
Belt slip noise, squeal, or glazing caused by contamination
Burning-oil smell after idling, stop-start driving, or highway use
Small drip marks on the undertray or floor, depending on engine layout and airflow
A light seep does not always mean the seal lip has failed completely. Oil can migrate from a valve cover, cam cover, timing cover gasket, or a nearby sensor seal and then collect around the crank pulley. Since the pulley rotates at engine speed, it can also throw oil outward and make the leak look larger than it really is. The correct approach is to clean the area, confirm the point of origin, and inspect the crankshaft seal before ordering a replacement.
Common causes behind front seal leakage
A front seal rarely fails on its own. In practice, leakage is usually linked to wear, heat, shaft movement, or an installation issue elsewhere in the system. Finding the root cause matters because replacing the seal alone will not solve a repeat failure if the crankshaft surface, pulley alignment, or crankcase pressure is still out of specification.
Likely cause
What it does
What to check
Crankshaft journal wear
Reduces lip contact and allows seepage
Measure shaft finish, groove depth, and runout
Excess crankcase pressure
Pushes oil past the lip under load
Check PCV valve, breathers, and hose condition
Heat ageing
Hardens the elastomer and reduces flexibility
Inspect lip hardness, cracking, and housing heat exposure
Incorrect installation depth
Places the lip on the wrong shaft track
Verify seating depth, orientation, and installation tool use
Damaged sealing surface
Creates a groove that the lip cannot fully follow
Inspect for scoring, corrosion, burrs, or previous repair damage
Pulley wobble or runout
Cycles the seal lip unevenly and accelerates wear
Check harmonic balancer condition, bolt torque, and concentricity
Contaminated oil or sludge
Deteriorates sealing material and surface finish
Review service history, oil condition, and maintenance intervals
</tr></thead><tbody> </tbody></table>For fleets, distributors, and repair networks, recurring leakage usually points to a process issue rather than a bad seal batch. If the same engine family keeps returning with front seal leaks, review installation tools, crankshaft condition, and ventilation performance before assuming the seal part is defective.
Inspection steps before replacing the seal
A structured inspection reduces comebacks and prevents unnecessary part replacement. The goal is to confirm that the front crankshaft seal is the actual leak source, then determine whether the root cause lies outside the seal itself. A clean work area is essential because old oil residue can hide the active leak path.
Recommended checks
1. Clean the front of the engine, pulley area, timing cover, and belt drive with an approved degreaser. 2. Run the engine to operating temperature, then let it idle and observe the front of the engine under bright light. 3. Inspect the crank pulley, timing cover edge, lower front engine area, and any nearby gasket joints for fresh oil. 4. Confirm whether oil originates from above, from the pulley nose, from the seal perimeter, or from a nearby component that is shedding oil downward. 5. Check crankcase ventilation for blockage, collapsed hoses, a stuck PCV valve, or sludge contamination. 6. Measure pulley or crankshaft runout if the leak is recurring or if the harmonic balancer shows visible movement. 7. Inspect the crank snout for grooves, corrosion, burrs, or surface damage where the seal lip runs. 8. Review service history for overheating, overfilled oil, previous seal replacement, or timing cover work that may have disturbed the assembly.
If oil is present on the drive belt, inspect the belt condition as well. Oil contamination can reduce friction, create noise, and shorten belt life even if the leak is still small. In those cases, seal replacement should be treated as part of a broader front-end repair, not an isolated part swap.
What to verify when sourcing a replacement seal
For procurement teams, the main controls are fit, material compatibility, and traceability. A front crankshaft seal used in passenger cars, light commercial vehicles, and some off-highway engines must match the housing and shaft geometry precisely. Small dimensional differences can affect lip load, running position, and long-term sealing performance.
Verify these items before purchase:
Inner diameter, outer diameter, and width
Seal lip design, spring retention, and running profile
Rubber compound compatibility with engine oil, additives, and the expected temperature range
Dust lip presence, if the application requires additional contamination control
Case material, anti-rotation features, and housing retention design
Packaging traceability, batch identification, and labeling consistency
Any special handling requirements for storage or installation
Driventus supplies engine sealing parts through our catalog and supports quality system documentation for B2B buyers. For programs that require drawing-level adaptation, custom manufacturing is available with dimensional review and sample approval. When matching OE references, use the engine application and OE 06A107065 style cross-reference only where the keyword already cites the number. Buyers should always confirm the engine code, model year, and housing style before placing volume orders.
Replacement checks that reduce repeat failures
A correct seal replacement is not complete until the surrounding components are verified. The new seal lip must run on a clean, smooth, concentric surface, and the installation method must avoid twisting or nicking the lip during assembly. Repeat failures usually come from one of three issues: a damaged shaft, a misaligned housing, or incorrect installation depth.
Before final assembly, confirm:
The crank snout is free of scoring, burrs, and corrosion
The sealing surface is within runout limits for the engine family
The housing bore is clean, undamaged, and free of old seal debris
The seal is installed squarely and to the specified depth
The lip is lubricated correctly before initial start-up
The pulley, bolt, and associated fasteners are tightened to the engine specification
The harmonic balancer is not cracked, slipping, or wobbling on the hub
If a groove is present on the crankshaft, a sleeve or shaft repair solution may be required. Installing a new seal on a damaged journal usually delays the next leak rather than solving it. For workshop managers, the practical rule is simple: if the shaft surface is not acceptable, the seal alone is not the full repair.
Standards, traceability, and supplier control
For importers and multi-site repair networks, seal quality is not only a fitment issue. It is also a process-control issue. Procurement needs assurance that the part can be repeated at volume, documented correctly, and supported with material and dimensional evidence when a customer or workshop raises a claim.
Driventus operates under IATF 16949:2016 and ISO 9001:2015, with material and documentation controls suitable for aftermarket supply. That matters for programs where a seal must pass through multiple hands before installation, including warehousing, distribution, and regional workshop networks. Clear lot identification and controlled specifications reduce the risk of mixed inventory and inconsistent field performance.
Relevant compliance and validation references may include:
REACH (EC) No 1907/2006 for substance control in the EU market
SAE J2527 for environmental durability testing where applicable to elastomer ageing programs
Customer-specific dimensional checks, packaging requirements, and performance validation
Traceable batch records for root-cause investigation and warranty analysis
We do not claim vehicle manufacturer approval or endorsement. Driventus is an independent aftermarket manufacturer; brand names are referenced for fitment only. Buyers can review our quality system, request part development support through custom manufacturing, or request a quote for target volumes, lead times, and application support.
Frequently asked questions
Short-term seepage may be monitored, but recurring oil on the pulley, belt, or timing cover should be inspected. Small leaks often worsen as the lip hardens, the shaft wears, or crankcase pressure rises. If the belt becomes contaminated, the issue should be addressed promptly because belt performance can deteriorate even before the leak becomes visually severe.
No. Crankshaft journal wear, pulley runout, blocked breathers, crankcase pressure, damaged housings, and incorrect installation can create the same symptom. Confirm the source before replacing the part, and check whether the leak is actually migrating from a nearby gasket or cover joint.
Ask for dimensional data, material specification, batch traceability, and validation evidence. For export programs, also confirm REACH relevance, packaging control, and the supplier’s quality certification status. If the application is sensitive to heat, shaft finish, or oil chemistry, request the material compatibility details as well.
If you need a replacement seal, technical review, or a program quotation, contact Driventus through /contact.html.