Engine Stalling at Idle Lower Engine Gasket Set Checks
Engine stalling at idle is seldom the result of one isolated part failing in silence. At idle, most petrol engines run near 600-850 rpm, with the throttle almost closed and manifold vacuum often around 18-22 inHg on a healthy warm engine. In that condition, even a small leak below the cylinder head, or around the lower intake, timing cover, oil pan rail, water pump, or crankcase ventilation circuit, can become large in relation to commanded airflow. The ECU may then have to deal with unmetered air, coolant seepage, oil contamination at sensor connectors, or disturbed crankcase vacuum faster than it can correct.
For repairers, distributors, and fleet parts buyers, the key question is not just whether one gasket has failed. It is whether the service will open several sealing faces, whether aged elastomers have lost compression as a group, and whether replacing only the most obvious leak point will lead to repeat labour. This article explains how to read the symptom pattern, which checks should be completed before parts are ordered, and which sourcing specifications matter when buying a lower engine gasket set for repeatable fitment. Driventus is an independent aftermarket manufacturer; brand names are referenced for fitment only.
What idle stalling usually indicates
Idle stall is a diagnostic pattern, not a part number. Before blaming the gasket set, confirm when the engine dies: cold, hot, in gear, after deceleration, during start-up flare, or only when electrical or mechanical load is applied. A stall as the A/C compressor engages, the cooling fan starts, steering assist loads the engine, the alternator comes under demand, or the transmission is selected often points to an engine that cannot recover idle speed when load changes. A stall after the throttle closes from higher rpm may instead point toward airflow calculation, idle adaptation, purge flow, or a vacuum leak that has its strongest effect at high manifold vacuum.
The first pass should separate operating conditions from component assumptions. Record engine coolant temperature, rpm drop, short- and long-term fuel trims, MAP in kPa or manifold vacuum, calculated load, MAF g/s, oxygen sensor or lambda response, misfire counters, and pending DTCs before clearing memory. On many warmed-up closed-loop engines, fuel trims within about +/-5% are normal. Consistent positive trims above +10% at idle deserve investigation, and +20% or more often indicates a significant air leak, fuel delivery fault, or biased sensor. Compare idle data in park or neutral, in gear where applicable, with A/C on, and after a hot restart.
Common causes include:
- Vacuum leaks at the lower intake manifold, throttle body gasket, brake booster hose, EVAP purge line, injector seals, or PCV routing
- Carboned throttle bore, sticking electronic throttle plate, or idle air adaptation at its correction limit
- Low rail pressure, restricted filter, weak pump, leaking pressure regulator, or injector imbalance at low pulse width
- Misfire from worn plugs, weak coils, oil in plug wells, coolant tracking, or poor ground connections
- Incorrect sensor feedback from contaminated MAF, biased MAP, inaccurate coolant temperature signal, or slow oxygen sensor response
- EGR valve leakage, purge valve leakage, or crankcase ventilation faults that behave like controlled or uncontrolled vacuum leaks
- Coolant, oil, or air leakage at lower engine sealing faces after heat cycling and clamp-load loss
A lower engine gasket set becomes relevant when the evidence is not confined to a single external leak. Repeat oil seepage, unexplained coolant loss, positive fuel trims at idle, a whistle near the lower intake, smoke-test leakage, or staining around the timing cover and oil pan joint can all shift the diagnosis. In that context, the idle complaint may be a sealing-system failure rather than a purely electronic control issue. That is where the phrase engine stalling at idle lower engine gasket set becomes practical: the symptom leads the technician to inspect the lower sealing system before committing to parts.
How lower gasket leaks affect idle stability
Lower gasket leaks affect idle stability because the engine has little airflow reserve at idle. With the throttle nearly closed, the ECU meters a small air mass and fuel quantity, often with injector pulse widths close to the lower controllable range. A leak that is barely noticeable at cruise can become a meaningful share of idle airflow. The result may be a lean mixture, unstable combustion, delayed idle correction, or a stall when load changes faster than the control system can respond.
An intake-side sealing leak is the clearest example. If the lower intake gasket is distorted, hardened, cracked, swollen by oil, or incorrectly compressed, the engine may ingest air that has not passed through the MAF sensor. The ECU sees less air than the engine actually receives, so fuel trims move positive as it adds fuel. At idle, that compensation can oscillate, especially when the throttle closes, the purge valve opens, or the cooling fan switches on. On speed-density systems, a leak can raise MAP readings, disturb calculated load, and shift the idle spark and fuel model.
Oil and coolant leakage can create less obvious idle faults. A front cover or oil pan rail sealing problem may let oil migrate onto crankshaft or camshaft sensor wiring, ignition components, ground points, or breather hoses. A PCV grommet, oil separator seal, or crankcase ventilation O-ring leak can change crankcase pressure balance and imitate an intake vacuum leak. Coolant seepage around a lower intake, water outlet, or cover joint can contaminate a connector, leave conductive residue, or, in severe cases, allow coolant into an intake runner or cylinder. The driver may report rough idle, hot restart stalling, white exhaust vapour, coolant odour, or intermittent misfire before the external leak is obvious.
The fault pattern often looks like this:
1. Idle speed hunts, then drops below target as the throttle closes. 2. Short-term fuel trims move positive at idle, while 2,000-2,500 rpm no-load trims are less affected. 3. Misfire counters increase on one cylinder or one bank when the engine is warm. 4. The engine stalls when load changes, during deceleration, or after a 10-20 minute heat soak restart. 5. Residue, oil film, coolant crust, or smoke-test leakage appears near lower sealing faces.
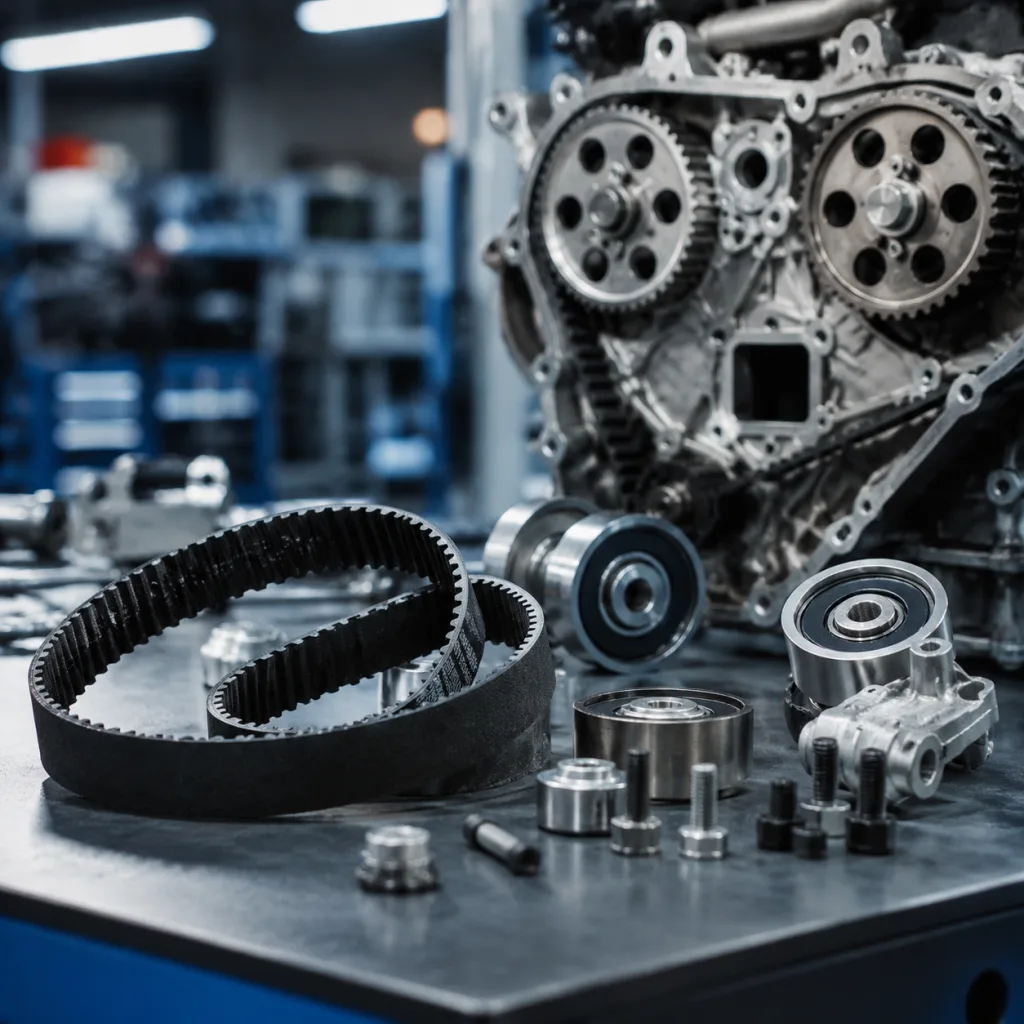
This is why a lower engine gasket set should be evaluated as a system. Replacing only the visible leak point can leave a hardened companion seal in place. Once the technician removes the lower intake, timing cover, oil pan edge, water pump, thermostat housing, or related cover, neighbouring gaskets may lose compression or be damaged during disassembly. A matched set reduces the risk that the original idle complaint returns after a short service interval because another aged seal was left behind.
Inspection checklist before replacement
A disciplined inspection reduces comebacks, avoids unnecessary part swaps, and gives the buyer a clearer bill of materials. Start with the symptom, then test the systems most likely to create it. Scan data should be captured before codes are cleared or the battery is disconnected, because fuel trims, freeze-frame data, idle speed corrections, throttle angle, purge command, and misfire counters often reveal whether the engine is compensating for air leakage, fuel shortage, or combustion instability.
Use a smoke test to inspect the intake tract, PCV connections, throttle body gasket, lower intake area, injector O-rings, vacuum hoses, EVAP purge line, and brake booster circuit. Introduce smoke with regulated low pressure, commonly below 1 psi, to avoid damaging sensors, diaphragms, or seals. Check the throttle path and crankcase ventilation path separately where needed, because a PCV-side leak may not appear during a simple intake-only test. A visible smoke leak at the lower intake flange, valley area, timing cover joint, or cover-to-pan transition is stronger evidence for gasket replacement than a mileage-based assumption.
Pressure testing is just as important when coolant loss or heat-related stalling is present. Test the cooling system to the cap rating or workshop manual value, often around 1.0-1.5 bar on passenger vehicles, and inspect after both cold soak and warm expansion. UV dye may help trace coolant or oil paths that run down the block and seem to start somewhere else. For suspected internal leakage, add a combustion gas check, borescope inspection, spark plug inspection, compression test, or cylinder leak-down test before ordering parts.
| Symptom | Likely area | What to check |
|---|---|---|
| High positive fuel trims at idle | Intake or vacuum leak | Smoke test, PCV joints, injector O-rings, intake flange flatness, throttle body gasket |
| Fuel trims improve at 2,500 rpm | Leak most active at high manifold vacuum | Lower intake sealing, brake booster hose, EVAP purge leakage, PCV valve function |
| Stalls only when hot | Gasket shrinkage, casting movement, or thermal distortion | Heat-soak inspection, coolant pressure test, leak traces after warm restart |
| Rough idle with oil smell | Valve cover, breather, front cover, or oil pan edge | PCV routing, oil on connectors, crankcase vacuum, external seepage |
| Coolant loss without external drip | Intake, water pump, front cover, or internal sealing path | Pressure test, UV dye, combustion gas check, plug condition |
| Repeated misfire on one bank | Lower intake sealing or coolant intrusion | Misfire counters, plug wells, compression, leak-down, borescope |
| Idle stall after deceleration | Airflow correction or vacuum leak | Throttle adaptation, MAF/MAP readings, smoke test, purge valve sealing |
| New leak after prior repair | Incomplete gasket replacement or surface issue | Service history, torque pattern, flange flatness, sealant placement |