Camshaft Phaser How to Replace: A Practical B2B Replacement Guide
Camshaft phaser faults rarely begin with the phaser alone. Cold-start rattle, cam/crank correlation codes, rough idle, and weak low-speed response can come from the phaser, but they can also come from poor oil control, a sticking solenoid, chain stretch, or low oil pressure. That is why **camshaft phaser how to replace** is not just a fitting task. It is a diagnosis, parts-selection, and warranty-control task.
This guide is written for workshop groups, distributors, service chains, and technical buyers who need a repeatable process. The exact repair method depends on the engine family, and the OE service manual always overrides general guidance for timing positions, torque values, sealants, and single-use bolts.
On the sourcing side, the same discipline applies. A replacement phaser has to do more than bolt on. It needs the correct timing range, oil-flow behavior, lock-pin action, tooth geometry, and mounting dimensions. It also needs batch traceability, stable packaging, and commercial terms that make sense across multiple SKUs. Driventus is an independent aftermarket manufacturer; brand names are referenced for fitment only.
Start With the Right Decision: Is the Phaser Really the Fault?
Replacing a camshaft phaser on symptoms alone is a fast way to create comebacks. Many "bad phaser" cases turn out to be oil-related, chain-related, or solenoid-related. The first job is to separate those causes.
Use a simple decision framework before approving the part:
- Noise at cold start: a brief rattle may point to lock-pin wear, but it can also reflect oil drain-back or delayed pressure build
- DTC pattern: correlation, over-advanced, or over-retarded codes narrow the fault, but do not prove the phaser itself has failed
- Driveability change: unstable idle, hesitation, and fuel-consumption increase suggest VVT control error, not necessarily phaser damage
- Service history: sludge, long drain intervals, and prior timing-set wear raise the chance that the fault is system-wide
- Visible evidence: internal free play, scoring, debris in oil passages, or lock-mechanism wear on the removed unit strongly support replacement
What to check before authorizing replacement
1. Confirm oil grade and maintenance history. 2. Measure engine oil pressure against OE specification. 3. Inspect the VVT solenoid or oil control valve for sticking or contamination. 4. Check chain, guides, and tensioner condition. 5. Compare commanded and actual cam angle with a scan tool.
For multi-branch workshop groups, this stage matters more than speed. It prevents avoidable returns and helps the parts team classify the repair correctly.
A practical approval model for service networks
Most jobs fit one of three buckets:
- Phaser only: oil pressure is in spec, chain condition is acceptable, and the phaser shows direct fault evidence
- Phaser plus solenoid: the phaser is suspect and oil-control response is inconsistent or contaminated
- Full timing-system repair: chain stretch, tensioner wear, low oil pressure, or heavy contamination makes a partial repair risky
That structure helps technicians order the right parts the first time and gives procurement teams cleaner warranty coding across sites.
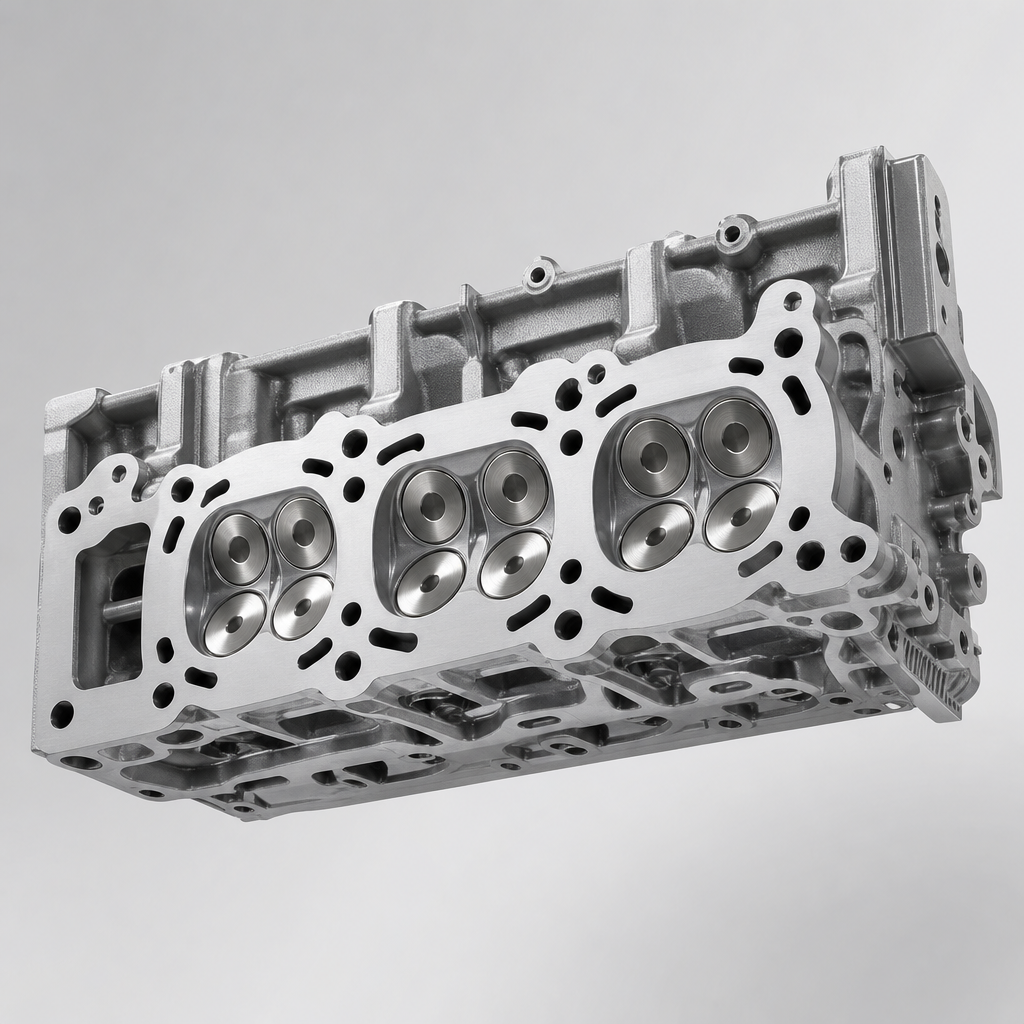
Before the First Bolt Comes Out: Tools, Parts, and Incoming Checks
Good phaser replacements are won before teardown starts. Confirm the engine layout, timing method, and bolt strategy first. Some engines need dedicated crank and cam locking tools. Others require fresh seals, a single-use center bolt, or a new solenoid if contamination is present.
Typical workshop items required
- Replacement camshaft phaser assembly
- Timing cover gasket or seal set
- New retaining bolt where specified as single-use
- Engine oil and filter if contamination is found or suspected
- Camshaft and crankshaft locking tools
- Torque wrench and angle gauge
- Scan tool for fault clearing and live-data verification
Receiving checks for the replacement unit
| Check point | What to verify | Why it matters |
|---|---|---|
| Sprocket tooth form | Matches original chain profile and pitch | Prevents chain noise, poor engagement, and accelerated wear |
| Mounting face | Flat, burr-free, no impact marks | Protects alignment and clamp load |
| Oil ports | Clean, capped, free from swarf or fibers | Avoids immediate oil-control problems |
| Locking mechanism | Smooth operation with no sticking | Critical for start-up stability |
| Identification | Batch code and fitment label present | Supports stock isolation and warranty review |
| Commercial item | Typical buyer question | Why it matters |
|---|---|---|
| MOQ | Is MOQ 20, 50, 100, or higher per SKU? | Controls inventory depth on slower-moving applications |
| Sample policy | Are 2-5 pcs available for validation? | Reduces launch risk |
| Price breaks | What are the prices at 50 / 200 / 500 pcs? | Gives a real margin picture |
| Lead time | Is repeat production 30-45 days or 60+ days? | Sets reorder points and safety stock |
| Packaging | Is each unit capped, bagged, and labelled? | Protects oil ports and branch traceability |
| Claim handling | What photos, data, and returned parts are required? | Speeds root-cause review |
| Inspection point | Typical record method | Why record it |
|---|---|---|
| Removed phaser condition | Photos of wear, scoring, and lock area | Supports claim review |
| Chain and guide wear | Visual check plus service-limit comparison | Shows whether the fault was broader than the phaser |
| Oil pressure result | Cold and hot readings | Separates lubrication faults from phaser faults |
| Cam angle deviation | Scan-tool values or screenshots | Confirms pre- and post-repair change |
| Fastener replacement | Yes/no by part number | Reduces installation disputes |
| Topic | What to ask | Actionable use for the buyer |
|---|---|---|
| MOQ | What is the MOQ per SKU for neutral pack, branded pack, and private label? | Shows whether long-tail applications are viable |
| Sample lead time | How many days for approval samples? | Helps schedule fitment validation |
| Mass-production lead time | What is the standard repeat-order lead time from PO or deposit? | Sets reorder timing |
| Price ladder | What are the prices at 50, 100, 300, and 500 pcs? | Shows real scale economics |
| Tooling or development cost | Is there a one-time charge for packaging or labeling changes? | Avoids hidden launch cost |
| Warranty terms | What failure evidence is required? | Makes claim handling predictable |
| Test scope | Is validation dimensional only, or also functional and durability-based? | Separates controlled manufacturing from simple trading |
| Traceability format | Is the batch code on the unit, label, carton, or all three? | Helps isolate stock quickly if an issue appears |