Broken Timing Belt Repair Cost and Kit Sourcing
A snapped timing belt is not a parts-only problem. It is a decision point: can the engine be retimed with a complete kit, or has piston-to-valve contact turned the job into cylinder-head repair? On non-interference engines, the answer may be simple. On many modern petrol and diesel interference engines, it is not. Bent valves, damaged guides, cracked rocker arms, marked pistons, seized idlers, leaking pumps, and contaminated belt paths all change the invoice. That is why B2B buyers should treat broken timing belt repair cost timing belt kit planning as one connected issue, not two separate line items. Distributors, repair chains, fleet-maintenance groups, and import managers need kits that fit the engine family, protect workshop labour, and reduce repeat claims. This article reframes the job around repair decisions, failure modes, kit specification, commercial planning, validation, and supplier evidence. Driventus manufactures engine and powertrain components in Taizhou, Zhejiang, and supplies B2B customers in more than 60 countries. Driventus is an independent aftermarket manufacturer; brand names are referenced for fitment only.
Decision Point: Belt Service or Engine Repair?
The first commercial mistake is quoting a broken timing belt as if it were a scheduled belt change. A normal belt-kit service may take 2.5–5.0 hours. Once the belt has failed, the job can move to 8–20+ hours because diagnosis, safe rotation, cylinder-head checks, valve replacement, machining, and retiming may all be involved.
Use a repair decision tree before pricing the job:
- Confirm engine type: Non-interference engines may stall without internal contact. Interference engines can bend valves the moment camshaft-crankshaft synchronisation is lost.
- Check for contact evidence: Low or uneven leak-down results, visible piston marks, broken rockers, damaged guides, or abnormal valve-train resistance move the job beyond a kit-only repair.
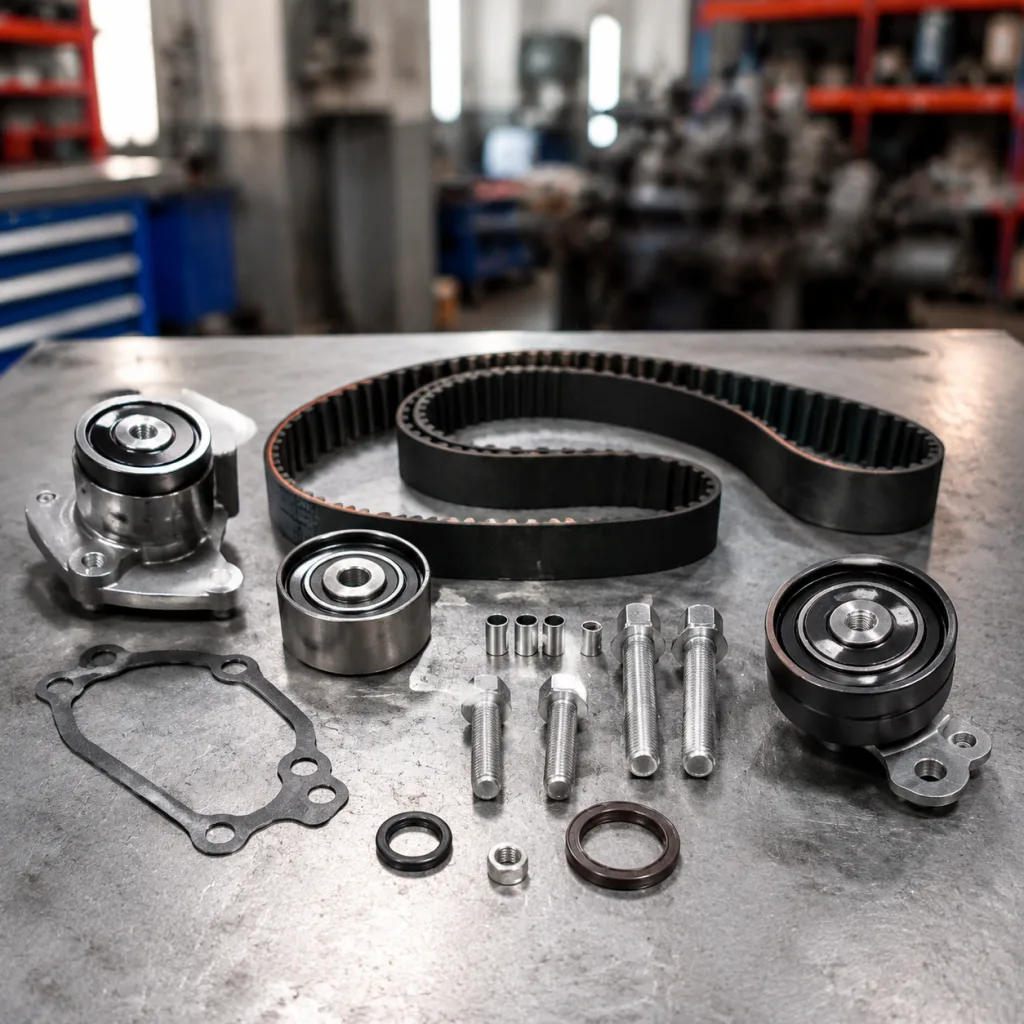
- Inspect the belt path: Idlers, tensioners, water pumps, seals, pulleys, mounting faces, and fasteners decide whether a new belt will survive.
- Separate visible damage from root cause: A torn belt may be the result, not the origin. Bearing seizure, coolant leakage, oil contamination, pulley misalignment, incorrect tension, or reused stretch bolts can destroy the replacement kit.
- Quote in stages: Price the timing belt kit and access labour first, then add cylinder-head repair only after leak-down, borescope, and valve-train checks define the damage.
For repair chains, this staged policy protects gross margin and customer trust. For distributors, it shapes the product range: workshops are more likely to reorder kits that include the parts needed to complete the repair once, not return to the same engine twice.
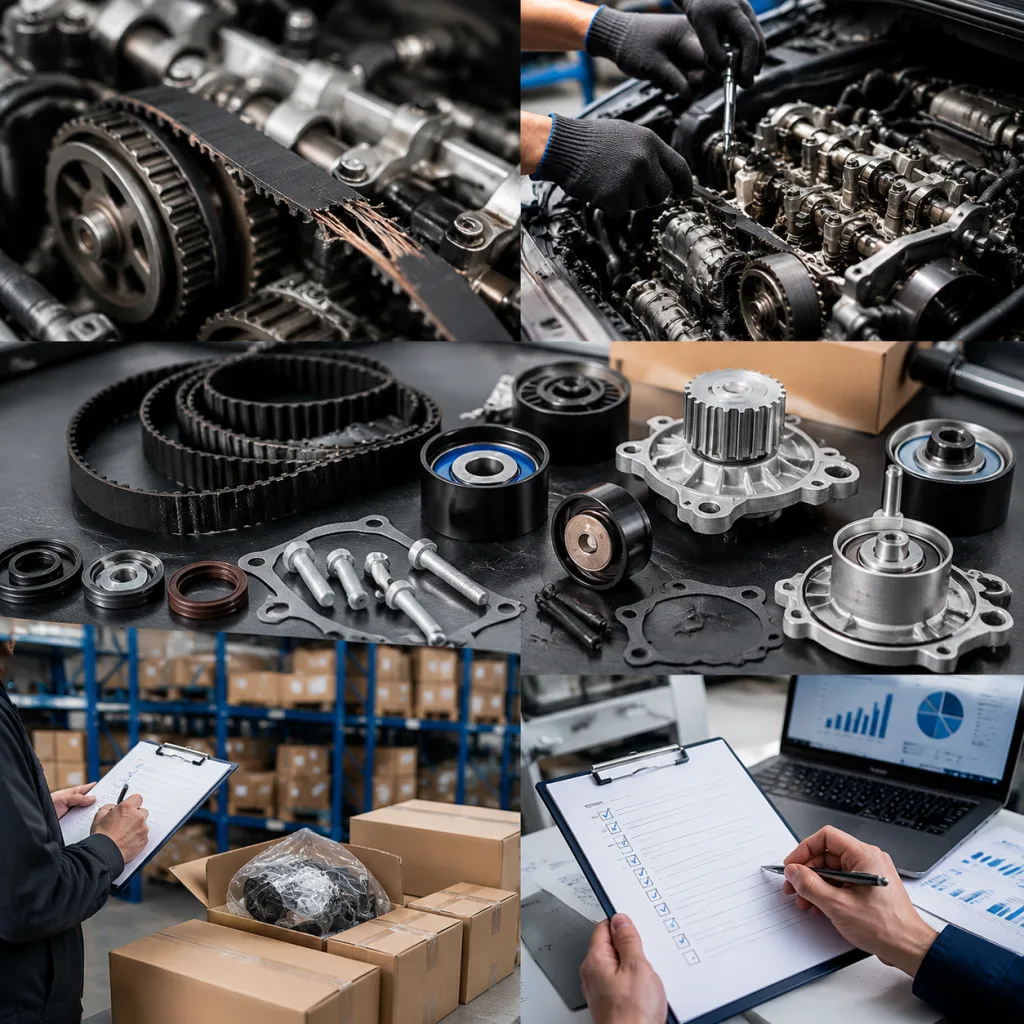
Failure Modes That Change the Repair Scope
A failed belt carries evidence. Teams lose that evidence when parts are thrown into one box, cleaned, or photographed after disassembly. The better workflow is simple: photograph before removal, mark belt running direction if visible, record odometer mileage, and bag the belt, tensioner, idlers, and pump by position.
| Finding | Likely cause | What to check next | Repair decision |
|---|---|---|---|
| Teeth stripped in one short zone | Camshaft lock, crank shock load, incorrect tension | Rotate cam and crank by hand only where safe; check valve-train resistance | Full kit plus cylinder-head inspection on interference engines |
| Edge fraying | Pulley misalignment, worn flange, cover contact, installation error | Check idler alignment, pulley runout, offset, flange witness marks | Replace belt and affected pulleys; correct alignment before start-up |
| Cracked belt back | Heat ageing, oil exposure, excessive service interval | Inspect seals, covers, ventilation, heat sources, and mileage record | Replace leaking seals; reject belt-only repair |
| Coolant staining in belt path | Water pump seal leakage | Pressure-test cooling system; inspect weep hole, bearing play, and impeller contact | Use pump-included kit and replace coolant-contact gaskets |
| Noisy or rough tensioner | Bearing wear, spring loss, hydraulic damping failure | Check seized rotation, pointer position, torque history | Replace tensioner and idlers; verify installation procedure |
| Belt tracking toward one flange | Bent stud, wrong washer stack, bracket distortion, pulley offset error | Check mounting faces, bolt stack-up, cover clearance | Stop installation until geometry is corrected |
| Cost lever | Lower-risk buying decision | If ignored |
|---|---|---|
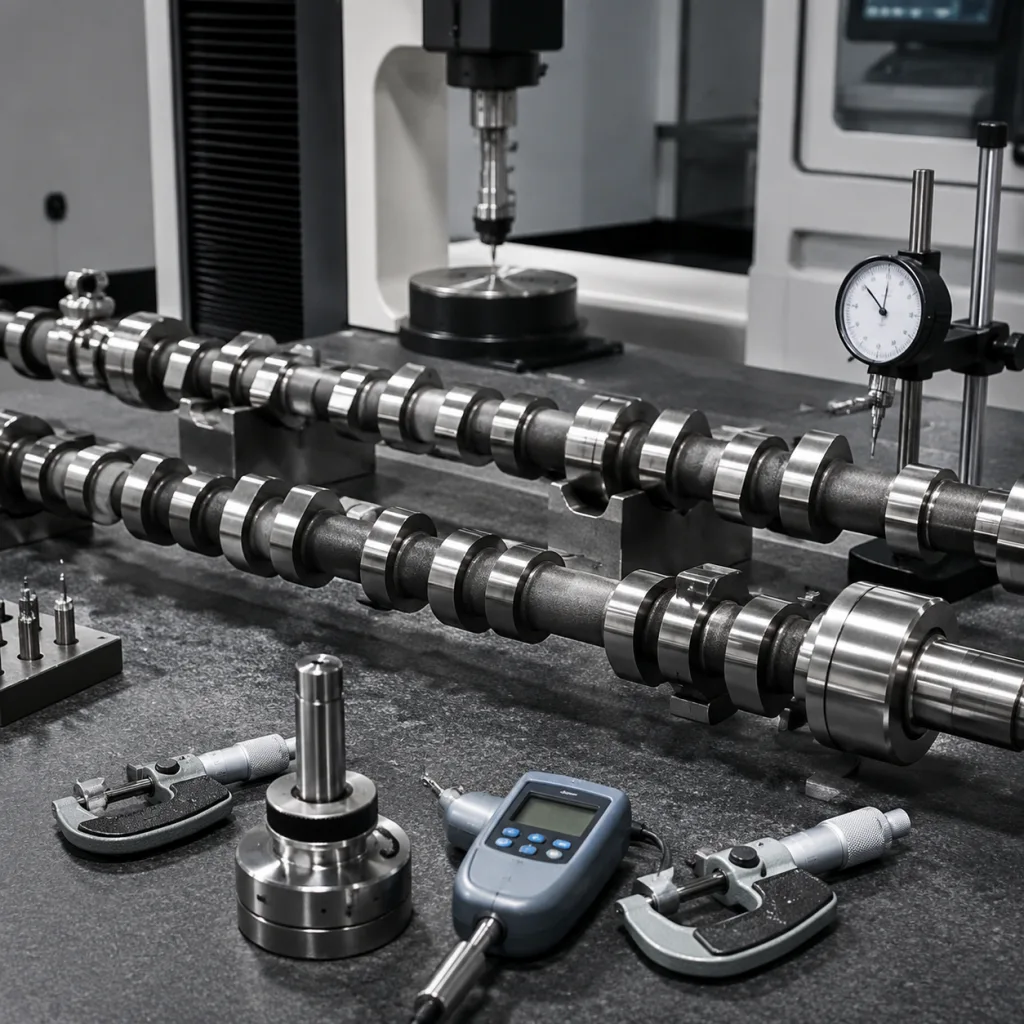
| Belt construction | Specify profile, tooth count, width tolerance, cord type, compound class, and heat/oil resistance | Noise, tooth shear, early cracking, fitment disputes |
| Pulley bearing quality | Define bearing grade, grease, radial play, axial play, rotation torque, and seal design | Seizure, noise claims, repeat labour |
| Water pump strategy | Segment pump-driven and non-pump-driven applications; define gasket, impeller, and bearing spec | Coolant leak after belt repair; workshop dissatisfaction |
| Traceability | Require batch codes on parts or packaging and retain inspection records by lot | Slow containment after a claim |
| Fitment data | Maintain engine-code notes, production-year breaks, and OE cross-reference logic | Returns caused by catalogue error |
| Packaging | Use export cartons suited to humidity, stacking, and mixed-container handling | Corrosion, crushed boxes, poor shelf presentation |
| Commercial planning | Align MOQ, price tier, and lead time with forecast demand and slow-moving references | Overstock, stockouts, emergency air freight |