Valve Stem Seal Symptoms of Failure: Diagnosis Guide
Valve stem seal symptoms of failure are easy to mistake for turbocharger oil leakage, piston ring blow-by, excessive valve guide clearance, or crankcase ventilation faults. For procurement teams, distributors, engine rebuilders, and repair operators, a wrong call costs far more than the seal itself. It can lead to unnecessary turbo or ring work, repeat labour, customer returns, warranty disputes, and avoidable vehicle downtime.
A valve stem seal controls the oil film between the valve stem and guide as the valve cycles. It is not meant to leave the guide dry. Its job is to allow controlled lubrication while stopping excess oil from being drawn into the intake or exhaust port and then into the combustion chamber. When the seal lip hardens, cracks, wears, loses garter spring load, becomes loose on the guide, or is damaged during installation, oil can travel down the stem and burn in the cylinder. The usual results are patterned blue exhaust smoke, increased oil consumption, spark plug fouling, ash deposits, and carbon build-up on valves and ports.
This guide covers the main valve stem seal symptoms of failure, how to separate seal-related oil entry from other engine faults, what to measure before and during replacement, and what B2B buyers should confirm before ordering replacement seals. Driventus is an independent aftermarket manufacturer; brand names and OE references are used for fitment identification only.
What valve stem seal failure looks like
Valve stem seal failure usually shows up as poor metering of oil, not as a sudden, obvious leak. The engine may still start, idle, and make normal power, so the problem is often missed until oil consumption becomes measurable or blue exhaust smoke appears under repeatable conditions.
The classic pattern is small amounts of oil entering the combustion chamber after collecting on or around the valve stem. This often happens while the engine is parked, idling, or running under high intake manifold vacuum, which is why the smoke is commonly intermittent rather than continuous. It also explains why valve stem seal symptoms of failure are so often confused with worn piston rings, turbocharger oil carryover, or a positive crankcase ventilation (PCV) fault.
Common signs include:
Blue smoke at cold start after the engine has sat for several hours. Oil seeps past the valve stem and guide while the engine is off, then burns during the first combustion cycles. A short plume that clears within seconds is a useful top-end oil-control clue.
Blue smoke after extended idle, followed by acceleration. High manifold vacuum at idle can draw oil past intake valve seals; the oil burns when the throttle is opened.
Brief smoke after long deceleration and throttle re-application. Vacuum during overrun can pull oil down the intake valve stems, especially on engines with worn or hardened seals.
Higher oil consumption with no visible external leak. Oil level drops while the sump, rocker cover, oil cooler, filter housing, drain plug area, and turbo oil lines remain dry.
Oily or ash-fouled spark plugs. Plugs may show wet oil, grey-white ash, or heavy dark deposits, sometimes concentrated on one cylinder, one bank, or adjacent cylinders.
Carbon build-up on valve backs and ports. This is most visible on port-injected engines or during borescope inspection. On direct-injection engines, oil from the top end can contribute to intake valve deposits because fuel does not wash the valve backs.
Catalyst, oxygen sensor, or GPF/DPF ash loading over time. Persistent oil burning can contaminate exhaust aftertreatment and shorten sensor or catalyst service life.
The timing of the smoke is the strongest diagnostic clue. Continuous smoke under boost or load often points more strongly to turbocharger oil leakage, piston ring wear, cylinder wall wear, or excessive crankcase pressure. Smoke at start-up, after idle, or after deceleration is more consistent with oil-control loss around the valve stem. One symptom alone is not enough to justify a repair or sourcing decision, but the operating pattern should place valve stem seals high on the diagnostic checklist.
Symptom, cause, and what it usually means
A structured comparison helps prevent unnecessary replacement. Valve stem seals are small parts, but the labour to access them can be significant. Before ordering parts or authorising repair, match the complaint to the most likely oil-entry path and confirm it with inspection data.
Symptom
Likely cause
What to check first
Blue smoke on cold start
Oil draining past hardened, shrunken, cracked, or loose seals while parked
Overnight sit test, first-start smoke duration, spark plug condition
Smoke after idle or downhill coast
Seal lip not controlling oil during high-vacuum operation
Valve guide clearance, seal lip condition, garter spring retention, PCV operation
Brief smoke when accelerating after deceleration
Oil pulled past intake valve stems during overrun
Intake valve deposits, borescope inspection, manifold vacuum history
</tr></thead><tbody> </tbody></table>A valve stem seal rarely fails in complete isolation. It depends on valve stem diameter, valve stem surface finish, guide inside diameter, stem-to-guide clearance, seal installed height, guide outside diameter, spring retention, valve lift, and cylinder head temperature. If guide clearance is excessive, the valve can move laterally and the lip cannot maintain an even oil-metering contact band. If the seal is installed too low, too high, or without a protective sleeve over the keeper grooves, the lip can be cut before the engine is even started.
For repair chains and parts buyers, the practical question is not only whether the seal has failed, but why it failed. Common root causes include heat ageing, incorrect elastomer selection, poor dimensional control, worn guides, incorrect installation tooling, dry installation where lubrication is specified, and packaging damage that deforms the lip. A reliable diagnosis compares symptoms across cylinders and confirms whether oil is entering through the valve-stem area rather than past rings, through the turbocharger, or through the crankcase ventilation system.
How to inspect before replacement
Inspection should move from quick, low-labour checks to mechanical measurement. This keeps diagnostic time under control and gives procurement teams better information before approving replacement seals, valve guide work, or a larger engine repair.
Begin with operating history. Record mileage or operating hours, oil grade and viscosity, oil change interval, overheating history, previous cylinder head work, turbocharger replacement history, and the exact conditions under which smoke appears. A short video of cold start, idle-to-acceleration, and deceleration-to-acceleration can help fleets and multi-site service networks standardise symptom reporting.
Practical inspection points
Track oil consumption over a known interval. Measure oil use over 1,000–2,000 km, a fleet duty cycle, or a fixed operating-hour period. Confirm the engine is filled to the specified level and is not overfilled.
Inspect spark plugs by cylinder. Look for wet oil, ash deposits, or cylinder-specific fouling. Dry black soot usually indicates mixture, ignition, or combustion issues rather than direct oil entry.
Observe cold-start smoke. Note whether smoke appears immediately, how long it lasts, and whether it clears within seconds or continues as the engine warms.
Observe smoke after idle. Allow the engine to idle long enough to create the condition, then apply throttle and watch for a blue plume.
Verify the PCV system. A restricted separator, stuck PCV valve, collapsed hose, blocked breather, or excessive crankcase pressure can push or draw oil into the intake and mimic seal failure.
Perform compression and leak-down testing. Acceptable and balanced results make piston ring sealing loss less likely. Low compression, high leakage into the crankcase, or strong blow-by requires deeper ring and bore investigation.
Use a borescope where access allows. Inspect piston crowns, valve backs, intake ports, exhaust ports, and chamber deposits. Oil trails near valve heads support a top-end oil-entry diagnosis.
Check turbocharger and charge-air plumbing on boosted engines. Oil in the compressor housing, charge pipe, intercooler, turbine outlet, or a restricted turbo drain may indicate a turbo-related source rather than valve seals.
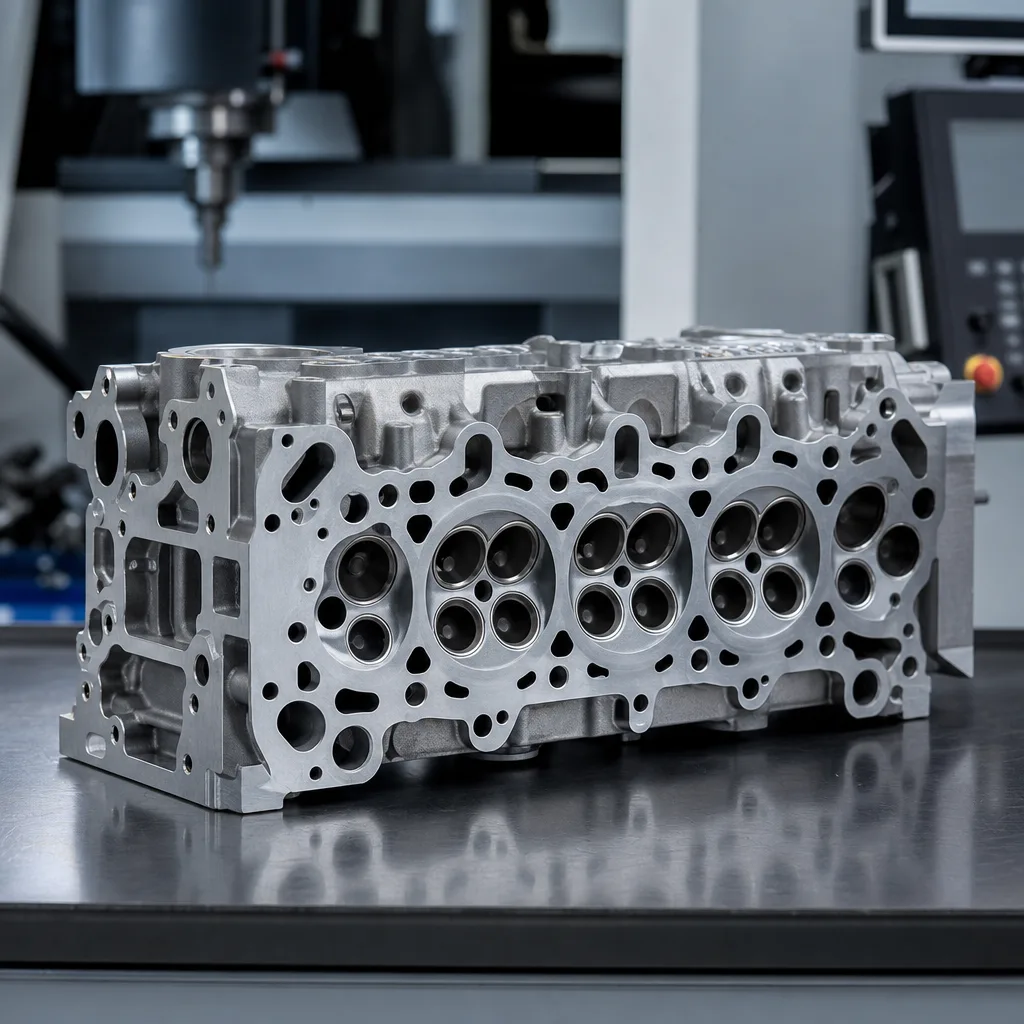
If the cylinder head is removed, measurement becomes critical. Check valve stem diameter, valve guide inside diameter, stem-to-guide clearance, valve stem runout where relevant, valve stem surface finish, seal installed height, guide outside diameter, and seal retention on the guide. Always compare measurements with the engine manufacturer’s service data; many light-vehicle valve stems are in the 5–8 mm range, but allowable clearance and seal dimensions vary by engine family.
Removed seals can tell a useful story. Look for hardened elastomer, radial cracks, torn lips, missing or displaced garter springs, uneven lip polishing, loose fit on the guide, and impact damage from incorrect installation tools. On reassembly, protect the sealing lip from sharp keeper grooves using the correct installation sleeve or cone. A seal that is too loose on the guide can lift under valve motion or thermal cycling. One that is too tight on the stem can overheat, wear rapidly, or restrict the required oil film. For procurement teams, the replacement part should match the OE-style dimensions, elastomer, retention design, and installation height for the engine family, not just the visible shape of the old seal.
Materials and fitment checks that matter for buyers
Valve stem seals are precision engine sealing components exposed to hot oil, fuel vapour, blow-by gases, exhaust heat, valve reciprocation, and long service intervals. Two seals may look similar on the bench, yet differences in elastomer compound, lip geometry, garter spring load, case design, and dimensional tolerance can decide whether the repair lasts.
For sourcing, request data that proves suitability for the exact engine family and operating environment. Vehicle model names alone are not enough, especially where one platform uses multiple cylinder heads, valve stem diameters, guide profiles, or production-year revisions.
Typical buyer checks:
Elastomer type. NBR may be suitable for lower-temperature applications where specified. ACM, FKM/FPM, or PTFE-based designs may be used where higher heat, oil, fuel-vapour, or low-friction performance is required by the application.
Hardness range. Request the compound hardness specification, commonly reported in Shore A for elastomer seals, and the acceptable tolerance band on the approved drawing.
Valve stem lip diameter. Confirm the lip is engineered for the target stem diameter and oil film requirement, not simply matched by visual comparison.
Guide outside diameter and retention. The seal must grip the guide securely without cracking the body, shaving material during installation, or loosening during thermal cycling.
Installed height and valve lift clearance. Confirm clearance to spring retainers, valve spring inner diameter, collets/keepers, and maximum valve lift.
Lip design and garter spring specification. Spring preload must support oil control without creating excessive friction, heat, or stem wear.
Metal shell or reinforcement design. Where used, the case should resist deformation during press-fit installation and maintain retention at operating temperature.
Material ageing performance. Review heat ageing, oil immersion, compression set, volume change, tensile change, and hardness-change data for the approved compound.
Oil and additive compatibility. Confirm compatibility with current engine oil categories, fuel dilution exposure, and the service intervals expected in the target market.
Packaging protection. Seals should be packed so lips are not flattened, cut, contaminated, or deformed before installation; bulk packing without lip protection can create warranty risk.
Traceability and lot control. Buyers should be able to connect delivered parts to production batches, material lots, cavity/tooling records, and inspection reports.
For export and aftermarket programmes, quality systems and compliance documentation matter. Driventus operates under IATF 16949:2016 and ISO 9001:2015, and material compliance may be aligned to REACH (EC) No 1907/2006 where applicable. Buyers should request dimensional inspection reports, validation data, and application confirmation matched to engine code, cylinder head family, valve stem size, and guide design.
Replacement is the right remedy when the evidence shows that oil control at the valve stem has failed and the surrounding mechanical parts are still serviceable. New seals make sense when the seal is the weak link. They will not solve a primary problem caused by excessive guide clearance, worn valve stems, piston ring leakage, turbocharger oil carryover, or a crankcase ventilation fault.
Use replacement when:
Smoke pattern strongly matches top-end oil control loss, especially at cold start, after idle, or after deceleration.
Compression and leak-down results are acceptable and reasonably balanced for the engine and mileage.
Valve stem diameter and guide clearance remain within the engine manufacturer’s service limits.
Existing seals are hardened, cracked, loose on the guide, displaced, torn, cut at the lip, or visibly worn.
The engine has high mileage, high operating hours, or repeated heat cycling that makes elastomer ageing likely.
Spark plug and borescope evidence supports oil entry near selected valve areas rather than uniform oil burning across all cylinders.
Use additional repair when:
Guide wear exceeds the service limit or lateral valve movement is visible/measurable.
Valve stems are scored, bent, undersized, pitted, or have damaged surface finish.
Valve seats, valve faces, retainers, keepers, or springs show abnormal wear or contact marks.
Cylinder leakage or crankcase blow-by indicates ring, piston, or bore problems.
Oil consumption continues after seal replacement and installation height, lip condition, and seal retention have been verified.
The repair route depends on access and risk. Some engines allow valve stem seal replacement with the cylinder head installed, using compressed air or rope methods to hold valves closed. This can reduce labour, but it limits direct measurement of guide wear and valve condition. A head-off repair gives better measurement access and is often preferred during rebuilds, high-mileage repairs, warranty-sensitive work, or any job where guide clearance is in question.
For multi-location repair chains and distributors, consistent OE cross-reference naming helps reduce ordering errors. Fitment data should be checked against engine code, cylinder head family, production year, valve stem diameter, guide OD, seal installed height, and intake/exhaust position where seals differ. For engines where an OE 06A107065-type reference is used in sourcing records, confirm stem diameter, seal outside diameter, guide fit, lip design, and installed height before purchase. Cross-references should guide selection, not replace dimensional confirmation.
Sourcing notes for procurement teams
Procurement teams should treat valve stem seals as critical engine sealing components, not generic rubber items. A low-cost seal that is dimensionally unstable, poorly packaged, or made from the wrong compound can trigger repeat blue-smoke complaints, oil-consumption claims, and warranty returns that quickly exceed the initial saving.
A strong sourcing process connects field symptoms with product specifications. If a distributor is seeing repeated valve stem seal symptoms of failure after repair, the investigation should look at both the engine condition and the supplied part: elastomer, dimensions, retention force, lip condition, installation method, packaging, and production batch history.
Recommended sourcing checklist:
Application list by engine code, cylinder head family, valve stem diameter, guide OD, intake/exhaust position, and production range.
Controlled dimensional drawing with critical-to-function dimensions clearly identified.
Tolerances for stem-contact lip ID, guide-fit ID/OD, total height, installed height, case dimensions, lip geometry, and retention features.
Incoming inspection criteria and in-process inspection frequency for rubber moulding, spring assembly, metal case forming, and final inspection.
Material specification, compound approval, hardness range, and elastomer grade.
Thermal ageing, oil immersion, compression set, volume change, tensile change, and lip stability test results.
Installation guidance, including protective sleeve, press tool, lubrication instruction, and maximum installation force where specified.
Packaging method that prevents lip deformation, dust contamination, oil contamination, corrosion of metal cases, and edge damage during export shipping.
Lot traceability, batch coding, material lot records, and retention of inspection reports.
Change-control notification for material, tooling, production site, spring specification, coating, packaging, or drawing updates.
Support for private-label packaging, kitting, barcode labelling, and market-specific application data.
For B2B buyers, the strongest supplier discussions are based on measurable requirements: target engine family, annual volume, order lot size, packaging format, inspection documents, PPAP or sample submission expectations where required, and delivery destination. If a seal is intended for multiple markets, confirm whether the same design is valid across those applications or whether different stem and guide dimensions require separate references.
If you need private-label supply, kitting, or application-specific packaging, see custom manufacturing. For direct enquiries, request a quote. Driventus is an independent aftermarket manufacturer; brand names and OE references are used for fitment identification only.
Frequently asked questions
Yes. Oil entering the cylinder can foul spark plugs, increase ash deposits, and cause rough running, incomplete combustion, or misfire codes. Confirm the cause with plug inspection, compression testing, leak-down testing, PCV checks, and borescope evidence before replacing parts.
Ring wear usually shows broader compression loss, higher crankcase blow-by, and smoke under load. Seal failure more often shows smoke at start-up, after idle, or after long deceleration. Both can cause oil consumption, so compare smoke timing with compression, leak-down, crankcase pressure, and borescope evidence.
It depends on engine design, access, mileage, and workshop tooling. Some engines allow on-car replacement with compressed air or rope methods, but a head-off repair gives better access to measure guide clearance, inspect valve stems, confirm installed height, and identify the root cause.
If you need application matching, dimensional confirmation, or private-label supply for engine sealing parts, contact Driventus for technical support and sourcing assistance at /contact.html