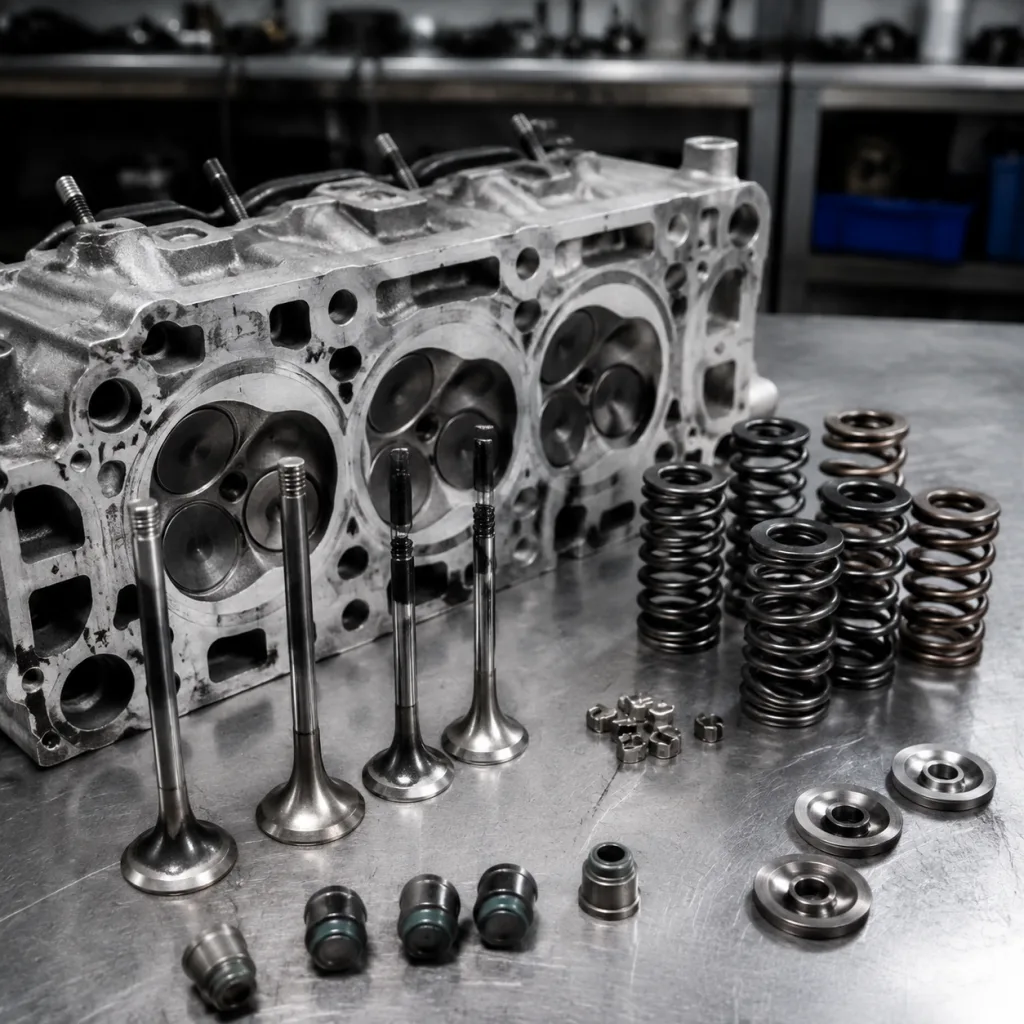
Valve Seat Recession and Valve Spring Wear: Diagnostics
Valve seat recession and valve spring wear often show up together, but they are not the same failure. Recession removes material from the seat area and shifts valve geometry; spring wear reduces load and control. That difference matters because the fix, the inspection path, and the sourcing spec are not interchangeable. Driventus is an independent aftermarket manufacturer; brand names and OE references are used for fitment identification only. This guide focuses on the practical decision points: how to separate the symptoms, what to measure first, and how to turn inspection results into a defensible purchase specification.
Decision tree: recession or spring wear?
Start with the symptom pattern, not the part number.
- Low compression plus tightening lash points toward valve seat recession.
- High-rpm misfire, bounce, or unstable running points toward spring loss.
- Both together usually mean the head needs a full geometry check.
Seat recession is most common on exhaust valves under sustained heat, heavy load, poor combustion, or unsuitable fuel and lubrication conditions. As the valve sinks deeper into the head, lash closes up and sealing can weaken. Spring wear behaves differently. The spring may still look normal while losing load through heat, stress relaxation, surface damage, or coil set. Once load falls below spec, the valve can close late, bounce, or lose control at speed.
A quick rule helps separate them: if lash is shrinking but the spring still tests strong, the seat is the leading suspect. If lash is stable but control fades at rpm, spring fatigue is more likely. If both are changing, treat the valve train as a system failure rather than a single bad part.
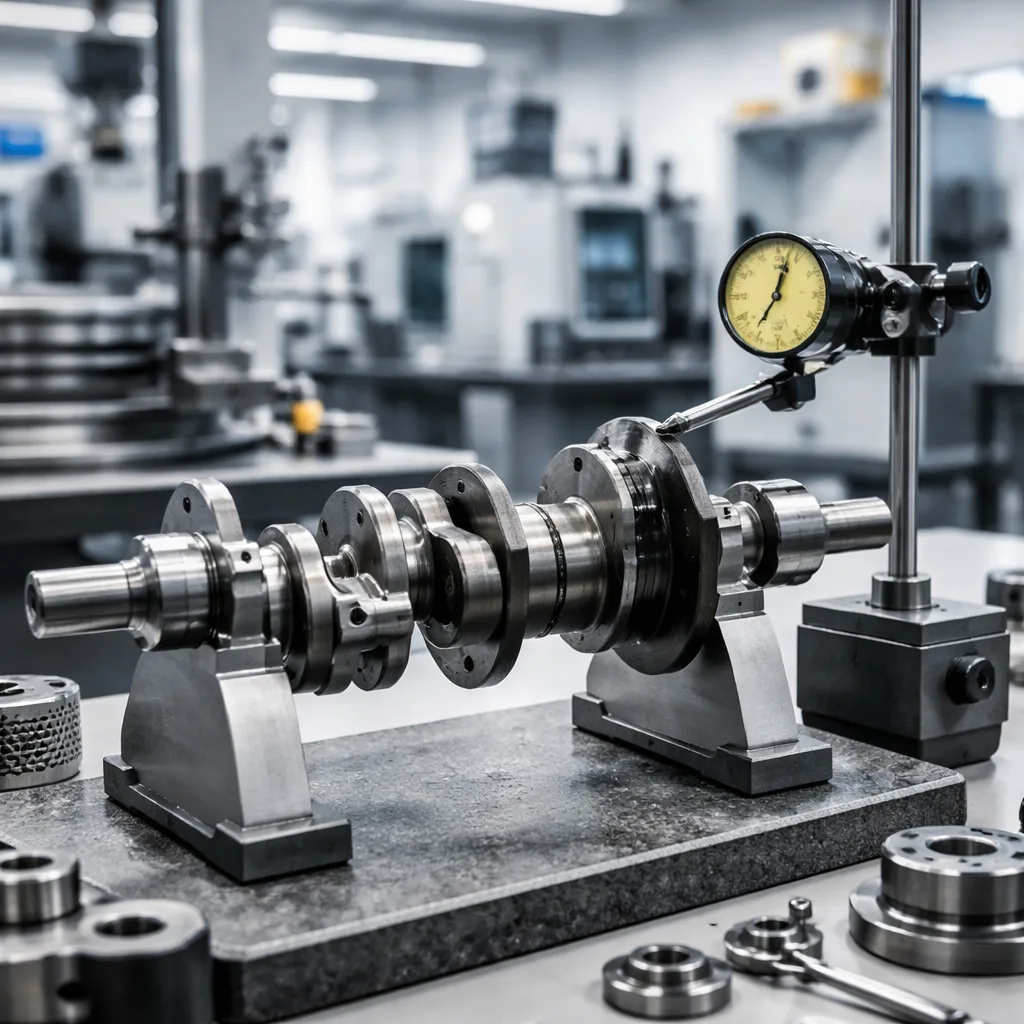
Inspection order that avoids guesswork
Use the same sequence every time so the diagnosis stays comparable across cylinders, banks, and rebuild jobs.
1. Measure valve lash and compare like-for-like cylinders. 2. Check compression and, if needed, leak-down to confirm sealing loss. 3. Measure installed height, retainer height, and spring free length. 4. Inspect valve-to-seat contact with marking compound where access allows. 5. Test removed springs for seat pressure, open pressure, rate, and squareness.
Record these values
- Free length to the practical tolerance used by the application.
- Installed height and remaining coil-bind margin.
- Seat pressure and open pressure at the specified test heights.
- Signs of pitting, heat discoloration, cracking, collapse, or uneven coil spacing.
- Valve stem protrusion and retainer-to-seal clearance.
- Any machining already performed on the seat or cylinder head.
For fleet work, capture the engine code, valve count, production range, and any confirmed OE-style cross-reference already used by the buyer. Do not assume interchangeability from outside diameter, coil count, or free length alone. If stock must be released before teardown is complete, use a controlled interim spec from a measured sample rather than a visual match.
What fails first, and why
The failure mode often tells you where the root cause lives.
Valve seat recession changes where the valve stops. That alters geometry, can reduce clearance at the cam or rocker, and can eventually prevent full closure. A spring that has lost pressure creates a different problem: the valve still reaches the seat, but it may not be controlled cleanly on the way there or at high speed. That is when bounce, impact stress, and secondary wear accelerate.
The two faults also feed each other. Recession changes installed height and can force a spring to work outside its intended window. A weak spring can increase seat impact and speed up seat wear. So the question is not which fault exists in isolation. It is which one started the chain, and whether the other has already joined in.
If the head has been machined, recheck valve stem height, spring height, and retainer clearance. A seat correction that looks minor on paper can still move the spring into a different load zone.
Buyer spec: what a replacement spring must prove
For sourcing, the part has to match the duty cycle, not just the dimensions.
| Check point | What to verify | Why it matters |
|---|---|---|
| Free length | Drawing value or approved sample limit | Supports correct installed load |
| Installed height | Application target after machining | Prevents low pressure or coil bind |
| Spring rate | Measured within agreed tolerance | Controls closing force |
| Seat and open pressure | Load at specified test heights | Confirms usable force range |
| Squareness | Within build specification | Reduces side loading and wear |
| Surface condition | No cracks, corrosion, pitting, or decarburisation | Improves fatigue resistance |
| Material and heat treatment | Verified alloy, process, and hardness where specified | Supports thermal stability |
| Lot traceability | Batch ID, date code, and quantity control | Supports QC and warranty review |