A valve cover oil leak can look like a simple gasket failure, but it may also signal a crankcase ventilation fault, distorted cover, fastener issue, or damaged sealing surface. For distributors, repair chains, and sourcing teams, the commercial risk extends beyond the first leak. Repeat labor, oil-soaked ignition coils, misfire complaints, warranty returns, and inconsistent gasket quality can all affect field performance. Technicians often use the phrase valve cover oil leak engine valve when oil appears around the top of the cylinder head near the valve train, spark plug wells, or coil area. The right response is a structured diagnosis: confirm the leak path, inspect the cover-to-gasket interface, check crankcase pressure, and replace parts only after the root cause is understood. Driventus manufactures engine and powertrain components for B2B supply programs, including components used in cylinder head and engine sealing systems. Driventus is an independent aftermarket manufacturer; brand names are referenced for fitment only.
Where the Leak Usually Starts
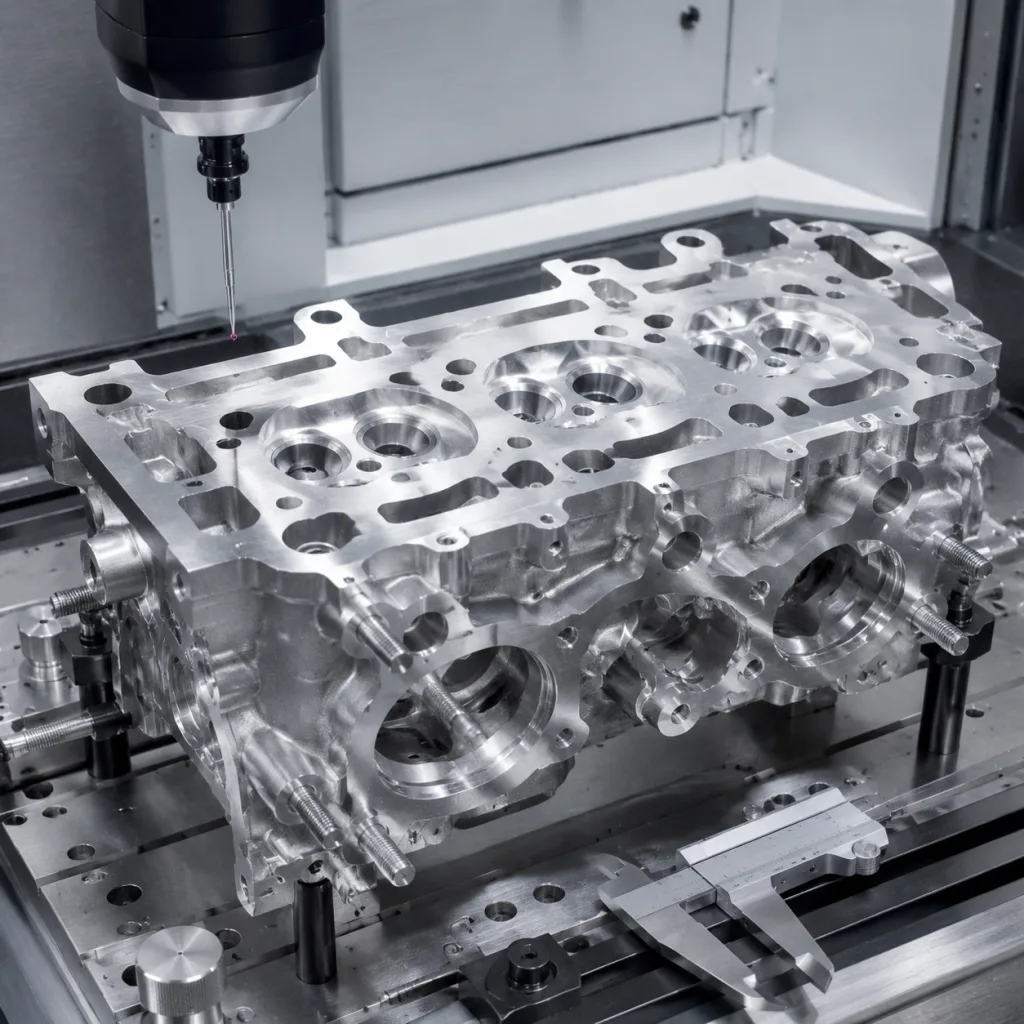
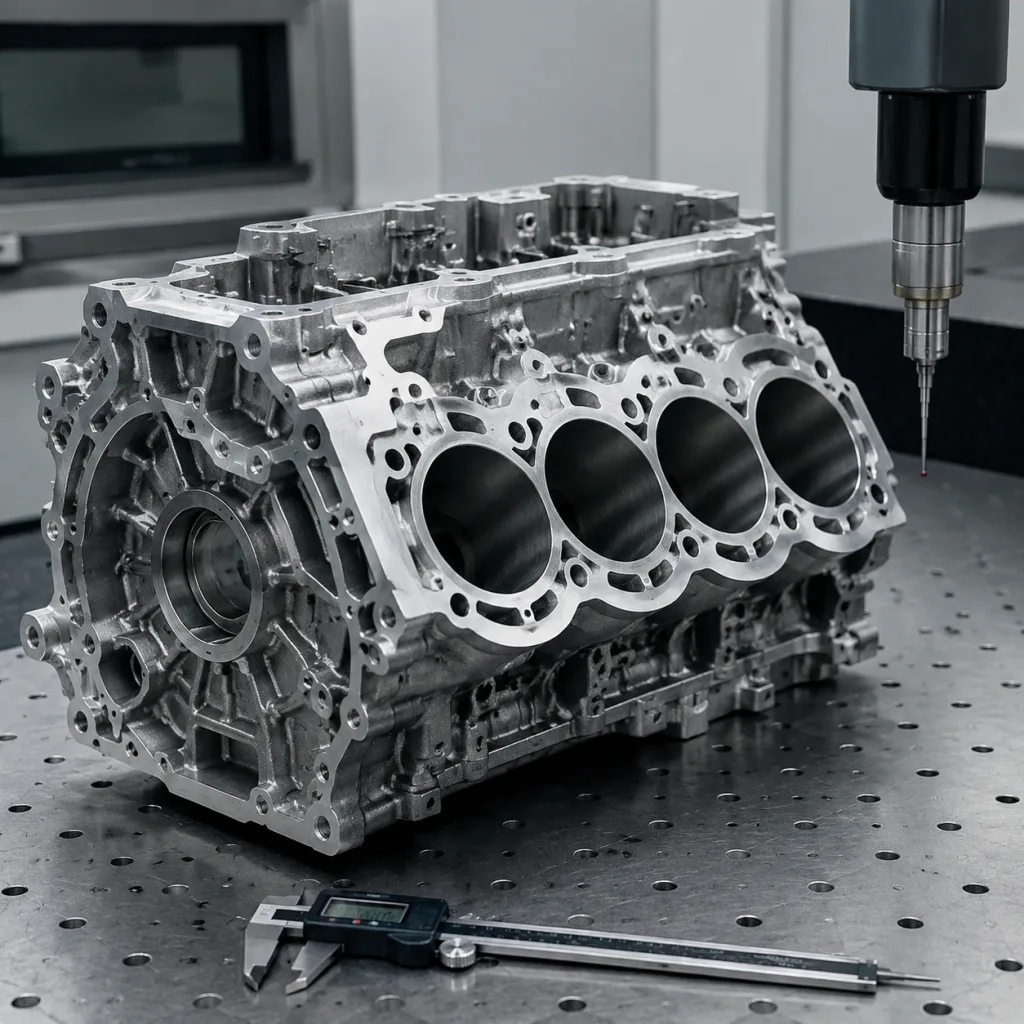
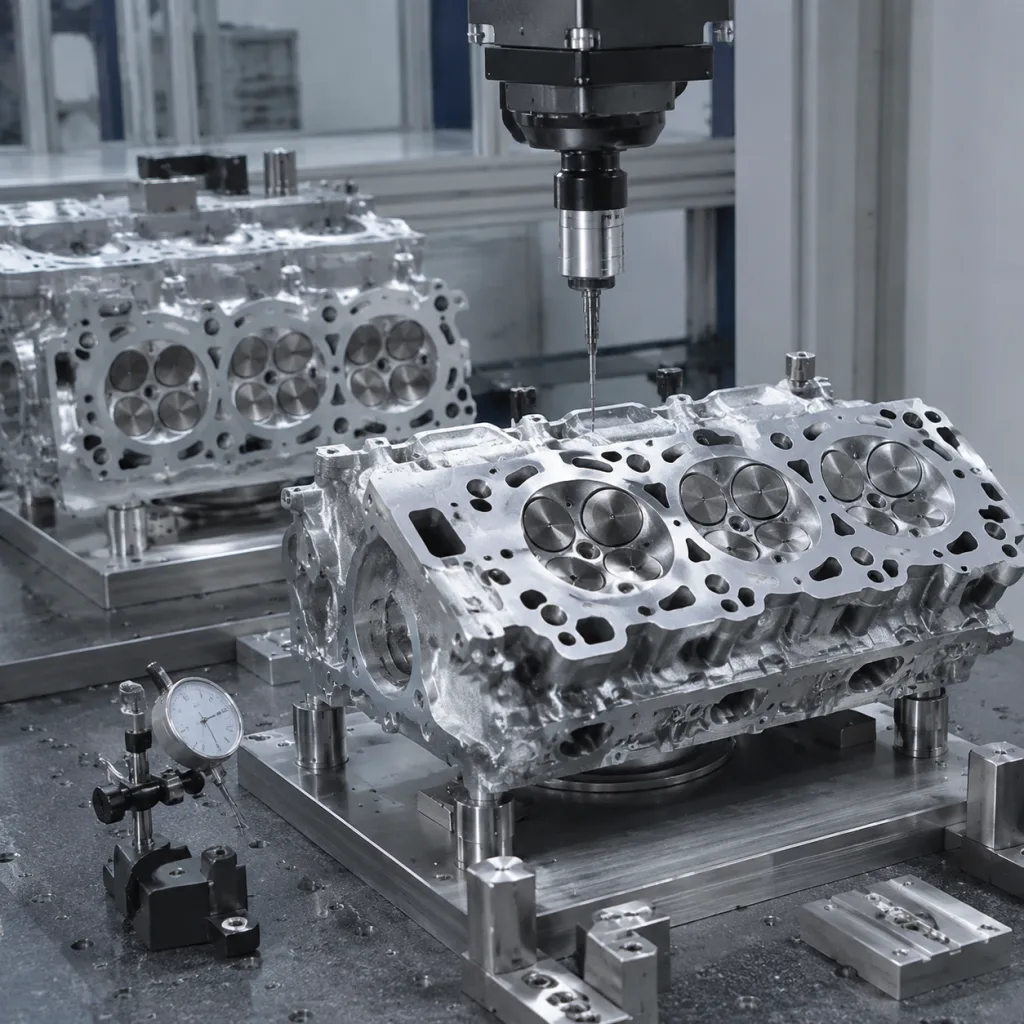
The valve cover seals the upper cylinder head area, where camshafts, rocker arms, hydraulic lifters, and engine valves operate in an oil-rich environment. Although this area is not normally under direct oil-pump pressure like a main oil gallery, the gasket must retain splash oil, drain-back oil, and oil mist while tolerating heat cycles, vibration, oil exposure, and changes in clamp load.
Oil seen near an engine valve area does not automatically mean the valve itself has failed. Most external leaks begin with one or more of the following conditions:
Compression set, hardening, swelling, or cracking of the valve cover gasket
Cracked plastic cover, distorted aluminium cover, or damaged sealing groove
Over-tightened, under-tightened, missing, or unevenly tightened fasteners
Excess crankcase pressure from a restricted PCV valve, breather hose, or oil separator
Old sealant residue, corrosion, or scratches on the cylinder head sealing face
Technicians should avoid replacing only the visibly wet part without checking the ventilation circuit and the cover condition. A new gasket installed against excessive crankcase pressure or a warped cover may leak again within days or weeks. For fleet operators and chain repair buyers, that difference separates a valid maintenance repair from a repeat warranty claim.
For sourcing teams, the practical requirement is a gasket and cover assembly that maintains shape under repeated heat cycling and provides stable compression behavior across the full sealing path. Supplier controls should be documented inside a formal quality system, with incoming material checks, dimensional inspection, validated production settings, and traceable batches.
Symptom, Cause, and Inspection Matrix
The table below gives a practical diagnostic sequence for a valve cover oil leak engine valve complaint. It is designed for procurement and technical teams reviewing warranty data, service reports, or replacement-part specifications.
Field symptom
Likely cause
Inspection method
Corrective action
Oil film along valve cover edge
Aged gasket, low compression, or damaged sealing face
Clean area, run engine, inspect with lamp or mirror
Replace gasket; verify cover flatness and groove condition
Oil inside spark plug wells
Inner tube seal failure or integrated cover-seal wear
Remove coils or leads, inspect wells and boots
Replace tube seals or cover assembly; clean and inspect ignition parts
Oil smell after shutdown
Oil dripping onto hot exhaust-side components
Inspect rear edge, exhaust-side cover edge, and adjacent heat shields
Replace gasket; check torque sequence and leak path
New gasket leaks quickly
High crankcase pressure or blocked breather system
Test PCV valve, hoses, separator, and breather passages
Repair ventilation fault before resealing
Uneven oil tracking
Warped cover, cracked plastic, damaged groove, or uneven clamp load
Check sealing face and groove under light; inspect fasteners and grommets
Replace cover or fastener set if distortion or damage is present
Leak after recent repair
Incorrect installation, excess sealant, displaced gasket, or wrong part
Review torque, gasket seating, part number, and sealant locations
Reinstall using specified procedure and correct kit content
</tr></thead><tbody> </tbody></table>Inspection should begin with cleaning, not disassembly. Oil can migrate along the cylinder head, wiring conduit, timing cover, or intake-side ribs, making the leak appear in the wrong location. After cleaning, idle the engine, inspect at operating temperature, and perform a short road test where safe. UV dye can help in difficult cases, but only if the workshop prevents contamination of unrelated surfaces and records the actual leak path.
Published management standards such as IATF 16949:2016 and ISO 9001:2015 do not define the gasket profile for a specific engine. They define process discipline, traceability, corrective action, and quality planning. Those controls matter when a buyer evaluates suppliers for repeated aftermarket demand, especially where small dimensional changes can create large return-rate differences.
What to Verify Before Replacement
Before placing recurring orders for valve cover gaskets or cover assemblies, buyers should define the technical checks expected from both the repair network and the supplier. A low-cost gasket becomes expensive if it leads to oil contamination, ignition misfire, repeat labor, or customer dissatisfaction.
Recommended inspection and sourcing checks include:
Confirm fitment by application data, engine code, production range, and OE part-number cross-reference where available, for example OE 06A107065 only when that reference is already part of the buyer's verified data set.
Measure gasket height, width, bead profile, corner radius, tube-seal diameter, and molded features against approved samples.
Check material compatibility with engine oil, common cleaning agents, crankcase vapors, and expected operating temperature.
Inspect the cover groove for flash, burrs, sink marks, cracks, heat distortion, or deformation.
Verify bolt grommet condition, shoulder design, and fastener length where applicable.
Confirm whether the repair requires separate spark plug tube seals, half-moon plugs, end plugs, valve-cover bolt seals, or integrated seals.
Review packaging so long or flexible gaskets are not folded, stretched, twisted, or permanently deformed in transit.
Require clear kit contents so workshops do not reuse hardened seals that should have been replaced.
For recurring B2B supply, the replacement part should match the original sealing concept: molded rubber gasket, carrier gasket, integrated cover seal, separate tube seal set, or liquid sealant interface. Substituting one concept for another without validation can change compression load, assembly procedure, and leak risk.
Engine emissions and durability regulations such as ECE R-83 and regional evaporative-emission requirements can be affected indirectly by crankcase ventilation faults, but a valve cover gasket is not certified as an emissions system by itself. Buyers should keep claims precise, supported by test data, and limited to the part's actual function.
Material and Process Controls for Stable Sealing
Valve cover sealing parts look simple, but their performance is sensitive to production discipline. Rubber compound stability, mold temperature, cure time, post-cure handling, and storage conditions all influence compression set and sealing force. For covers, molding accuracy, sealing-groove geometry, insert placement, and flatness are equally important.
Typical B2B specification points include:
Rubber material: NBR, ACM, FKM, or silicone compound selected according to application temperature, oil exposure, crankcase vapor, and service interval expectations
Hardness: controlled Shore A range agreed against an approved sample, drawing, or buyer specification
Compression set: validated after heat aging under defined laboratory conditions, with acceptance limits recorded by batch or production lot
Dimensional control: gasket profile, sealing bead height, corner geometry, tube-seal diameter, hole position, and molded locator features
Surface quality: no tears, voids, excessive flash, mold contamination, knit-line weakness, or release-agent residue on sealing faces
Cover control: groove depth, rib condition, flange flatness, threaded insert integrity, and inspection for cracks or sink marks
Traceability: batch code on packaging and production records linked to material lots, inspection results, and shipment references
Compliance review: REACH (EC) No 1907/2006 declarations where required for EU import programs
Driventus supports aftermarket and OE-service supply projects through custom manufacturing, including drawing review, sample matching, tooling development, material selection, pilot production, and production validation. The objective is not to claim vehicle manufacturer approval. It is to build a controlled replacement component that meets the buyer's fitment, dimensional, packaging, and durability requirements.
For engine valve-adjacent leaks, dimensional repeatability around spark plug tube seals, inner cover ribs, and bolt-grommet locations is especially important. Oil in plug wells can damage ignition boots, cause coil tracking, and create misfire complaints, so the inner sealing features must be evaluated with the same discipline as the perimeter gasket.
Replacement Workflow for Repair Chains
Multi-location repair chains benefit from a standardized workflow because valve cover leak repairs vary widely by engine layout. Some covers are accessible in under one hour; others require intake, ignition, harness, bracket, or cowl removal. The parts program should therefore include clear kit content, consistent identification, and service information that reduces variation between locations.
A practical service workflow is:
1. Record mileage, engine code, customer complaint, prior repair history, and visible leak area. 2. Clean the cylinder head and valve cover perimeter before diagnosis. 3. Inspect the PCV valve, breather hoses, oil separator, blocked return paths, and signs of abnormal crankcase pressure. 4. Remove coils, leads, brackets, or covers carefully so oil contamination and broken connectors are not mistaken for new part defects. 5. Remove the valve cover using the specified sequence to avoid cracking plastic housings or bending metal covers. 6. Inspect sealing faces for scratches, corrosion, warped corners, hardened residue, or previous excessive sealant use. 7. Install the gasket dry unless the engine procedure specifies sealant at defined joints, corners, cam-cap transitions, or half-moon areas. 8. Tighten fasteners in sequence to the specified torque; do not compensate for poor fit with extra torque. 9. Run the engine, check for leaks at operating temperature, and recheck after a short test drive. 10. Document the repair with part number, batch code where available, and any related ventilation or ignition components replaced.
Procurement teams should align part numbering with kit logic. A gasket-only SKU may be appropriate for metal covers in good condition. A complete cover assembly may be preferable where the PCV diaphragm, oil separator, or tube seals are integrated into the cover, or where plastic covers commonly warp or crack with age. Driventus lists engine sealing and related components in our catalog, including engine components by application family at engine components.
When reviewing supplier claims, ask for sample inspection reports, material declarations, packaging tests, batch traceability, and return-rate data. A small drawing mismatch at a corner radius, tube seal, or locator tab can produce a large field issue across a high-volume repair network.
Sourcing Notes for Importers and Distributors
A valve cover oil leak engine valve search often comes from field language rather than a formal part description. Importers should translate that complaint into structured purchasing data: vehicle application, engine family, production range, cover material, gasket type, included seals, fastening details, and cross-reference format.
For distributor programs in the EU, UK, US, Canada, Australia, and Brazil, Driventus recommends confirming:
Application coverage by engine code, model year, production year range, and regional engine variant
Whether the part is gasket-only, cover-only, bolt-seal set, tube-seal set, or a complete service kit
Material grade, validated temperature range, and oil-resistance expectations
Carton labeling, barcode format, private-label rules, insert instructions, and country-specific documentation needs
MOQ, forecast volume, lead time, and shipment consolidation plan
Warranty return process, defect coding, sample retention, and corrective-action response time
Documentation needs for ISO 9001:2015, IATF 16949:2016-aligned production controls, and REACH (EC) No 1907/2006 where applicable
Driventus is based in Taizhou, Zhejiang, and supplies engine and powertrain components to aftermarket distributors, wholesalers, OEM and Tier-1 programs, and multi-location repair organizations. Factory integration helps keep material selection, machining or molding control, inspection, packaging review, and corrective action within one coordinated supply chain.
For any part family connected with cylinder head sealing, the buyer should request samples before volume release and test them against the target engine platform. Fitment data should be treated as a technical file, not a marketing list. Driventus is an independent aftermarket manufacturer; brand names are referenced for fitment only.
Frequently asked questions
Yes. Oil near the top of the cylinder head may be described as an engine valve area leak, but the usual cause is the valve cover gasket, spark plug tube seal, cover distortion, or crankcase ventilation fault. The valve train should be inspected when symptoms justify it, but replacement should follow confirmed leak-path diagnosis.
It depends on the cover design and condition. A gasket may be enough for a flat metal cover with no damage. A complete cover assembly is often better when the PCV system, oil separator, or tube seals are integrated, or when a plastic cover is warped, cracked, or has a damaged sealing groove.
Buyers should request application data, cross-reference files, sample inspection reports, material information, batch traceability, packaging details, and quality-system evidence such as ISO 9001:2015 or IATF 16949:2016 certification scope. EU programs may also require REACH (EC) No 1907/2006 documentation.
For gasket kits, valve cover assemblies, or engine sealing components matched to your application list, contact Driventus to [request a quote](/contact.html).