Valve Cover Oil Leak Causes and Fixes: Diagnostic Guide
A valve cover oil leak is common, but the source is not always the valve cover gasket itself. Oil can escape from a hardened gasket, loose fasteners, cracked plastic covers, blocked crankcase ventilation, or a warped sealing surface. The result is often oil smell, smoke on a hot exhaust manifold, and wet residue around the cylinder head. For buyers and workshop managers, the practical question is not only what failed, but whether the part can be restored, resealed, or replaced with a dimensionally correct component. Driventus is an independent aftermarket manufacturer; brand names are referenced for fitment only. For procurement teams sourcing service parts at scale, diagnostic consistency matters because repeated leaks usually point to installation error, surface distortion, or material fatigue rather than a single isolated defect. The steps below follow a symptom-to-cause approach and align with common workshop practices under IATF 16949:2016 and ISO 9001:2015 quality controls.
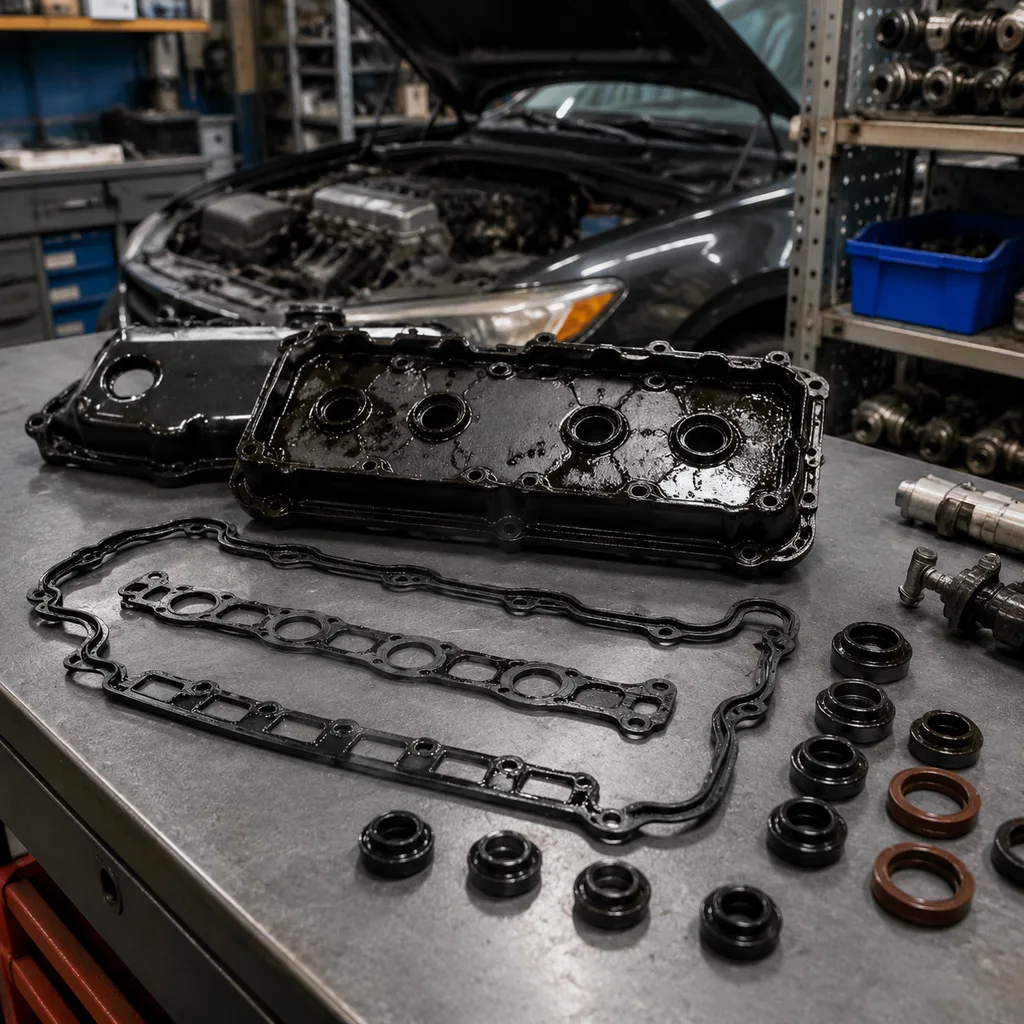
What a valve cover leak usually looks like
Oil from the top end of the engine tends to show up in a few predictable places:
Wet oil around the perimeter of the valve cover and cylinder head joint
Burnt oil smell after a drive, especially near the firewall or exhaust side
Smoke from oil dripping onto the exhaust manifold or turbo heat shield
Oil pooling in spark plug wells on engines with integrated coil packs
Dust stuck to a damp edge, which often reveals a slow seep rather than a sudden failure
A leak at the cover is often mistaken for a camshaft seal, timing cover, or oil pressure sender issue. Start by cleaning the area and confirming the highest point of wetness. That point usually identifies the true source. For reference parts and related engine components, see our catalog and the broader engine components range.
Excess crankcase pressure forces oil past the seal
Breather hoses, PCV valve, oil filler cap pressure
Cracked cover
Oil escapes from the body, not the gasket line
Hairline cracks around bolt towers and corners
</tr></thead><tbody> </tbody></table>On engines with plastic covers, heat and oil vapour accelerate creep and distortion. On aluminium covers, overtightening is a common root cause. REACH (EC) No 1907/2006 is relevant when selecting seal materials and production inputs for EU supply chains, particularly where elastomer formulation and restricted substances are part of procurement review.
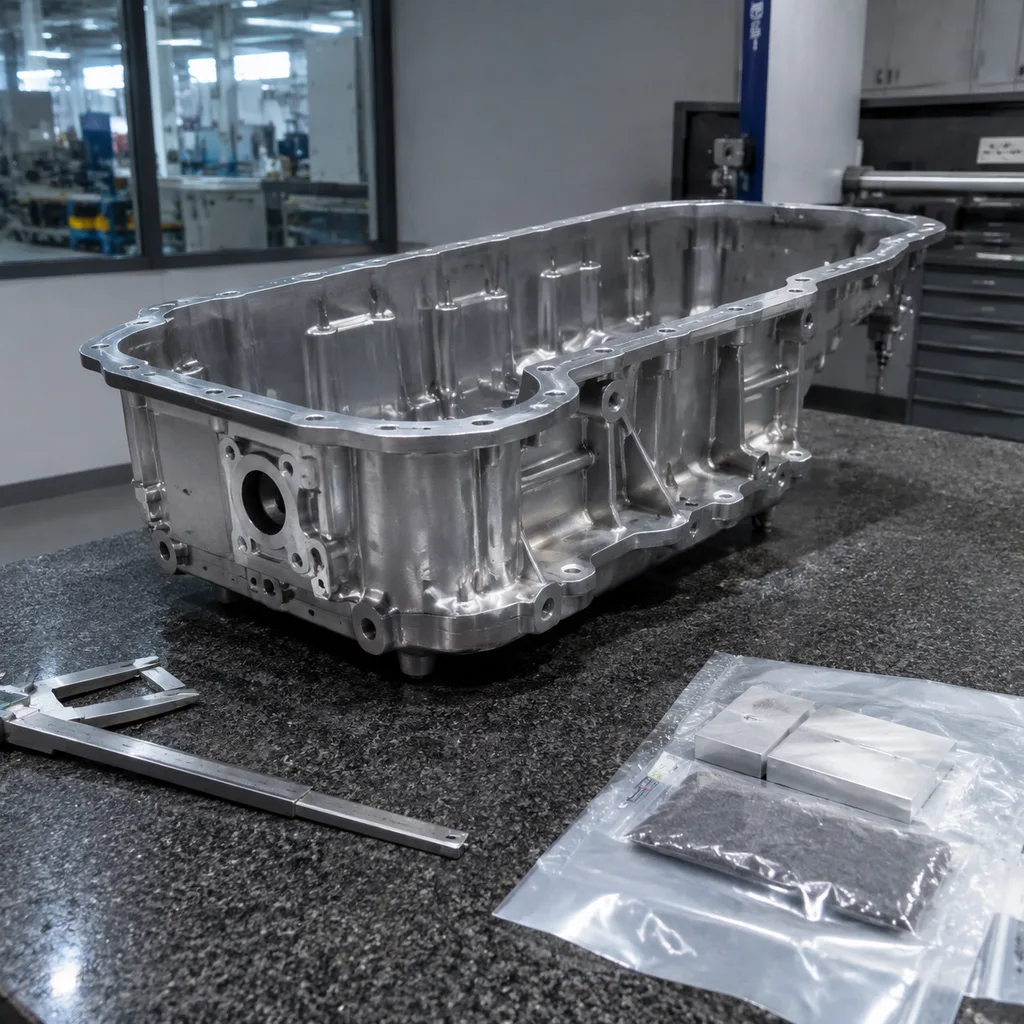
Inspection sequence that avoids misdiagnosis
Use a fixed order so the diagnosis does not depend on guesswork:
1. Degrease the cover, head edge, and nearby harnesses. 2. Run the engine to operating temperature. 3. Inspect the perimeter with a lamp and mirror, starting at the highest wet point. 4. Check the PCV valve and breather path for restriction. 5. Confirm fastener torque against the service data for that engine family. 6. Look for oil inside spark plug wells or along coil boots. 7. Remove the cover only after external checks point to the seal area.
If the cover has been removed, inspect the sealing groove, bolt holes, and mating face for distortion. A straightedge and feeler gauge are useful on flat metal covers. For plastic covers, check for local warping near hot zones. In procurement terms, this is where fitment validation matters; replacement parts should match the OE envelope, bolt pattern, and seal land geometry before release to stock.
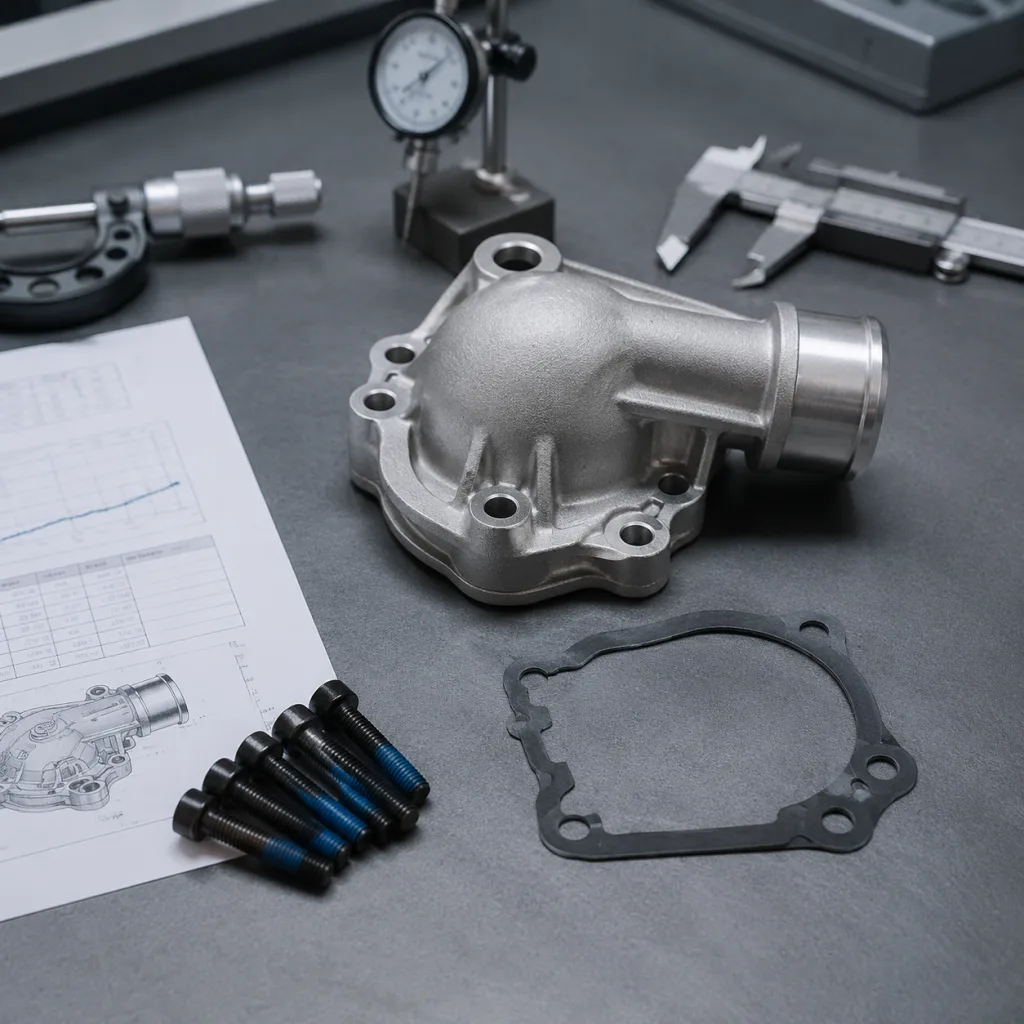
When reseal is enough, and when replacement is needed
A reseal is only reasonable when the cover is structurally sound and the mating faces are within tolerance. Replacement is the correct option when the part body is cracked, warped, chemically degraded, or repeatedly leaks after correct installation.
Reseal when the gasket has aged but the cover and head surfaces are flat and undamaged.
Replace when bolt bosses are stripped, the cover is distorted, or the gasket channel is damaged.
Replace immediately if the cover is cracked near a fastener tower or oil separator feature.
Replace if the engine uses an integrated gasket that cannot be serviced independently.
For buyers managing stock across multiple branches, OE part-number cross-references should be checked against the exact engine code and cover revision. Where sourcing requires engineered alternatives, custom manufacturing can support dimensional matching and application-specific validation. Driventus is an independent aftermarket manufacturer; brand names are referenced for fitment only.
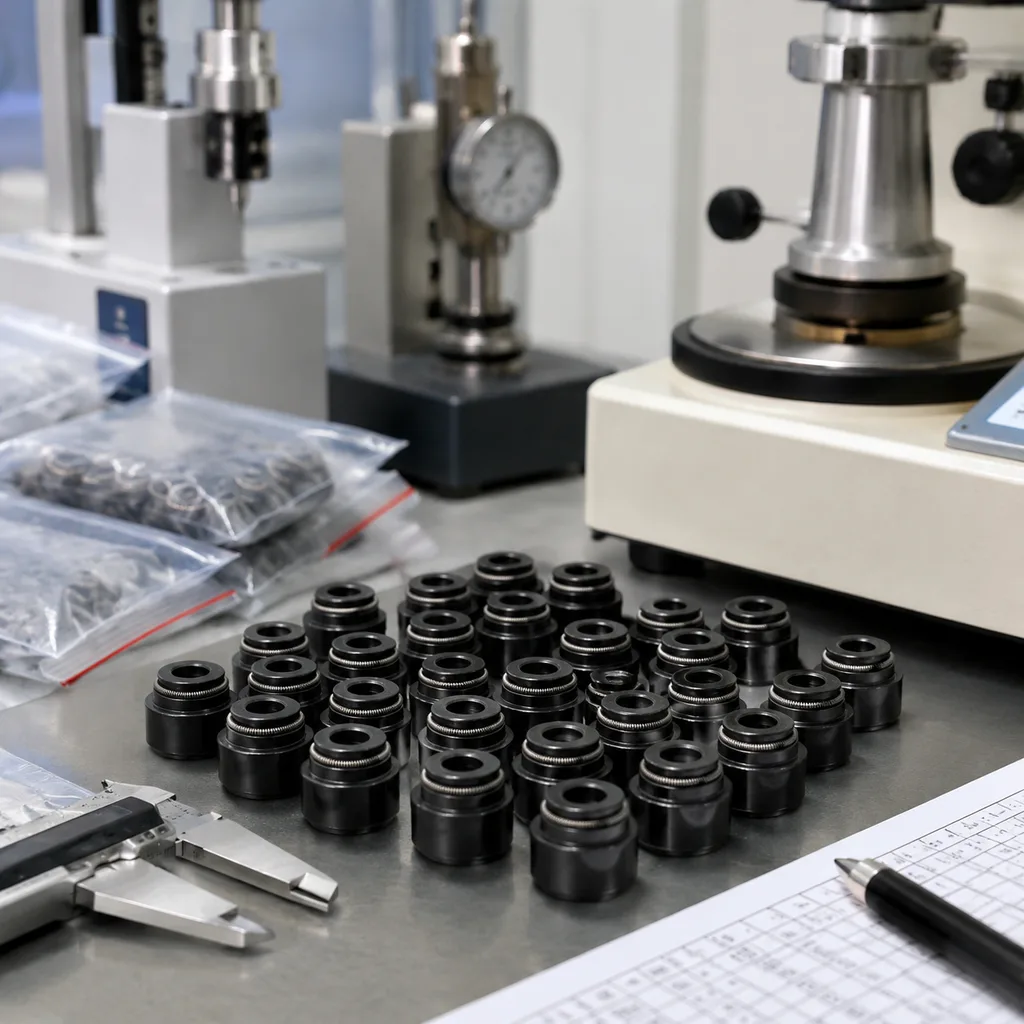
Replacement checks that reduce repeat leaks
Before release to installation, verify these points:
Gasket material matches the temperature and oil exposure profile of the engine family
Bolt-hole locations and cover height match the OE envelope
Sealing bead or moulded gasket position is consistent around corners and half-moon sections
Fastener seat geometry supports even clamp load without local collapse
Vent ports, PCV ports, and integrated separators are clear and dimensionally correct
Driventus manufactures under IATF 16949:2016 and ISO 9001:2015 controls, which is important for repeatability in gasket compression, moulding stability, and leak performance. For sourcing teams, the relevant document set is the drawing, material specification, and test report, not just the visual sample. If you need batch-level support, see our quality system or request a quote.
Frequently asked questions
Yes, if the cover is flat, uncracked, and the gasket is serviceable. Clean the surfaces, confirm torque, and check the PCV system first. If the part is warped or cracked, replacement is usually the correct choice.
Common reasons are over-torque, uneven clamp load, poor surface preparation, blocked crankcase ventilation, or a distorted cover. Repeated failure usually means the root cause was not removed.
Confirm engine code, cover revision, gasket style, bolt pattern, and vent layout. For fleet or distributor stock, verify dimensional match and material specification before purchase.
If you are sourcing diagnostic or replacement engine components, review the options in [our catalog](/products.html) or [request a quote](/contact.html) for application-specific support.