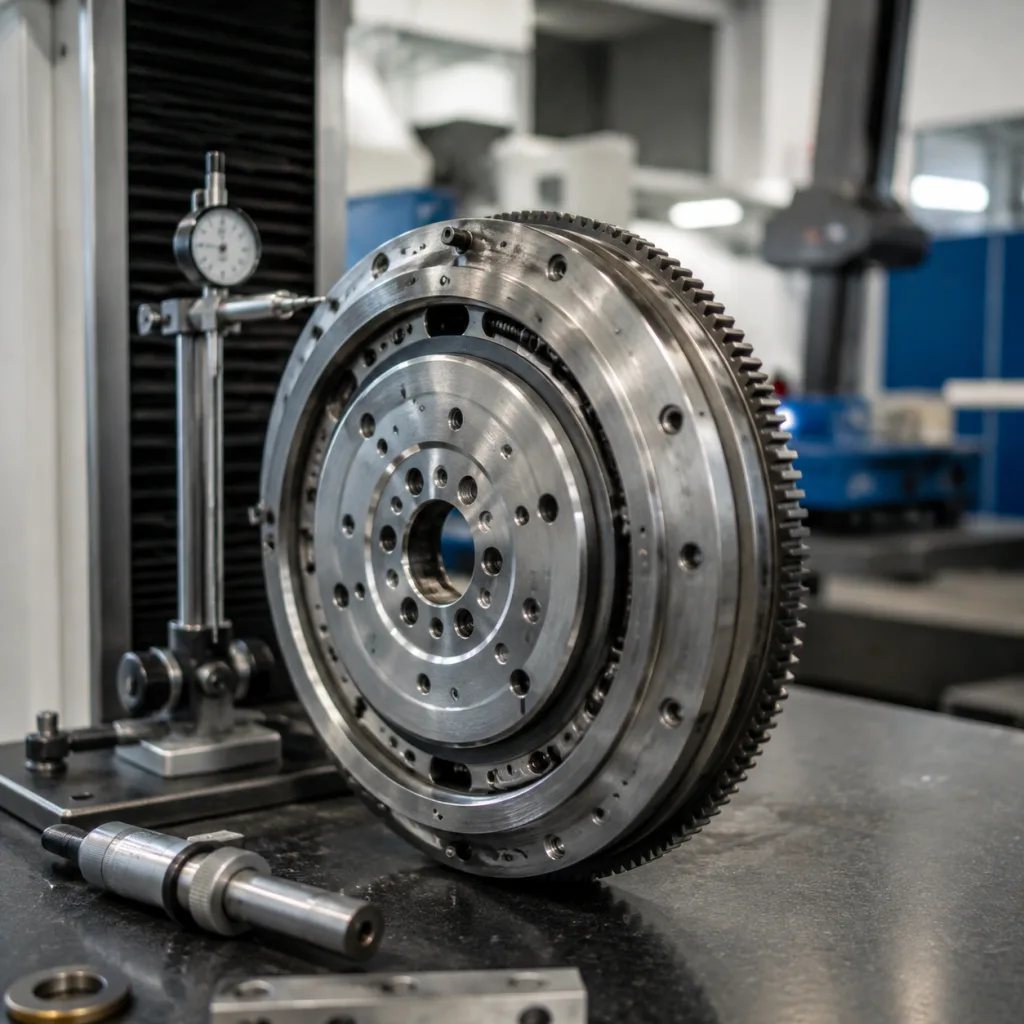
Turbocharger sealing faults create repeat repairs, warranty claims, emissions complaints, and avoidable downtime. For distributors, repair-chain buyers, and sourcing engineers, turbo gasket kit symptoms of failure are not only workshop clues; they expose specification control, fitment accuracy, installation discipline, and supplier quality risk. A leaking turbine inlet gasket, compressor outlet O-ring, oil feed washer, oil return seal, coolant washer, or exhaust flange gasket can cause hissing, soot tracks, low boost, slow spool, oil residue, burning odours, smoke after repair, and diagnostic trouble codes such as underboost or air-mass correlation faults. The useful response is measurable: identify the symptom, confirm the leak location, measure flange flatness and surface finish, check fastener torque and clamp sequence, then replace all disturbed seals with kit materials matched to exhaust temperature, oil exposure, coolant contact, pressure, and crush load. Driventus manufactures turbo gasket kits for aftermarket distribution and program supply under IATF 16949:2016 and ISO 9001:2015 controls. Typical B2B programs define kit contents, drawing tolerances, inspection AQL, MOQ, packaging, labelling, samples, PPAP level, and lead time before release. Driventus is an independent aftermarket manufacturer; brand names are referenced for fitment only.
Failure Map: Symptom to Seal Location
Turbo gasket problems rarely announce themselves with one clean clue. They arrive as a pattern. A whistle under load, soot at the flange, or smoke after a repair points buyers toward a specific joint, but only if the symptom is tied to the operating state, repair history, and the disturbed connection.
Clean, run to temperature, then inspect banjo and drain wetting
Slow spool or low boost
Exhaust leak before turbine or intake leak after compressor
Gas energy loss, boost leakage, incorrect gasket position, missing washer
Compare requested and actual boost under load with scan data
Burning smell near turbo
Exhaust gasket leak or oil leak onto hot shield
Failed MLS seal, loose fastener, oil feed seepage, heat shield left off
Inspect after cool-down; look for brown oil bake marks and soot
Repeat check-engine complaint
Exhaust, EGR, or charge-air leak affecting air-path control
Incorrect gasket thickness, wrong port shape, bead not on sealing land
Smoke-test air path and verify part number by engine code
</tr></thead><tbody> </tbody></table>The safest assumption is that the seal set has been stressed as a system. If one gasket failed after turbo removal, the adjacent washers, O-rings, and flange seals may already be heat-cycled, compressed, or contaminated. Reuse is the trap. A washer that has already crushed or a gasket that shows bead flattening should not go back into service.
How to Diagnose Claims Without Guesswork
Warranty teams and procurement buyers need a diagnosis that can support a return decision, not a vague complaint. The file should show what was fitted, how it was fitted, and exactly where the leak appeared. Without that, the same symptom gets blamed on the wrong part.
Recommended sequence:
Record vehicle application, engine code, turbo position, mileage, repair date, installed kit reference, and lot or batch code.
Confirm whether the turbocharger was replaced, removed for access, or disturbed during another repair such as DPF, EGR, manifold, or oil-line service.
Inspect for soot, oil wetting, coolant residue, white deposits, gasket blow-out marks, fretting, bead collapse, and local heat damage.
Check mating surfaces with a straight edge and feeler gauge; use a typical reject trigger of more than 0.05–0.10 mm gap across small turbo flanges unless the vehicle service method states otherwise.
Pressure-test the charge-air side and smoke-test the exhaust or intake path where appropriate; document test pressure, hold time, and leak point.
Replace all disturbed seals, not only the item with the most visible leak mark, and record whether washers, studs, nuts, and O-rings were renewed.
For claims handling, use a format that separates evidence from opinion: symptom, location, confirmed cause, corrective action. Example: low boost → turbine inlet soot track → 0.12 mm flange gap and reused gasket → flange dressed, fasteners replaced, full kit installed. That one line says more than a paragraph of workshop speculation. It also helps category managers sort installation errors from product issues and decide whether a lot review is warranted.
What Makes a Seal Fail in Service
Turbocharger seals live in a harsh mechanical zone. Heat, pressure pulses, vibration, and chemistry all attack them at once. On the hot side, thermal cycling and oxidation push gaskets toward loss of clamp load and bead relaxation. On the cold side, oil mist, coolant, pulsation, and installation damage attack O-rings and washers.
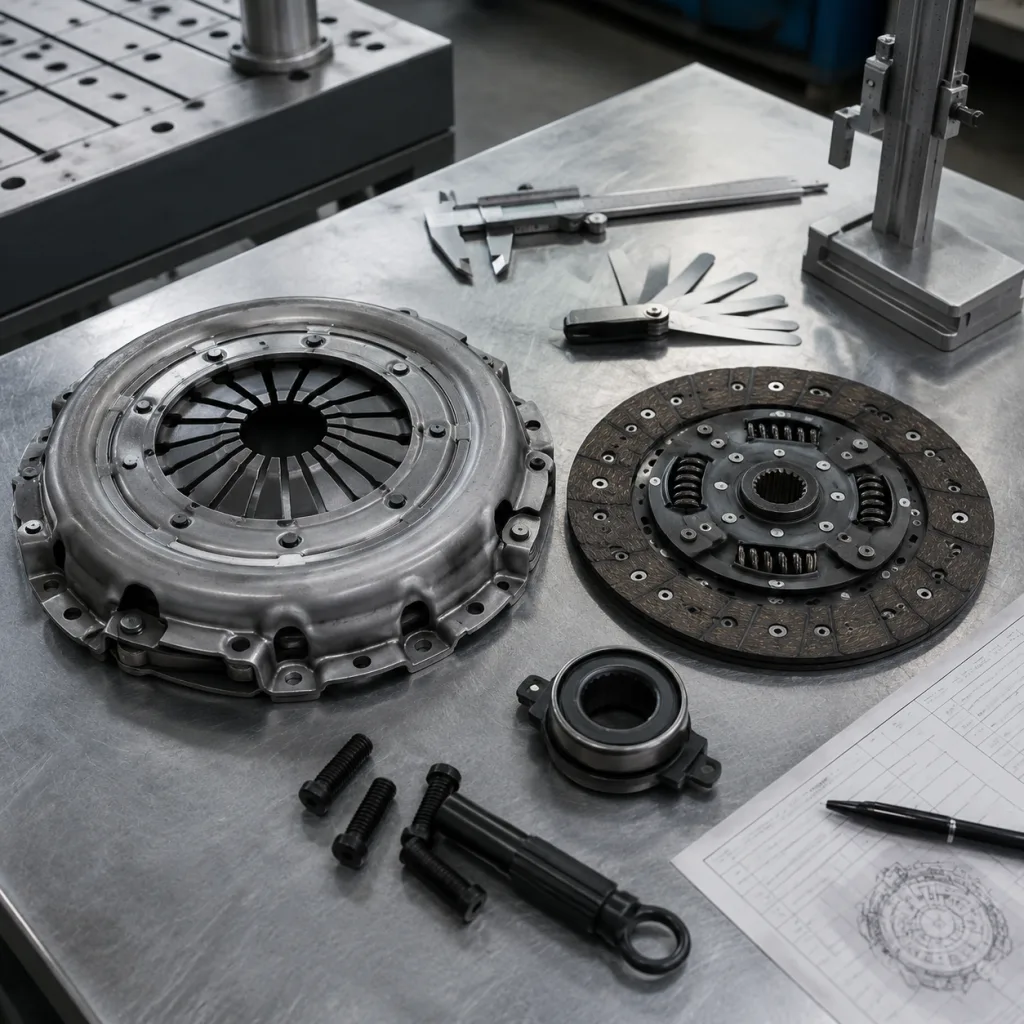
Typical kit contents may include:
Multi-layer stainless steel turbine inlet gasket with embossed sealing beads and controlled free height.
Graphite-coated, mica-coated, or stainless exhaust outlet gasket, depending on application temperature and flange design.
Copper, aluminium, or coated steel oil feed sealing washers with defined ID, OD, and thickness.
Fibre, rubber-coated metal, silicone/FKM, or formed elastomer oil return gasket.
FKM O-rings for selected compressor, oil, or coolant connections where oil and temperature resistance are required.
Studs, copper-plated nuts, crush sleeves, spacers, or V-band hardware where specified by the kit design.
Failure often starts with a mismatch. A soft exhaust gasket may relax after heat soak. A low-grade elastomer near the compressor housing can harden quickly. A washer with loose thickness control may crush unevenly and leak. A bead that lands outside the intended contact zone can look fine at assembly and fail on the first heat cycle.
For sourcing, the drawing matters as much as the material. Buyers should agree tolerances on outline, hole position, washer thickness, O-ring section, bead height, and coating coverage. Driventus controls gasket geometry, coating coverage, washer thickness, material identification, and packing traceability within its quality system. Programs can also be developed through custom manufacturing when buyers need defined materials, controlled drawings, PPAP documentation, private-label packaging, or market-specific kit configurations.
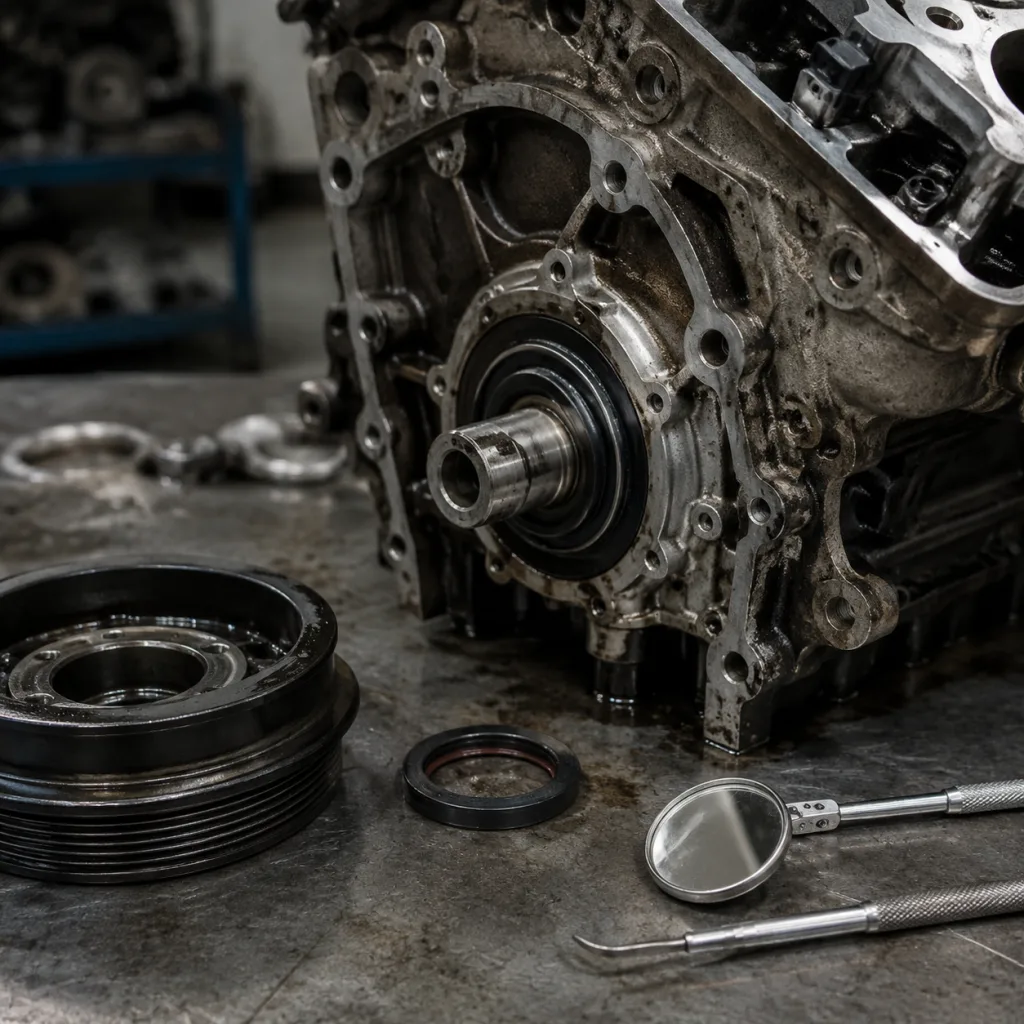
Inspection Points Before You Replace Anything
A bad installation can mimic a bad part. That is why inspection comes before replacement. If the flange is warped, the drain is forced out of line, or the old sealant was never removed, the new kit will be blamed for an old problem.
Key checks for turbo gasket kit symptoms of failure:
Flange flatness: check for heat distortion, especially on turbine inlet and exhaust outlet joints; investigate gaps over 0.05–0.10 mm on small flanges or any visible rocking on a surface plate.
Surface condition: remove carbon, old coating, corrosion, and embedded gasket material without gouging the metal; avoid sanding patterns that create radial leak paths.
Fastener condition: replace stretched studs, damaged nuts, rounded bolts, and corroded threads where the kit or service method requires it; confirm threads accept torque smoothly before final assembly.
Oil return alignment: verify the drain flange is not forced into position; misalignment causes gasket shear, poor drainage, oil pooling, and smoke complaints after idle.
Washer crush: do not reuse copper, aluminium, or coated sealing washers after compression; confirm washer ID clears the banjo bolt and OD sits fully on the sealing land.
Gasket orientation: confirm bead direction, port shape, bolt-hole alignment, oil passage, coolant passage, and EGR or sensor port position before tightening.
Thermal shields: reinstall shields correctly to protect nearby elastomer seals, hoses, wiring, and plastic connectors; missing shields can harden O-rings and create delayed leaks.
Incoming inspection should reflect those risks. Ask suppliers for dimensional control on bolt-hole pitch, port opening, bead height, washer dimensions, O-ring section, coating zones, and overall thickness. Use visual checks on every carton, content counts on every inner pack, and dimensional sampling by lot using AQL 1.0–2.5 depending on program risk. In distribution, the wrong kit or a missing washer creates the same complaint as a defective seal.
Buying Rules That Reduce Repeat Returns
Turbo sealing parts should be bought as a controlled system, not a loose assortment of low-cost items. The cheapest kit on paper can become the most expensive one once returns, labour, freight, and stock corrections are counted.
Suggested B2B sourcing checklist:
Manufacturing certification: IATF 16949:2016 and ISO 9001:2015, with current certificates and scope matching gasket or metal-stamping production.
Material declarations aligned with REACH (EC) No 1907/2006 for EU supply and RoHS evidence where customer programs require it.
Drawing control for gasket outline, holes, bead geometry, coating zones, washer dimensions, O-ring size, and hardware grade.
Lot traceability on cartons, inner packs, and labels used by distribution warehouses, ideally linking kit code, batch, production date, and inspection record.
Protective packaging that prevents gasket bending, bead damage, surface scratching, O-ring contamination, and washer loss during sea freight and warehouse handling.
Fitment mapping by engine family, turbo position, power rating, emissions stage, production date range, and exact kit contents.
Incoming inspection reports for thickness, hardness, surface coating, emboss height, hole position, washer dimensions, O-ring section, and visual defects.
Salt-spray or corrosion-resistance evidence where coated metal parts, washers, studs, nuts, or other fasteners are supplied.
MOQ and price logic should follow kit complexity, tooling status, and packaging scope. Existing catalogue items may support smaller trial orders; private-label packaging, new tooling, or low-volume applications usually need more room in the price to cover setup and inspection. Compare suppliers by BOM, not just ex-works price: gasket count, washer count, O-ring compound, hardware, coating, bagging, barcode label, and carton quantity all matter.
Driventus supplies engine and turbocharger sealing components for distributors, wholesalers, OEM/Tier-1 projects, and multi-location repair chains. Buyers can review related engine sealing and powertrain parts in our catalog and engine-component ranges at /products/engine-components.html. For sourcing discussions, technical drawings, samples, target MOQ, packaging rules, or application lists, procurement teams can request a quote.
When the Full Kit Is the Right Call
Partial replacement is a false economy when the turbo assembly has already been opened. Once the turbocharger comes out, the odds of mixed crush heights, aged elastomers, and reused washers go up. So does the chance of a comeback.
Replace the full kit when any of these conditions are present:
Visible soot tracking at the turbine inlet, turbine outlet, exhaust manifold joint, downpipe joint, or V-band connection.
Oil wetting at feed or return connections after cleaning, road testing, and rechecking with UV dye or visual inspection.
Boost leak confirmed at compressor outlet, charge connection, intercooler pipe, pressure sensor flange, or pressure pipe interface.
Turbocharger replacement, overhaul, actuator service, manifold service, DPF access, EGR access, or other repair requiring turbo removal.
Previous repair used sealant where a dry gasket, crush washer, formed seal, or O-ring was specified.
Fasteners loosen after heat cycles, show thread damage, display nut seizure, or cannot hold specified torque.
Kit contents have been mixed with older stock, loose washers, unlabelled bags, or unidentified application parts.
A simple rule works well in repair chains: if the joint is opened, the seal is replaced; if the seal is crushed, heat-cycled, oil-soaked, or unknown, it is not reused. For distributors, a full-kit label should show application range, contents, quantity per item, production batch, country of origin, barcode, and the single-use warning for washers and exhaust gaskets unless the vehicle service method says otherwise.
Published vehicle emissions rules such as ECE R-83 and US EPA emissions requirements make air-path integrity important for regulated markets, but gasket suppliers should not claim vehicle-maker approval unless formally granted. Driventus manufactures independent aftermarket parts and supports OE-equivalent fitment development using buyer drawings, samples, application data, and cross-reference information where available. Driventus is an independent aftermarket manufacturer; brand names are referenced for fitment only.
Frequently asked questions
Common signs include soot around exhaust flanges, hissing under boost, low boost pressure, slow spool, oil smell, visible oil wetting, smoke after repair, burning odours, and repeat engine-management complaints. The exact symptom depends on whether the failed seal is on the exhaust, compressor, oil feed, oil return, or coolant connection.
Reuse is not recommended. Exhaust gaskets lose crush and coating integrity after heat cycling, while copper washers, aluminium washers, coated washers, and elastomer seals deform during installation. Reusing disturbed seals is a frequent cause of repeat leakage, customer returns, and warranty claims.
Specify application coverage, material type, gasket thickness, bead geometry, washer dimensions, coating requirements, packing format, traceability, and certification requirements. For regulated markets, also request material declarations aligned with REACH (EC) No 1907/2006 where applicable.
If you are reviewing turbo gasket kit supply for distribution, repair-chain use, or an OEM/Tier-1 program, Driventus can assess drawings, samples, application lists, MOQ targets, inspection tolerances, lead-time requirements, and packing rules. Contact our team at /contact.html