oil pump assembly · 2026-05-30

Oil Pump Failure: Oil Pump Assembly Diagnosis and Replacement

Oil pump failure can progress quickly from a warning light to bearing damage, cam wear, and engine seizure. For procurement teams and workshop buyers, the important question is not only which part failed, but whether the oil pump assembly, pickup, relief valve, drive, or seal set is the root cause. A correct diagnosis reduces repeat returns and limits collateral damage. This article explains the common symptoms, the inspection sequence, and the replacement checks that matter when sourcing an oil pump assembly for passenger car and light commercial engines. Driventus is an independent aftermarket manufacturer; brand names are referenced for fitment only. Our parts are produced under IATF 16949:2016 and ISO 9001:2015 systems, with materials and process controls aligned to export market requirements in the EU, UK, US, Canada, Australia, and Brazil.

Common symptoms that point to oil pump failure

If the vehicle has repeated low-pressure events, check service history first. Incorrect oil viscosity, blocked pickup strainers, sludge, silicone sealant fragments, and late oil changes can damage the pump or the relief valve before the housing itself wears out.

What usually causes the failure

When the vehicle is already apart, inspect the oil filter for glitter, cut open the element, and look for bearing material. If debris is present, replace the pump and correct the source before release back to service.

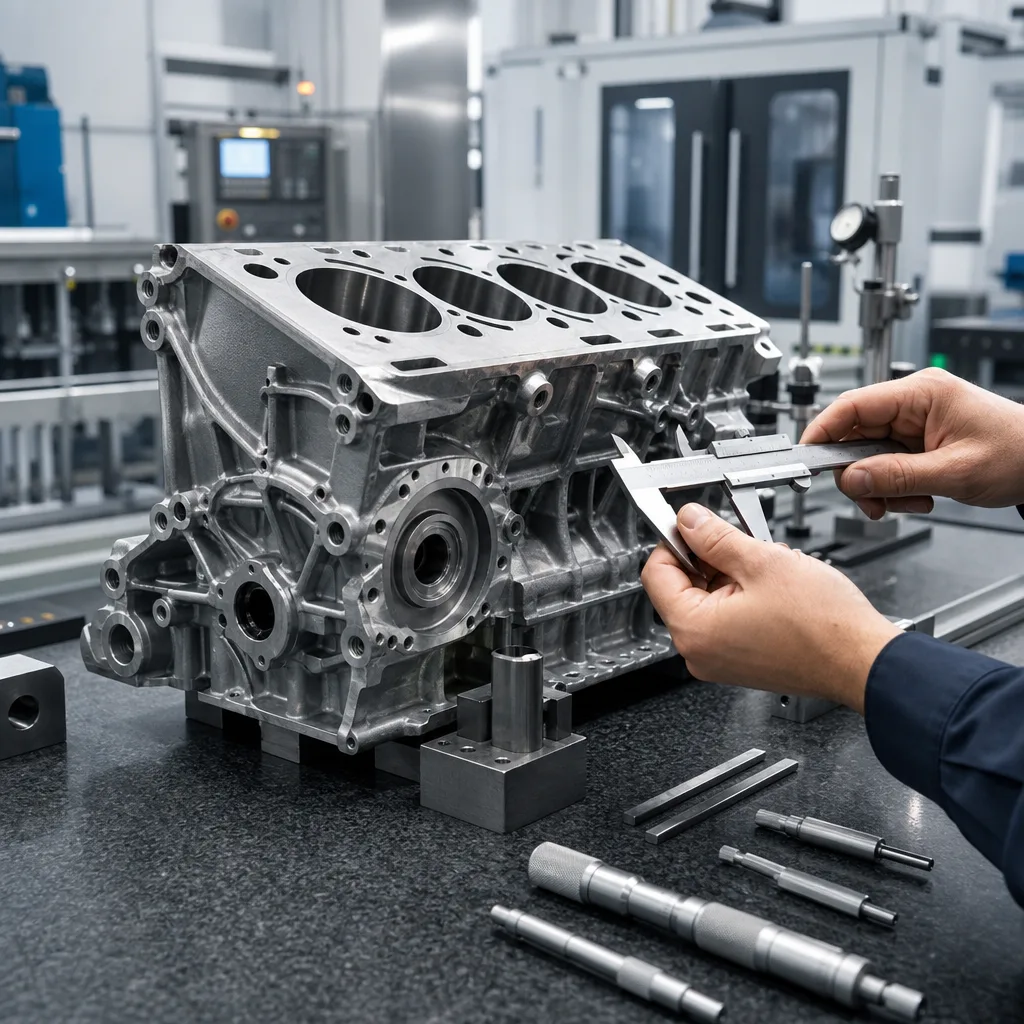
Inspection steps before you replace the assembly

Use a structured inspection sequence so the root cause is not missed.

1. Measure actual oil pressure

Use a calibrated mechanical gauge. Compare cold start, hot idle, and 2,000 rpm readings against the engine maker’s specification.

2. Inspect the sump and pickup

Remove the oil pan, check the pickup screen, and confirm there is no collapse, blockage, or cracked tube.

3. Check the relief valve

Verify smooth piston or plunger movement. Any scoring, varnish, or spring distortion can hold the valve open and reduce system pressure.

4. Inspect drive components

Check the chain, gear, or shaft drive for lash, wear, and alignment. A good pump body cannot compensate for a failing drive.

5. Review bearing condition

If main or rod bearings are wiped, measure clearances before reassembly. A new pump will not solve a low-pressure engine with excessive bearing leakage.

</tr></thead><tbody> </tbody></table>

Replacement criteria for an oil pump assembly

For broader engine programmes, our catalog includes related powertrain components that are often replaced during the same service event. If your team needs cross-family sourcing support, the engine-component range is listed at /products/engine-components.html.

Standards, validation, and sourcing controls

Oil pump assemblies sold into export channels should be supported by documented process control, not just a part number match. Relevant references include IATF 16949:2016, ISO 9001:2015, REACH (EC) No 1907/2006 for chemical compliance in the EU, and customer-specific validation requirements where applicable. For applications exposed to temperature and duty-cycle variation, buyers often request bench durability, pressure stability, and leak checks aligned to internal engineering plans.

A practical sourcing file should include:

  • Dimensional inspection report
  • Material declaration where required
  • Traceability to batch or lot
  • Bench test data for pressure and flow
  • Packaging and corrosion protection specification
  • Sample approval record for the target engine family

Use our quality system to review the controls behind incoming inspection, production traceability, and final release. For brands referenced only for fitment, remember that Driventus is an independent aftermarket manufacturer; brand names are referenced for fitment only.

When to replace the whole assembly instead of repairing it

In many cases, replacing only the relief valve or gasket is not enough. Replace the full oil pump assembly when one or more of the following are present:

  • Rotor or gear wear beyond service limit
  • Housing scoring or cavitation damage
  • Repeated low-pressure faults after cleaning
  • Metal contamination through the lubrication circuit
  • Drive interface wear or shaft damage
  • Seal face distortion or cover warpage

If the engine has suffered a pressure-loss event, do not release it without checking the bearings, cooler, and oil galleries. The new pump can only restore pressure if the rest of the oil path is sound. For fleets and distributors, the lowest total cost usually comes from solving the root cause during the first repair, not from repeating the same job later.

For procurement enquiries, request a quote with the engine code, OE cross-reference, annual volume, and target market so the correct assembly and packing specification can be confirmed.

Frequently asked questions

Check actual oil pressure with a mechanical gauge. If the gauge shows low pressure, the sensor is not the root cause. Compare readings at idle, hot idle, and 2,000 rpm against the engine specification.

Yes, if either shows restriction, scoring, sticking, or wear. Many repeat failures come from the pickup screen or relief valve, not only the pump body itself.

Yes. Provide the engine code or OE cross-reference, target market, and annual volume. We can confirm fitment, test data, and packaging requirements for the application.

If you are sourcing an oil pump assembly or confirming a cross-reference for a repair programme, send the engine details and target quantity for review. Use /contact.html to request a quote.

Request a Quote
Inspection item What to look for Why it matters
Pressure readingLow hot idle, slow pressure riseConfirms a real lubrication fault
Pickup screenSludge, gasket fragments, collapseRestriction can mimic pump wear
Relief valveSticking, scoring, spring lossControls maximum pressure
Drive trainWear, chain stretch, stripped interfaceCauses intermittent or total loss
Oil filterMetallic debris, dark sludgeIndicates internal engine damage