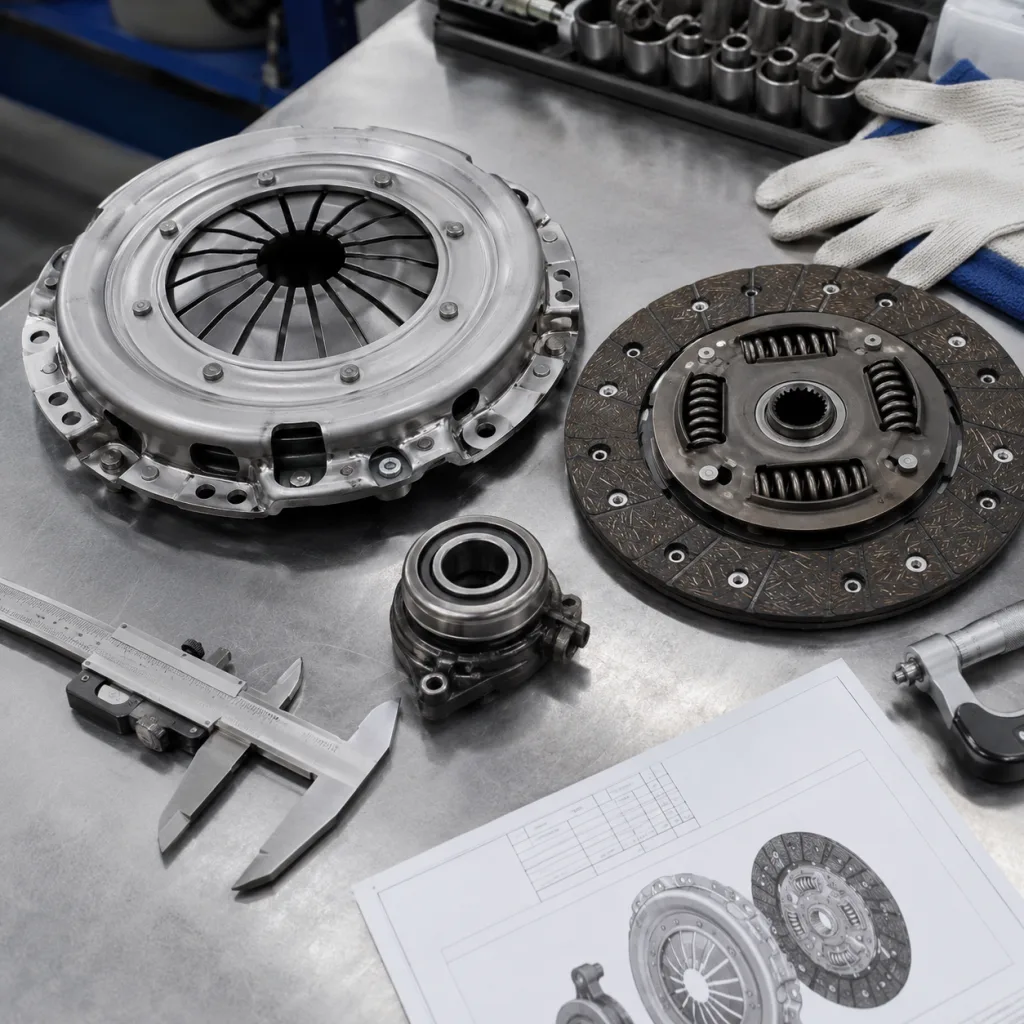
Oil filter housing symptoms of failure are usually reported first by repair technicians, but they matter just as much to importers, category buyers, and sourcing engineers. A leaking or cracked housing can create warranty exposure across an aftermarket range, especially on engines where the housing also carries the filter cap, bypass valve, drain valve, oil cooler interface, pressure sensor port, or thermostat function. For procurement teams, the diagnostic question is not only whether one vehicle needs a replacement part. The larger question is whether the pattern points to material weakness, seal compression loss, dimensional drift, assembly damage, or thermal ageing across a part family. This article outlines the practical symptoms, likely causes, inspection steps, and replacement criteria used to evaluate oil filter housing programs. Driventus is an independent aftermarket manufacturer; brand names are referenced for fitment only.
Common Field Symptoms and What They Indicate
Oil filter housing failures most often show up as oil leakage, coolant contamination, low oil pressure warnings, or repeat service complaints after a filter change. For B2B buyers, the value of these reports depends on linking the field symptom to a likely technical cause and then checking whether the issue is isolated, installation-related, or repeatable across a batch.
Field symptom
Likely cause
Inspection focus
Oil residue around housing base
Flattened gasket, warped flange, cracked polymer body
Valve spring force, passage cleanliness, leak-down check
Repeated gasket extrusion
Poor groove geometry or excessive housing movement
Groove width, surface finish, bolt boss alignment
</tr></thead><tbody> </tbody></table>These symptoms can increase return rates even when the immediate cause is a mixed repair environment: incorrect torque, reused seals, wrong filter elements, or contaminated mating surfaces. A replacement housing should therefore be assessed as a complete functional assembly, not only as a moulded body or machined casting. The best supplier evidence connects the visible failure mode with dimensions, material data, leak-test results, and batch traceability.
Why Oil Filter Housings Fail
The housing works in a difficult position on the engine. It is exposed to thermal cycling, oil additives, vibration, clamp load, and repeated service operations. In many markets, the same part may experience cold starts below 0 °C and sustained oil temperatures above 100 °C. Over time, those cycles can harden elastomer seals, reduce compression at the mating face, and increase stress around threaded or bolted features.
Polymer housings commonly fail through cracking at bolt bosses, cap threads, moulded joints, or cooler ports. Glass-filled materials can perform well when the design and process are controlled, but poor mould flow, residual stress, weak inserts, or sharp transitions can raise crack risk. Aluminium housings more often show corrosion, stripped threads, casting porosity, or surface damage at gasket lands. Both designs can fail when the cap is over-torqued during filter service or when the wrong filter element changes the load path inside the assembly.
Key root causes include:
Seal compression set after repeated heat cycles
Cap O-ring damage during service installation
Warpage of the mounting flange or cooler interface
Internal bypass valve sticking or spring fatigue
Casting porosity, moulding defects, or residual stress
Contamination left in oil passages after machining
Incorrect filter element height causing abnormal cap load
Thread wear caused by repeated service or over-torque
For sourcing teams, failure analysis should separate service-induced damage from manufacturing risk. That distinction affects supplier corrective action, warranty negotiation, catalogue decisions, and whether a part should remain active in the aftermarket range.
Inspection Steps Before Replacement
When field reports mention oil filter housing symptoms of failure, the inspection process should be consistent across markets and repair networks. A clear diagnostic sequence reduces unnecessary returns and gives buyers cleaner evidence for supplier discussions.
1. Clean the housing, block interface, cooler area, pressure sensor area, and nearby hoses before running the engine. 2. Confirm whether oil appears from the cap O-ring, base gasket, cooler seal, pressure sensor port, drain plug, or body crack. 3. Check engine oil and coolant for cross-contamination, including emulsified oil, coolant film, or unexplained fluid loss. 4. Verify that the correct filter element and cap O-ring were installed for the application. 5. Inspect the cap threads, centre tube, bypass valve, anti-drainback feature, and drain valve where fitted. 6. Check bolt torque history if available and look for distorted bolt bosses, pulled inserts, or uneven clamp marks. 7. Pressure-test oil and coolant circuits where the housing integrates an oil cooler. 8. Record batch code, mileage, installation date, vehicle application, service conditions, and photos before authorising replacement.
Procurement teams should ask suppliers to provide dimensional inspection records for gasket grooves, cap thread engagement, port alignment, bolt hole position, cooler interface flatness, and mounting flatness. These values are more useful than a general statement that the part fits the application. Where possible, failed returns should be compared with unused stock from the same production lot to identify whether the problem is design-related, process-related, or caused during installation.
Replacement Part Requirements for B2B Programs
A replacement oil filter housing must match the OE design intent for sealing, oil flow, valve function, sensor fitment, cooler connection, and assembly torque. OE part-number cross-references may appear in catalogues in a generic format such as OE 06A107065 or OE 11251..., depending on the engine family. These references are used for identification and fitment comparison only; they should not replace technical validation.
For procurement approval, request a controlled specification package covering:
Housing material: glass-filled polymer or aluminium alloy as applicable
Gasket and O-ring material: oil- and coolant-compatible elastomer, commonly FKM, HNBR, ACM, or EPDM depending on position and fluid exposure
Critical dimensions: flange flatness, groove depth, bolt hole position, port diameter, cap thread profile, sensor port geometry, and cooler mating height
Functional checks: bypass valve opening pressure, drain valve sealing, cooler interface pressure retention, and leak performance after thermal cycling where required
Surface requirements: gasket land finish, absence of flash, burrs, porosity, sink marks, loose inserts, and machining debris
Assembly requirements: supplied seals, cap torque guidance, sensor compatibility, and protection for pre-installed components
Packaging controls: cap protection, gasket retention, port caps, batch traceability, carton strength, and private-label identification where required
Buyers should also confirm whether the part is supplied as a bare housing, housing with cap, housing with cooler, or full service assembly with seals and sensors. That distinction matters for landed cost, catalogue clarity, installer expectations, and warranty handling. Driventus oil filter housing programs are managed through our catalog, with engineering support for custom manufacturing where buyers need drawings, samples, packaging formats, or private-label supply.
Quality Controls and Standards to Reference
Oil filter housings are not certified by a single universal performance standard in the way some brake or emissions components are. Buyers should therefore look for a documented manufacturing system and a part-specific validation plan. Driventus operates under IATF 16949:2016 and ISO 9001:2015 principles, with production controls aligned to repeatable automotive supply.
Relevant compliance and system references may include:
IATF 16949:2016 for automotive quality management system controls
ISO 9001:2015 for quality management system requirements
REACH (EC) No 1907/2006 for chemical substance compliance in EU supply chains
RoHS Directive 2011/65/EU where customer programs require restricted substance review
IMDS material reporting where requested by OEM or Tier-1 customers
A robust quality system should include incoming material checks, moulding or casting process control, machining inspection, thread verification, leak testing, valve function testing, visual inspection, and batch traceability. For high-volume import programs, buyers should request PPAP-style evidence, control plans, capability data for critical dimensions, approved samples, and retention samples from production batches. The goal is not paperwork for its own sake; it is to make sure the supplier can reproduce the same sealing geometry, valve behaviour, and material performance over repeated production runs.
When to Replace the Housing Rather Than the Seal
A seal-only repair may be acceptable when the housing body is flat, undamaged, clean, and dimensionally stable. Replacement of the full assembly is more appropriate when the failure involves cracks, repeated leaks, distorted sealing faces, damaged cap threads, cooler interface leakage, contaminated internal passages, or internal valve defects.
For distributors and repair chains, the commercial question is repeat repair risk. A lower-cost seal repair can become expensive if the vehicle returns with the same leak, or if a technician has to remove intake parts, coolant hoses, or engine covers a second time. A full housing assembly is usually the safer sourcing position when multiple integrated functions are present.
Replacement is generally recommended when:
The housing body shows visible cracking or oil staining from a moulded joint
Cap threads are worn, cross-threaded, distorted, or no longer hold specified torque
The oil cooler interface leaks after gasket replacement
The bypass valve or drain valve does not move consistently
The mounting flange is warped beyond supplier tolerance
Sensor ports, plugs, or threaded inserts show leakage or damage
The same vehicle returns after a recent seal-only repair
For B2B programs, stocking both seals and complete housings can make sense where application risk varies by engine family. However, when oil filter housing symptoms of failure point to body distortion, valve malfunction, or cooler sealing loss, a complete assembly gives buyers better control over warranty exposure. Driventus is an independent aftermarket manufacturer; brand names are referenced for fitment only. We do not claim vehicle manufacturer approval or endorsement.
Frequently asked questions
The main signs are oil leakage around the housing, oil cooler seal leakage, low oil pressure warnings, coolant and oil cross-contamination, cracked housing bodies, damaged cap threads, and repeat leaks after filter service. The exact diagnosis depends on housing design, engine layout, service history, and whether the housing integrates a cooler, bypass valve, drain valve, or sensor port.
Seal kits suit clean, undamaged housings with stable gasket surfaces. Complete assemblies are preferred where the housing includes a cooler, bypass valve, drain valve, sensor port, or known cracking points. For warranty control, many B2B programs stock the full assembly for higher-risk applications and use seal kits only where the housing body is proven stable.
Request drawings or critical dimensions, material declarations, leak-test criteria, valve function data, batch traceability, control plans, inspection records, and quality certifications such as IATF 16949:2016 and ISO 9001:2015. For EU programs, request REACH (EC) No 1907/2006 substance compliance information, and ask for IMDS reporting where the customer program requires it.
For oil filter housing sourcing, drawings, samples, or range development, send the target applications and annual volumes to Driventus. Our team can review fitment and supply options through [request a quote](/contact.html)