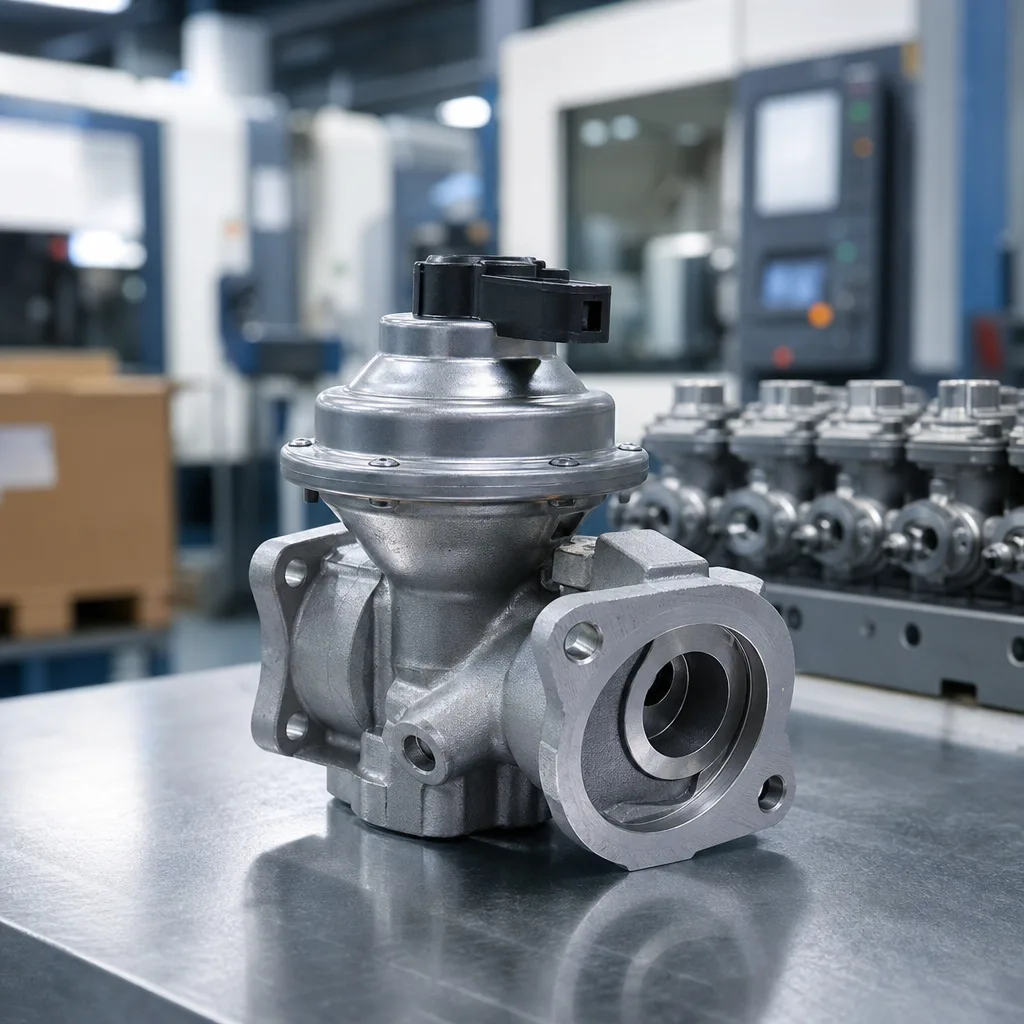
If you are trying to understand how to diagnose turbo whistle, start by treating the sound as a symptom rather than a parts verdict. A whistle may come from a pressure leak in the intake or charge-air circuit, a damaged compressor wheel, excessive shaft movement, restricted oil drainage, crankcase ventilation faults, or a control issue that changes turbocharger speed under load. The pattern matters: when the noise appears, whether the pitch rises with boost pressure, and whether it comes with smoke, low power, oil consumption, fault codes, abnormal actuator feedback, or oil staining at pipe joints. Driventus is an independent aftermarket manufacturer; brand names are referenced for fitment only. For procurement teams, distributors, fleet maintenance planners, and repair operations, the practical goal is to tell a reusable turbocharger from a unit that needs replacement, then verify the rest of the air path before ordering parts. That approach reduces repeat failures, avoids unnecessary downtime, and gives workshop, fleet, warranty, and sourcing teams a defensible diagnostic record.
What the whistle usually means
A turbo whistle is usually air moving at high velocity through a small gap, edge, or restriction. That opening can be part of normal compressor operation, especially on vehicles with little intake insulation, or it can point to a fault. The challenge is that a pinhole boost leak, a split inlet duct, and early compressor wheel contact can sound very similar from the driver’s seat.
The most common fault categories are:
Intake leak before the compressor, often at the air filter housing, inlet pipe, resonator, crankcase breather connection, mass-airflow sensor seal, or clamp
Charge-air leak after the compressor, including intercooler end tanks, boost hoses, O-rings, quick-connect couplers, EGR/throttle body joints, or intake manifold seals
Compressor wheel damage from foreign object debris, blade contact, overspeed, poor filtration, or a distorted inlet pipe
Bearing wear or thrust bearing distress that lets the shaft move far enough for the compressor or turbine wheel to touch the housing
Oil supply, oil drain, oil contamination, or crankcase ventilation problems that change bearing support and seal performance
Boost control issues that make the turbo operate outside its intended speed range, including sticking VGT vanes, wastegate faults, vacuum leaks, failed boost control solenoids, or electronic actuator errors
A light whistle under load is not automatically a failed turbocharger. Many healthy units make audible compressor noise as boost builds, particularly when the airbox, resonator, undertray, or acoustic shielding has been removed or modified. A siren-like tone, a sudden change in pitch, a whistle that grows louder over several operating cycles, or a whistle accompanied by black smoke, blue smoke, underboost, overboost, limp mode, or oil loss deserves closer attention.
For a workshop or sourcing team, the right response is to map the sound to the operating condition before replacing hardware. Note whether the whistle occurs at idle, during spool-up, at peak boost, during steady cruise, or on lift-off. Then compare the sound with measured boost pressure, mass airflow, manifold absolute pressure, actuator command versus feedback, smoke test results, and visual evidence. This keeps the diagnosis focused on the actual failure path, not simply on the most expensive component in the system.
Match the symptom to the likely cause
Symptom pattern
Likely cause
Inspection focus
Next action
Whistle only on boost, with low power or black smoke
Vane movement, wastegate arm, actuator command and feedback, vacuum or electronic control
Verify control movement before condemning the cartridge
</tr></thead><tbody> </tbody></table>The table helps because the same sound can come from very different faults. A boost hose repair may solve the issue without touching the turbo. A damaged compressor wheel or bearing problem will not be fixed by replacing hoses. A control fault may push a good turbo into overspeed, creating noise that disappears only after the actuator, vacuum supply, control valve, position sensor, or variable geometry mechanism is corrected.
That distinction matters when choosing between a workshop repair, a remanufactured unit, or a new assembly from our catalog. For B2B purchasing, the diagnostic note should identify the failed system, not just the failed part. A clear finding such as "charge-air leak at intercooler outlet, no compressor housing contact marks, actuator feedback tracks command" supports a very different buying decision than "compressor blades chipped, debris found downstream of air filter housing."
Inspection sequence that avoids false conclusions
Use a fixed sequence so the root cause is not missed and a turbo is not replaced when it was only reacting to another fault.
1. Confirm the operating condition. Road test or dyno test the vehicle and note whether the noise appears at idle, spool-up, steady boost, full load, deceleration, or lift-off. Record engine speed, load, gear, vehicle speed, manifold absolute pressure, and approximate boost level when the whistle is heard. 2. Read fault codes and live data. Check requested boost, actual boost, mass airflow, intake air temperature, exhaust gas recirculation position where relevant, actuator command, actuator feedback, and any underboost or overboost codes. A whistle with a boost deviation code should be treated as an air-path and control-system diagnosis, not only a noise complaint. 3. Inspect the intake path before the compressor. Look for loose airbox lids, incorrect or collapsed filter elements, damaged filter seals, collapsed inlet ducts, split resonators, unseated breather pipes, missing clips, loose MAF housings, and rubbing marks. A leak before the compressor can create a sharp whistle while also allowing unfiltered air to damage the wheel. 4. Inspect the charge-air path after the compressor. Look for split hoses, loose T-bolt or worm-drive clamps, oil mist at joints, rubbed-through pipes, cracked plastic or aluminium intercooler end tanks, flattened O-rings, distorted quick-connect fittings, and leaking manifold seals. Oil staining around a joint often shows where boost pressure is escaping. 5. Pressure test and smoke test the system. This is often the fastest way to find leaks that are too small to hear in the workshop. Use regulated, low-pressure shop air and test at a pressure appropriate for the application, commonly 0.5 to 1.0 bar for basic leak detection unless the service procedure specifies otherwise. Isolate sections where possible so the inlet, intercooler, boost pipes, EGR/throttle body connection, and manifold can be evaluated separately. 6. Check the compressor inlet and wheel. With the intake duct removed and the engine off, look for bent blades, chipped leading edges, polished blade tips, witness marks on the compressor housing, debris, oil pooling, and signs of ingestion. Rotate the wheel by hand and feel for scraping, stiffness, or uneven motion. Any wheel-to-housing contact mark is a fail condition, even if the turbo still builds boost. 7. Verify oil supply, drain, and crankcase ventilation. A restricted drain, kinked return pipe, blocked breather, excessive crankcase pressure, contaminated oil, silicone debris, or delayed oil supply can create noise and shorten turbo life. Check line condition, banjo bolt screens where fitted, gasket alignment, drain fall angle, and routing before fitting any replacement turbo. 8. Check actuator and boost control operation. On wastegate, vacuum, electronic, or variable geometry units, confirm that the actuator moves through its expected range and that command and feedback data are plausible. On vacuum systems, also check vacuum pump output, hose condition, reservoir sealing, and solenoid operation. Sticking vanes or incorrect actuator calibration can change turbo speed enough to create a whistle even when the cartridge is mechanically sound. 9. Measure shaft movement with the engine off. Small radial float can be normal in a floating-bearing turbo when dry because the shaft is supported by an oil film in service, but any blade contact, heavy axial movement, rough rotation, scoring, or contact mark is a fail. Do not judge shaft play by feel alone when a specification is available; combine movement measurement with wheel, housing, oil, and boost data.
Record the findings before disassembly. Photos of hose splits, oil staining, wheel damage, actuator position, and measured data make the decision easier if the unit has to be compared with an OE cross-reference such as OE 06A107065 during parts selection. That record also helps procurement teams distinguish a true component requirement from a workshop-side installation or air-path repair.
When the turbo must come out
Remove the turbocharger if vehicle-side checks show that the rotating assembly, bearing system, turbine side, oil circuit, or actuator mechanism cannot be trusted in service.
Clear removal triggers include:
Metal fragments in the inlet, outlet, intercooler, compressor housing, or intake tract
Compressor or turbine wheel contact marks on the housing
Chipped, bent, cracked, heat-damaged, or heavily eroded compressor or turbine blades
Heavy axial play, rough rotation, tight spots, inconsistent shaft movement, or any evidence of wheel-to-housing rub
Blue oil smoke that remains after intake and charge-air leaks are fixed and crankcase ventilation has been checked
Repeated boost faults after the hoses, clamps, intercooler, EGR/throttle body joint, and manifold seals have passed testing
Evidence of oil coking, blocked drains, restricted feed, contaminated lubrication, silicone contamination, or excessive crankcase pressure
Actuator movement that is seized, erratic, outside calibration, slow to respond, or inconsistent with scan-tool command
At that point, a bench inspection is more reliable than repeating vehicle-side tests. Check the turbine and compressor wheels, bearing surfaces, thrust system, seal areas, centre housing, oil galleries, wastegate or VGT mechanism, and actuator operation if the unit uses variable geometry or electronic control. Inspect the related upstream and downstream components as well. Debris in the intercooler, a collapsing intake hose, a damaged air filter housing, a blocked oil return, or a contaminated feed line can destroy the replacement unit if the root cause remains in the vehicle.
For fleets and distributors, this is also where documentation matters. A supplier should be able to show a process aligned with IATF 16949:2016 and ISO 9001:2015, and provide material compliance evidence where REACH (EC) No 1907/2006 applies. For rotating assemblies, purchasing teams should also ask how core inspection, component cleaning, balancing, actuator setting, and final leakage checks are recorded. If the fault is part of a wider programme, our quality system shows the controls we use on inspection, traceability, and final verification.
A removed turbo should not be treated as a standalone part until the surrounding systems have been checked. The best warranty file usually includes photos, diagnostic trouble codes, live-data logs, oil condition notes, air-path pressure test results, actuator test results, and confirmation that the intercooler and pipework were cleaned or replaced where debris or excess oil was found.
Replacement and validation
If the turbo is not serviceable, replace it with a unit that matches the fitment, actuator type, compressor and turbine geometry, housing orientation, oil and coolant port layout, mounting pattern, sensor provisions, and emissions-control configuration. Do not rely on one visual dimension alone. Two turbochargers can look similar while using different compressor trims, turbine A/R, actuator calibrations, speed sensor provisions, water-cooled centre housings, or exhaust housing castings.
Confirm the following before release:
OE cross-reference, interchange number, and application data
Engine code, model year range, emissions specification, fuel type, and installation position
Compressor and turbine housing configuration, including inlet and outlet orientation
Wastegate, VGT, vacuum actuator, pneumatic actuator, or electronic actuator type
Rotor group balance record and final assembly verification
Cleanliness of the assembled air, oil, and coolant flow paths
Actuator setting, learned position, and calibration status, if applicable
Gasket, clamp, fastener, oil line, coolant line, stud, nut, and seal compatibility
Intercooler and charge-air pipe cleanliness where previous wheel damage or oil carryover was present
Correct oil priming procedure before first start, with clean oil and filter fitted where the service procedure requires it
Final leak test, road test, and scan-tool validation after installation
For buyers supporting workshops or multi-location repair chains, the practical question is not only whether the turbo fits, but whether the replacement can be supplied consistently. That requires stable cross-reference control, controlled actuator setup, batch traceability, clear installation notes, and quality records that can be linked to the supplied unit. It also means avoiding mixed specifications inside the same fleet or repair programme, where one site may order by OE number and another may order by visual match.
That is where custom manufacturing can matter if you need a controlled specification for a repeated application, a private-label programme, or a fleet standardisation plan. Where local testing requirements are strict, some teams also document road validation against the vehicle’s own emissions and drivability procedure, with standards such as ECE R-83 used where applicable in light-duty contexts. For durability planning on adjacent components, lab or field test programmes may also reference SAE J2527 depending on the material and exposure profile.
After installation, validation should prove that the original whistle has been resolved and that the replacement is not exposed to the same failure condition. Check for normal boost response, stable actuator feedback, no intake or charge-air leaks, clean oil supply, unrestricted oil drainage, and no abnormal smoke. A short confirmation drive with logged requested versus actual boost, mass airflow, actuator position, and intake air temperature is often enough to catch a missed leak or control problem before the vehicle returns to service.
Frequently asked questions
No. A whistle often comes from an intake or charge-air leak, not the turbo itself. Check clamps, hoses, intercooler joints, O-rings, manifold seals, the air filter housing, and the inlet duct first. If the sound remains after leak repairs, inspect the compressor wheel, shaft movement, actuator operation, oil feed, oil drain, and crankcase ventilation system.
Only if the noise is mild and there is no smoke, fault code, boost loss, oil consumption, or sudden change in pitch. Stop the vehicle if the sound turns siren-like, power drops, smoke appears, or metal is found in the intake. Those signs point to damage that can spread through the compressor outlet, intercooler, and intake tract.
Confirm the root cause first. Check for intake leaks, charge-air leaks, wheel damage, bearing wear, oil feed and drain condition, crankcase ventilation, and boost control operation. Then match the application data, actuator type, emissions specification, housing orientation, port layout, sensor provisions, and OE cross-reference before you place an order.
If you need a matched turbocharger supply after diagnosis, review [our catalog](/products.html) and then [request a quote](/contact.html).