How to Diagnose Crankshaft Bearing Wear: Symptoms and Checks
Crankshaft bearing wear is usually detected after the engine starts showing low oil pressure, rumbling noise, or metallic debris in the sump. The useful diagnostic question is not only whether a bearing is worn, but whether the wear is localised, progressive, or severe enough to risk crankshaft damage. For procurement teams and workshop managers, a disciplined inspection process matters because it separates a rebuildable engine from one that needs a crankshaft, bearings, and sometimes connecting rods. Driventus is an independent aftermarket manufacturer; brand names are referenced for fitment only. Our approach follows established quality controls aligned with IATF 16949:2016, ISO 9001:2015, and material compliance expectations such as REACH (EC) No 1907/2006 when applicable to supplied parts.
Symptoms that point to bearing wear
The first stage is to match the symptom to the likely failure mode. Bearing wear can present as a low-frequency knock at idle, a deeper rumble under load, oil pressure that falls when the oil is hot, or glittering metal in the drain oil and filter.
Typical symptom pattern
Knocking that increases with engine speed often indicates excessive bearing clearance.
A dull rumble under load can indicate main bearing distress.
Copper- or lead-coloured particles in the oil filter suggest overlay loss in a shell bearing.
Repeated low oil pressure at hot idle can indicate wear, oil starvation, or both.
Do not treat noise alone as proof of bearing failure. Valve train noise, piston slap, rod knock, and crank pulley issues can sound similar. The objective is to connect the symptom to oil condition, pressure readings, and a physical inspection. If the engine is still running, limit operation until the source is confirmed.
What causes the damage
Bearing wear is usually the result of one or more controllable root causes rather than simple age. Common contributors include contaminated oil, incorrect viscosity, blocked oil galleries, pump wear, overheating, fuel dilution, and poor assembly practice.
Root cause
Typical evidence
Diagnostic value
Oil starvation
Scored shells, discoloured journals
Points to supply failure or pump issue
Contamination
Embedded particles, abrasive wear marks
Suggests filtration or assembly contamination
Overheating
Wiped overlay, darkened shells
Often linked to cooling or lubrication breakdown
Misalignment
Uneven wear across one side of shell
Indicates housing or crankshaft geometry problem
Excess clearance
Low pressure, audible knock
Confirms wear but not the cause
</tr></thead><tbody> </tbody></table>For buyers and rebuilders, the important distinction is whether the engine failed because of a parts defect, a service issue, or an application problem. That determines whether only bearings are replaced or whether the crankshaft, oil pump, and filtration system must also be addressed. This is also where our quality system documentation can support incoming inspection and traceability reviews.
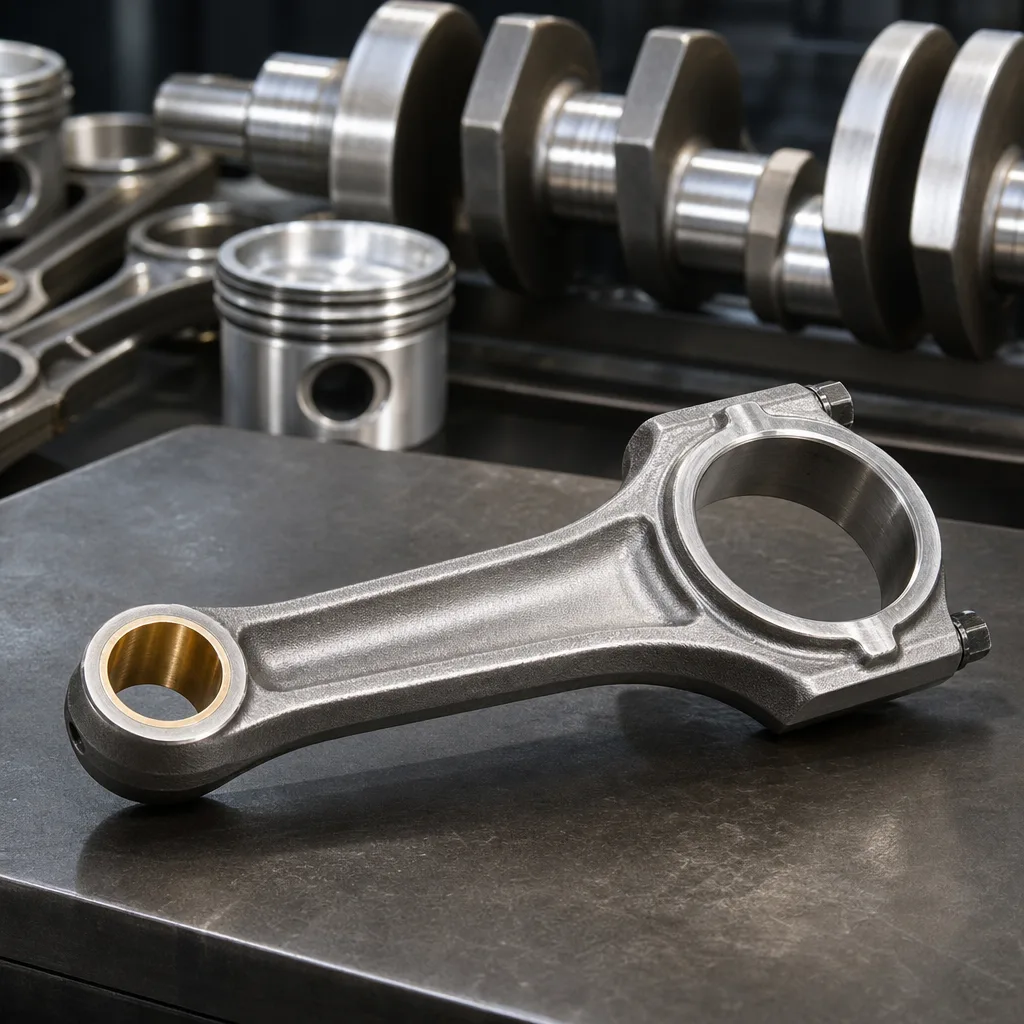
Inspection procedure
A reliable diagnosis follows the same order every time: verify symptoms, measure oil pressure, inspect the lubricant, then open the engine and document the bearing condition.
1. Confirm hot and cold oil pressure against the service specification. 2. Cut open the oil filter and inspect for non-ferrous and ferrous debris. 3. Drain the oil into a clean container and check for metallic sediment. 4. Remove the sump and inspect the pickup screen, pump inlet, and sludge level. 5. Remove main and rod caps one at a time so shell position and wear pattern are not mixed up. 6. Photograph each shell before cleaning it. 7. Measure crankshaft journals with a micrometer and compare the result with the bearing clearance spec.
Use Plastigage or a calibrated bore gauge only as a confirmation step. Do not rely on a single witness mark or a polished shell surface, because that can hide the true wear pattern. If the crank journal is blue, deeply scored, or out of round, replacement or regrinding is usually required rather than a bearing-only repair.
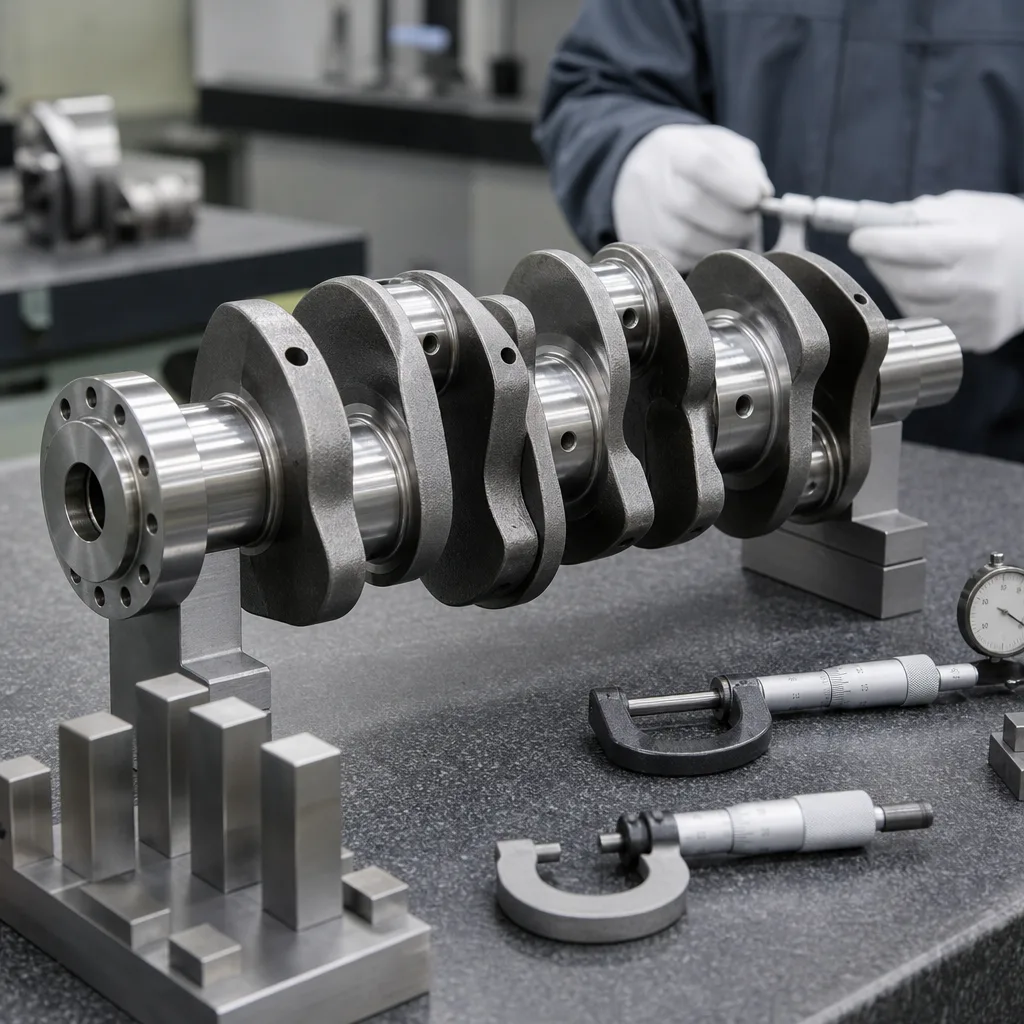
Measurement checks and acceptance limits
The inspection becomes meaningful when the measurements are compared with the engine builder's specifications. If the specification is unavailable, use the service literature and confirm the actual journal size, oil clearance, and crankshaft runout before authorising parts.
Practical measurement targets
Journal diameter: compare each crank journal to the nominal size and note taper.
Oil clearance: verify with micrometer and bore gauge or an approved clearance method.
Crankshaft runout: check for bend after any seizure or severe knock.
Bearing crush and housing bore: confirm shell seating and cap alignment.
Condition
Typical observation
Action
Serviceable
Light polish, no scoring, clearance within spec
Clean, recheck, reuse if journal finish is acceptable
Replace bearings and likely machine or replace the crankshaft
</tr></thead><tbody> </tbody></table>For surface-related qualification, many customers also ask for contamination and corrosion controls consistent with SAE J2527 testing expectations in adjacent durability programmes, while final part release should remain tied to the application and its service documentation. Where engine families are shared across markets, our our catalog and engine components pages help teams compare part families during sourcing reviews.
When replacement is the correct decision
Replacement is justified when wear is structural, not cosmetic. A polished shell alone is not enough to condemn an engine, but once the overlay is gone and the backing material is exposed, the bearing has already lost its intended load-carrying margin.
Choose replacement when:
Clearance exceeds the service limit after cleaning and remeasurement.
The crankshaft journal is scored, tapered, or out of round.
Multiple bearings show a similar wear pattern, indicating system contamination or oil starvation.
The engine has suffered seizure, coolant contamination, or severe overheat.
For sourcing teams, this is where dimensional consistency matters. A replacement bearing set should match the journal family, housing bore, and application tolerance window. Driventus supports custom manufacturing for programmes that need controlled dimensions, material selection, and documented inspection records. For standard replacement demand, the safer procurement path is to verify the OE cross-reference, confirm packaging requirements, and validate the fitment data before release.
Procurement and quality checks before reassembly
Good diagnosis ends with a controlled reassembly plan. Before the engine goes back into service, confirm that the replacement parts meet the agreed quality and traceability requirements.
Verify batch traceability and label consistency.
Check shell coating, parting line condition, and oil hole alignment.
Confirm packaging cleanliness and corrosion protection.
Review material declarations where REACH (EC) No 1907/2006 applies.
Keep inspection records linked to the failed engine serial number.
For distributors, repair chains, and rebuilders, this reduces repeat failure and warranty returns. It also helps separate a genuine bearing defect from a lubrication, machining, or assembly issue. If you need help matching part families or reviewing a replacement specification, start with request a quote and include the engine code, measured journal sizes, and the failed bearing photos.
Frequently asked questions
You can screen for it with oil pressure tests, filter inspection, and oil analysis, but you cannot confirm bearing condition without physical inspection. Noise and low pressure indicate risk, not the exact failure state.
Copper exposure, heat tint, scoring, and excessive oil clearance together are strong indicators. If the crank journal is also damaged or out of round, the failure is no longer a simple bearing replacement.
Only if the journal finish, clearance, and oil system all test within limits. If contamination, seizure, or oil starvation is present, inspect the pump, galleries, and crankshaft before ordering parts.
If you need application matching, inspection support, or a replacement quotation, send the engine details and failed-part photos through our contact page: /contact.html