How to Diagnose Cracked Cylinder Head Symptoms
A cracked cylinder head can show up as overheating, coolant loss, misfire, or combustion gases in the cooling system, but none of those symptoms proves the fault on its own. Procurement teams and workshop buyers need a diagnostic path that separates head cracking from head gasket failure, warped decks, injector sealing issues, or block damage. That distinction matters when deciding whether to release a remanufacture order, approve a replacement purchase, or escalate to teardown inspection. For B2B buyers, the priority is evidence: pressure test results, dye-penetrant findings, dimensional checks, and a clear OE fitment match. Driventus is an independent aftermarket manufacturer; brand names are referenced for fitment only. Our catalog covers engine components for diagnostic repair planning, and our quality system is built around IATF 16949:2016 and ISO 9001:2015 controls.
Start with the failure pattern, not the part number
A cracked cylinder head rarely announces itself with one clean symptom. It usually leaves a pattern: coolant loss that keeps coming back, a cylinder that misfires after warm-up, pressure in the cooling system before the thermostat opens, or white exhaust smoke after a load event.
To narrow the fault, compare when the symptom appears:
- Cold start versus hot restart
- Idle versus highway load
- First occurrence versus repeat heat cycles
- One cylinder versus the whole bank
That timing helps separate a crack from a head gasket leak, warped deck, injector cup leak, or block damage. A crack may stay sealed cold and open only when thermal expansion changes the casting. In other words, how to diagnose cracked cylinder head issues starts with reading the operating pattern, then confirming it with test data. Record coolant top-up frequency, misfire counts, and whether the fault returns after reset; buyers need that history before approving teardown or replacement.
Field checks that earn a teardown
Before removing the head, use tests that move the decision from suspicion to evidence. A staged check is faster than repeated guesswork and reduces unnecessary labor.
1. Pressure-test the cooling system cold, then repeat after heat soak. The system should hold near cap rating without a rapid drop. 2. Run a combustion-gas test at the expansion tank or filler neck. A positive reading strongly suggests exhaust leakage into coolant. 3. Compare compression across cylinders, then confirm with leak-down. A cylinder that is materially lower than the rest, or shows high leak-down, needs deeper inspection. 4. Inspect spark plugs, glow plugs, or injector tips for steam-cleaning on the suspect cylinder. 5. Watch for pressure transfer between adjacent cylinders, which points more toward gasket sealing than a fractured casting. 6. Log coolant cap rating, thermostat opening temperature, and fan command status so a control fault is not mistaken for a mechanical one.
On aluminium heads, look closely around valve seats, injector bores, pre-combustion chambers, and coolant jackets. On cast iron heads, cracks often form between valve bridges or near exhaust seats after repeated thermal cycling. A single cold pressure test is not enough; some castings leak only hot. The practical decision is whether the combined results justify removal.
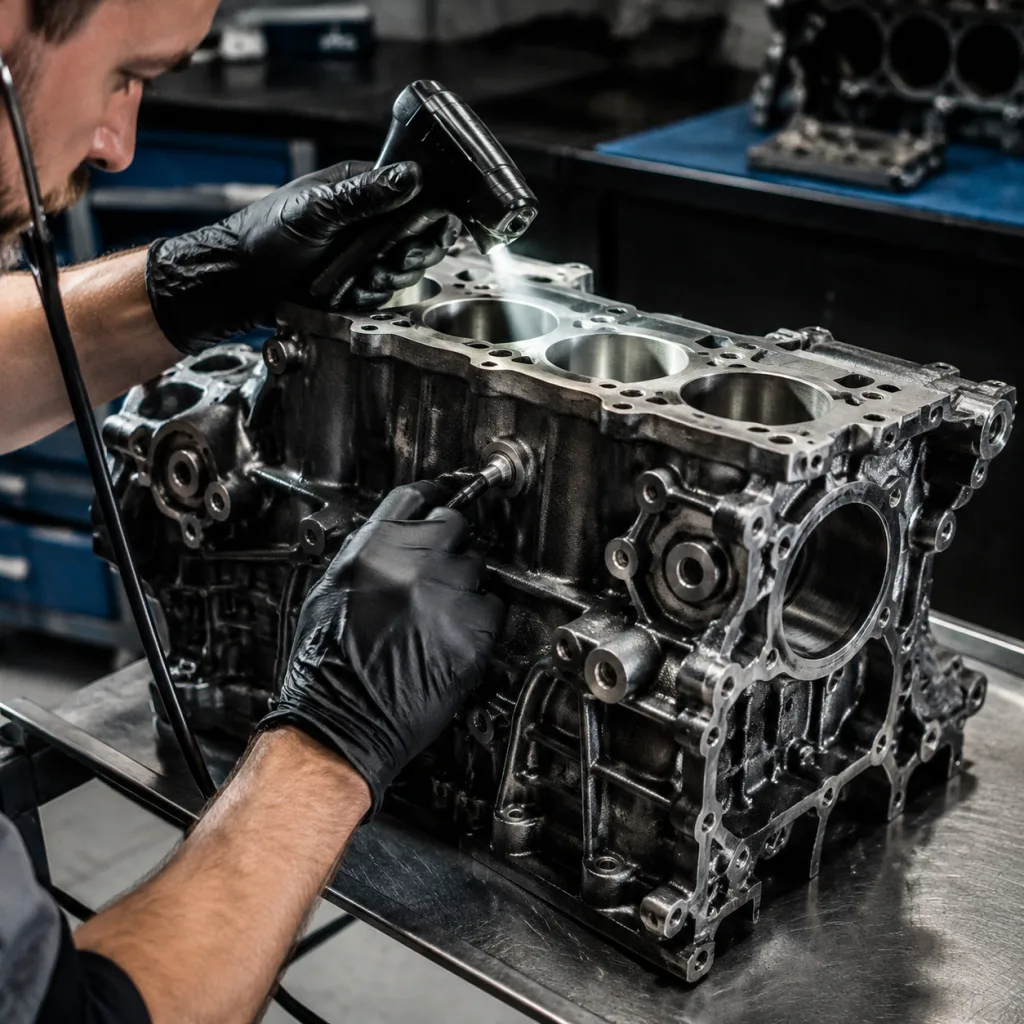
Bench inspection: where the proof shows up
Once removed, clean the casting completely. Carbon, scale, and coolant residue can hide fine cracks and distort what you see.
Inspection sequence
- Visual inspection with bright light and magnification
- Dye penetrant across combustion chambers, ports, and deck surfaces
- Pressure test with water or approved medium
- Straightedge and feeler gauge check for warp
- Seat, guide, and thread inspection near hot spots
- Measurement of valve seat recession, guide clearance, and deck thickness
A crack linking a coolant passage to a combustion chamber is usually a replace-not-repair condition. Small surface indications in non-critical areas may still be usable only if the casting passes pressure and dimensional checks and the repair route is documented. Typical reusable-head limits often sit around 0.05 mm per 300 mm straightedge span, but the OE or reman spec controls the final call. Buyers should insist on the service limit, not a visual opinion. If replacement is needed, match by OE code, chamber layout, valve count, injector or plug angle, and coolant port geometry so the new head fits without rework.
Replacement or reman? Use the decision matrix
Once the failure is confirmed, the buyer’s job is to choose the lowest-risk supply path. Use the matrix below before releasing purchase order approval:
| Check | What to verify | Why it matters |
|---|---|---|
| OE fitment | OE 06A107065 or other confirmed cross-reference | Prevents mounting and port mismatch |
| Material | Aluminium or cast iron, same as application | Affects heat transfer and torque strategy |
| Machining | Deck flatness, seat concentricity, guide clearance | Controls sealing and valve stability |
| Pressure test | Leak-free under documented test pressure | Confirms casting integrity |
| Documentation | Batch traceability and inspection record | Supports receiving inspection |
| Service limits | Confirm warpage, crack length, and seat wear acceptance criteria | Avoids buying a non-repairable casting |
| Lead time | Stock, reman, or make-to-order schedule | Aligns repair downtime with fleet needs |
| MOQ and pricing | Single-piece sale, carton quantity, or pallet MOQ | Prevents order rework and margin surprises |