Full Engine Gasket Kit How to Replace: OEM Fitment Steps
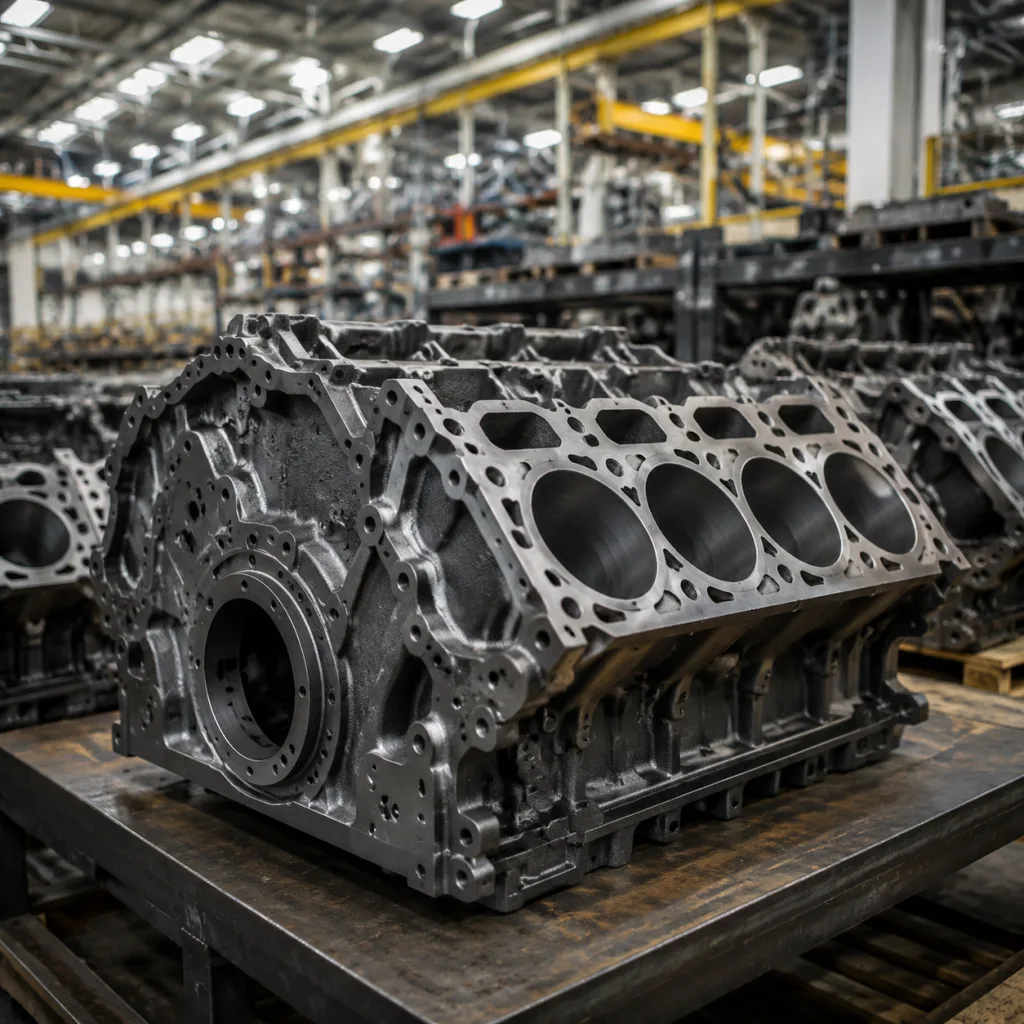
Replacing a full engine gasket kit is a controlled assembly job, not a simple parts swap. The kit only seals correctly when the head, block, covers, manifolds, and fasteners are prepared to specification before installation. Buyers and workshop teams should confirm OE cross-references, material compatibility, and sealing-surface condition before the engine is reassembled. Driventus is an independent aftermarket manufacturer; brand names are referenced for fitment only. For procurement teams, the right kit also depends on packaging accuracy, dimensional match, and consistent gasket materials across production lots. A complete replacement process reduces comeback risk, oil loss, coolant loss, and compression leakage. It also helps protect the value of the repair when the engine returns to service. The steps below cover inspection, installation order, torque control, and final validation for a typical passenger car or light commercial engine rebuild.
Which kit spec actually fits the engine
A full engine gasket kit is only useful if the contents match the exact engine family. The right choice is less about a broad vehicle label and more about the sealing stack the engine was designed to use.
Component group
Typical items
Verification point
Top end
cylinder head gasket, valve cover gasket, intake and exhaust manifold gaskets
bore match, coolant/oil passage alignment
Front/rear sealing
timing cover, crank seal, cam seal, oil pan gasket
</tr></thead><tbody> </tbody></table>For a procurement check, confirm OE part-number cross-references such as `OE 06A107065` only when the application data already lists them. Keep the kit matched to engine code, displacement, fuel system, and emission version. If the pack list differs by market, split the order by engine variant rather than forcing one universal kit.
Before teardown: find the failure mode first
Do not replace the kit just because the engine is apart. Diagnose the leak path or combustion issue first, then verify whether the sealing faces are still serviceable.
Drain oil and coolant fully.
Remove the cylinder head, covers, manifolds, and timing components in the correct sequence.
Clean all gasket residue without gouging aluminium or cast iron faces.
Measure warpage with a straightedge and feeler gauge.
Check threaded holes for fluid contamination and chase threads where needed.
Confirm head bolts or studs meet reuse criteria; many are torque-to-yield and must not be reused.
Surface finish matters. A clean but damaged flange will not seal even with a correct gasket. If the head or block is outside the service limit stated by the engine maker, machining is required before reassembly. This is where OE-equivalent thickness and material selection matter. Multi-layer steel, graphite, fibre, and rubber-coated designs do not behave the same under clamp load.
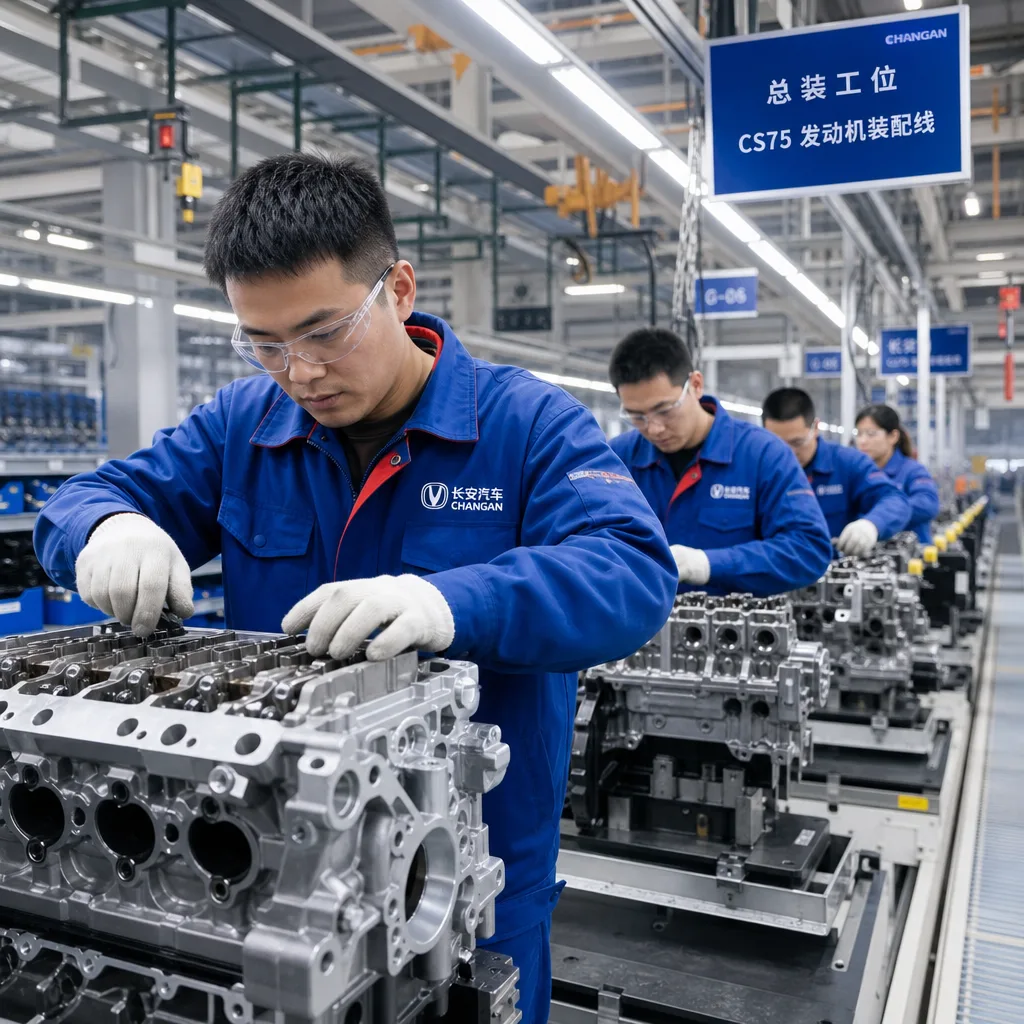
How to replace the kit without introducing a leak
Use the service manual for the exact torque values and tightening order. The sequence below reflects the standard workflow for most passenger and light commercial engines.
1. Dry-fit the new gaskets and confirm all ports align. 2. Install locating dowels and check that the gasket sits flat. 3. Fit the cylinder head gasket in the marked orientation. 4. Assemble the head, then tighten fasteners in the specified pattern and stages. 5. Install timing cover, cam seals, crank seal, and front-cover components. 6. Fit intake, exhaust, valve cover, oil pan, and coolant-system gaskets. 7. Apply sealant only where the manual calls for it, usually at joint corners or timing-cover intersections. 8. Refill fluids, prime oiling where required, and rotate the engine by hand before first start.
What to verify during assembly
No gasket overhang into oil or coolant passages.
No pinched sealing lips.
No excess sealant squeezing into the engine.
Correct torque-stage count and angle tightening if specified.
Correct clearance after timing components are installed.
Fasteners, torque, and the heat-cycle check
Most repeat failures come from fastener control, not from the gasket material itself. Use calibrated torque tools and follow the sequence exactly. If the engine uses angle-tightened head bolts, measure angle with a proper gauge rather than estimating.
After the first heat cycle, check for:
coolant seepage at hose necks, the head joint, and the water-pump face
oil film around the valve cover, timing cover, and sump corners
misfire, compression loss, or abnormal cranking noise
pressure build-up in the cooling system
For product validation, many buyers request dimensional checks against drawing, material confirmation, and batch traceability under `IATF 16949:2016` and `ISO 9001:2015`. For sealing performance and chemical exposure, relevant references may include `REACH (EC) No 1907/2006`. If the engine is for emissions-controlled markets, installation quality should also respect the vehicle system’s original calibration and the condition of the emission hardware.
Where replacements usually go wrong
A few avoidable mistakes account for most comeback jobs.
Reusing torque-to-yield fasteners.
Installing a gasket on an unmeasured warped surface.
Using excessive RTV where a formed gasket is specified.
Mixing engine variants with similar-looking but different port layouts.
Ignoring coolant contamination in bolt holes.
If the engine family has a high thermal load, turbo pressure, or long service intervals, verify whether the sealing stack needs a specific bead profile or multi-layer steel construction. Driventus is an independent aftermarket manufacturer; brand names are referenced for fitment only. The right kit is the one that matches the engine drawing, the service manual, and the intended operating environment.
Buying for repeat repairs, not one-off jobs
For distributors and repair networks, the practical question is whether the kit can be installed without rework. That depends on fitment accuracy, stable compound properties, and consistent packaging.
Driventus supplies engine gasket kits for aftermarket and B2B use, with production aligned to engine-family data and export requirements. Buyers can review our catalog, compare the quality system, and discuss custom manufacturing when a specific market or engine code needs a tailored pack list.
Useful procurement points:
confirm engine code and OE reference before quoting
request material spec and thickness control for critical gaskets
ask for batch traceability on head gaskets and seal sets
validate MOQ and lead time against seasonal demand
separate naturally aspirated, turbocharged, and diesel packs where seal load differs
If you need a quotation for a current program, use request a quote.
Frequently asked questions
Match the engine code, displacement, fuel type, and OE cross-reference before ordering. Visual similarity is not enough because port shape, thickness, and seal profiles can differ between variants.
Only if the service manual allows reuse and the bolts pass length, thread, and stretch checks. Many engines use torque-to-yield bolts that must be replaced.
Correct torque sequence, clean sealing surfaces, and a proper heat-cycle inspection. Those three items prevent most oil and coolant leaks after rebuild.
Need a matched gasket kit for a specific engine code or market? Review the fitment data and send your enquiry through /contact.html.