Engine Misfire Engine Valve: Symptoms, Causes, and Fixes
An ignition fault code does not always point to the coil, spark plug, injector, or harness. A worn, bent, sticking, or burned intake or exhaust valve can leak compression, disrupt mixture motion, and create a single-cylinder or intermittent fault that looks electrical during the first scan. When the fault is valve-related, the pattern is usually mechanical: rough idle, weak power under load, elevated hydrocarbon output, unstable manifold vacuum, and a compression or leak-down result that sits materially below adjacent cylinders. This guide explains how an engine misfire engine valve problem develops, how to separate valve sealing faults from ignition and fuel faults, and when replacement is the right repair path. Driventus is an independent aftermarket manufacturer; brand names are referenced for fitment only. For buyers, distributors, fleet repair chains, and engine rebuilders, availability is only part of the decision. The replacement valve also needs drawing-controlled dimensions, material traceability, repeatable seat sealing, clean packaging, and inspection records that support consistent repair outcomes from batch to batch.
Why A Valve Can Trigger Misfire
A misfire begins when the cylinder cannot build, hold, and release pressure at the right point in the combustion cycle. The spark may fire and the injector may deliver fuel, but combustion will still be weak if the chamber cannot seal. That is why an engine misfire engine valve diagnosis should include pressure integrity before electrical parts are replaced.
An intake valve that does not close fully lets fresh air-fuel charge escape back into the intake runner. Trapped cylinder pressure falls, mixture motion in that cylinder becomes unstable, and the engine may show intake popping or a pulsing manifold-vacuum signal. An exhaust valve with a burned edge, recessed seat, distorted face, or narrow contact band leaks during compression and combustion. The cylinder may still fire now and then, but flame speed and pressure rise become inconsistent, especially at idle, cold start, or road load.
Common valve-related causes include:
Burned exhaust valve from sustained high exhaust temperature, poor seat contact, lean operation, detonation, or inadequate heat transfer into the seat insert.
Bent valve stem after timing belt failure, timing chain jump, incorrect cam timing, over-revving, or piston-to-valve contact.
Carbon buildup on the stem, back of the valve, or seating face that prevents full closure, especially on intake valves in direct-injection applications.
Excessive stem-to-guide clearance that lets the valve run off-center and form an uneven seat contact pattern.
Incorrect valve lash or hydraulic lifter preload that holds the valve slightly open and reduces hot compression.
Weak, broken, or incorrectly installed spring that slows closure and can allow valve float at higher rpm.
Seat recession, pitting, incorrect seat angle, or machining runout that reduces the effective sealing band.
A valve fault often shows up in one cylinder first, which is why it can appear as a P030x single-cylinder misfire. If the engine keeps running in that condition, heat concentrates around the leaking area. The valve face, seat insert, guide, and nearby combustion chamber surface can then deteriorate together. Once margin loss, seat pitting, or guide wear is present, replacing coils, plugs, injectors, or oxygen sensors will not restore compression.
Symptoms And Likely Causes
The fastest way to narrow the fault is to match the symptom to the likely sealing problem, then choose the inspection that confirms or rules it out. Valve-related misfires tend to stay with the same cylinder because the mechanical sealing fault does not move when coils, plugs, or injectors are swapped.
Symptom
Likely valve cause
Inspection
Immediate action
Rough idle with P030x code
Valve leaking at the seat or valve held slightly open
Dry compression, leak-down test, lash or lifter-preload check
Check seat contact, valve face, stem tip, and stem condition
Misfire under load or during acceleration
Burned exhaust valve, weak spring, or valve float
Borescope, leak-down test, spring installed-height and pressure check
Remove cylinder head if leakage is confirmed
Backfire or popping through intake
Sticking intake valve, tight lash, carbon on the intake valve, or bent stem
Guide clearance, valve motion, cam timing, and lash check
Clean, measure, and replace if sealing or guide wear is out of specification
Misfire after timing work
Bent valve, incorrect cam timing, incorrect lash, or hydraulic lifter over-preload
Cam timing verification, cranking compression, and valve motion check
Verify timing and compression before further running
Low compression on one cylinder only
Seat recession, valve face damage, cracked margin, or valve not closing fully
Dry/wet compression comparison and pressure-loss path analysis
Inspect valve, seat, guide, and spring as a set
High hydrocarbon emissions with rough idle
Incomplete combustion from low cylinder pressure
Four-gas or exhaust analysis plus compression comparison
Confirm the mechanical fault before replacing sensors
Vacuum gauge needle fluctuation at idle
Intermittent valve sealing, sticking valve, or weak spring
Vacuum test, leak-down test, and borescope inspection
Identify whether leakage is intake-side or exhaust-side
</tr></thead><tbody> </tbody></table>If the symptom follows the plug, coil, or injector, the valve is usually not the source. If compression stays low after ignition parts are swapped, or the same cylinder repeatedly sets the misfire code, the valve train deserves priority. A useful workshop rule is simple: electrical misfires often follow the component; valve misfires follow the cylinder.
Test conditions matter. A slightly leaking valve may cause only a rough idle when combustion speed is low. A burned exhaust valve or weak spring may become more obvious under load, when heat, cylinder pressure, and exhaust backpressure rise. A bent valve after timing work may create an immediate no-start, uneven cranking rhythm, or multiple cylinders with low compression, depending on whether the engine is interference-type and how far cam timing moved.
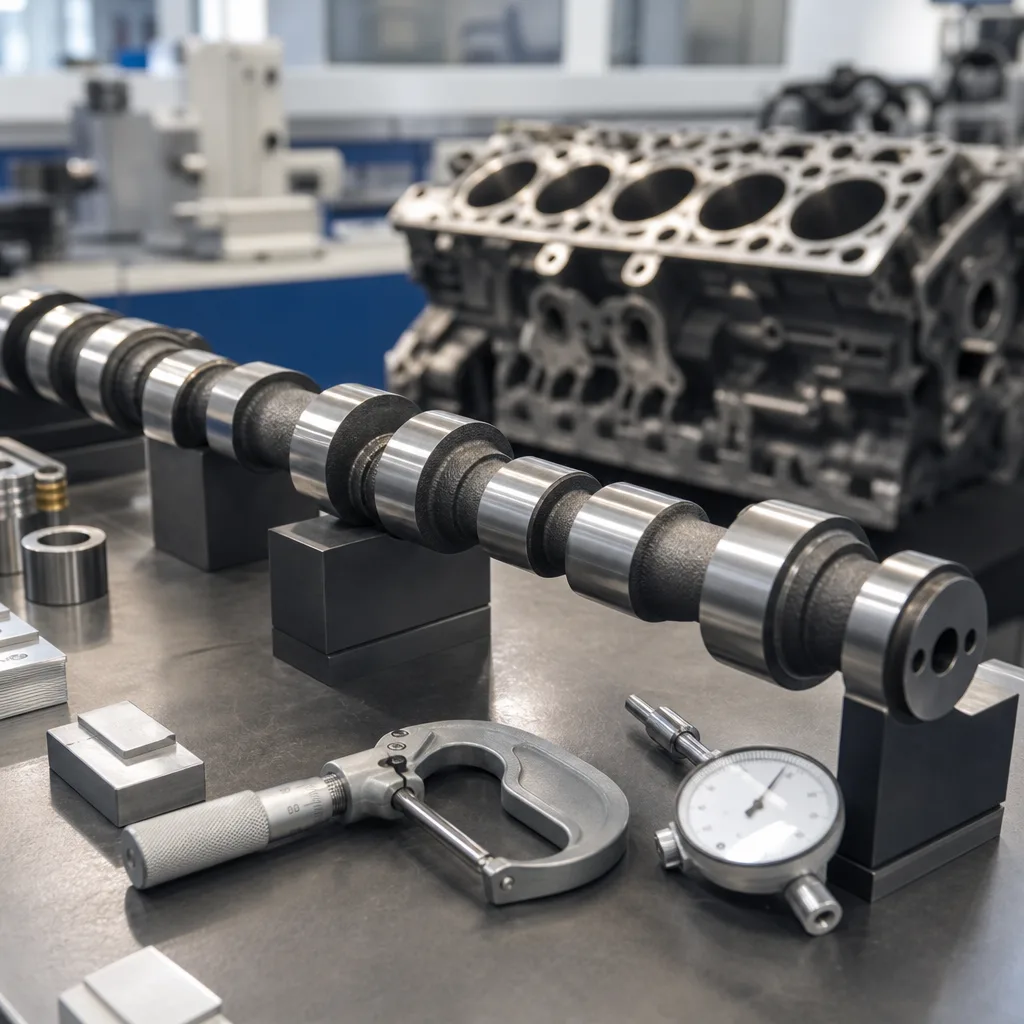
Inspection Sequence Before You Replace Anything
Start with a controlled test path. Random parts replacement wastes time, adds cost, and can hide the real damage. A disciplined sequence also helps purchasing and warranty teams separate installation error, upstream engine condition, and part failure.
Measurements that matter
Scan data, mode $06 where available, fuel trims, and misfire counters to identify the affected cylinder and operating condition.
Visual check of plug condition, oil contamination, coolant traces, connector damage, and ignition coil boot tracking before mechanical teardown.
Compression test on all cylinders, preferably with a fully charged battery, open throttle where specified, disabled fuel delivery, and consistent cranking speed.
Wet compression comparison when piston ring sealing must be separated from valve sealing.
Leak-down test, commonly performed near top dead center on the compression stroke, to identify whether air escapes through the intake, exhaust, crankcase, or cooling system.
Borescope inspection for tuliped valves, burned edges, carbon tracks, piston-contact marks, cracked margins, and seat damage.
Valve lash or hydraulic lifter preload check against the engine specification, measured cold or hot as the service data requires.
Cam timing verification if the misfire appeared after belt, chain, head, camshaft, or variable-valve-timing work.
Stem-to-guide clearance measurement with the cylinder head removed, using the method and wear limit specified for the engine family.
Spring free length, installed height, seat pressure, and open pressure check when closure speed or valve float is in doubt.
A strong leak-down signal through the exhaust port usually points to a burned exhaust valve, distorted valve face, cracked margin, or damaged exhaust seat. Leakage through the intake often points to intake-side sealing loss, carbon contamination, tight lash, guide wear, or a bent intake valve. Air heard at the oil filler or dipstick tube suggests ring, piston, or bore sealing rather than a valve problem, while bubbles in the cooling system may indicate head gasket, casting, or sleeve damage.
When the cylinder head is removed, inspect the valve and seat as matched sealing surfaces. Look for an uneven contact band, pitting, radial cracks, margin loss, stem scoring, mushroomed tips, keeper-groove wear, face runout, and signs of overheating. The guide should be measured rather than judged by feel alone, because excessive clearance can make a new valve leak prematurely. If the valve face is visibly distorted, the guide is scored, the margin is below service limit, or the seat is pitted beyond correction, cleaning alone is not a valid repair. Replace the affected valve, correct the seat geometry, and verify face-to-seat contact before reassembly.
After repair, repeat compression or leak-down testing and confirm that misfire counters remain stable during idle, snap throttle, warm restart, and road-load operation. This final confirmation protects the workshop from releasing an engine that still has an underlying timing, fueling, guide, spring, or seat-machining issue.
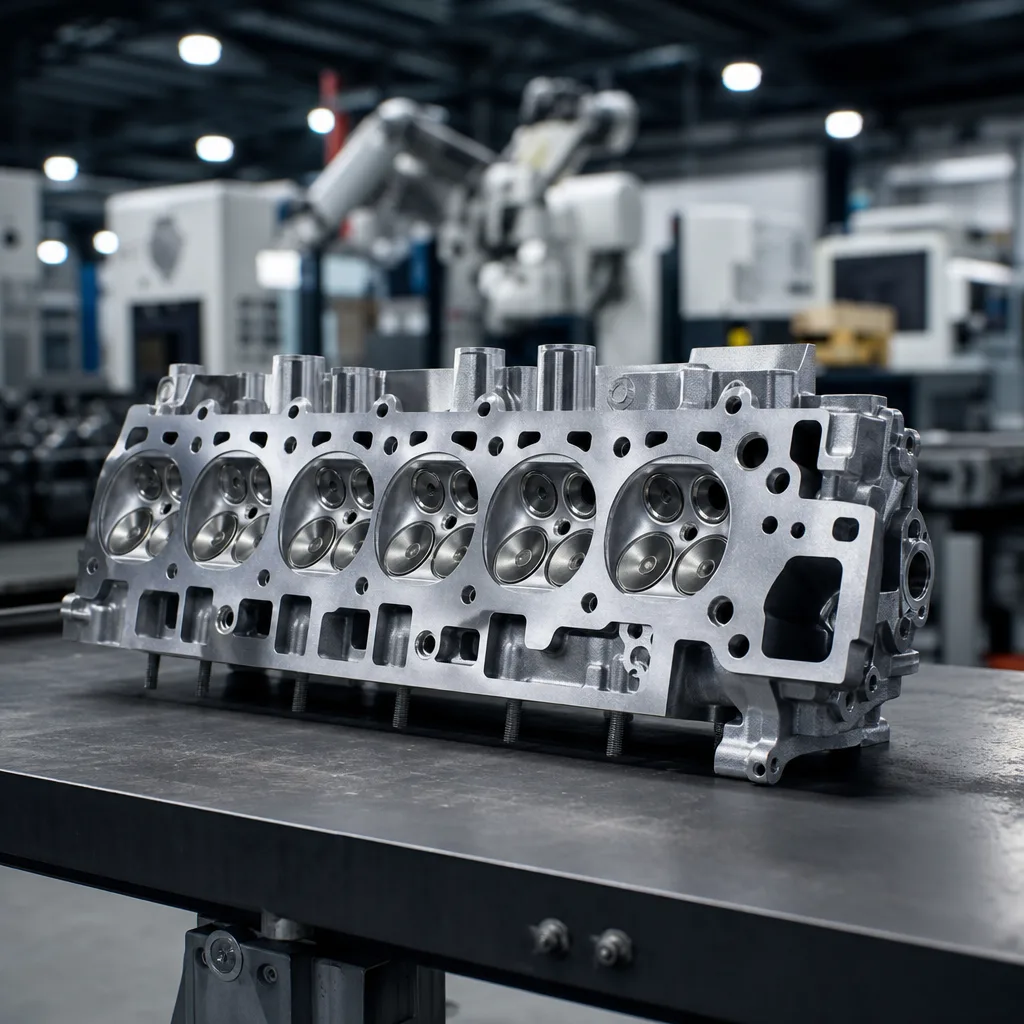
What A Correct Replacement Must Match
For procurement and rebuild work, the replacement valve has to match the engine in more than one visible dimension. A part that looks close can still alter sealing pressure, airflow, installed height, spring geometry, keeper engagement, and long-term durability. In an engine misfire engine valve repair, the wrong replacement can create a repeat misfire even when the original diagnosis was correct.
Key points to verify:
Head diameter, head profile, tulip shape, margin thickness, and under-head radius.
Stem diameter, stem surface finish, and stem coating where the application uses chrome plating, nitriding, or another anti-wear process.
Overall length, stem-tip hardness, stem-tip finish, and keeper-groove position.
Face angle, back angle where specified, seat contact width, concentricity, and face runout.
Valve head material, stem material, and heat resistance for intake or exhaust duty.
Stem straightness, tip-to-face alignment, and groove geometry for the specified retainers and keepers.
Compatibility with valve seals, guides, springs, retainers, rotators where fitted, and keepers.
Heat treatment, friction welding, stellite facing, sodium filling, nitriding, chrome plating, or other surface and construction process specified for the application.
Corrosion protection, batch identification, packing condition, and separation of precision surfaces during transport and storage.
Intake and exhaust valves should not be treated as interchangeable commodities. Exhaust valves operate under higher thermal load and may require austenitic stainless steel, nickel-based alloy, welded bi-metal construction, stellite-faced seats, or sodium-filled construction, depending on the engine. Intake valves may place more emphasis on airflow profile, deposit resistance, mass control, and stem sealing. In both cases, the contact between the valve face and the seat must be repeatable because that contact is the pathway for sealing and heat transfer.
The right replacement should also align with the engine programme's quality documentation. We work to IATF 16949:2016 and ISO 9001:2015, and we support REACH (EC) No 1907/2006 documentation when required. For vehicles that must remain compliant after repair, emissions-related verification should still be checked against the relevant application of ECE R-83.
For B2B sourcing, request drawings or specification references before approving a production order. Dimensional reports, material certificates, hardness results, surface finish data, heat-treatment records, coating confirmation, and batch traceability help prevent mixed supply and reduce dispute risk. If you need drawings, material certificates, and dimensional reports before release, review our quality system before placing a production order.
Sourcing Valve Supply For Repair And Remanufacture
Buyers usually need one of three supply routes: catalog stock, engineered replacement, or custom manufacture. The right choice depends on volume, engine family, target market, warranty exposure, packaging requirements, and the level of dimensional control required.
Catalog stock is suitable when the engine application is common, the specification is stable, and the buyer needs fast replenishment for repair networks or distribution. Engineered replacement fits programmes where a known OE reference must be matched closely, with documentation, controlled packaging, and repeatable inspection. Custom manufacturing is the route for non-standard stem length, modified head profile, revised material selection, special alloy requirements, private-label programmes, or remanufacturing operations that need a valve optimized for a known wear pattern.
Review our catalog for standard coverage, including engine components where valve families sit alongside related parts. If your programme needs a non-standard stem length, a different head profile, revised material selection, or a special alloy stack-up, custom manufacturing is the correct route.
For fleet repair chains, distributors, and remanufacturers, the main risks are mixed lots, uncontrolled substitutions, weak traceability, unverified material changes, and inconsistent packaging that damages stems, tips, keeper grooves, or valve faces before installation. Ask for batch identification, incoming and outgoing inspection records, drawing references, packaging specification, label format, corrosion-protection details, and any required compliance statements before release.
If your sourcing team is comparing multiple suppliers, use the same technical checklist on each quote: application reference, dimensions, material grade, construction type, heat treatment, coating or surface process, surface finish, hardness, inspection method, lot control, minimum order quantity, lead time, packing, and documentation. That gives you a defensible comparison instead of a price-only decision. The lowest unit price is not always the lowest repair cost if repeat misfires, warranty returns, or machining rework appear later.
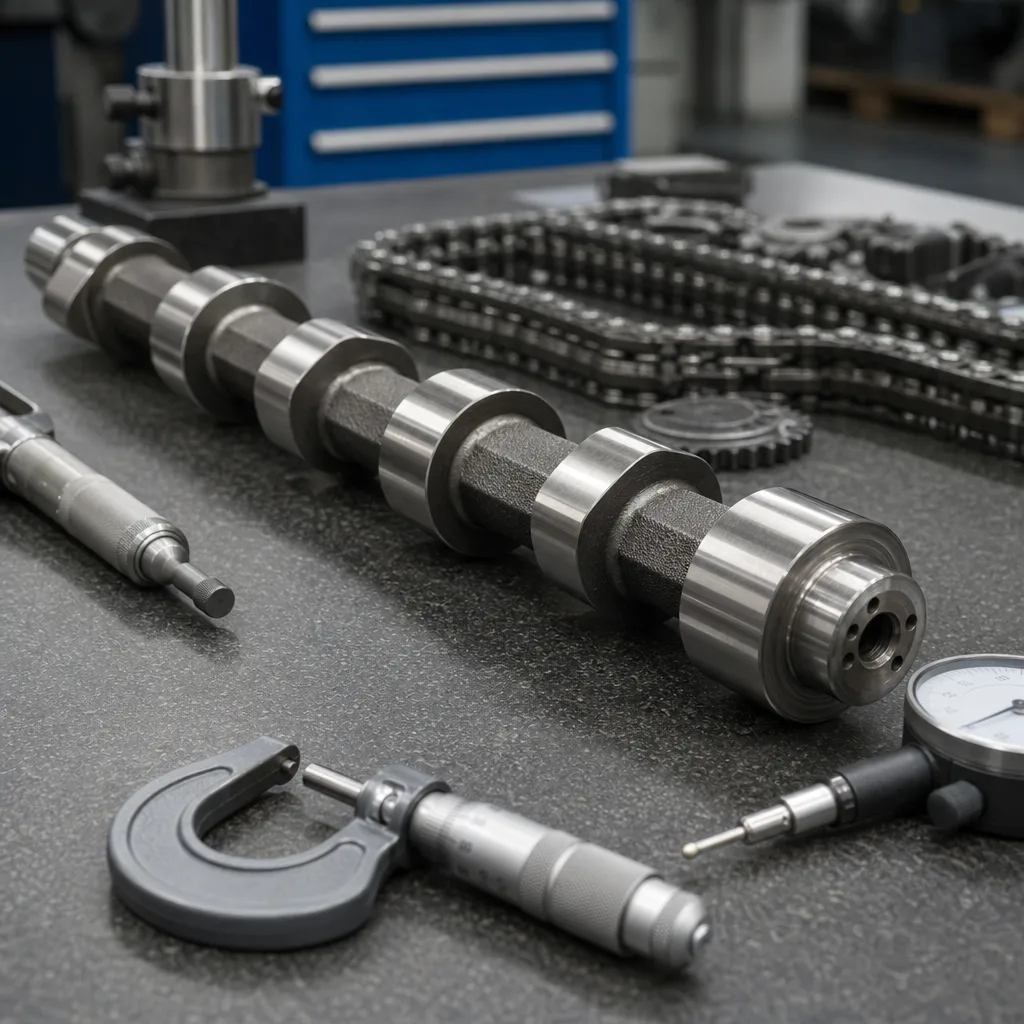
For rebuilders, it is also useful to source related parts together where possible: valves, guides, seals, springs, retainers, keepers, and seat inserts should be checked as a working system. A correctly manufactured valve can still fail early if installed into an oversized guide, paired with a weak spring, run with incorrect installed height, or seated against a damaged insert. Clear supplier communication at the RFQ stage reduces those mismatches before production begins.
Frequently asked questions
Yes. A valve can leak enough pressure to cause a rough idle, one-cylinder misfire, unstable vacuum, elevated hydrocarbon output, or a load-related fault before the engine shows loud mechanical noise. Compression and leak-down testing usually separate it from ignition or fuel problems.
Replace the damaged valve first, but inspect the matching seat, guide, spring, seal, and neighboring valves. If heat damage, guide wear, seat recession, weak spring pressure, or multiple low-compression cylinders are present, broader cylinder head work is usually justified. A single new valve will not fix a damaged sealing surface.
Ask for dimensional data, material traceability, heat-treatment records, hardness results, coating or surface-process confirmation, surface finish requirements, lot identification, packing details, and a clear inspection standard. For regulated markets, request REACH documentation where required and confirm the supplier can support the quality records your programme needs.
Send your target dimensions, quantity, and packaging requirements, then [request a quote](/contact.html).