Crankshaft Bearing Wear: Rod Bearing Causes and Checks
Rod bearing damage often starts as crankshaft wear rather than a sudden seizure. The first clues are usually low oil pressure at idle, metallic debris in the filter, or a deep knock that changes with load. Once a shell begins to lose overlay, the crank journal and connecting rod can wear together, so the fault is rarely isolated to one part. Driventus is an independent aftermarket manufacturer; brand names are referenced for fitment only. For buyers and rebuilders, the key is to separate symptom from root cause before ordering parts. That means checking oil condition, measuring journal size and taper, and confirming the bearing grade against the actual engine build. A correct replacement must match the housing bore, crush, side clearance, and oil clearance, not only the nominal diameter. This article explains how to read the wear pattern, what usually causes it, and what to verify before you replace the bearing set.
What the wear pattern tells you
A failed rod bearing usually leaves a clear pattern on the shell, journal, and oil filter. The appearance matters because it points to the failure mode.
Wear pattern
Likely cause
What to check
Polished overlay with no scoring
Normal service wear or long oil-change intervals
Oil condition, mileage, viscosity history
Copper showing at the loaded edge
Boundary lubrication, low oil pressure, or contamination
</tr></thead><tbody> </tbody></table>If the damage is local to one journal, the root cause may be mechanical. If every rod bearing shows similar distress, suspect oil supply, oil viscosity, or prior contamination. That distinction saves time and prevents repeat failure.
Typical causes inside the engine
Most rod bearing failures are traceable to a small set of conditions. Oil starvation is the most common. It can come from low oil level, aerated oil, a worn pump, a clogged pickup, or excessive bearing clearance that drops pressure at operating temperature.
Contamination is the second major cause. Fine abrasive debris from a previous failure can embed in the soft overlay and score the crank journal. Coolant contamination is also damaging because it weakens the oil film and promotes corrosion.
Other causes are mechanical rather than lubricational:
Incorrect bearing size after a previous rebuild
Reused connecting rods with out-of-round big ends
Excessive crankshaft taper or journal ovality
Improper cap torque or mixed cap positions
Detonation or abnormal combustion loads
If the engine was rebuilt recently, do not assume the bearing itself is the only fault. Check the crankshaft, rod bore, oil pump, and oil cooler together. A single bad shell can be the visible result of a system-wide issue.
How to inspect before teardown
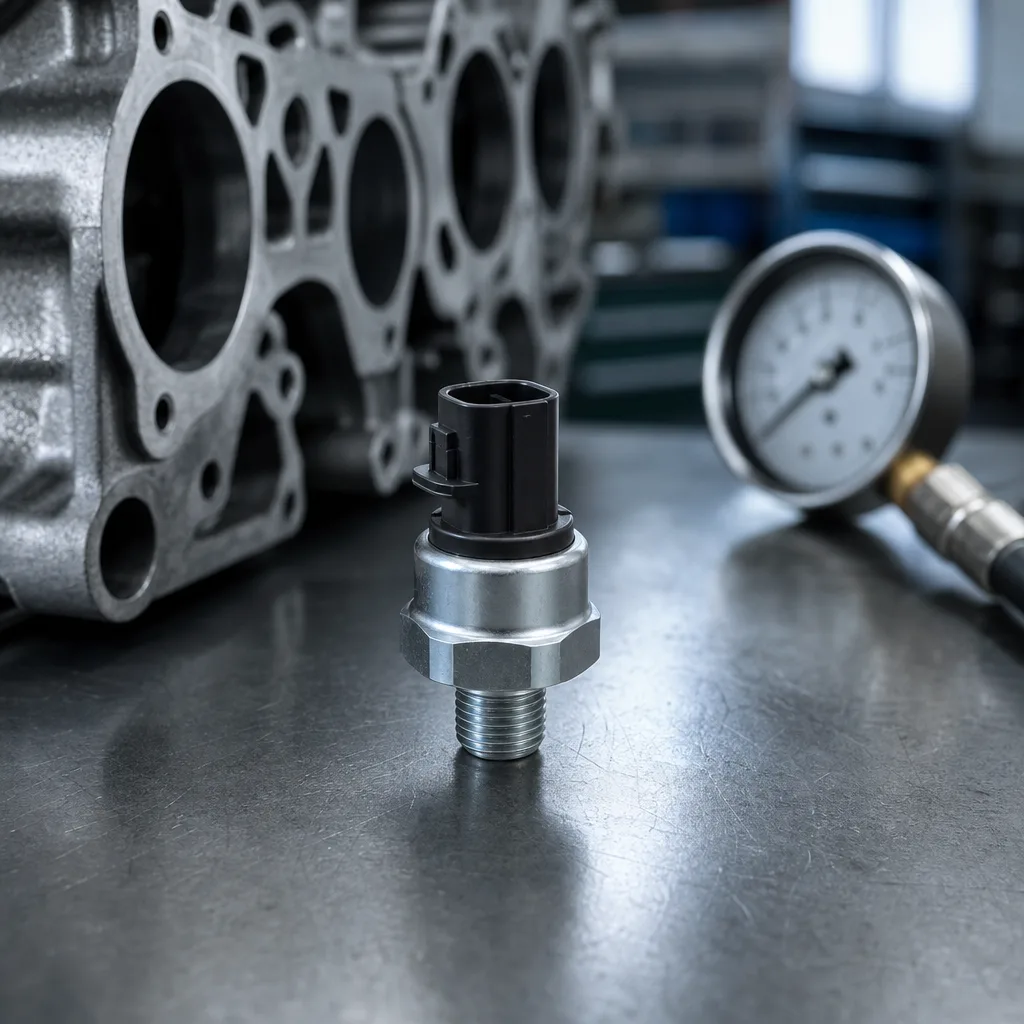
Start with evidence that does not destroy the parts. Drain the oil through a clean container, then inspect the filter media and magnetic drain plug. Look for bright metal, copper, or black carbon-like debris. Record oil pressure at hot idle and at a defined test speed before the engine is fully stripped.
Inspection sequence
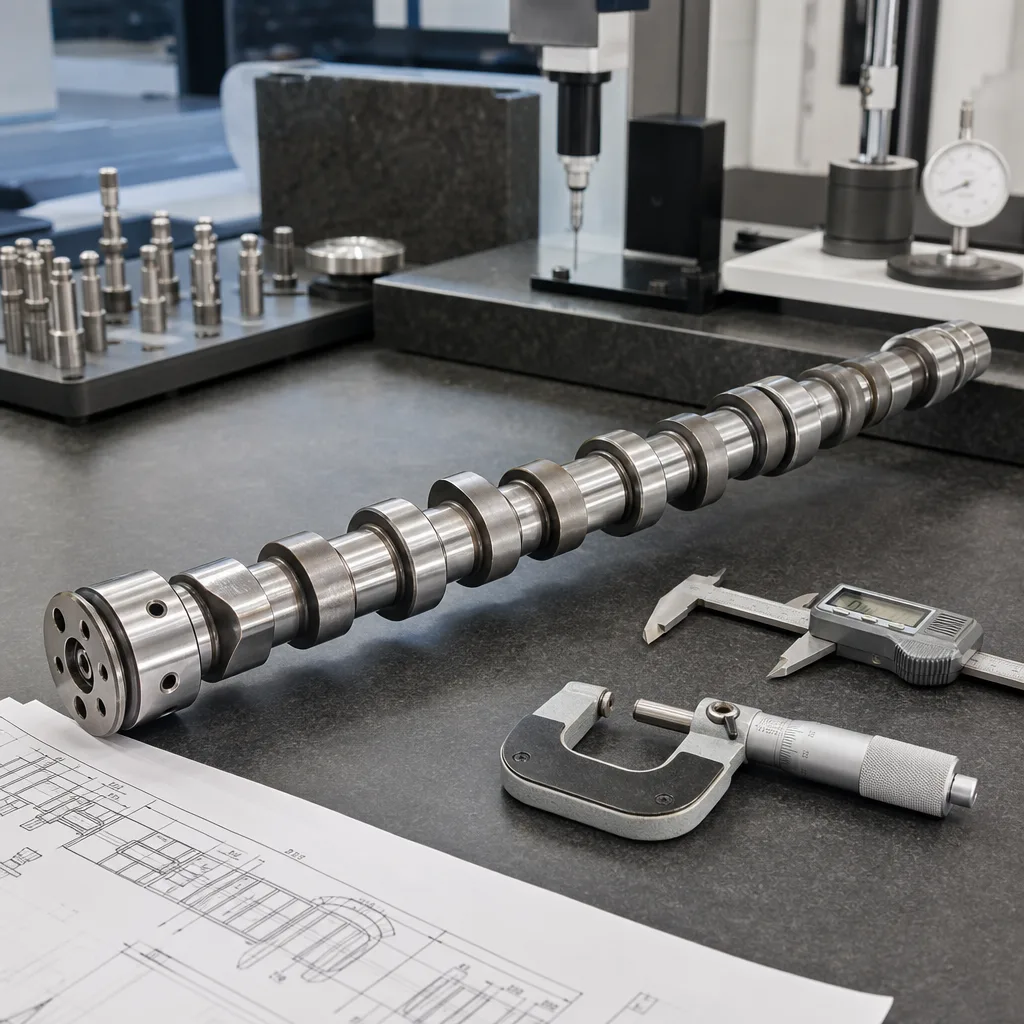
1. Cut open the oil filter and photograph the debris. 2. Measure hot oil pressure against the engine specification. 3. Remove the sump and check for bearing fragments or sludge. 4. Inspect each rod cap for heat marks and witness lines. 5. Measure crank journals for diameter, taper, and out-of-round. 6. Check rod big-end bore size and side clearance.
The goal is to decide whether the crank can be reused, polished, or must be ground. If the journal is deeply scored or out of round beyond rebuild limits, a new bearing alone will not solve the problem.
What to replace and measure
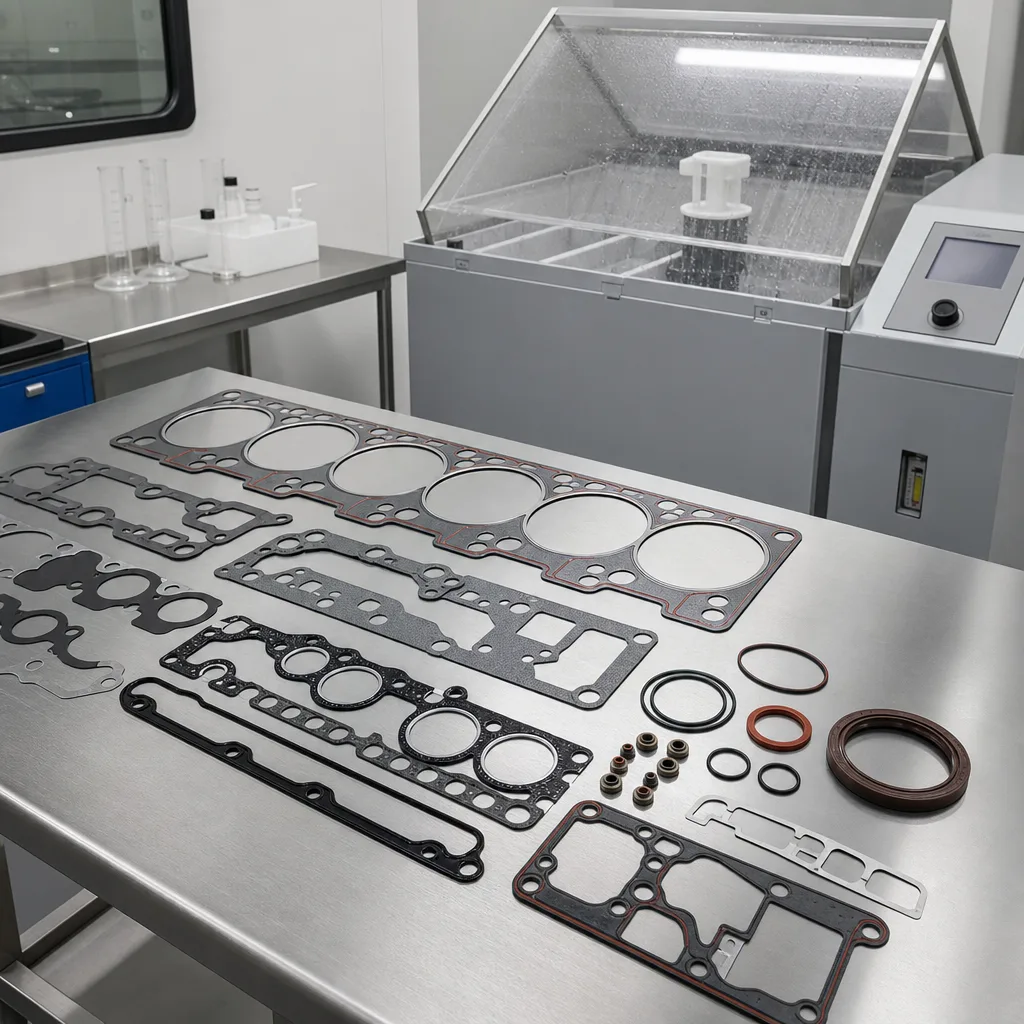
A proper repair is a matched set, not a single component swap. At minimum, confirm the following before ordering replacement parts:
Journal diameter and surface finish
Bearing housing bore after torque-to-spec assembly
Radial oil clearance with plastigage or an equivalent measurement method
Rod side clearance
Thrust condition at the crankshaft, where applicable
Shell width and locating tab position
Coating or overlay compatibility with the oil and duty cycle
For rebuilders, dimensional consistency matters more than catalog description. If a crank has been reground, the bearing grade must follow the actual finished diameter. If the rods were resized, the bearing must still produce the correct clearance after full torque. Where a customer needs a non-standard build, our custom manufacturing service can support application-specific dimensions, subject to engineering review.
The practical rule is simple: replace the shell only after the crankshaft, rod bore, and lubrication system have been verified. That is the only way to avoid a repeat knock.
Quality, standards, and sourcing
For B2B buyers, bearing quality is not only a material question. It is also a traceability and process-control question. Driventus manufactures under an quality system aligned with IATF 16949:2016 and ISO 9001:2015. For material compliance, programs may also require REACH (EC) No 1907/2006 documentation. Where OEM validation plans apply, test references may include SAE J2527 for durability-related exposure work and ECE R-83 for emissions-linked engine programmes.
When comparing suppliers, ask for:
Dimensional inspection records for each lot
Material and coating declarations
Packaging that prevents shell distortion and corrosion
Traceability back to batch, line, and date code
Incoming and final inspection criteria
If you are building a service stock programme or a private-label range, start with our catalog and the broader engine components range. For repeat volumes, request a quote with the engine family, required bearing grade, and annual demand.
Frequently asked questions
Not always. A single failed shell can come from one blocked oil feed, one distorted rod, or one contaminated journal. Check the crank, oil system, and the matching rod before deciding on a full rebuild.
Only if the journal measures within the allowable diameter, taper, and out-of-round limits and the surface finish is acceptable. If the crank is scored or undersize outside tolerance, the bearing change will not hold.
Yes. We support standard catalogue supply and project-based builds. For dimensional variants, packaging, or volume planning, send the engine details and target annual demand with your enquiry.
Send the engine family, bearing size, and inspection photos, and we will confirm the right replacement path. request a quote