Crankshaft bearing wear is rarely an isolated parts failure. In most engines it points to a lubrication, alignment, contamination, clearance, or operating-temperature problem that has damaged the oil film between the journal and bearing shell. Field symptoms often include low hot oil pressure, a knock at idle or under load, metallic debris in the filter, heat staining, or copper showing through the overlay. This article explains the main crankshaft bearing wear causes and fixes, how to trace visible damage back to the root cause, what to measure before reassembly, and how procurement teams can reduce repeat failures. It is written for distributors, rebuild shops, fleet service networks, and sourcing teams that need practical diagnostic and supplier-control guidance rather than a consumer repair guide. Driventus is an independent aftermarket manufacturer; brand names are referenced for fitment only. Where replacement parts are needed, confirm journal size, housing bore, clearance class, material specification, and packaging controls against engine service data and relevant quality systems, including IATF 16949:2016 and ISO 9001:2015.
What bearing wear looks like in service
Crankshaft bearing damage usually follows a visible pattern. The first sign may be low oil pressure after warm-up, a short knock on start-up, or metal particles found during an oil and filter inspection. Once the bearing is removed, the shell surface can show polishing, scoring, wiping, overlay fatigue, copper exposure, or blue-black heat discoloration.
Symptom
What it often indicates
What to check first
Low hot oil pressure
Excessive clearance, oil starvation, pump wear, or oil thinning
Oil level and viscosity, pump output, pickup screen, filter condition
Knock at idle or under load
Increased bearing clearance, rod bearing damage, main bearing movement
Journal size, shell condition, cap fit, oil pressure reading
Copper or bronze exposure
Overlay loss and advanced bearing wear
Oil cleanliness, clearance, load history, operating temperature
Loss of crush, cap movement, or housing bore distortion
Housing bore size, cap torque, cap register, line bore alignment
</tr></thead><tbody> </tbody></table>The wear location matters as much as the appearance. Broad wiping across several bearings usually points to a system problem such as oil starvation, contamination, or incorrect assembly lubrication. Localised wear on one journal should lead the inspection toward that journal, its oil feed, the connecting rod or main housing bore, and any cap movement before a replacement set is ordered.
Main causes of crankshaft bearing wear
The main causes are mechanical, lubrication-related, or assembly-related. In a failed engine, more than one factor is often present, so the bearing shell should be treated as evidence rather than as the only defective part.
Oil starvation from low oil level, delayed oil pressure, blocked pickup screens, worn pumps, collapsed filters, or restricted oil galleries.
Oil-film breakdown caused by incorrect viscosity, overheated oil, fuel dilution, coolant contamination, soot loading, or extended drain intervals.
Hard-particle contamination from dirt, machining swarf, abrasive residue, deteriorated components, or poor filtration.
Incorrect oil clearance from the wrong bearing grade, mixed shell sizes, worn journals, distorted housing bores, or unverified machining.
Misalignment from bent crankshafts, distorted blocks, poor line boring, damaged cap registers, or incorrect main-cap installation.
Overloading and high operating temperature from severe duty cycles, detonation, poor cooling, overspeed, or sustained high-load use.
Poor assembly practice, including dry start-up, dirty components, incorrect torque procedure, missing lubrication, or failure to prime the oil system.
Repeated failures are a warning sign. When the same engine family returns with similar shell damage, the bearing is often the final component to show the fault. The real problem may be crankshaft finish, housing geometry, oil pump performance, filter bypass operation, or rebuild process control. Replacing bearings without checking those conditions can create another short service life and another teardown.
How to inspect before replacement
A repeatable inspection sequence helps separate part defects from system faults. The aim is to confirm oil supply, cleanliness, geometry, and running clearance before any new bearing set is installed.
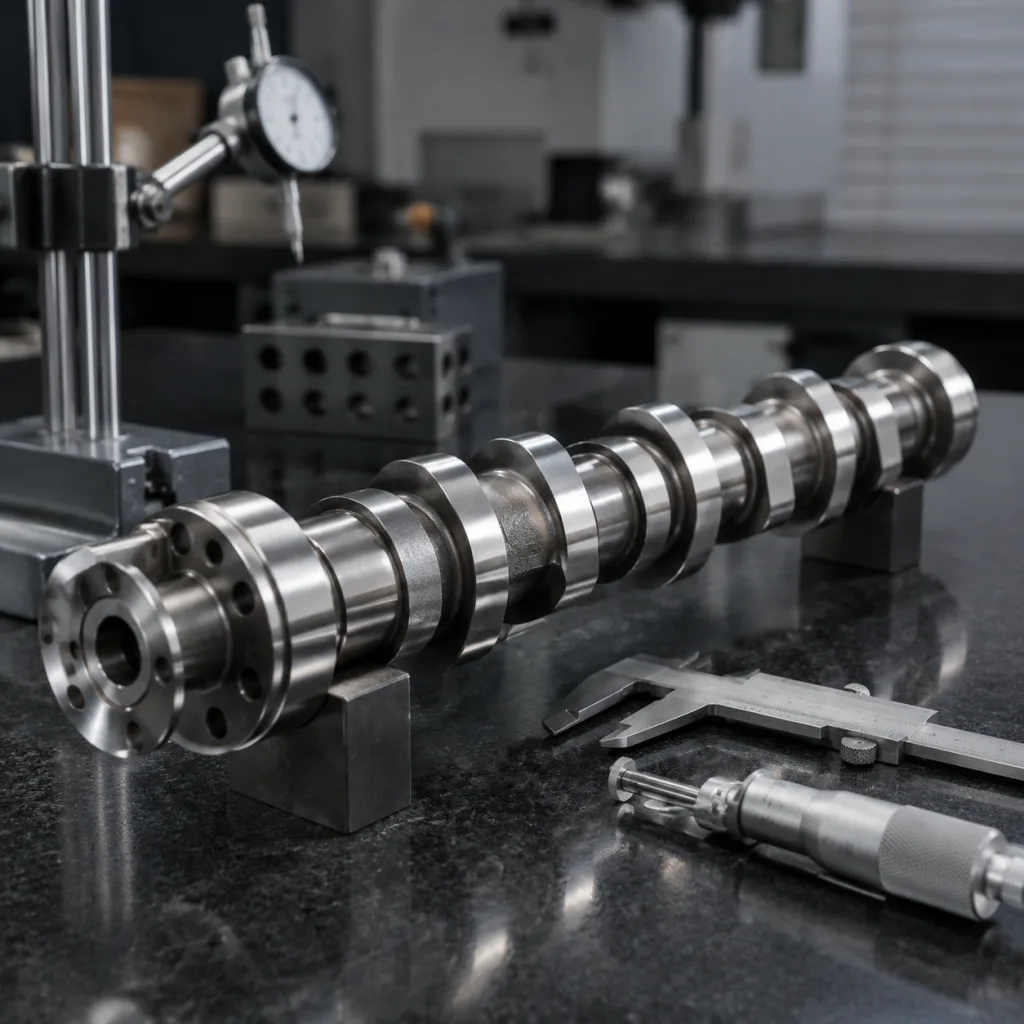
1. Drain the oil and inspect it for metallic glitter, sludge, fuel smell, coolant contamination, or heavy soot loading. 2. Cut open the oil filter and check for copper, lead, aluminum, steel, sealant, or abrasive material. 3. Remove the sump and inspect the pickup screen, pump inlet, pressure relief valve, drain-back areas, and filter bypass condition. 4. Check oil galleries and crankshaft drillings for blockage, debris, sealant, or sludge that could restrict flow to one or more journals. 5. Measure crankshaft journals with a micrometer in several positions and compare taper, out-of-round, and diameter against the engine service manual. 6. Inspect journal surface finish for scoring, heat marks, polishing direction, cracks, or evidence of poor grinding. 7. Measure housing bores with a dial bore gauge to confirm size, roundness, bearing crush, and alignment. 8. Check cap torque, fastener condition, cap-to-block fit, cap register damage, and any signs of fretting or movement. 9. Verify assembled oil clearance using the manufacturer-approved method, then confirm oil pressure with a calibrated gauge after rebuild.
A new bearing set cannot compensate for a crankshaft journal that is scored, tapered, oval, undersize beyond limit, or finished incorrectly. The crankshaft, connecting rods, main bores, and oil circuit must meet the engine maker's dimensional limits before final assembly.
Fixes that hold up after rebuild
Durable fixes address both the damaged shell and the condition that damaged it. The correct repair path depends on inspection results, duty cycle, and engine specification.
Replace the bearing set when the overlay is worn through, copper is exposed, the shell is wiped, fatigue cracks are visible, or heat damage is present.
Regrind, polish, or replace the crankshaft when journals are scored, tapered, cracked, undersize, or outside surface-finish limits.
Correct the oil system if the evidence points to pump wear, pickup restriction, blocked galleries, pressure relief faults, poor filtration, or oil aeration.
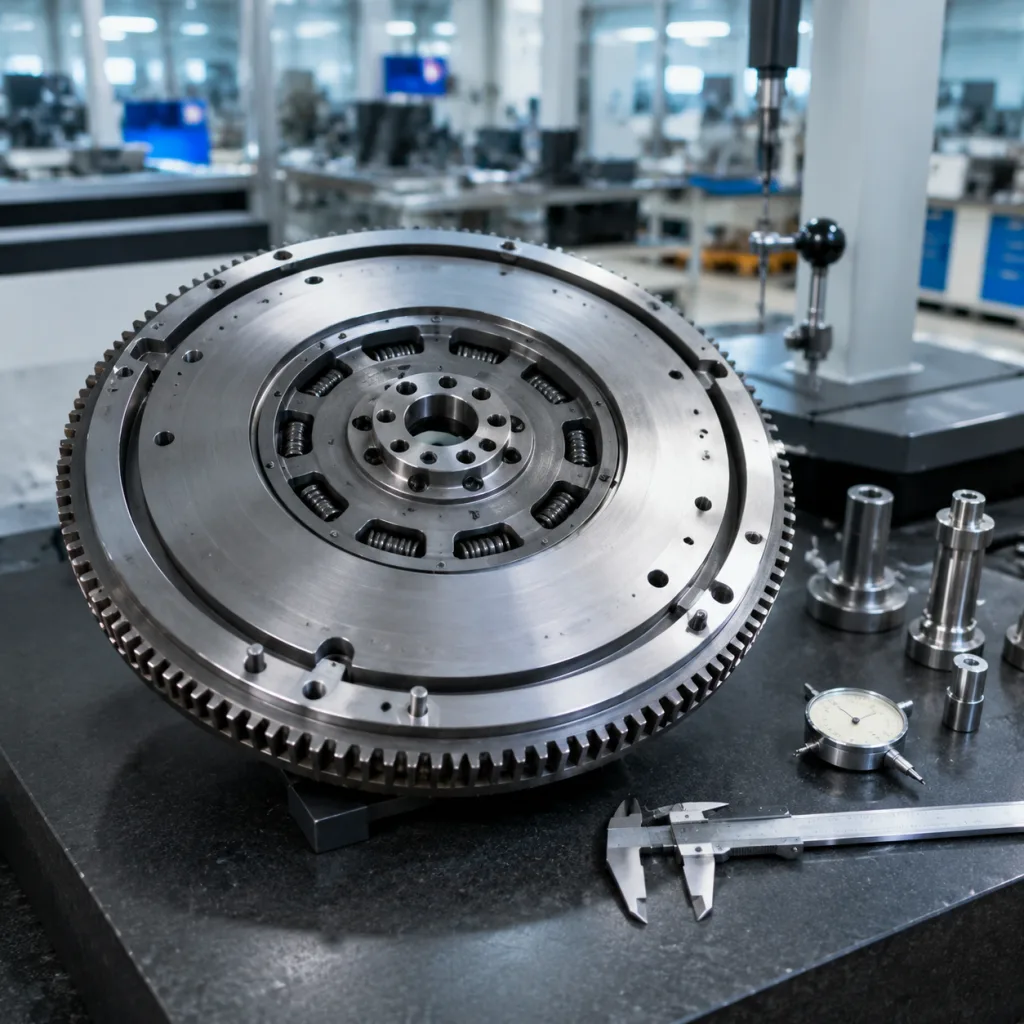
Restore housing geometry through correct line boring, cap correction, rod resizing, or block repair when crush, alignment, or bore roundness is outside specification.
Select the correct bearing grade, wall thickness, overlay, backing, and coating for the engine application and load profile.
Control assembly conditions by cleaning galleries, using proper assembly lubricant, following torque-angle procedures, priming the oil system, and verifying pressure before load is applied.
For buyers comparing supply options, nominal fit is only the starting point. Confirm material stack, surface finish, backing type, crush characteristics, coating requirements, and clearance class. A shell that fits the catalog listing can still fail quickly if the housing bore, journal finish, oil supply, or assembly process is wrong. For broader sourcing, see our catalog and our engine components range.
What procurement teams should verify
For B2B sourcing, the question is not only whether the bearing matches the application. The supplier must be able to hold dimensions, material properties, cleanliness, and packaging standards consistently across production batches.
Supports correct retention and heat transfer in the housing bore
Surface finish control
Helps maintain oil film stability during start-up and loaded operation
Material and coating traceability
Supports batch investigation and application matching
Cleanliness and packaging
Reduces debris-related scoring during assembly
Application data management
Lowers the risk of wrong-grade or wrong-size supply
Documentation
Supports incoming inspection, warranty review, and audit trails
Quality system
Confirms process discipline under IATF 16949:2016 and ISO 9001:2015
</tr></thead><tbody> </tbody></table>Incoming inspection should include sample measurement, visual checks for handling damage, package cleanliness, label accuracy, and traceability review. For high-volume programmes, buyers should also agree on approved drawings, tolerances, material requirements, coating specifications, and nonconformance handling before purchase orders scale.
If your programme needs private-label supply or application-specific development, custom manufacturing can support dimensional matching, lab validation, packaging control, and batch documentation. For supplier due diligence, review the quality system before approving volume purchase orders.
Prevention and service policy
Prevention is less expensive than repeated teardown, especially for fleet, distributor, and rebuild programmes. A stable service policy should define oil viscosity, oil change intervals, filter specification, contamination control, assembly cleanliness, break-in procedure, and oil-pressure verification. For heavy-duty or high-idle applications, oil analysis trends are often more useful than waiting for a noise complaint.
Keep service records tied to the failure mode. If the same engine family returns with bearing wear, do not treat every case as an isolated part issue. Track oil pressure, rebuild date, mileage or operating hours, journal condition, bearing grade, oil type, filter brand, duty cycle, and operating environment. That data helps separate assembly problems from lubrication issues, application overload, machining variation, or part quality concerns.
Driventus supplies aftermarket engine and powertrain components for distributors, rebuilders, and multi-location service networks. If you need a controlled replacement programme, request a quote with the engine code, bearing size or grade, quantity, target market, and any required packaging or documentation so the specification can be matched correctly.
Frequently asked questions
Oil starvation and oil-film breakdown are among the most common causes. Low oil level, worn pumps, blocked pickup screens, restricted galleries, contaminated oil, wrong viscosity, or fuel dilution can all reduce the oil film that protects the journal and bearing surface.
No. If the journal is scored, tapered, oval, cracked, or outside specification, the crankshaft must be reground, polished within limits, or replaced. New shells cannot restore a damaged running surface or correct poor journal geometry.
Ask for dimensional control data, wall-thickness and crush controls, material traceability, coating details where applicable, cleanliness standards, packaging controls, and evidence of a working quality system. For export programmes, confirm compliance with REACH (EC) No 1907/2006 where applicable.
If you need matched crankshaft bearings, application checks, or volume supply support, review [our catalog](/products.html) or [request a quote](/contact.html).