Camshaft Wear Causes and Fixes for Diagnostics Teams
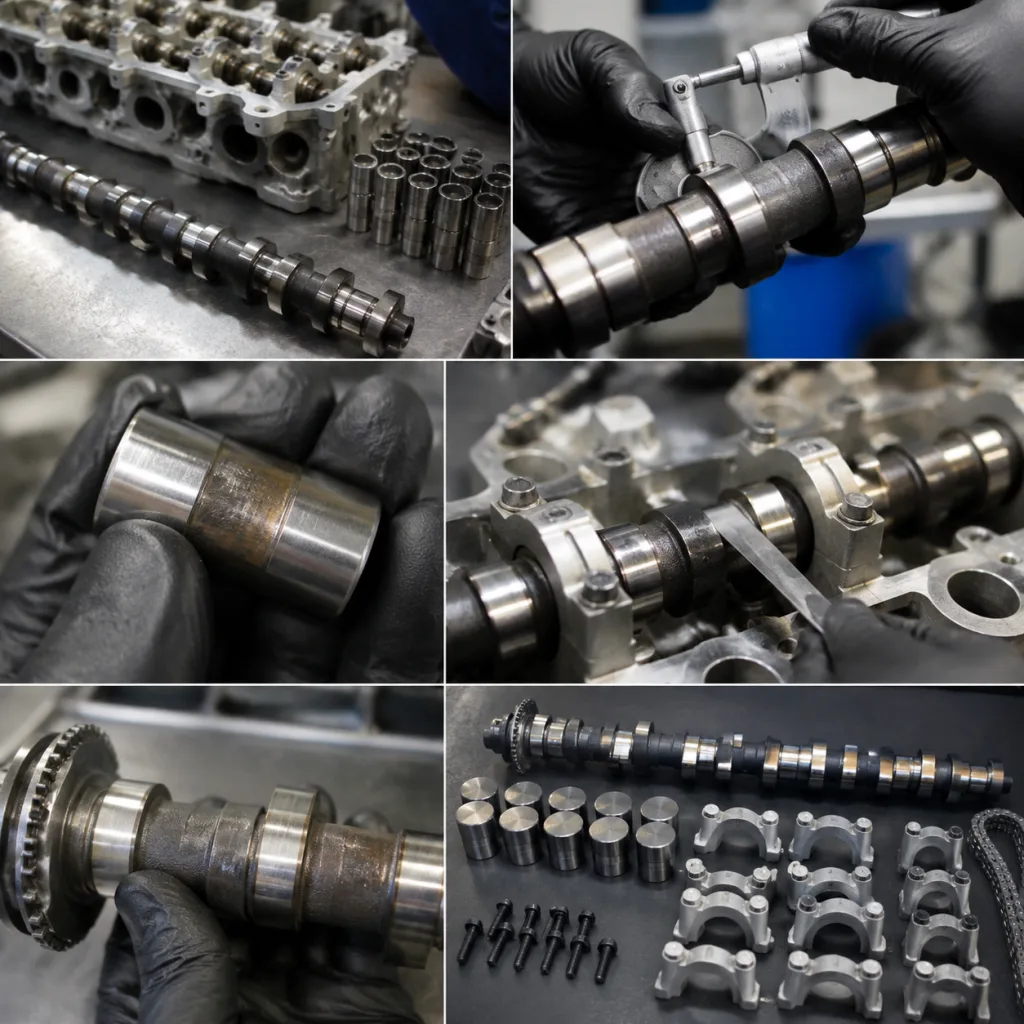
Camshaft wear usually shows up after the engine has already changed its valve timing, oil pressure behaviour, or idle quality. For procurement and workshop teams, the useful question is not only what is worn, but why the wear started and which parts must be replaced together. The root causes often involve lubrication breakdown, abrasive contamination, incorrect valve train clearances, poor hardening, or misalignment in the head and bearing journals. Symptoms can include ticking noise, misfire, reduced power, metal in the oil, or uneven lobe lift. A proper diagnosis starts with the wear pattern on the lobes and journals, then checks oil supply, filters, followers, springs, and mating components. Driventus is an independent aftermarket manufacturer; brand names are referenced for fitment only. For sourcing teams, the practical focus is dimensional match, material quality, and validation to IATF 16949:2016 and ISO 9001:2015 requirements.
Decision first: what kind of camshaft wear are you seeing?
Camshaft wear is easiest to manage when you classify the failure before you order parts. A flattened lobe points to a different fix than a polished journal, and a single-lobe problem usually has a local cause.
Use this quick decision frame:
Flat or reduced lobe lift: treat as a valve-train contact failure, not a cosmetic issue.
Scoring on one side of the journal: check alignment, bore geometry, and lubrication delivery.
Pitting or spalling: suspect surface fatigue, spring overload, or a hardness problem.
Metal in the oil filter: assume secondary damage until the whole train is measured.
One lobe only: inspect the lifter, rocker, spring, and oil feed path for that cylinder.
If the engine has already run with the fault present, do not judge by appearance alone. Measure lift, compare the profile to an approved sample or the OE nominal, and confirm whether the damage is isolated or system-wide. That distinction drives the repair bill far more than the camshaft part number does.
Failure modes and fixes, side by side
Most camshaft wear causes and fixes fall into a few repeatable patterns. The table below pairs the failure mode with the repair logic buyers and technicians should use.
Failure mode
What you usually see
Root cause
Fix
Oil starvation
Scuffed lobes, wiped nose, hot idle noise
Pressure loss, blocked pickup, thin oil film
Restore oil supply, inspect pump and galleries, replace damaged parts
Flush system, replace filter, inspect bearings and followers
Excess spring load
Pitting, accelerated lobe wear, roller distress
Seat pressure above spec, wrong installed height
Reset spring package to spec, replace stressed components
Misalignment
Edge wear, taper, uneven journal polish
Bore error, head machining issue, rocker geometry
Correct geometry, measure bores, replace cam bearings if needed
Hardness or material fault
Early fatigue, spalling, repeat failure
Shallow case depth, inconsistent heat treat
Reject batch, request metallurgical evidence, source a validated part
</tr></thead><tbody> </tbody></table>The fix should match the failure mode, not just the symptom. Replacing a camshaft without addressing oil delivery or valve-train geometry usually produces the same failure again. For repeat failures, the system needs to be treated as a set: camshaft, followers, springs, lubrication, and alignment all have to pass inspection together.
A workshop inspection sequence that avoids guesswork
Use a step-by-step inspection order so the findings can support a repair decision, a warranty claim, or a sourcing request.
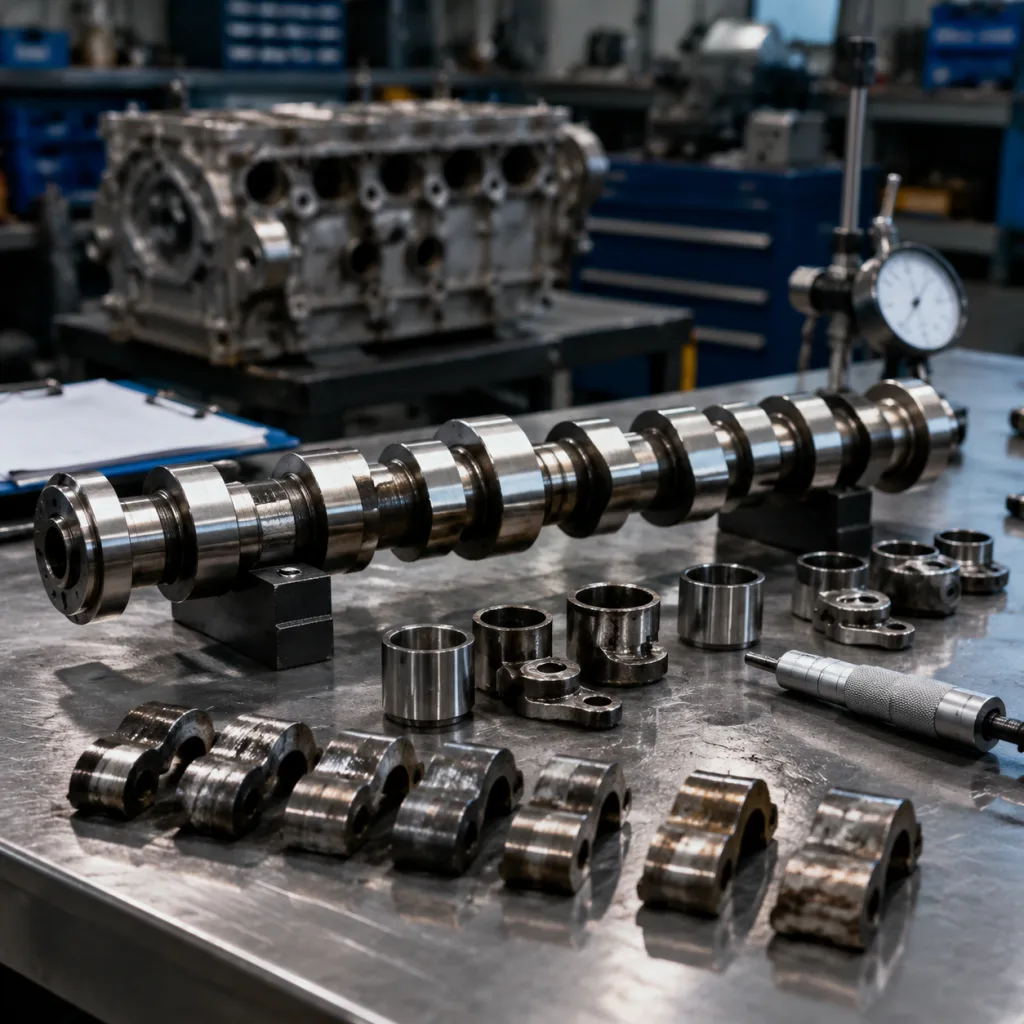
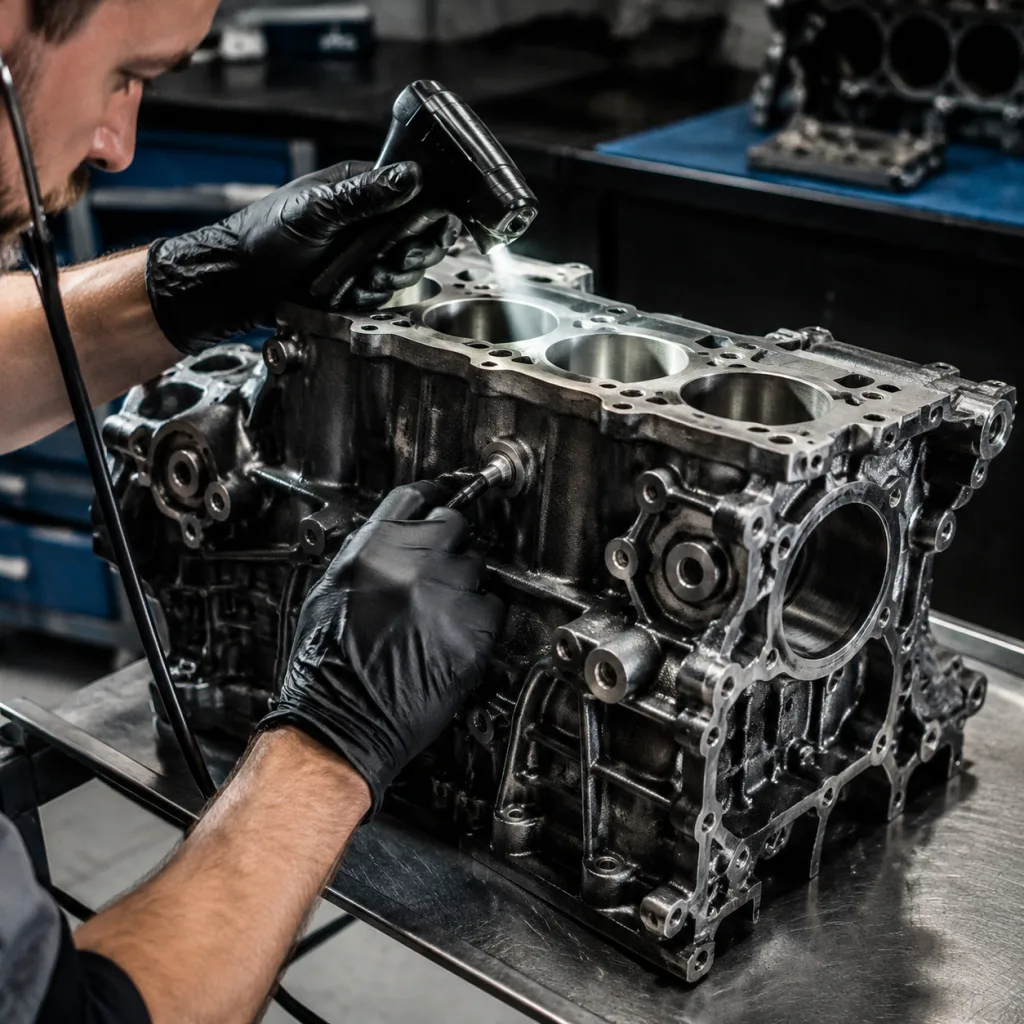
1. Drain the oil and cut open the filter. Look for magnetic paste, shiny flakes, and copper-coloured bearing debris. 2. Remove the cover and map each lobe. Note which cylinder or valve position is affected. 3. Measure lobe lift, base circle, journal diameter, and runout. Compare against the OE limit, not against a nearby lobe only. 4. Inspect the follower, lifter, rocker, and spring on the matching valve. One damaged contact surface often explains the whole failure. 5. Check hot idle and loaded oil pressure. Cold pressure can hide a serious delivery problem. 6. Verify bearing clearances and head bore alignment with the right metrology for the shop. 7. Review service history for long oil intervals, coolant dilution, dust ingestion, or a previous timing fault.
If the timing drive is worn or stretched, confirm timing before you call the camshaft bad. Incorrect timing can mimic wear by changing contact loads. For sourcing teams, the most useful record set includes engine code, build date, casting revision, measured wear values, and OE reference number.
When the camshaft is only part of the repair
A camshaft replacement is rarely a one-part decision when the wear is severe. The new shaft will inherit the old damage if it runs against a worn follower, tired spring, or contaminated oil circuit.
Replace or inspect closely:
Lifters or followers
Rocker arms and pivot points
Valve springs and retainers
Timing chain, belt, or gears
Oil filter and oil pump if contamination is present
Cam bearings if scoring, taper, or clearance drift is found
A practical rule helps here: if the lobe is pitted, scored, or measurably flat, plan a full valve-train refresh rather than a single-shaft swap. If the filter contains ferrous debris, assume secondary damage until measurements prove otherwise. If the failure happened early in service, ask for hardness, heat-treatment, and traceability evidence before approving the next purchase.
Spec checks procurement should insist on
The sourcing question is not whether the part fits loosely on paper. It is whether the replacement matches the mechanical, surface, and packaging requirements of the original duty cycle.
Check these items before approval:
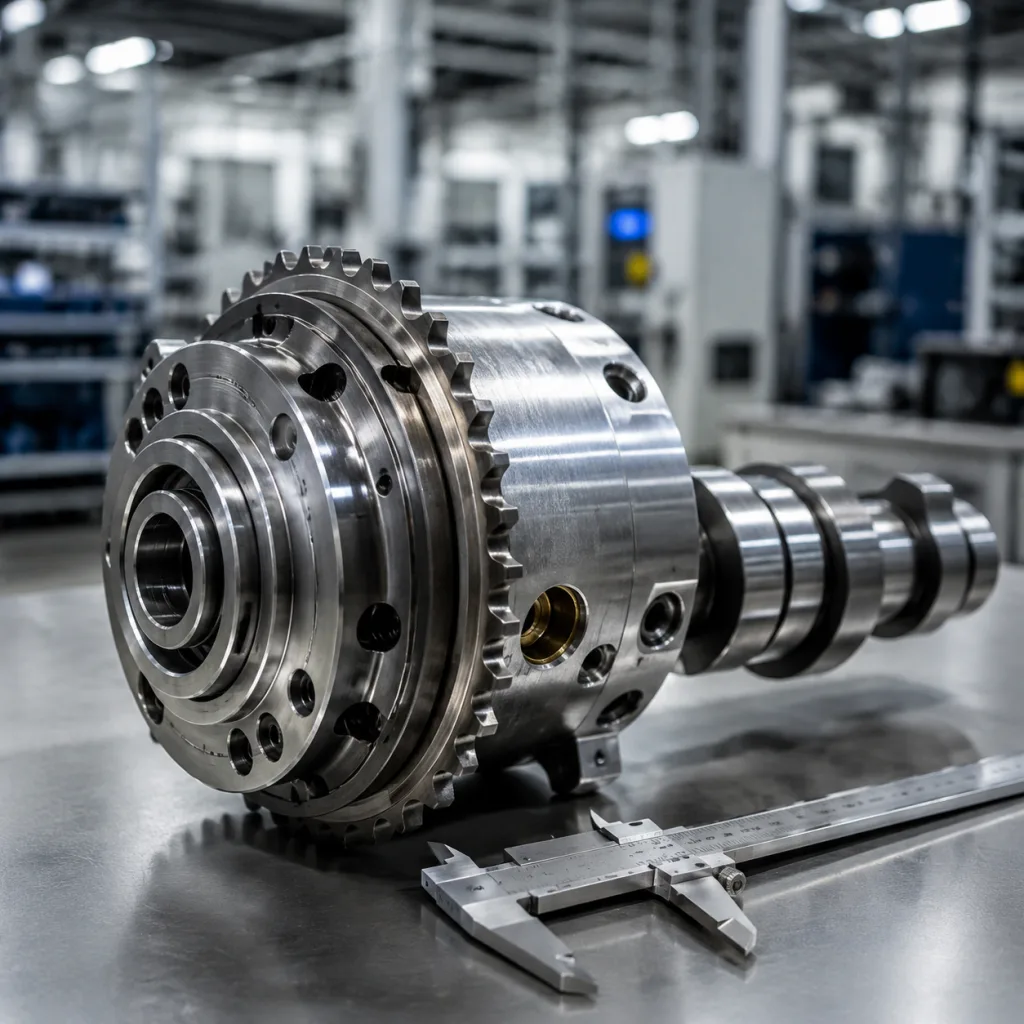
Lobe lift, base circle, and timing phasing
Journal diameter and surface finish
Hardness profile and case depth
Runout and concentricity
Chamfer, oil hole geometry, and coating where applicable
Packaging and corrosion protection for storage and export
Useful acceptance logic usually includes:
Lobe lift within ±0.05 mm of the approved sample or OE nominal on sensitive applications
Journal diameter held to the specified class, often within ±0.01 mm to ±0.02 mm depending on engine family
Runout below about 0.03 mm to 0.05 mm on the agreed datum for many passenger-car applications
Surface roughness controlled to the agreed Ra, often around 0.2 to 0.4 µm on critical journals
Case depth verified on first-article samples and audits, not only on batch paperwork
The supplier should show process control under IATF 16949:2016 and ISO 9001:2015, plus traceability for raw material heat numbers and final inspection records. If you need a non-standard profile or private-label programme, use custom manufacturing. For current part coverage, use our catalog, and for a formal enquiry, request a quote.
Preventing the same failure after repair
A repair is only complete when the cause is gone. That usually means cleaner oil, correct break-in, and valve-train geometry that does not overload the new camshaft.
Focus on these prevention points:
Use the correct oil grade and change interval
Prime the lubrication system before first start
Verify spring pressure against the application spec
Replace clogged breathers and filters
Flush debris after any lobe or lifter failure
Confirm timing marks and phasing before start-up
For first start, verify oil pressure within the first 10 to 20 seconds, then recheck for noise, leaks, and debris after the first heat cycle. Flat-tappet engines need the approved break-in procedure and should avoid extended idling on the first run. Roller designs reduce break-in risk, but they do not eliminate the need for clean oil and correct preload.
If these checks are skipped, the new part can show early wear within a few hundred kilometres. That is expensive on any vehicle, but it is especially painful on fleet units where downtime matters. Keep the first replacement lot under tighter incoming inspection until the root cause is proven fixed.
Frequently asked questions
Only if measurements stay within spec and the surface damage is light. If the lobe is flattened, scored, or heat-discoloured, replacement is usually the safer option. As a practical rule, if lift loss exceeds about 0.20 mm to 0.25 mm or the surface has spalling, reuse is not a sound procurement decision.
Single-lobe wear often points to a bad lifter, spring issue, local oil starvation, or misalignment. It can also follow debris damage from a previous failure. If only one lobe is affected, measure that cylinder’s spring pressure, follower condition, and oil feed path before approving a replacement order.
In most cases, yes. The cam and follower wear together. Reusing worn lifters can rapidly damage the new camshaft. For cost control, buyers should treat the camshaft, lifters, and related seals or gaskets as one service kit unless inspection proves the mating parts are fully within spec.
If you are matching a failed part to an OE reference or building a replacement programme, send the application details, measured wear values, and target annual volume so we can review options with you. Start here: /contact.html