Valve Cover Oil Leak Oil Sump: Diagnosis and Replacement
A valve cover oil leak oil sump complaint usually starts with one question: where is the oil actually escaping? On many engines, oil runs down the cylinder head, onto the block, and then collects at the sump, so the visible drip point is not always the failure point. That matters for buyers and workshops because ordering the wrong casting or gasket set adds downtime and avoids the real root cause. Driventus is an independent aftermarket manufacturer; brand names are referenced for fitment only. For export programs, we work to documented quality controls aligned with IATF 16949:2016 and ISO 9001:2015, with material and coating selection checked against REACH (EC) No 1907/2006 where applicable. The practical task is simple: identify the leak path, verify the sealing surfaces, and replace only the parts that are no longer serviceable.
How to separate the leak source
The first step is to distinguish a leak that starts at the valve cover from one that starts at the oil sump or another lower engine seal. Oil moving down the back of the cylinder head can make the sump look wet even when the upper gasket is the source. The reverse also happens: a sump flange leak can throw oil onto the block, then airflow and road motion spread it upward.
Observation
More likely valve cover
More likely oil sump
What to inspect
Oil at head-to-block joint first
Yes
No
Valve cover gasket, PCV routing
Oil at lower pan seam first
No
Yes
Sump flange, RTV corners, drain plug
Heavy oil mist around breather
Yes
Sometimes
Crankcase ventilation pressure
Wet rear of engine and bellhousing
Sometimes
Sometimes
Rear cover, crank seal, sump rear joint
</tr></thead><tbody> </tbody></table>A clean washdown followed by a short road test is usually more reliable than a visual inspection on a dirty engine.
Why the oil can appear at the sump
The sump often becomes the lowest visible point, so it attracts oil from several upstream faults. Excess crankcase pressure, blocked breather hoses, an overfilled crankcase, and a hardened valve cover gasket can all push oil to the same area. If the engine has a composite cover, check for distortion around fastener lands. If it uses a cast or stamped sump, inspect for flange waviness, stone impact, and previous sealant overuse.
Common root causes:
Hardened valve cover gasket or failed half-moon seal
Loose or uneven fastener torque on the cover or sump
Blocked positive crankcase ventilation path
Damaged drain plug washer or stripped drain boss
Impact damage to the sump lip or corner radius
This is why a lower drip cannot be treated as proof of a failed sump. If the leak path is not traced from the top down, the replacement decision is often wrong.
Inspection checklist before parts are ordered
Use a structured inspection before ordering a replacement assembly. A degreased engine, UV dye, and a brief pressure check will usually show whether the fault starts at the cover, the timing-end housing, or the sump flange.
1. Clean the suspected area and the underside of the engine. 2. Inspect the valve cover perimeter, bolt tubes, and PCV connections. 3. Check the sump flange for dents, sealant squeeze-out, and oil tracks at the joint. 4. Verify the drain plug, washer, and thread condition. 5. Confirm that the gasket groove and mating face are free of nicks. 6. Measure the flange for visible warp against the OE drawing or a flat reference plate. 7. Review crankcase ventilation, especially after repeated gasket failures.
If the leak returns after a correct gasket installation, the next suspect is usually distortion, blocked ventilation, or a damaged sealing face rather than the seal material itself.
When replacement of the oil sump is justified
Replacement is justified when the part can no longer hold a stable seal after proper cleaning, flange preparation, and correct torque. That includes cracked castings, damaged drain threads, severe corrosion, and flange deformation that cannot be corrected within the released drawing limits.
Typical replacement criteria for B2B buyers:
Material and geometry must match the OE installation envelope
Drain boss thread and washer seat must be intact
Sealing flange must recover clean contact after torque
Coating must resist stone chipping and road splash
Baffles and windage features must remain intact where fitted
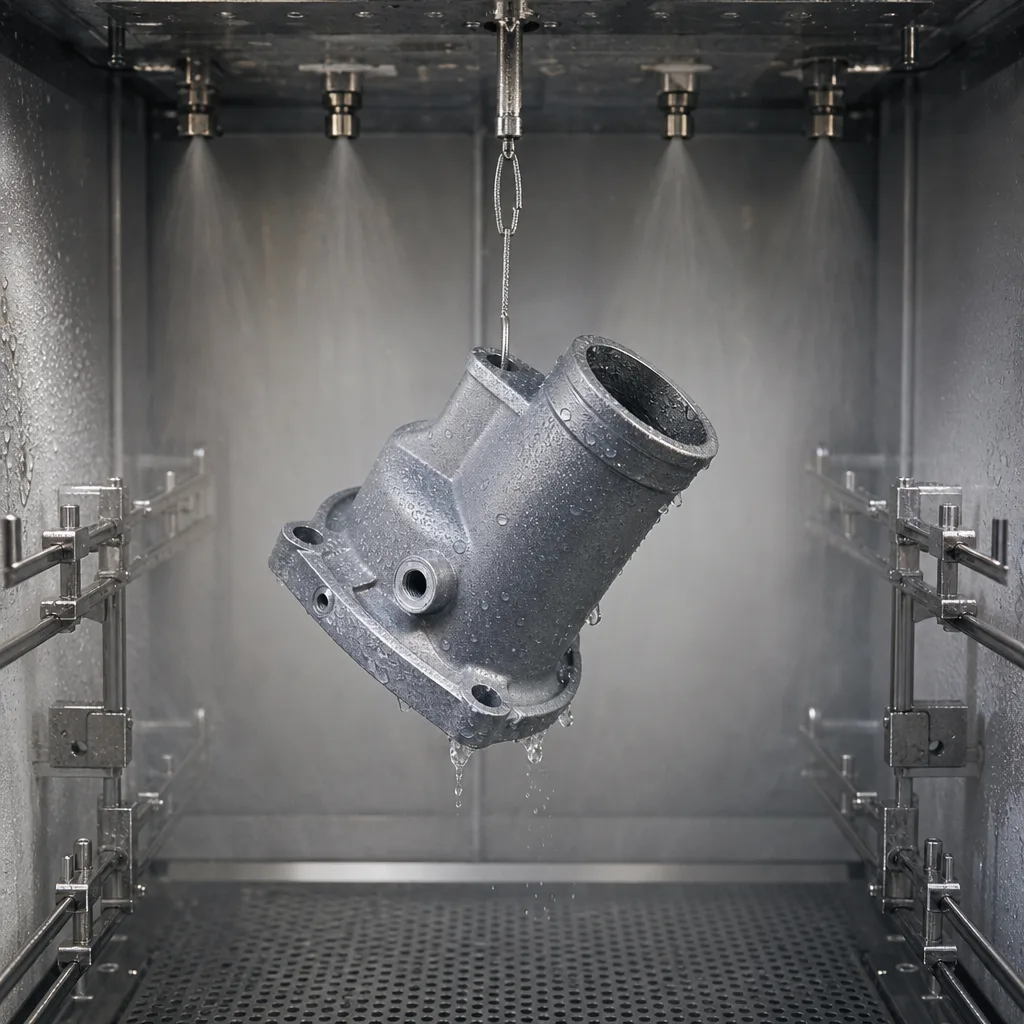
For coated steel or aluminium sumps, validation should include thermal cycling, vibration, leak retention, and corrosion exposure as required by the program. SAE J2527 is often used where coated components need corrosion confirmation. For regulated export programmes, fitment and material declaration should align with REACH (EC) No 1907/2006 and the buyer's release process.
Sourcing and validation for procurement teams
For distributors, repair networks, and OEM supply programs, the part decision should be based on dimensional match, material control, and repeatable validation. A sump is not just a stamped shell or casting; it is a sealed interface with a drain feature, a joint line, and often a baffle package that affects oil control under load.
When comparing suppliers, ask for:
Material specification and coating system
Gasket interface design and sealant-critical zones
Dimensional inspection method and sampling plan
Corrosion, thermal, and leak validation records
Traceability tied to batch or lot number
Review our catalog for part family coverage, our quality system for documented controls, and custom manufacturing if you need an OE-matched sump built to a released drawing. If the programme also needs adjacent hardware, our engine components page shows the broader family range. Driventus is an independent aftermarket manufacturer; brand names are referenced for fitment only.
Frequently asked questions
Clean the engine, add UV dye if needed, and trace the first wet point after a short run. If oil starts at the head perimeter and runs down, the cover is the likely source. If the lower seam is first to wet, inspect the sump flange, drain plug, and nearby joints.
Replace it when the flange is warped, the drain boss is damaged, the casting is cracked, or corrosion has compromised the sealing face. If the part will not hold a stable seal after correct torque and surface prep, resealing is usually a false economy.
Ask for dimensional control, material declaration, coating details, leak and corrosion validation, and traceability. For export programmes, confirm alignment with IATF 16949:2016, ISO 9001:2015, and REACH (EC) No 1907/2006 where applicable.
If you need an OE-matched sump programme, send the engine details, target volume, and required validation pack through [request a quote](/contact.html).