Timing Belt How to Replace: OEM-Grade Procedure and Checks
Replacing a timing belt is a controlled maintenance task, not a parts swap. For procurement teams and workshop managers, the key requirements are correct fitment, verified tensioning, and proof that the full drive system is within specification. A belt that matches the OE length and tooth profile still needs the correct idler, tensioner, and water pump condition to prevent repeat work. This guide covers the replacement sequence, the measurements that matter, and the inspection points that should be recorded before the vehicle returns to service. Driventus is an independent aftermarket manufacturer; brand names are referenced for fitment only. Our timing belts are produced under IATF 16949:2016 and ISO 9001:2015 controls, with material and performance validation aligned to application requirements. For source control, cross-check OE references, service interval data, and the installation procedure in the relevant workshop manual before ordering or scheduling the job.
What to verify before you start
Before any replacement, confirm the engine code, belt width, tooth count, pitch, and tensioning method. A timing belt should never be selected by vehicle model alone.
Pre-job checklist
OE reference and engine code confirmed
Belt tooth profile and effective length matched
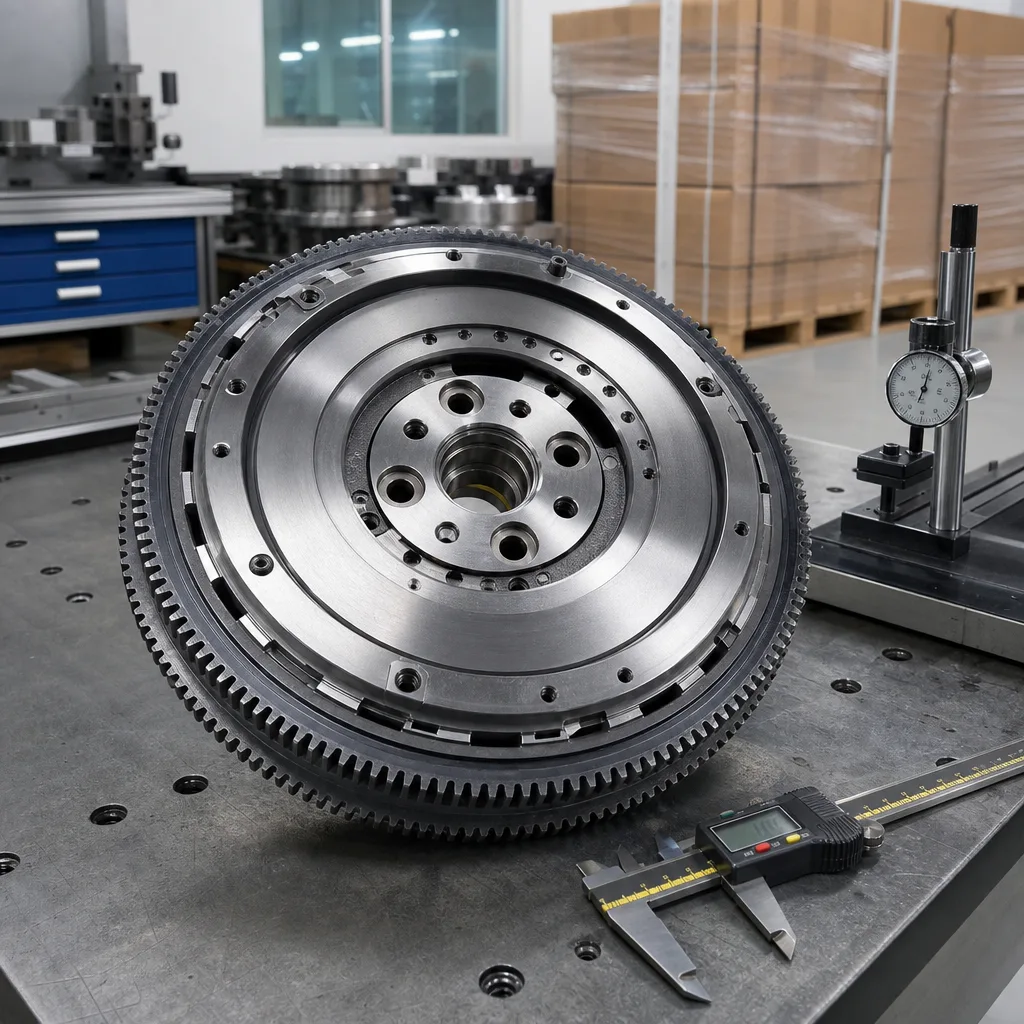
Tensioner, idler pulleys, and water pump inspected
Crankshaft and camshaft locking tools available
Replacement interval and mileage recorded
Seal leaks checked at cam, crank, and auxiliary drive areas
If the belt has run in oil, show glazing, cracked teeth, edge fray, or missing chunks, replace the full kit rather than the belt only. For mixed fleets and multi-site buyers, this is where standardised purchasing helps reduce variance. See our catalog and our quality system for product and control details.
Tools, parts, and records to prepare
Use the correct service tools and document the job before disassembly. That matters for warranty control, repeatability, and post-install review.
Item
Purpose
What to confirm
Timing belt kit
Core replacement parts
Belt, tensioner, idler, hardware
Locking tools
Prevent timing movement
Cam/crank alignment holds securely
Torque wrench
Final tightening
Fasteners tightened to workshop spec
Dial indicator or tension gauge
Tension verification
Method matches engine design
Service record sheet
Traceability
Mileage, date, OE references
</tr></thead><tbody> </tbody></table>If the application uses OE 06A107065-style cross-references, confirm the full application, not only the number string. Fitment errors usually come from mixed supersessions or incomplete catalog data. For non-standard requirements, custom manufacturing can support dimensional matching and packaging specification.
Step-by-step replacement sequence
1. Disconnect the battery and secure the vehicle. 2. Remove covers and accessory drive components that block access. 3. Set cylinder No. 1 to top dead centre using the approved procedure. 4. Install crankshaft and camshaft locking tools. 5. Release belt tension in the order specified by the engine manual. 6. Remove the old belt and inspect all pulleys, seals, and coolant leaks. 7. Replace the tensioner and idler if wear, noise, or rough rotation is present. 8. Fit the new belt in the correct rotation direction if marked. 9. Apply tension by the specified mechanical or hydraulic method. 10. Rotate the engine by hand through two full revolutions and re-check timing marks. 11. Reconfirm tension and alignment before reassembly. 12. Start the engine and listen for abnormal noise, then recheck after the initial run.
Do not use impact tools to final-tighten timing fasteners unless the workshop manual allows it. If the belt tracks to one side, stop and inspect pulley alignment and flange condition rather than forcing the job closed.
Common mistakes that create repeat failures
The most common error is reusing a worn tensioner because it still turns by hand. A noisy bearing, weak spring, or oil contamination will shorten belt life.
Other failure causes include:
Misaligned cam or crank marks during installation
Incorrect tension after the first engine rotation
Contaminated belt surfaces from coolant, oil, or sealant
Old pulleys with polished or grooved running faces
Missing torque verification on tensioner or idler fasteners
For fleets and repair chains, the low-cost option is often not the lowest landed cost if comeback labour is included. Standardise the replacement kit and record the serial or batch code where traceability is required. This is particularly useful for supplier qualification and post-sale audit trails.
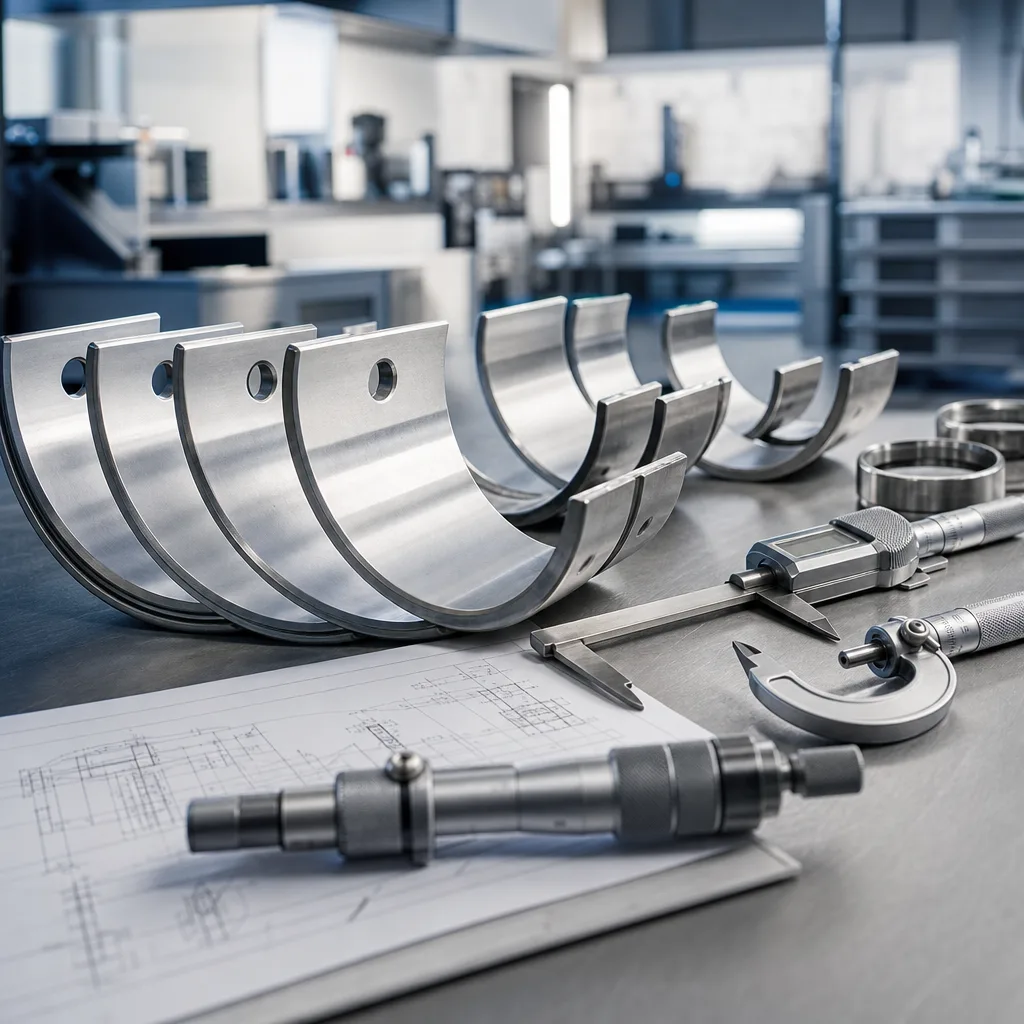
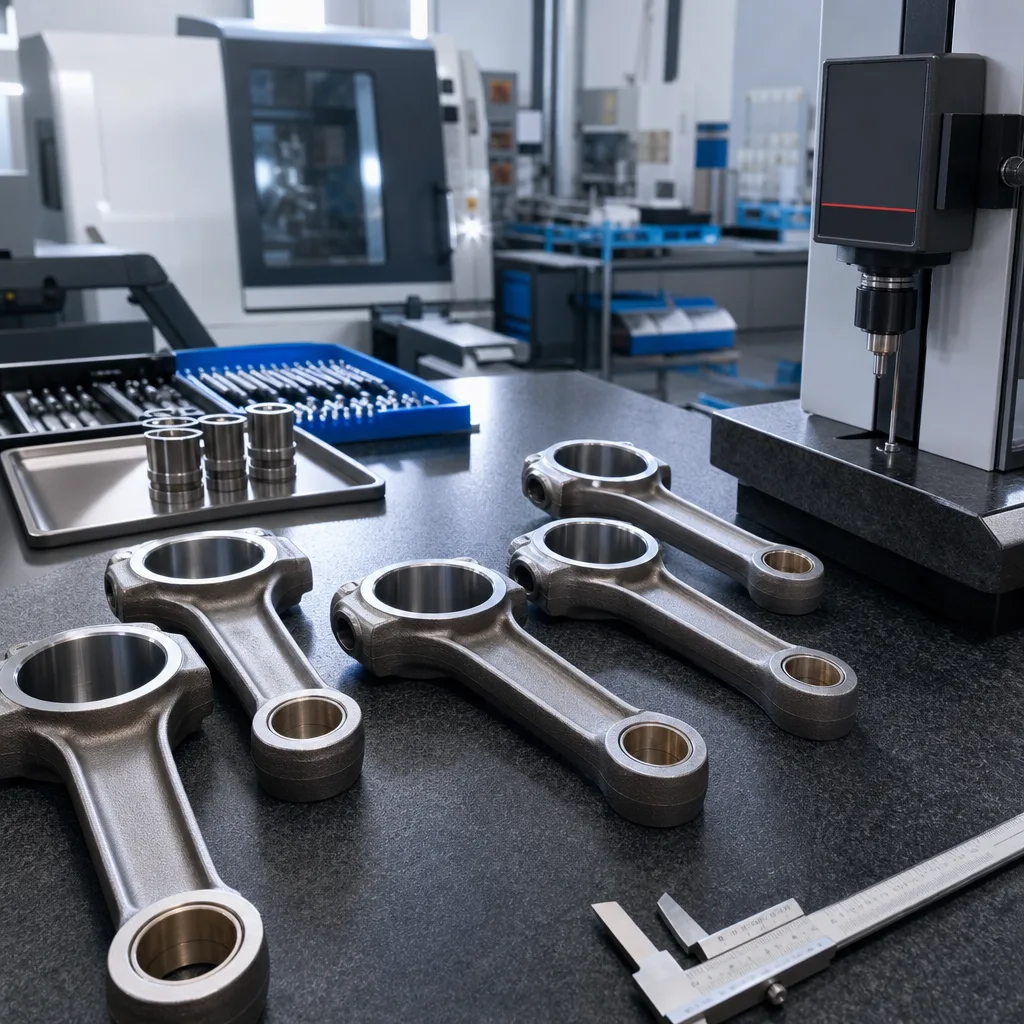
Quality, testing, and fitment control
A timing belt supplier should be able to support dimensional verification and production traceability. At minimum, ask for material confirmation, tooth profile control, and batch traceability.
Relevant standards and controls
IATF 16949:2016 for automotive quality management
ISO 9001:2015 for documented process control
REACH (EC) No 1907/2006 for substance compliance in the EU
Where application testing is requested, validation may include heat ageing, flex fatigue, oil resistance, and noise-related checks depending on engine architecture. For replacement programmes, dimensional match is necessary but not sufficient; the belt must also remain stable through the service interval under the specified load and temperature window. If you need application-specific support, see request a quote for sourcing and engineering follow-up.
When to replace the water pump and related parts
If the water pump is driven by the timing belt, replacing it at the same time is usually the lower-risk option. The labour overlap is high, and a later pump failure can destroy a new belt.
Replace or inspect closely when you find:
Coolant seepage from the pump vent or weep hole
Bearing noise or shaft play
Corrosion on the impeller or housing
Belt contamination from dried coolant
Tensioner path wear caused by pump misalignment
For engines with limited access, the full kit approach reduces duplicate labour and avoids opening the same front cover twice. That is usually the correct commercial decision for distributors, workshops, and fleet buyers managing uptime.
Frequently asked questions
Use engine code, OE reference, tooth count, width, pitch, and tensioning design. Vehicle make and model alone are not enough. Confirm the full service kit if the water pump is belt-driven.
Yes, if there is any noise, roughness, play, or unknown service history. Many repeat failures come from reused pulleys rather than the belt itself.
Yes. Driventus supports aftermarket supply and application-specific programs. Driventus is an independent aftermarket manufacturer; brand names are referenced for fitment only.
If you need application matching, documentation, or a supply quote for a timing belt programme, please [request a quote](/contact.html).