Thrust Washer How to Replace: What Matters Before, During, and After the Fit
Replacing a thrust washer is a precision engine repair, not a routine wear-part swap. The washer controls crankshaft end float, carries axial load, and protects the crankshaft thrust faces and block or main-cap register from rapid wear. If the original part is worn through, incorrectly sized, installed dry, or fitted against damaged mating faces, the result can be unstable end play, clutch-related crank walk, noise, and eventual lower-end failure.
For rebuilders, repair chains, and importers sourcing engine components, the real issue is not just how the washer goes in. It is whether the new part is dimensionally consistent, correctly graded, and matched to serviceable mating surfaces. A thrust washer that looks correct on the label can still create problems if thickness, flatness, face finish, or material control is poor.
This guide explains thrust washer how to replace through a workshop-first lens. It starts with diagnosis, moves through measurement and installation, and ends with validation and sourcing checkpoints. Exact limits always depend on engine design and OE service data, so the emphasis here is process control, inspection discipline, and practical decision-making rather than generic instructions.
Diagnosis first: when a thrust washer is actually the problem
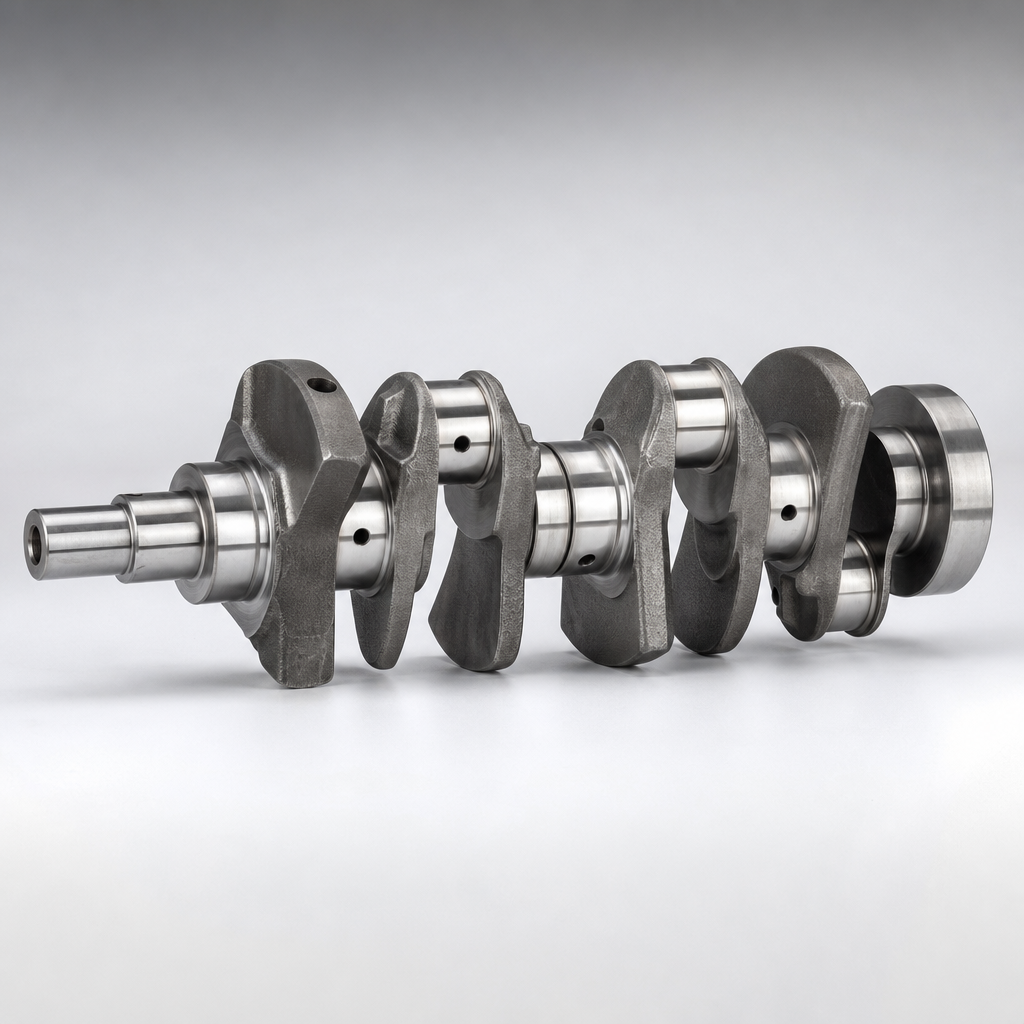
A thrust washer limits crankshaft axial movement and provides the controlled surface for fore-and-aft motion. In most engines, it sits at a specific main bearing position and manages axial loads from clutch actuation, torque converter force, helical gear thrust, and thermal expansion.
That does not mean every end-float issue is solved by changing the washer.
Replacement is usually justified when you find one or more of these conditions:
- Crankshaft end float exceeds the manufacturer's service limit
- The bearing layer shows scoring, smearing, wipe-out, or heavy polishing
- Bronze, aluminium-based, or steel-backed construction is worn through to copper or backing material
- Washer tangs are damaged, loose, or no longer seat securely in the register
- Block or main-cap thrust faces show fretting, deformation, or impact marks
- The engine is being rebuilt after crank walk, clutch failure, oil starvation, or major lower-end distress
Typical symptoms before teardown may include:
- Irregular clutch engagement on manual-transmission vehicles
- Noticeable crankshaft fore-aft knock or scrape
- Changing pedal feel linked to axial crank movement
- Main bearing distress associated with axial misalignment
- In severe cases, unstable crank sensor behaviour caused by excessive crank movement
The key judgment call is simple: is the washer worn out, or is it only showing the damage caused somewhere else? Excessive end float can also point to worn crank thrust faces, housing damage, or abnormal external loading from the clutch or transmission. Treat the washer as one part of the engine's axial-control system, not as an isolated fix.
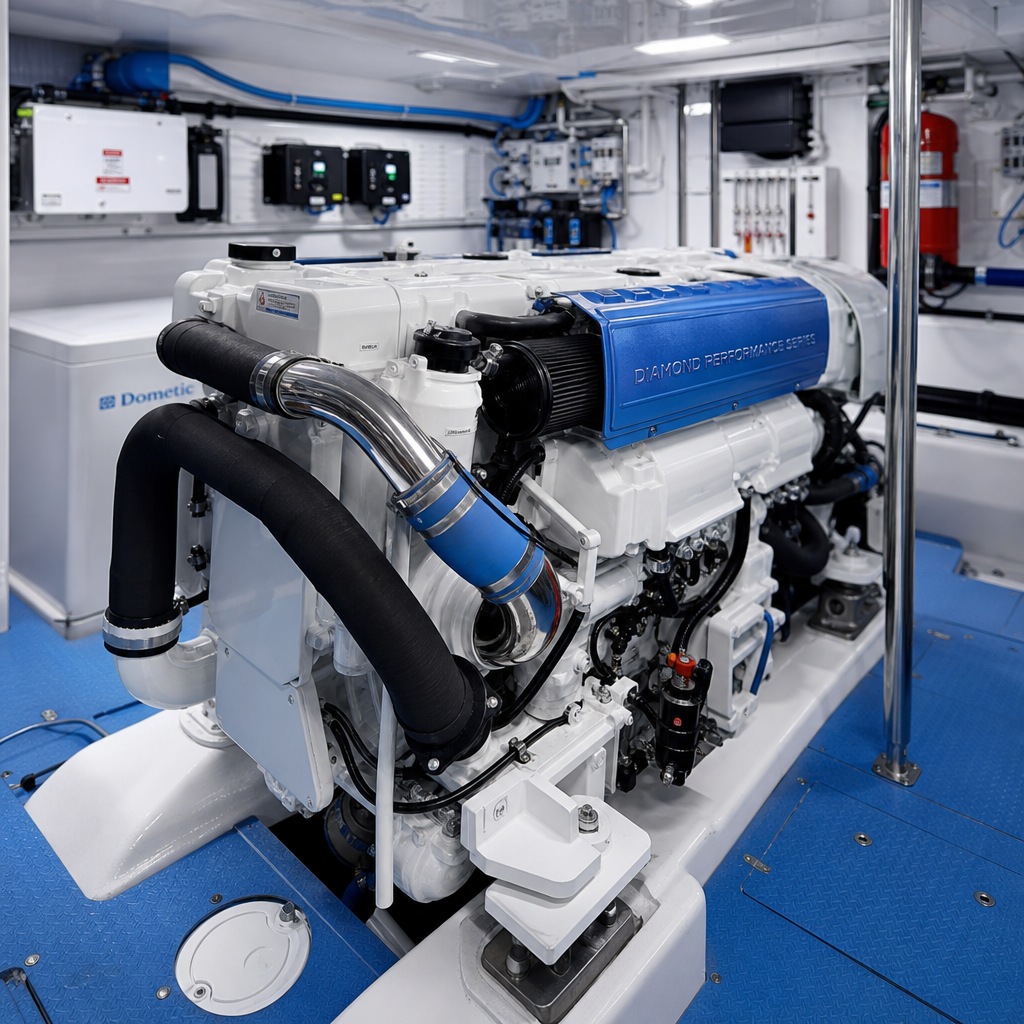
For buyers sourcing replacement sets, it makes more sense to ask for material construction, thickness grading, and dimensional inspection records than to rely only on application listings. You can review our catalog for related engine components and bearing-side parts.
Before teardown: the measurements that change the repair decision
Before removing the crankshaft or the relevant main cap, record the engine's as-found end float. This is one of the most important steps in thrust washer how to replace because it tells you whether the problem is minor wear, severe thrust-face damage, or a broader lower-end issue.
Pre-removal checklist
- Mount a dial indicator with the tip aligned to crankshaft axial travel
- Pry the crank fully rearward, then fully forward using steady, controlled force
- Record total end float in mm
- Compare the reading with engine-specific minimum and maximum values in service data
- Check oil condition for metallic debris or bearing material
- Review vehicle history for clutch, converter, gearbox, or lubrication-related problems if available
Once the area is exposed, inspect these points
- Crankshaft thrust faces for scoring, heat discoloration, taper, ridging, or step wear
- Block and main-cap thrust registers for burrs, peening, distortion, or fretting
- Oil feed condition around the thrust location
- Existing washer thickness on both halves where the design uses paired pieces
- Signs of uneven contact that may indicate misalignment or housing damage
This stage often determines whether the repair stays simple or becomes a machining decision. If the crank thrust face is damaged beyond acceptable polishing limits, replacing the washer alone will not restore service life. If the register is worn or the washer sits loosely, end float may remain unstable even with a new part installed.
From a supplier-quality standpoint, dimensional match should be controlled under a documented quality system such as IATF 16949:2016 and ISO 9001:2015. Material declarations for coated or plated related hardware should also be managed with REACH (EC) No 1907/2006 where required for the destination market.
Workshop sequence: thrust washer how to replace without creating new damage
The exact sequence varies by engine architecture, but the safest method is consistent: remove carefully, inspect thoroughly, fit cleanly, and verify with measurement.
| Step | Action | What to verify |
|---|---|---|
| 1 | Remove the relevant main cap or crank support | Cap orientation, hardware condition, and witness marks are recorded |
| 2 | Extract the old washer or washer halves carefully | No damage to the register, tang slot, or crank thrust face |
| 3 | Clean the saddle, cap, and nearby oil passages | No lint, burrs, varnish, or embedded debris remains |
| 4 | Measure old and new washer thickness | New parts match the application and any required grading |
| 5 | Recheck the crankshaft thrust faces and housing surfaces | Mating surfaces are serviceable and free from high spots or sharp edges |
| 6 | Lubricate the bearing surface with assembly lube or clean engine oil | Full, even coverage with no dry contact area |
| 7 | Install the new washer or washer halves in the correct orientation | Bearing face points toward the crank thrust surface and tangs seat correctly |
| 8 | Refit the cap and torque fasteners to specification | Engine-maker sequence, stages, and angle settings are followed |
| 9 | Move the crankshaft through several axial cycles by hand | Travel is smooth with no grab, bind, or uneven resistance |
| 10 | Recheck crankshaft rotation and end float | Rotation is free and end float is within specification |