Rear Main Seal Leak: Diagnosis, Inspection, Replacement
A rear main seal leak can present as oil on the bellhousing, a drip at the engine-to-transmission joint, or recurring underbody contamination after a short drive. For buyers and service operators, the key question is not only whether the seal is failing, but why it is failing and whether the replacement part matches the crankshaft, housing, and oil control requirements. On modern engines, leakage can come from the seal itself, crankcase pressure, crankshaft surface wear, or installation damage. Driventus is an independent aftermarket manufacturer; brand names are referenced for fitment only. This article outlines the most common symptoms, the inspection sequence, and the checks needed before replacement. We also note the material and dimensional points procurement teams should confirm when sourcing from a supplier that works to IATF 16949:2016 and ISO 9001:2015 controls.
What a rear main seal leak looks like
Do not assume the seal is the only fault
A new seal will not stop leakage if crankcase pressure is excessive or if the crankshaft sealing surface is scored. Seal lip material, shaft finish, housing bore concentricity, and axial movement all affect performance.
Main causes of rear main seal leakage
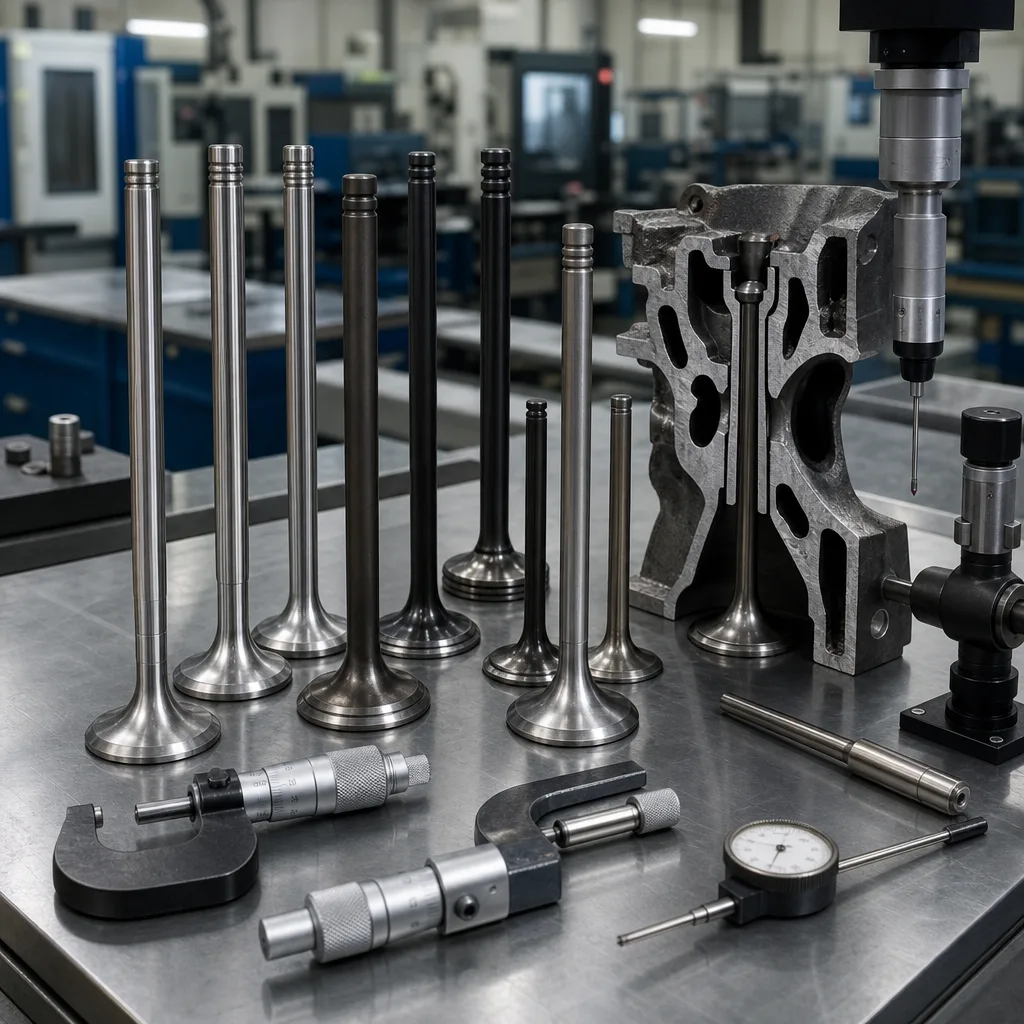
What to verify before ordering
- Crankshaft diameter and sealing surface width
- Seal OD, ID, and axial thickness
- Elastomer type, often NBR or FKM depending on temperature and oil exposure
- Spring-loaded lip design and dust lip presence
- Housing design and installation depth
- OE 06A107065 cross-reference only when the application data explicitly uses it
Inspection steps before replacement
Inspection note for fleet operators
If multiple vehicles fail in a similar mileage window, compare oil condition, service intervals, and crankcase ventilation maintenance before assuming a batch defect.
Replacement criteria for procurement teams
Practical acceptance points
- No visible lip distortion after packaging and transit
- Measured dimensions within agreed drawing tolerance
- Clear part traceability and batch identification
- Controlled cleanliness to prevent lip damage during installation
Replacement timing and installation risks
When not to replace immediately
If the leak is minor and traceable to an overfilled sump or blocked breather, correct the root cause first and re-evaluate. Replacing the seal without fixing pressure or alignment problems often leads to another failure.
Frequently asked questions
No. A small seep may look stable for a short time, but wear, heat, or crankcase pressure usually makes it worse. Confirm the source and inspect the breather system before ordering parts.
Common causes are incorrect installation depth, a damaged crankshaft surface, blocked ventilation, or a mismatched seal profile. The shaft and housing should be inspected before replacement.
Ask for dimensional data, material declaration, batch traceability, and quality records aligned with IATF 16949:2016 and ISO 9001:2015. If needed, confirm REACH documentation and application fitment data.
If you are sourcing replacement seals or validating a fitment program, contact Driventus for technical support and part matching via /contact.html.
Request a Quote