Rear Main Seal Leak Causes and Fixes for Engine Buyers
Understanding rear main seal leak causes and fixes starts with one practical point: the seal is often the visible failure, not the whole failure. Oil at the rear of the crankshaft may come from seal wear, but just as often it reflects crankshaft surface damage, crankcase pressure problems, installation error, or carrier distortion. For repair chains, distributors, and buyers managing engine component programmes, the real objective is to stop repeat labour, warranty claims, and avoidable comebacks.
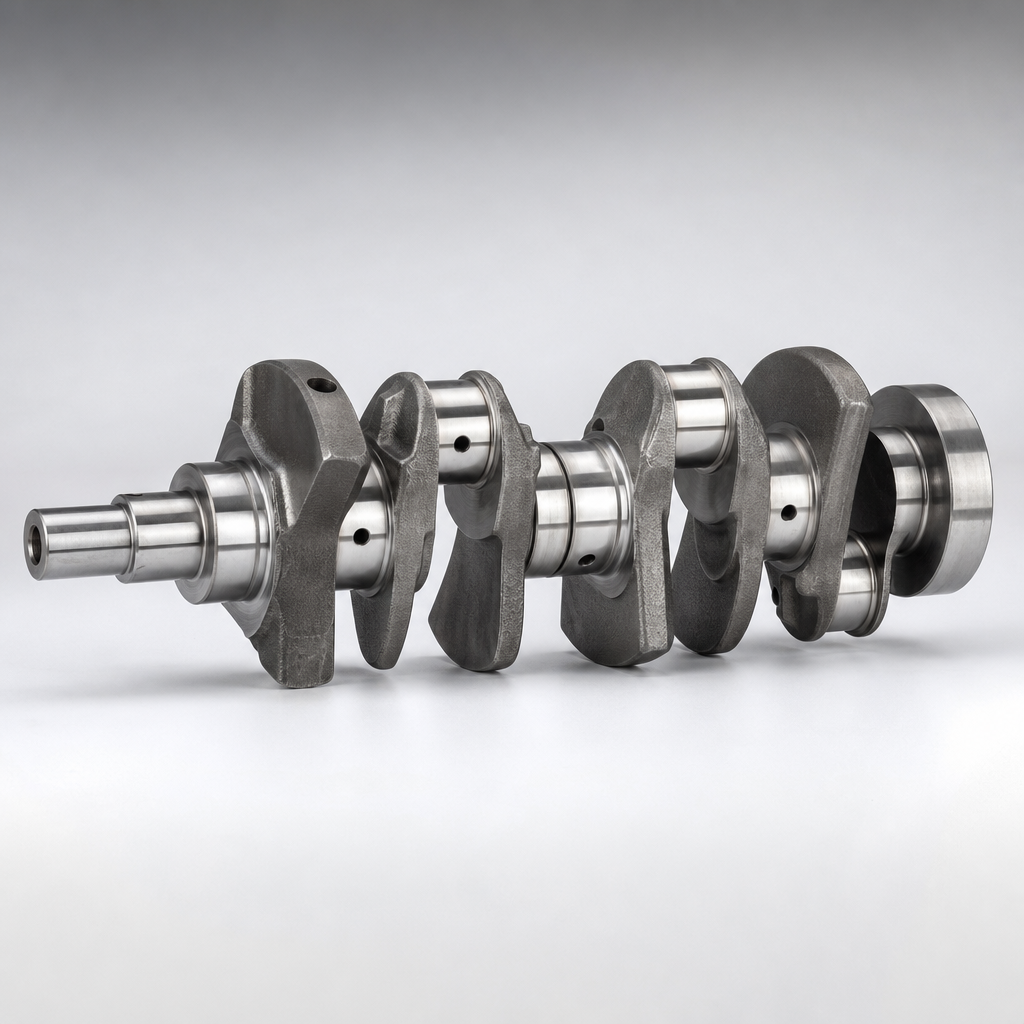
The rear main seal sits between the engine block and crankshaft at the flywheel end, so access is expensive. In many passenger vehicles, booked labour commonly runs 5-10 hours. On longitudinal truck and SUV layouts, it may be 6-12 hours depending on driveline configuration. That labour exposure is why diagnosis must be sharper than the usual "oil at the back of the engine" assumption.
From a sourcing standpoint, rear main seal leak causes and fixes should be treated as a precision sealing problem, not a commodity rubber-part issue. Lip interference, shaft finish, housing concentricity, elastomer grade, and installation method all affect leakage rate and service life. This article breaks the topic into decision points: what usually fails first, how to avoid false diagnosis, what to inspect before replacement, which repair path fits which condition, and what commercial buyers should demand from suppliers. Driventus is an independent aftermarket manufacturer; brand names are referenced for fitment only.
Failure Modes: What Usually Causes a Rear Main Seal to Leak
A rear main seal works in a narrow operating window. The crankshaft rotates against a small contact band at the sealing lip, and that band stays effective only when shaft finish, runout, pressure, and alignment remain within spec. Once one of those conditions drifts, leakage starts.
The most common rear main seal leak causes are:
Elastomer hardening with age: Heat cycles, oxidation, and oil exposure reduce flexibility over time, especially in lower-grade nitrile compounds. In field use, NBR seals tend to lose elasticity faster once continuous oil temperature regularly exceeds about 120°C.
Crankshaft scoring or wear groove: A groove, scratch, or rough running surface breaks the oil-tight contact patch. For many applications, shaft finish is commonly targeted around Ra 0.2-0.8 µm, with lead-free grind direction preferred.
Excessive crankcase pressure: A restricted PCV or breather system can push oil past a seal that would otherwise remain serviceable. Many engines are designed to run with slight crankcase vacuum; positive pressure under load changes the sealing conditions immediately.
Installation error: Wrong depth, uneven driving, dry-start damage, or failure to use the specified sleeve can cause leakage almost immediately.
Carrier or housing distortion: Uneven fastener torque, flange damage, or bore defects can shift alignment and create uneven lip load. On carrier-style assemblies, small flatness errors can be enough to affect sealing.
Oil contamination: Sludge, abrasive debris, and fuel dilution all shorten seal life by reducing oil film quality or physically wearing the lip.
Crankshaft movement beyond limit: Excessive end float or abnormal shaft motion destabilises the sealing contact area. On many engines, end float beyond OE limit, often roughly 0.10-0.30 mm depending on design, should be corrected before seal replacement.
For buyers, the key point is simple: a new seal only solves a seal problem. If the true fault is crankcase pressure, shaft finish, or housing geometry, the replacement may be correct on paper and still fail in service.
Diagnosis First: How to Confirm the Leak Is Really the Rear Main Seal
Rear main seal leaks are misdiagnosed regularly because oil migrates. It can run along the oil pan rail, bellhousing, rear cover, or block casting before it becomes visible. When transmission removal costs many times more than the seal itself, guessing is expensive.
Typical symptoms
Oil dripping from the lower bellhousing inspection area
Oil contamination around the flexplate or flywheel area
Burnt oil smell after driving
Gradual oil loss with no obvious leak from the top of the engine
Clutch slip on manual-transmission vehicles if oil reaches the friction surface
Common false positives
Before blaming the rear main seal, rule out nearby leaks that create the same pattern:
Valve cover gasket leaks running down the back of the block
Oil pressure switch or sensor leaks
Intake manifold end-seal leakage on relevant engines
Turbocharger oil return leaks on turbocharged applications
Oil pan rear corner or rear pan seal leaks
A solid workshop process is to clean the area, add UV dye if needed, and reinspect after controlled operation. A useful sequence is to bring the engine to operating temperature, hold 2,000-2,500 rpm for several minutes, road-test 10-20 km, then recheck with a UV lamp and mirror. In some cases, removing the inspection cover or using a borescope is the fastest way to confirm whether oil starts at the crankshaft sealing area or is migrating from above.
For fleets trying to reduce false-positive teardown approvals, three checks matter before authorising the job: whether the bellhousing interior is actually wet, whether fresh oil returns after cleaning within one drive cycle, and whether crankcase pressure or PCV restriction is already evident.
For fleets and distributors handling diagnostic kits and replacement components, it is useful to pair seal programmes with related engine service parts available in our catalog, especially when the same repair event may also involve gaskets, breather parts, or housing seals.
Pre-Replacement Checklist: What Must Be Inspected Before You Fit a New Seal
This is where most durable repairs are won or lost. Because labour is high, rear main seal leak causes and fixes should be handled with a checklist, not with a parts swap.
Inspection point
What to check
Why it matters
Crankshaft sealing surface
Groove, scoring, corrosion, out-of-round condition, finish roughly within Ra 0.2-0.8 µm where specified
Surface damage can defeat a new lip seal
Crankcase ventilation
PCV valve flow, breather blockage, hose collapse, vacuum response at idle and under snap throttle
High internal pressure forces oil outward
End float
Compare against engine specification; many engines fall in the 0.05-0.25 mm normal range
Excess movement can overload the lip
Housing bore and carrier
Burrs, distortion, flange flatness, bolt-hole pull-up, concentricity to crank centreline
Misalignment affects concentric sealing
Oil condition
Fuel dilution, sludge, abrasive contamination, overdue service interval
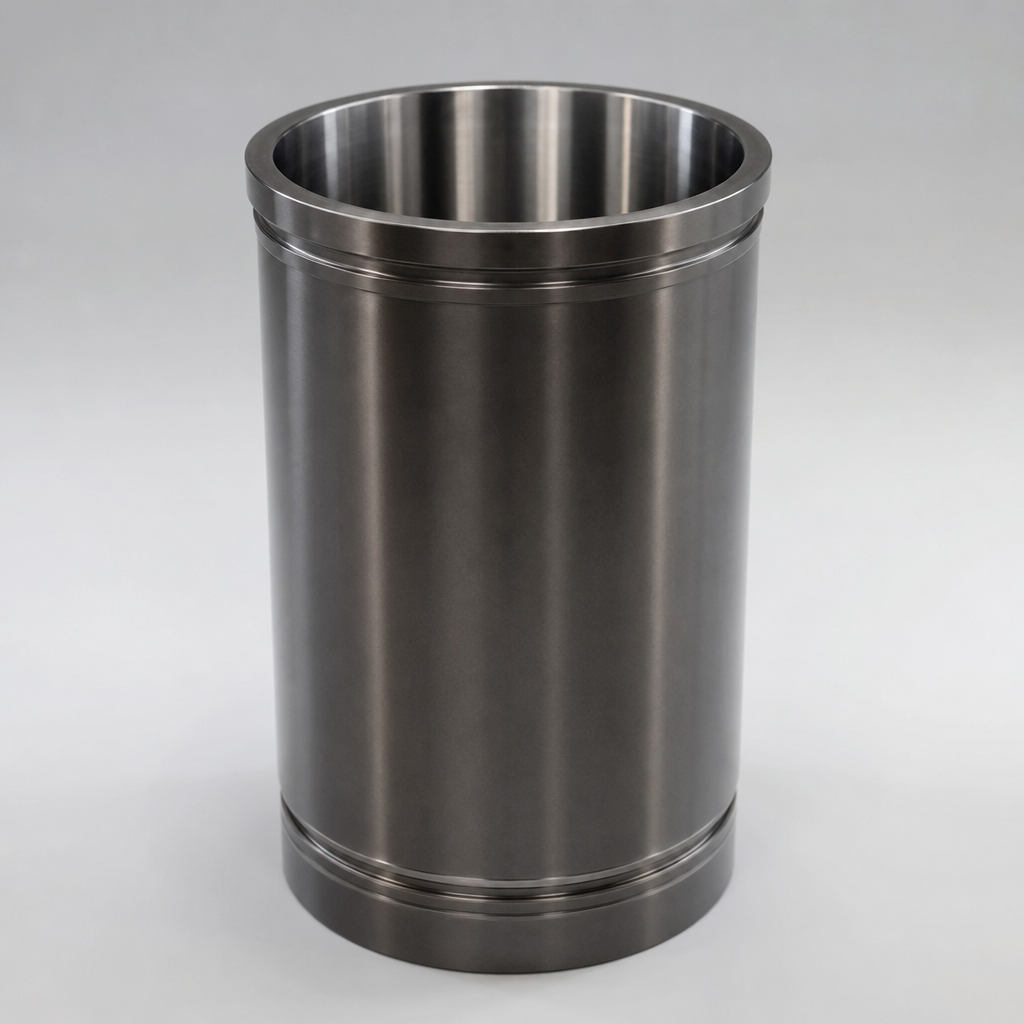
</tr></thead><tbody> </tbody></table>If a wear groove is present on the crankshaft, the repair may require a shaft sleeve or crankshaft replacement depending on service limits. In many aftermarket repairs, sleeves are chosen when the groove is light and localised, often around 0.05-0.25 mm deep. Deeper wear or taper usually points to shaft replacement.
If the engine uses a carrier-style assembly with an integrated gasket, flange flatness, surface preparation, and bolt torque sequence are just as important as the seal itself. Uneven clamp load can distort the carrier enough to create a fresh leak even when the lip material and shaft are acceptable.
From a sourcing angle, this is also where part quality becomes visible. Buyers should review lip material, garter spring consistency, moulding quality, and dimensional control. Under an audited quality system, relevant checks commonly include hardness, lip geometry, concentricity, and visual inspection for flash or defects, in line with IATF 16949:2016 and ISO 9001:2015 process control expectations.
Repair Path Comparison: Seal Only, Sleeve, Carrier, or System Correction
Not every oil leak at the rear of the engine needs the same fix. The right repair depends on what inspection shows.
Typical repair paths:
Seal only: Appropriate when the shaft surface is clean, crankcase ventilation is functioning correctly, and the housing is undamaged. This is the lowest-parts-cost option, but only when measurements are within spec.
Seal plus sleeve: Used when the crankshaft running surface has a shallow wear groove but remains otherwise serviceable. Buyers should confirm sleeve wall thickness, installed diameter effect, and whether lip position is corrected accordingly.
Carrier assembly replacement: Best where the design integrates the seal into a rear cover or carrier. It often reduces workshop assembly risk because lip position and housing geometry are factory set.
Related system repair: Required when the underlying issue is blocked ventilation, excessive end float, damaged fasteners, or housing distortion.
Material choice matters as well, especially in high-temperature engines and extended-drain service.
Seal material
General operating characteristics
Typical use case
NBR (nitrile)
Cost-effective, typically suitable for about -40°C to 120°C continuous service with standard engine oil
Conventional service duty
FKM / fluoroelastomer
Better heat and chemical resistance, commonly up to about 200°C depending on compound
Higher thermal load, turbocharged engines
PTFE lip designs
Low friction, broad chemical resistance, often used where shaft speed and temperature are higher
</tr></thead><tbody> </tbody></table>PTFE deserves special handling. Many PTFE rear main seals require a clean, dry shaft during installation, are supplied with a fitting sleeve, and should not be pre-lubricated on the lip. Some also require a no-rotation bedding period before engine start. If the workshop follows a nitrile-style installation routine on a PTFE seal, leakage may begin immediately.
For buyers specifying private-label or application-specific parts, material selection should match field temperature, duty cycle, and service method through custom manufacturing. Piece price matters, but on high-labour applications total installed cost matters more.
Supplier Qualification: Questions That Prevent Repeat Claims
For distributors, engine rebuilders, and multi-location repair networks, the right supplier conversation is not about price alone. It is about whether the seal programme will hold up in the field.
Key questions for supplier qualification:
What elastomer grade is used for the target application, and is it NBR, FKM, or PTFE-based?
Are shaft interface dimensions and housing tolerances checked against OE drawings or validated samples? Buyers should ask for actual control items such as OD, ID, width, lip angle, spring force, and concentricity.
Is batch traceability maintained for compounds, springs, and finished parts?
Are leakage, ageing, and material tests documented under IATF 16949:2016 and ISO 9001:2015 controls?
Is the product evaluated for relevant chemical compliance such as REACH (EC) No 1907/2006 where required by the destination market?
Can the supplier support application review when a field failure may involve ventilation, crankshaft wear, or housing damage rather than the seal itself?
Commercial terms also deserve direct comparison. Typical aftermarket programme ranges often look like this:
MOQ for standard stocked references: often 100-300 pieces per SKU
MOQ for private-label packaging: often 500-1,000 pieces depending on carton, label, and print setup
MOQ for customised compounds or new tooling: commonly 1,000-3,000 pieces, sometimes higher for low-turn applications
Sample lead time: about 7-21 days for existing tooling; 3-6 weeks if tooling or validation is needed
Mass production lead time: typically 30-45 days for repeat orders, 45-60 days when custom packaging or compound curing schedules are involved
Price usually moves with three variables: material grade, seal architecture, and annual volume. A basic NBR radial seal will usually price lower than an FKM or PTFE design, and integrated carrier assemblies run higher again because of material cost and process control requirements. That comparison only makes sense, though, against labour exposure. On applications where transmission removal dominates the repair cost, one avoided comeback outweighs a small unit-price saving.
For buyers managing complete engine sealing ranges, it also helps to standardise fitment data, packaging labels, and cross-reference structure across our catalog and related engine components. That reduces warehouse errors and shortens claim handling.
Field Scenario: How Buyers and Workshops Reduce Repeat Rear Main Seal Failures
The most effective way to reduce repeat repairs is to treat rear main seal leak causes and fixes as a controlled process.
A typical failure scenario looks like this: oil appears at the lower bellhousing, the rear main seal is replaced, the vehicle returns weeks later, and the second teardown reveals a blocked breather or a grooved crankshaft surface that was never measured. The seal was changed, but the leak path was still there.
A stronger field workflow includes:
Confirming the exact leak source before teardown
Measuring the crankshaft contact surface where practical
Checking PCV or breather performance during diagnosis
Following application-specific installation instructions for lubrication, sleeve use, and depth
Replacing associated gaskets or carrier seals when disturbed
Recording failed-part condition to separate material defects from installation or engine-related causes
Many service networks lower repeat claims by requiring a pre-repair checklist, installation record, and post-repair leak check. In practice, that can mean shaft-condition photos, end-float reading, PCV status, seal part number, installer method, and first heat-cycle result before the vehicle leaves the bay. Where a carrier assembly is used, bolt torque sequence and final torque value should also be documented.
When repeat returns occur, buyers should request removed-part photos, shaft-condition notes, ventilation findings, and installation details before changing supplier. In most cases, that evidence shows whether the real issue is compound choice, dimensional variation, workshop practice, or an engine condition outside the seal's design range.
From an operating-cost standpoint, one prevented comeback can offset a meaningful premium in seal quality. A repeat repair may consume another 5-8 labour hours, fresh transmission fluid, and possible clutch cleaning or replacement. The economics are usually decided by labour, not by the seal.
If you are reviewing supply options for sealing products, validation support, or related engine repair parts, use request a quote to share the application, annual volume, and target markets.
Frequently asked questions
Usually no. Minor seepage may appear stable for a period, but elastomer wear, shaft scoring, or crankcase pressure issues generally progress. If the root cause is not corrected, oil loss and contamination risk remain, and once leakage reaches the flywheel or clutch area the repair cost rises quickly.
Only if inspection confirms the crankshaft surface, housing condition, and crankcase ventilation are within service limits. If there is a wear groove, excess pressure, or carrier distortion, seal-only replacement may fail early. On high-labour applications, confirming shaft finish, end float, and PCV function before ordering parts is usually more cost-effective than repeating the job.
FKM and some PTFE-based designs are commonly selected for higher thermal load and broader chemical resistance than standard NBR. In general terms, NBR fits standard duty, FKM is preferred when oil and ambient temperatures run higher, and PTFE is used where the application and installation method specifically support it. The correct choice depends on engine design, shaft condition, and installation method.
For sourcing support on rear main seals, carriers, and related engine sealing components, contact Driventus with your application, annual volume, MOQ target, and destination market requirements at /contact.html