Oil in Coolant Oil Filter Housing: Causes, Diagnosis, and Sourcing Fixes
Oil in coolant oil filter housing faults usually trace back to an integrated oil cooler, a shared sealing stack, a warped mating face, or a cracked casting inside the filter housing assembly. The first signs are often a brown film in the expansion tank, dark residue on the coolant cap, softened hoses, rising coolant pressure, or oil loss with no obvious external leak. Because the oil circuit normally operates at higher pressure than the cooling circuit, even a small internal breach can push oil into the coolant before anyone sees coolant in the crankcase.
The important job is to separate a housing fault from a head gasket, EGR cooler, transmission cooler, or block issue before parts are ordered. Driventus is an independent aftermarket manufacturer; brand names are referenced for fitment only. For buyers, the practical questions are fit, material choice, seal integrity, cooler construction, and batch repeatability. For workshops, the priority is a clean inspection path that shows whether the housing can be rebuilt with seals or should be replaced as a complete assembly.
What the contamination pattern usually means
When people search for oil in coolant oil filter housing, they are usually dealing with a chain of symptoms rather than one confirmed root cause. In many modern engines, the oil filter housing is more than a bracket for the filter element. It may include the oil cooler, thermostat passages, coolant hose connections, pressure sensors, cartridge cap threads, and a gasketed interface where pressurised oil and coolant run close together. If one barrier fails, oil can move into the coolant side under load and leave a brown film, slick surface, or mayonnaise-like residue in the reservoir after cool-down.
The direction and speed of contamination tell you a lot. Oil appearing in the expansion tank while the engine oil level slowly drops often points to a pressurised oil-to-coolant path, which puts the housing and cooler high on the suspect list. A rising oil level, milky oil on the dipstick, or bearing-noise complaints suggest coolant may also be entering the oil circuit, which raises the risk and widens the diagnosis. Repeated coolant pressure after overnight cooling can indicate combustion gas intrusion, although trapped contamination, blocked hoses, or a cooler breach that changes flow behaviour can produce confusing pressure symptoms too.
A head gasket fault can create similar signs, but the housing is often the first part worth checking because it is comparatively accessible, visually inspectable, and, in many cases, removable for bench pressure testing. If the fault is left in service, coolant chemistry degrades, rubber hoses and seals soften, heater cores can plug, and the engine may run hotter or keep losing pressure even after topping up. On vehicles that already have drivability complaints, the contamination source must be isolated before emissions-related diagnosis is closed out under ECE R-83 context, because overheating, unstable temperature control, or oil-contaminated coolant can distort the results of other tests.
Most common failure points in the housing
The failure usually sits in one of a few places:
- Cracked aluminium casting around hose nipples, sensor bosses, mounting ears, or the cooler pocket
- Warped mating face after over-torque, uneven clamp load, corrosion, or previous removal damage
- Internal oil cooler core leak between the high-pressure oil circuit and the coolant circuit
- Flat gasket shrinkage, hardening, swelling, or O-ring extrusion after heat and chemical exposure
- Damaged filter cap threads, distorted cartridge stems, or incorrect cap torque that affects sealing load
- Mixed plastic and aluminium housings aged by repeated heat cycles and different expansion rates
- Seal land scratches from aggressive cleaning tools, reused seals, or debris trapped during installation
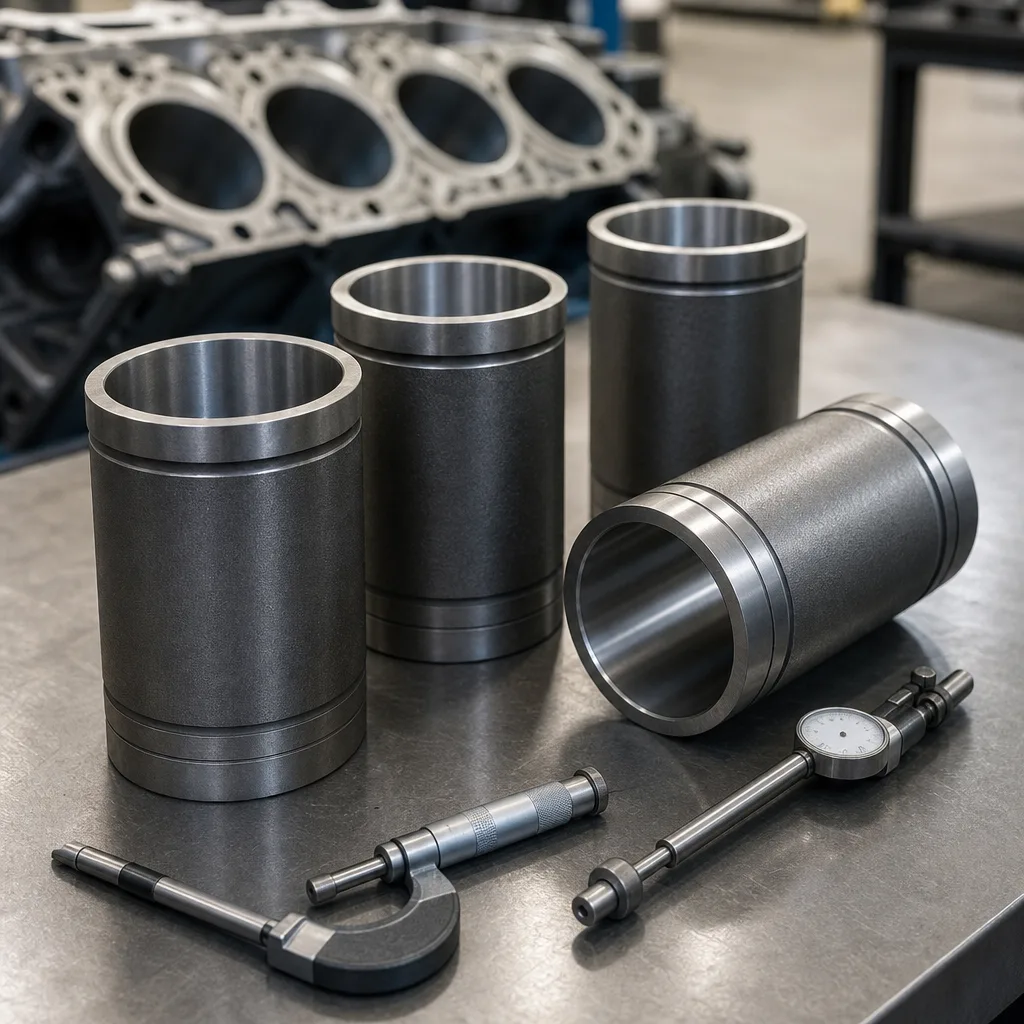
The internal cooler core needs special attention because it can fail without leaving an obvious external leak. Plate-style coolers may crack at brazed joints or internal seams. Tube and stacked-plate designs can hold pressure when cold, then open slightly after heat soak. In those cases, the reservoir may show a fresh oil film only after a road test, while a quick idle inspection looks normal.
Mating faces are another common source of repeat failures. A new gasket cannot make up for a housing that has been gouged, pulled out of flatness, or clamped against old residue. Thread damage is just as easy to miss: if one fastener does not reach its specified clamp load, the gasket may seal during a cold pressure test and leak again once the housing expands.
For sourcing, ask whether the part and its seals are controlled under IATF 16949:2016 and ISO 9001:2015, and whether materials support REACH (EC) No 1907/2006 compliance. If the assembly uses polymer carriers or elastomers, thermal ageing, coolant compatibility, oil compatibility, compression set, and dimensional stability matter more than appearance alone. A clean casting with the wrong elastomer hardness or an unverified cooler core can still bring back the same oil in coolant oil filter housing complaint after a short service period.
Inspection sequence that narrows the fault
Use a fixed sequence so the diagnosis does not jump straight to replacement. Start with fluid condition, isolate the pressure paths, then inspect the housing itself. Record the findings before flushing, because once the cooling system is cleaned, the original contamination pattern is much harder to read.
| Check | What to see | What it suggests |
|---|---|---|
| Coolant tank and cap | Oil film, brown sludge, swollen rubber, repeated pressure | Cross-contamination is present and may have been active for some time |
| Engine oil dipstick and filler cap | Creamy emulsion, rising oil level, oil that looks diluted | Coolant may be entering the oil circuit, increasing engine risk |
| External housing seam | Wetness around the join line, filter cap, cooler plate, or hose spigots | Seal, O-ring, cap, or mating-face failure |
| Cooler core pressure test | Pressure drop, bubbles in a water bath, or oil residue from the coolant side | Internal cooler leak between oil and coolant circuits |
| Cooling-system pressure test | Pressure loss with the housing isolated or installed | Helps separate housing leaks from hoses, radiator, EGR cooler, or head gasket faults |
| Combustion gas check | Positive exhaust gas result in coolant or persistent pressure from cold | Possible head gasket, head, or block issue rather than housing alone |
| Mating face and threads | Scratches, distortion, corrosion tracks, pulled threads, uneven bolt feel | Clamping fault or warped housing that may reject a seal-only repair |
| Flush results after repair | New residue within days, oily heater output, recurring cap sludge | The underlying leak was not fixed or contamination remains trapped |