Head Bolt Set: How to Replace It Correctly
Replacing a cylinder head bolt set is not a simple fastener swap. These bolts create the clamp load that keeps the head gasket sealed, so small errors in specification, preparation, or tightening can turn into coolant loss, compression leakage, thread pull-out, or repeat gasket failure.
For workshops, rebuilders, and parts buyers, the real issue is repeatability. The set must match the engine exactly. Block threads must be clean and intact. Tightening has to follow the engine maker’s sequence, torque values, and angle stages without improvisation.
This guide explains head bolt set how to replace from a practical B2B angle: when replacement is mandatory, what usually goes wrong before installation starts, how to handle the job step by step, what to verify in an aftermarket set, and how to reduce early-life failures after the engine goes back into service. Driventus is an independent aftermarket manufacturer; any brand names or OE references are used for fitment identification only.
Start with the decision: replace, inspect, or stop the job
The first mistake in head bolt service is assuming every engine follows the same rule. Many modern engines use torque-to-yield bolts, and once those bolts have been stretched through the specified angle stages, reuse is a risk. In that case, replacement is the default choice, not an optional upgrade.
Typical triggers for replacement include:
- Head gasket failure with combustion gas leakage
- Overheating that requires cylinder head removal
- Top-end overhaul or full engine rebuild
- Corrosion, necking, thread damage, or wear under the bolt head
- Mixed bolt lengths or incorrect hardware found during teardown
- Unknown service history on imported, used, or reman engines
Before ordering, confirm the fitment data instead of buying by appearance:
- Engine code and build range
- Bolt quantity and any length groups in the set
- Thread diameter and pitch, such as M10 x 1.5, M11 x 1.5, or M12 x 1.75 depending on engine family
- Effective under-head length and thread length by position
- Whether washers are captive, integrated, or separate
- Whether the engine uses torque-to-yield or reusable fasteners
- Any sealant patch, flange style, or special under-head geometry required
Some older engines do allow bolt reuse, but only if the service manual says so and the bolts pass inspection. That can mean checking overall length against a service limit, verifying straightness on a flat plate, and rejecting any bolt with necking, galled threads, or damaged seating faces. In current passenger and light commercial applications, though, replacing the full set is usually the safer path.
For buyers handling several engine families, it helps to organise kits by platform rather than by loose OE number alone. Cross-referencing with our catalog (/products.html) and the wider engine range in /products/engine-components.html makes planning easier when the programme also includes gaskets or related valvetrain parts.
Commercially, demand is often forecastable. Rebuilders and workshop groups typically split head bolt sets into high-runner and low-runner references. High-volume applications can justify larger buys for cost control. Slow-moving kits usually need tighter replenishment to avoid dead stock.
Where replacements fail before the wrench turns
Most bad outcomes blamed on new head bolts start earlier. A fresh set cannot rescue a warped head, contaminated bolt hole, wrong gasket thickness, or damaged deck surface.
Pre-assembly checks that matter
- Measure cylinder head flatness against service limits with a straightedge and feeler gauge
- Inspect the block deck for pitting, erosion near coolant passages, cracks, and raised metal around old fire rings
- Verify thread condition in the block; chase threads only if the service method allows it
- Remove oil, coolant, old sealant, and debris from blind holes
- Check hole depth against bolt length so the fastener does not bottom out
- Confirm gasket orientation and thickness or grade marks
- Sort bolts by position if the set contains more than one length
- Confirm lubrication requirements for threads and under-head seating faces
Blind-hole contamination is a frequent field problem. If oil or coolant stays trapped in the bottom of the hole, the bolt may hydraulic-lock before real clamp load is reached. That can crack the block, distort readings, or leave the joint under-clamped even though the tool appeared to hit target. A practical routine is solvent clean, low-pressure air dry, then depth-check.
Thread condition is another hidden variable. Dirty or damaged threads raise friction. The torque wrench clicks, but the bolt has not developed the intended clamp load. Over-lubricated threads create the opposite problem: friction drops too far, and the bolt can stretch beyond its design window. Same reading. Wrong result.
Surface finish deserves equal attention, especially with MLS gaskets. If the head has been skimmed, check not just flatness but also remaining thickness and any effect on timing geometry. Many rebuilders target deck finish around Ra 0.8-1.6 um for MLS applications, but the exact requirement depends on engine and gasket design.
If bolts are checked at goods-in or before line use, useful inspection points include:
- Overall length and under-head length within drawing tolerance, often around +/-0.2 mm to +/-0.5 mm depending on design
- Thread pitch with go/no-go gauges
- Shank diameter and fillet consistency
- Washer OD, ID, and thickness where separate washers are used
- Coating uniformity with no flaking, red rust, or exposed base metal
From a QC standpoint, stable packaging and clear lot identification matter almost as much as dimensions. Suppliers working to IATF 16949:2016 and ISO 9001:2015 generally maintain stronger material control, in-process inspection, and traceability through their quality system (/quality.html). For batch-sensitive programmes, ask whether hardness data, heat-treatment records, and dimensional inspection results are retained by lot number.
Head bolt set how to replace: the workflow that prevents rework
The exact figures must always come from the vehicle or engine service manual. Still, the replacement workflow is consistent across most passenger and light commercial engines. If your team needs a reliable approach to head bolt set how to replace, this is the framework.
1. Prepare the joint surfaces Clean the block deck and cylinder head face thoroughly. Remove all gasket residue without gouging the metal. Avoid abrasive discs that can alter surface finish or leave damaging particles behind.
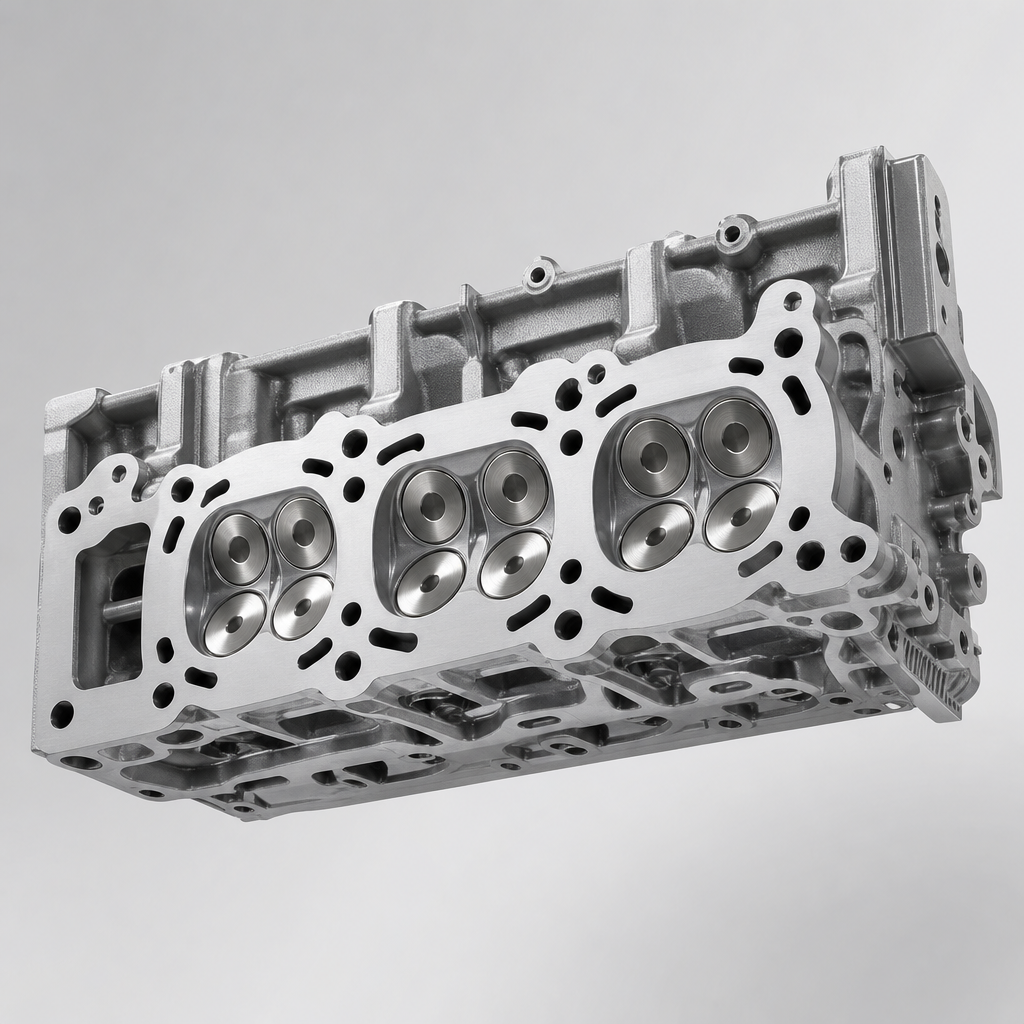
2. Install the correct head gasket Fit the gasket dry unless the engine maker specifies otherwise. Double-check orientation, bore size, coolant-hole pattern, oil-feed layout, and any thickness marks.
3. Lower the cylinder head carefully Set the head down squarely so the gasket does not shift. On heavy castings, use guide studs or lifting support if recommended. Dragging the head across the gasket can damage sealing layers.
4. Match the new bolt set to the application Compare count, shank length, thread length, head style, and washer arrangement. If an OE reference such as OE 06A107065 is used for identification, verify the actual application record, not just visual similarity. Lay mixed-length bolts out by position before installation.
5. Apply lubrication only where specified Some engines require clean engine oil on threads and under-head faces. Others require dry assembly or a defined lubricant. Friction control is part of clamp-load control, so guessing here is costly.
6. Start every bolt by hand Run all bolts in finger-tight first. If one does not turn smoothly for several threads, stop. Forcing it risks cross-threading and false torque.
7. Follow the tightening sequence exactly The pattern usually starts at the centre and moves outward. This spreads load across the gasket more evenly. On multi-engine benches, keep the sequence diagram visible at the workstation.
8. Complete the torque-and-angle stages Many engines use a low torque stage followed by one or more angle turns. Use a calibrated torque wrench and a reliable angle gauge. Typical market examples might look like 30 Nm + 90 degrees + 90 degrees, or 40 Nm + 60 degrees + 60 degrees + 60 degrees, but those are examples only, never substitutes for OE data.
9. Verify before moving on Check that no bolt was missed, no stage skipped, and the full sequence was completed. On reman lines, this is the point to record tool ID, operator ID, date, and bolt-set lot number.
10. Reassemble and test Refit timing components, manifolds, fluids, and ancillaries. Then carry out leak checks, a warm-up cycle, and where appropriate, compression or leak-down testing. A cooling-system pressure test before release can catch sealing issues early.
Errors that cause expensive comebacks
- Using torque data from a similar but different engine code
- Applying thread sealant without instruction
- Reusing torque-to-yield bolts
- Ignoring washer orientation or seating condition
- Tightening in a circular pattern instead of the specified sequence
- Using an uncalibrated torque wrench or poor angle-gauge technique
- Pulling the final angle in one uncontrolled movement
For workshop managers, one simple control has a big payoff: keep application sheets at the station for every engine variant handled there. Memory is not a process. Tool calibration intervals also need to be defined, whether by cycle count or time period.
Spec deep-dive: how to judge a replacement head bolt set before you buy
A head bolt set is easy to underestimate because it looks simple. In service, it is not. The set has to deliver correct geometry, stable friction conditions, and predictable tensile behaviour across every bolt in the pack.
| Verification point | Why it matters | What to check |
|---|---|---|
| Bolt length tolerance | Affects seating position and designed stretch range | Sample dimensional inspection against drawing or approved master sample |
| Thread form and finish | Helps prevent galling and false torque readings | Pitch accuracy, burr-free threads, coating consistency |
| Under-head seating face | Influences friction and final clamp load | Flatness, surface condition, washer fit |
| Material and heat treatment | Determines tensile behaviour and yield performance | Controlled process records and batch traceability |
| Set completeness | Prevents installation delays and workshop errors | Correct quantity, clear separation of mixed lengths, accurate labelling |
| Corrosion protection | Supports storage stability and handling quality | Coating appearance and any required salt-exposure performance |