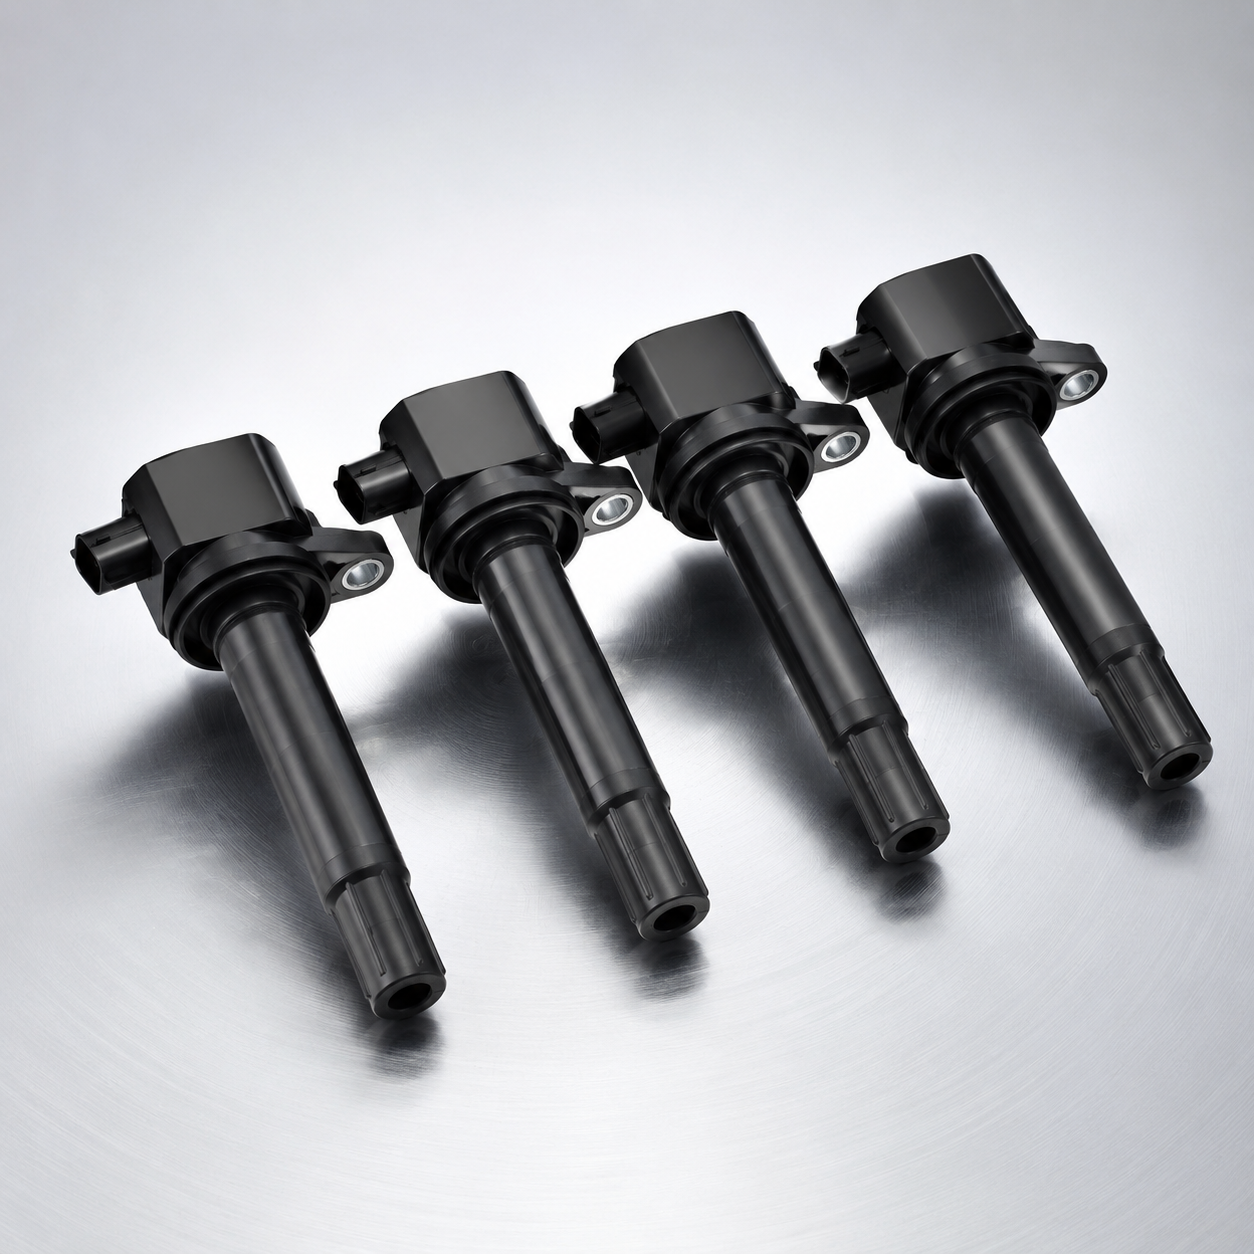
Front Crankshaft Seal How to Replace: B2B Procedure
A front crankshaft seal replacement looks small on the job card. It is not small when it fails. One cut lip, one off-square installation, one mismatched seal depth, or one overlooked crankshaft groove can contaminate the accessory belt, bring the vehicle back, and turn a low-cost part into a labour and warranty dispute.
For distributors, fleet workshops, and repair networks, this repair is also a sourcing decision. Lip geometry, elastomer or PTFE compound, case rigidity, OD coating, packaging, and traceability all affect whether the part survives real workshop handling and mixed vehicle parc conditions. This article covers front crankshaft seal how to replace from two angles: the technician’s installation process and the buyer’s controls for reducing repeat leaks across many branches or customers.
Always follow the vehicle service manual for timing procedures, torque values, seal depth, one-time-use fasteners, lubricant rules, and engine-specific instructions. Driventus is an independent aftermarket manufacturer; brand names and OE references are used for fitment identification only.
Start with fitment risk, not the repair bay
A front crankshaft seal usually sits in the timing cover, front engine cover, or oil pump housing. It has to retain engine oil while the crankshaft rotates through heat cycles, vibration, pressure pulses, and changing oil chemistry. Before any pulley is removed, confirm that the replacement seal matches the engine code, crankshaft journal diameter, housing bore, width, installation depth, and rotation direction where a directional lip is used.
This is where many B2B problems begin. A catalogue match based only on model name is not enough. The same vehicle platform can use different engines, covers, pulley hubs, crank nose dimensions, and model-year revisions. A good sourcing file should therefore hold technical data, not just cross references.
For common passenger-car front crank seals, shaft IDs often sit around 30–60 mm, housing ODs around 45–80 mm, and widths around 6–12 mm. These are only broad ranges. The purchasing specification should reference the actual drawing for the application.
Item to verify
Why it matters
Typical evidence to request
Inner diameter
Controls lip interference on the crankshaft journal; typical lip interference is application-specific and often in the 0.2–0.8 mm range
Drawing, inspection report, or specification sheet
Outer diameter
Determines press fit in the cover or housing bore; rubber-coated OD designs often behave differently from metal-cased designs
CMM, go/no-go gauge, or caliper inspection data
Width
Affects seating depth, pulley clearance, and lip contact position
Controlled part drawing with tolerance, commonly ±0.10–0.20 mm depending on size
Seal depth
Keeps the lip on the correct running track and avoids blocked drain or relief features
OE procedure, installation note, or depth-stop dimension
Lip material
Determines heat, oil, additive, and friction behaviour
Material declaration or compound specification, such as NBR, ACM, FKM, or PTFE
Dust lip or auxiliary lip
Improves resistance to belt dust, road dirt, and front-engine contamination
Section drawing or product sample
Rotation feature
Prevents directional lips from pumping oil outward
RH/LH marking, fitment data, arrow marking, or installation note
OD coating or case style
Influences housing sealing, retention force, and tolerance to minor bore marks
Product drawing and process description
Batch code
Enables claim sorting by cavity, shift, compound lot, and production date
Laser mark, ink mark, packaging label, or lot record
</tr></thead><tbody> </tbody></table>For first-article approval, a practical distributor inspection plan is to measure at least 5 pieces per SKU, then move to AQL-based checks for replenishment lots. Record critical dimensions against the drawing. Do not rely only on comparison with an OE sample, especially if the sample is used or from an unknown revision.
Where claim exposure is high, request process capability data for ID, OD, width, lip angle, and spring fit where applicable. Cpk targets of 1.33 or higher are commonly used for stable production characteristics.
Useful procurement links include our catalog for engine sealing items and related engine components. For engineered dimensions, private tooling, or compound selection, see custom manufacturing.
Tooling controls that decide whether the seal survives installation
Force is not the skill. Control is the skill. A front crankshaft seal can be damaged by a sharp keyway, an uneven driver, dirt in the bore, a dry start on a lip that needs oil, or oil on a PTFE lip that should be installed dry. For repair chains, a standard tool list reduces branch-to-branch variation and makes warranty analysis less subjective.
Workshop checklist:
Vehicle service information, timing instructions, seal depth, and torque specifications
Battery isolation equipment where required
Crankshaft pulley holding tool or engine-specific locking tool
Suitable puller for the harmonic balancer or crankshaft pulley, typically a three-jaw or threaded puller specified for the engine
Seal puller, controlled extraction hook, or approved removal tool
Seal driver matched to the seal OD, metal case, or reinforced driving surface; the driver face should contact the rigid case area and be within about 0.5 mm of the OD where possible
Crankshaft sleeve protector or installation cone, especially where a keyway, thread, or step is exposed
Clean lint-free cloths and plugs to keep debris out of the timing cover area
Engine oil or specified assembly lubricant, only where approved for that seal type
Non-abrasive surface cleaner that leaves no oily residue on the housing bore
Plastic or brass scraper for old residue; avoid hard steel tools on aluminium covers
Torque wrench and angle gauge where the procedure requires torque-plus-angle tightening
New crankshaft bolt, washer, or related fastener if the OE procedure defines it as one-time-use
Dial indicator for crank pulley or hub runout checks where repeat leakage is suspected
Inspection light and, where helpful, UV dye for leak-source confirmation
Do not use a screwdriver against a soft aluminium timing cover unless the service procedure identifies a controlled pry point. A scratch only 0.05–0.10 mm deep in the housing bore can become an external leak path if it runs along the insertion direction. Do not hammer the pulley or balancer. Impact can damage bonded damper rubber, crankshaft thrust surfaces, or timing components.
Clean the housing bore until a lint-free cloth shows no black oil residue. Check for burrs at the bore entrance and remove only raised material. Do not enlarge the bore. If the pulley or crankshaft running surface has a visible groove from the old lip, check whether a repair sleeve is permitted and whether the replacement seal is compatible with that sleeve. A groove that catches a fingernail, corrosion pitting on the seal track, or runout beyond engine specification is a root-cause problem, not a seal-quality assumption.
Front crankshaft seal how to replace: a controlled sequence for technicians
The exact procedure depends on engine layout, accessory packaging, timing-drive design, and whether the seal is installed from outside the cover or behind timing components. Use the following sequence as a professional framework, then apply the vehicle-specific service manual.
1. Prove the leak source. Clean the front engine area. Check whether oil is actually coming from the front crankshaft seal rather than the timing cover gasket, oil pan joint, camshaft seal, valve cover, oil filter housing, or another upper-engine source. Run the engine for 5–10 minutes and inspect with a light. If unclear, use UV dye and recheck after a short road test. 2. Prepare the vehicle and the record. Disconnect the battery if required. Raise and support the vehicle according to workshop rules. Remove undertrays, splash shields, drive belts, and obstructing accessories. Record odometer or engine hours for claim traceability. 3. Hold the crankshaft correctly. Use the specified holding or locking tool. Avoid methods that load the timing belt, timing chain, flywheel teeth, starter ring gear, or drivetrain. Many crank bolts exceed 100 N·m plus angle, so improvisation can create secondary damage. 4. Remove the crankshaft pulley or harmonic balancer. Use the correct puller. Do not hammer it. Impact can damage the damper assembly, crank nose, thrust surfaces, or nearby timing hardware. Mark pulley orientation only if the service procedure allows it; never rely on paint marks where timing locking is required. 5. Control timing risk. If pulley removal affects timing components, mark, lock, or verify timing positions exactly as instructed. If belt or chain parts must be removed, treat the job as a timing procedure as well as a seal replacement. 6. Extract the old seal without making a new leak path. Use a seal puller or approved removal tool. Avoid scratching the crankshaft journal, gouging the housing bore, or leaving fragments behind. If drilling a small screw into the seal case is an approved method, control drill depth so the bit cannot touch the crank or cover. 7. Inspect the shaft and bore. Look for grooves, corrosion, burrs, eccentric wear, heat discoloration, scoring, ovality, residue, and previous repair damage. Measure shaft OD and bore ID if the old seal leaked early or if a non-standard sleeve is present. 8. Prepare the new seal according to its design. Verify part number, dimensions, lip direction, OD style, and installation depth. Lightly lubricate the sealing lip with clean engine oil only if the seal design allows it. Some PTFE seals must be installed dry with a forming sleeve and left to set before engine start, often for several hours depending on the instruction. 9. Protect the lip. Use an installation cone or sleeve where the lip passes over a keyway, thread, groove, or sharp edge. A tiny nick is enough to leak once the engine is hot. Do not improvise with tape unless the service procedure permits it; adhesive residue can damage the lip. 10. Drive the seal squarely to depth. Use a flat driver that contacts the correct case area, not the flexible sealing lip. Press evenly to the specified depth. For many designs, face squareness should be held within roughly 0.2–0.5 mm around the circumference. Overdriving, cocking, or seating against debris distorts the lip. 11. Reassemble with correct hardware and torque. Refit the pulley, belt, shields, and related parts. Tighten fasteners to the specified torque and angle. Replace stretch bolts and other one-time-use hardware when required. Confirm the pulley seats fully against the crank shoulder and that belt alignment is normal. 12. Validate before release. Run the engine and inspect at idle and raised speed. Where practical, road test through normal operating temperature and recheck after shutdown. A useful network standard is an idle inspection, a 2,000–3,000 rpm inspection, and a final check after the first heat cycle.
For technician training on front crankshaft seal how to replace, include rejected-part photos: cut lips, rolled PTFE lips, overdriven seals, grooved hubs, displaced springs, and bore scratches. Visual standards reduce argument when claims are reviewed across multiple branches.
Repeat-leak diagnosis: separate seal defects from system faults
A new seal cannot overcome a damaged running surface, excessive crankcase pressure, poor bore condition, or the wrong installation method. When field returns arrive, the seal is often blamed first because it is the part that was replaced. The evidence usually tells a wider story.
Common failure modes
Symptom after replacement
Likely cause
Verification method
Immediate oil leak
Lip rolled, cut, dry-started incorrectly, or installed in the wrong orientation
Remove pulley and inspect lip position, cut marks, and contact track
Leak around OD
Housing bore damage, contamination, incorrect OD, low OD interference, or poor press fit
Measure bore and seal OD; inspect bore finish and coating transfer
Leak after short mileage
Crank journal or pulley hub groove
Visual check, contact-track review, fingernail test, and shaft measurement
Seal pushed outward
Excessive crankcase pressure, blocked ventilation, or incorrect seating depth
PCV valve, breather, and crankcase pressure inspection
Belt contaminated with oil
Misdiagnosed cam, cover, valve cover, or upper-engine leak
Clean engine recheck, UV dye, or oil-tracking inspection
Intermittent leak at high rpm
Shaft runout, vibration, pressure pulses, or incorrect lip design
Runout measurement and application review
Lip heat damage
Insufficient lubrication on elastomer lip, wrong material, or high friction track
Lip colour/texture check and operating temperature review
Spring displaced
Mishandling, over-flexed lip, incorrect installation cone, or poor spring retention
Section inspection and supplier return analysis
</tr></thead><tbody> </tbody></table>### What procurement teams should ask suppliers
A competent supplier should provide controlled dimensions, traceable batches, and material information. A cross-reference list alone is not a quality file. For aftermarket distribution, request evidence of process control under IATF 16949:2016 and ISO 9001:2015 where applicable. For EU market planning, material declarations should support compliance screening under REACH (EC) No 1907/2006 when relevant.
For high-volume SKUs, define a return-analysis template before launch. It should separate product defect, installation damage, catalogue mismatch, and vehicle-condition failure. Useful evidence includes the removed seal, packaging label, batch code photo, crank or pulley contact-track photo, measured bore ID, measured shaft OD, and crankcase pressure observations. Mature sealing programmes often track claims per 1,000 pieces sold rather than only counting total returns.
For Driventus sealing products, buyers can review the quality system and discuss validation requirements before nomination. This is especially useful for high-volume applications, private-label programmes, and service networks where a small leakage rate can still create many claims.
Spec deep-dive: material, lip geometry, and OD design
The best replacement seal is the one matched to the engine environment and the workshop process. Front crankshaft seals are commonly produced with NBR, ACM, FKM, or PTFE-based sealing lips. Material choice affects cost, heat resistance, oil compatibility, friction, installation method, and break-in behaviour. Case construction and OD design matter too, because the seal must stay stable in the housing while the lip follows shaft movement.
Seal material or design
Advantages
Procurement consideration
NBR lip
Cost-effective for moderate temperatures and many legacy applications
Commonly suitable around -40°C to 100–120°C depending on compound; not for every high-temperature location
ACM lip
Better heat and oil resistance than standard NBR
Confirm compatibility with expected oils and additives; often used where temperatures exceed standard NBR capability
FKM lip
Strong high-temperature and chemical resistance
Higher unit cost; commonly selected for 150°C-class environments where the application requires it
PTFE lip
Low friction and strong wear performance
May require dry installation, a forming sleeve, and setting time; mishandling causes early leaks
Dust lip
Added protection against dirt, belt dust, and road contamination
Confirm available axial space and pulley clearance, typically at least the OE-equivalent clearance margin
Metal-cased OD
Strong press fit in rigid, accurately machined housings
Bore condition and installation force must be controlled; less forgiving of scratches
Rubber-coated OD
Helps seal minor housing imperfections and reduces external seepage risk
OD compression and coating quality must be consistent; inspect for coating cuts or voids
Spring-loaded lip
Maintains radial load across wear and thermal cycles
Spring retention, spring joint quality, and lip geometry should be validated
Directional hydrodynamic lip
Helps return oil toward the engine on rotating shafts
Must match engine rotation and installation side; wrong direction can pump oil outward
</tr></thead><tbody> </tbody></table>For distributors, the lowest unit price is not always the lowest programme cost. A small dimensional mismatch, wrong lip orientation, unsuitable compound, weak OD retention, or poor packaging can generate claims that exceed the saving. Compare landed cost with expected claim cost. A USD 0.10–0.30 unit saving disappears quickly if leakage claims involve diagnosis time, replacement belts, towing, and repeated labour.
Private-label buyers should specify drawing revision, compound family, spring material, case material, OD coating, packaging style, and marking rules at RFQ stage. If seals are individually boxed, require an insert or sleeve that prevents lip deformation during storage and sea freight. Driventus supports OE-equivalent aftermarket development, sample validation, controlled drawings, and batch documentation for front engine sealing applications.
Buyer playbook: validation, MOQ, lead time, and claim evidence
Installation data and sourcing data should meet in one record. After a repair, service networks should record part number, batch code, mileage or engine hours, vehicle application, observed leak source, and any surface damage found during removal. The same discipline belongs in supplier approval, especially when a distributor is managing broad application coverage or private-label inventory.
Supplier approval checklist:
Manufacturing site audit or documented process review
IATF 16949:2016 and ISO 9001:2015 certificate review where applicable to the supplier scope
Controlled drawing with critical dimensions and tolerances, including ID, OD, width, lip angle, dust-lip position, and seal depth reference
Incoming material specification for elastomer, PTFE element, spring, and metal insert where used
Lip geometry, garter spring specification, and OD construction details
Heat ageing, oil immersion, compression, and rotational bench-test plan
Installation instruction review for lubricated, dry-fit, and PTFE seal designs
Packaging method that prevents lip deformation, contamination, and long-term compression set
Batch traceability, retention sample policy, and claim-analysis process
Fitment data with OE part-number cross-reference format where applicable, for example OE 06A… or OE 11251… only when relevant to the application
First-article sample approval with dimensional report, material confirmation, and installation notes
Agreed change-control rule for compound, mould, tooling cavity, spring source, coating, and packaging updates
For RFQ planning, separate stocked catalogue parts from new-development or private-tooling parts. A stocked aftermarket SKU may have lower MOQ and faster dispatch. A custom seal involving a new mould, compound validation, or branded packaging needs more time.
As practical sourcing logic, expect sample quantities of 10–50 pieces for fitment checks and pilot orders of 100–500 pieces per SKU where tooling already exists. Higher MOQs are common for custom packaging or new tooling. Lead times vary by inventory and validation scope: stocked items may ship in days, production replenishment commonly takes several weeks, and new-tooling or compound-specific projects can require 8–16 weeks before approved mass production. Compare unit price by material, size, quantity, packaging, validation burden, and annual volume rather than by part number alone.
Driventus is an independent aftermarket manufacturer; brand names are referenced for fitment only. We do not claim approval, sponsorship, or endorsement by any vehicle manufacturer. Buyers who need quotation data, drawings, samples, or application coverage can request a quote.
Frequently asked questions
Often yes, if the seal is installed from the outside of the timing cover or oil pump housing. Some engines require timing component removal, special locking tools, or cover access. The vehicle service manual should always define the correct sequence, seal depth, and crank pulley fastening method.
It depends on the lip material and seal design. Many elastomer lips are lightly lubricated with clean engine oil, while some PTFE seals are installed dry, installed with a forming sleeve, and need a setting period before engine start. Follow the seal-specific instruction.
Common causes include a scratched crankshaft journal, worn pulley sealing surface, rolled or cut lip, wrong seating depth, damaged housing bore, blocked crankcase ventilation, excessive crankcase pressure, incorrect rotation direction, or incorrect part dimensions.
For front crankshaft seal sourcing, drawings, samples, MOQ, lead-time, or validation documentation, contact Driventus with your application list and annual volume. Start a technical discussion at /contact.html