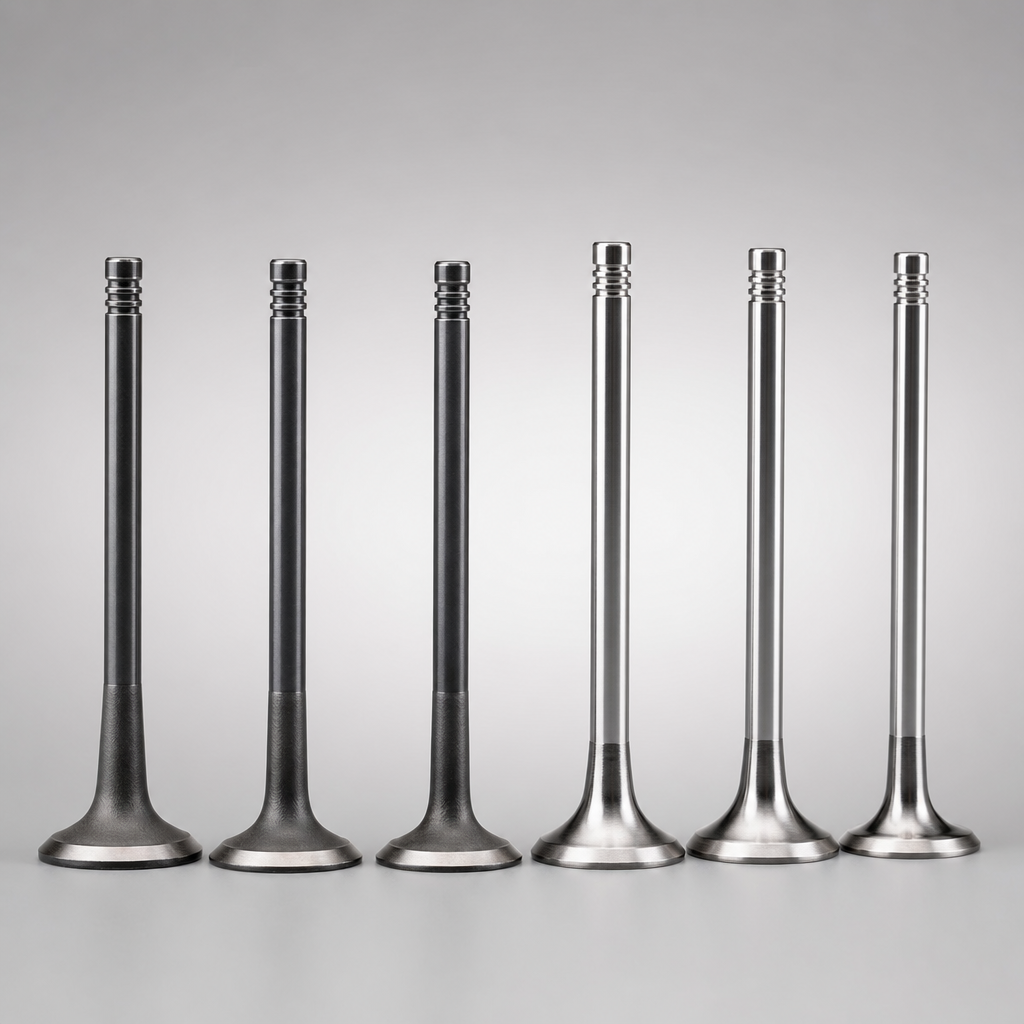
Engine Compression Test Failure and Engine Bearing Checks
A failed compression test usually points first to valves, piston rings, head gaskets, or cylinder wall wear. That is true, but it is only half the story. In real workshop diagnosis and reman assessment, bearing wear may sit earlier or later in the same failure chain. Low oil pressure, crankshaft journal damage, piston instability, and heat distress can all help turn a sealing problem into a broader engine problem.
For buyers sourcing replacement parts, the key question is not simply whether compression is low. It is whether the root cause has already damaged the rotating assembly. If inspection stops at the head, repeat-failure risk stays high. A better purchasing decision ties compression results to bottom-end evidence: hot and cold oil pressure, journal size, housing bore condition, clearance bands, debris level, and the cost difference between standard and repair-size parts. This article gives a practical framework for evaluating an engine compression test failure engine bearing link: how to judge the pattern, where bearing damage usually shows up, and when replacement is justified. Driventus is an independent aftermarket manufacturer; brand names are referenced for fitment only.
Decision framework: when a compression failure should trigger bearing suspicion
A compression test tells you how well each cylinder seals during cranking. On many light- and medium-duty engines, healthy readings often land somewhere around 140-210 psi (9.7-14.5 bar), depending on engine design, compression ratio, altitude, throttle position, and test method. Many workshops escalate when one cylinder falls more than 10-15% below the highest reading, or when the whole set drops below the builder's minimum service value.
That alone does not mean the bearings caused the problem. Main and connecting rod bearings do not seal the combustion chamber. But they can still matter in an engine compression test failure engine bearing case because they often share the same failure chain.
Use this logic:
Compression low, oil pressure stable, no debris, no knock: start with the top end and ring seal.
Compression low plus hot idle oil pressure below about 10-15 psi (0.7-1.0 bar): escalate to bottom-end inspection.
Compression low after overheating or oil starvation: assume both sealing surfaces and bearings may be affected until proven otherwise.
Compression low plus metallic debris in the filter: treat the rotating assembly as at risk, not optional.
Compression low plus vibration, knock, or seizure history: inspect crankshaft journals and shells before ordering anything.
Why this matters: oil starvation can damage rod bearings while also overheating pistons, rings, and bores. Excessive journal clearance can drop hot oil pressure and reduce lubrication quality and piston cooling. Debris from bearing material can circulate through the system and score cylinder walls. One bad event can create both low compression and bearing distress.
For sourcing teams, this is the pivot point between a simple head-repair parts list and a full rotating-assembly quote. If the pattern points to system damage, compare the broader replacement scope against our catalog instead of buying the bearing set as an isolated line item.
Failure-mode comparison: what the symptom pattern is really telling you
A failed compression result only becomes useful when read beside oil pressure, leak-down, noise, and teardown evidence. Verbal summaries are not enough. Buyers and rebuild supervisors should ask for actual test sheets: dry compression, wet compression, leak-down percentage, cranking speed, hot-idle oil pressure, oil pressure at 2,500 rpm, and teardown photos where available.
The table below is less about theory and more about screening risk fast.
Symptom pattern
Most likely combustion-side issue
Bearing-related meaning
Next action
One cylinder low, others normal
Burnt valve, local ring issue, local head-gasket leak
Usually indirect only
Run leak-down, borescope cylinder, inspect valve seat and piston crown
Two adjacent cylinders low
Head-gasket breach, warped head
Overheating may also have stressed bearings
Check head flatness, coolant traces, main and rod shell condition
All cylinders low and even
Timing error, general ring wear
Low oil pressure may have accelerated whole-engine wear
Verify cam timing, check oil pressure, mic the crank journals
Low compression with hot idle knock
Piston or ring wear combined with bottom-end wear
Strong bearing suspicion
Drop sump, inspect shells, measure crankshaft journals
Low compression after seizure
Bore scoring, ring collapse
Rod bearing smear or seizure is likely
Check journal blueing, rod big-end housing bore, oil-system debris
</tr></thead><tbody> </tbody></table>A leak-down test is one of the best tie-breakers. Many rebuild shops treat under 10% as strong, 10-20% as usable but watch-listed, and over 20% as corrective-action territory, although engine type and test setup matter. If leakage is heard through the crankcase, do not stop at “it needs rings.” In a hard lubrication-failure case, piston rock, skirt damage, and journal-related instability may be involved too.
For fleet or reman programmes, this comparison table becomes a decision rule: if low compression appears together with metallic debris, below-spec hot-idle oil pressure, or any load knock, the job should move immediately from top-end estimate to full bottom-end quotation.
Step-by-step before you order bearings
When compression loss may be connected to bottom-end wear, ordering bearings too early is a common mistake. The risk is simple: wrong grade, wrong undersize, wrong clearance target, then a repeat claim.
Follow this sequence.
1) Confirm the crankshaft condition
Measure journal diameter, taper, and out-of-round with calibrated micrometers.
Many rebuilders reject or regrind when taper or out-of-round exceeds roughly 0.0004-0.0008 in (0.01-0.02 mm), but the final authority is always the engine drawing or service data.
Check surface finish, scoring, and any heat discoloration.
2) Read the shells, not just the numbers
Inspect overlay condition, lower-layer exposure, and copper lead-through where applicable.
Look for wipe patterns near the parting line; these often suggest distortion, debris, or clearance error rather than normal wear.
If shells show smear or edge loading, expand the inspection to housing geometry.
3) Verify the housings
Check main bore alignment and connecting rod big-end roundness.
A rod big-end bore out-of-round beyond about 0.0008-0.0012 in (0.02-0.03 mm) often means resizing or rod replacement in reman workflows.
Confirm thrust surfaces and crankshaft end float before finalising the order.
4) Lock the oil clearance plan
Record oil clearance from measured data.
Plastigage can help as a workshop check, but micrometer and bore-gauge readings are stronger for purchasing decisions.
Typical passenger-vehicle running clearances often fall around 0.0010-0.0030 in (0.025-0.076 mm) depending on journal size and duty cycle.
5) Clear the lubrication system
Inspect the oil pump, cooler, and galleries for contamination.
If hard debris stays in circulation, a new bearing set can fail within minutes.
What the supplier data should cover
Once the engine measurements are locked, the supplier should be able to confirm:
Base material and overlay system, such as aluminium bi-metal or copper-lead tri-metal
Wall-thickness control, often within tight bands such as ±0.003-0.008 mm depending on design
Crush height consistency for shell retention
Surface finish and edge quality
Repair sizes where applicable, such as 0.25 mm, 0.50 mm, or 0.75 mm
Lot, batch, and production-date traceability
Market compliance documentation, including REACH (EC) No 1907/2006 where relevant
For B2B buyers, this information should sit inside a documented quality system aligned to IATF 16949:2016 and ISO 9001:2015 controls.
In short: in an engine compression test failure engine bearing review, cross-reference data is helpful, but measured condition must decide the order.
Replacement threshold: when a top-end repair becomes a bottom-end job
Some overhauls stay local. Others do not. The hard part is knowing when the job has crossed the line.
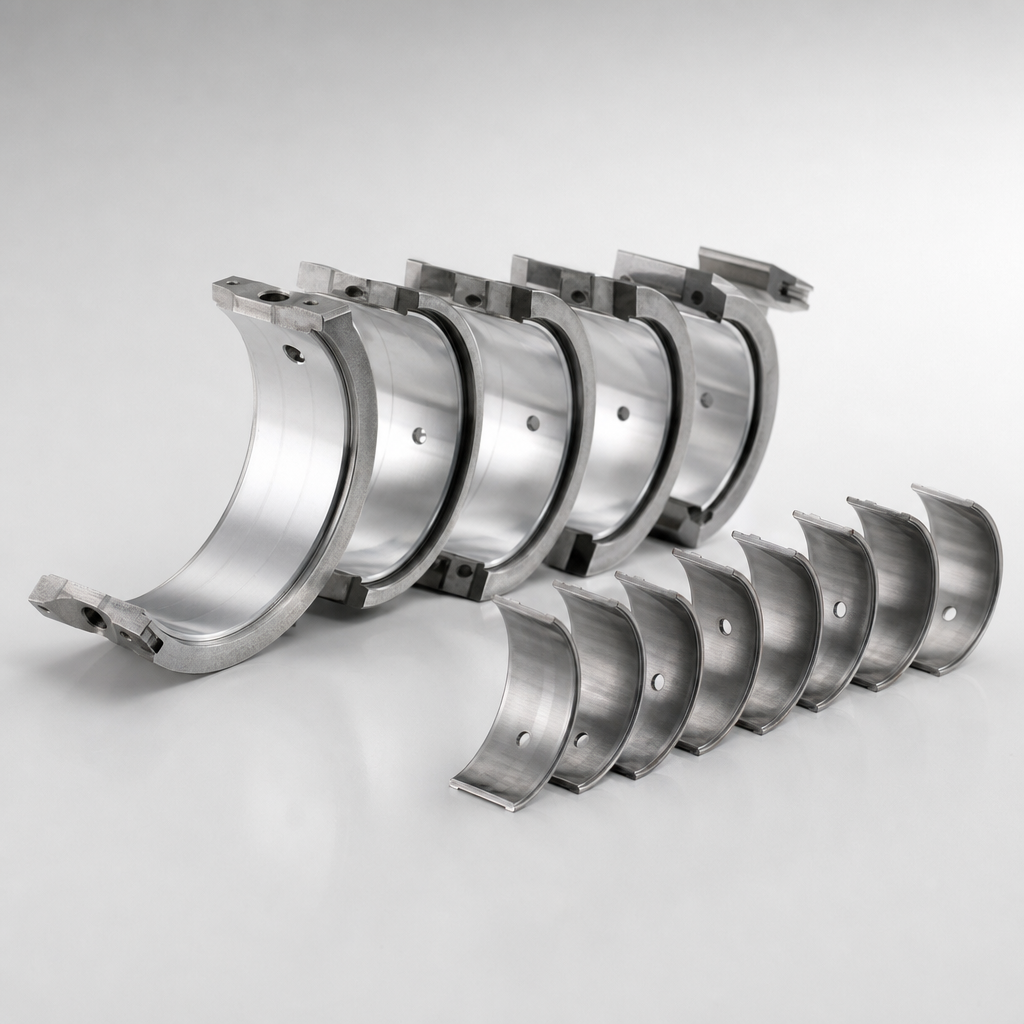
Bearing replacement is usually justified when you find one or more of these:
Visible scoring, wiping, pitting, or edge loading on main or rod shells
Overlay fatigue or exposure of lower layers
Journal damage outside re-use limits
Low oil pressure history plus metallic debris in drained oil or filter media
Heat discoloration after overheating or seizure
Measured clearance outside builder specification
This is where many rebuilds fail commercially. Replacing rings while leaving damaged bearings in service may reduce the immediate estimate, but it often increases the total cost later. If oil pressure remains unstable or journal finish is poor, the top end can fail again very quickly.
A practical procurement checklist should include:
Engine family and build code
Main, rod, and thrust requirements
Standard or repair size
Target clearance range after crank finishing
Material system matched to duty cycle
Packaging and lot-traceability requirements
Annual volume and release schedule
The commercial logic also changes with the inspection result. If journals remain within standard size and finish and shells show only light polish wear, standard-size replacement may be enough. If the crank must be ground, the order moves to repair-size shells, revised clearance calculations, and usually added lead time for machining approval.
In many export and reman programmes, standard aftermarket bearing sets may ship from stock with MOQ 20-50 sets per SKU for wholesale demand. Private-label or mixed repair-size programmes may start nearer 100-300 sets and run on 30-45 day lead times after drawing confirmation. Unit cost shifts with material system, kit content, and volume, but a broader package of mains, rods, thrust washers, and matched oversizes often lowers total cost per engine by reducing split shipments and claim risk.
If an OE cross-reference is part of the enquiry, keep it in your internal ERP format, for example OE 06A107065, but always verify dimensions against the final drawing and inspection plan. In an engine compression test failure engine bearing case, cross-reference should support the decision, not replace it.
Supplier Q-and-A: what procurement should press for upfront
For compression-related rebuild demand, fitment is only part of the buying decision. Supply discipline matters just as much.
Question
Why it matters
What substrate and overlay system is used?
Affects fatigue resistance, embedability, and seizure behaviour
What are the thickness and clearance controls?
Directly affects oil-film stability
How is lot traceability managed?
Supports containment and root-cause work
Are dimensional inspections recorded by batch?
Reduces repeat-order mismatch risk
Can mixed kits be supplied?
Useful for reman and private-label programmes
What compliance documents are available?
Supports import and customer-audit requirements
</tr></thead><tbody> </tbody></table>Procurement teams should also push commercial questions early, not after samples are approved:
What is the MOQ by SKU?
What are the price breaks at 100, 500, and 1,000 sets?
What is the lead time for stock items versus private-label cartons?
What percentage of batches are dimensionally checked?
Can batch records be shared with shipping documents?
A simple way to compare suppliers is to split demand into three lanes:
Stock standard sizes: best for urgent rebuild demand, usually with shorter dispatch windows and lower MOQ
Repair sizes or mixed kits: need grind-size confirmation and more planning discipline
Private-label or drawing-based programmes: require artwork approval, sample sign-off, and longer first-order lead times
Driventus supplies engine bearings and related powertrain components for aftermarket, OEM, and reman programmes. Buyers investigating repeat failure patterns can also discuss custom manufacturing where a project needs drawing-based control, private labelling, or tailored kit configuration.
If the problem extends beyond bearings into pistons, rings, gaskets, or crankshafts, a single-source supplier can simplify documentation, corrective action flow, and shipment planning across part families. That becomes especially useful when an engine compression test failure engine bearing issue repeats across a fleet or rebuild network.
Scenario planning: how to prevent the second teardown
Once the root cause is known, the next failure is usually prevented by process control, not optimism. Good rebuild programmes define who measures what, who signs off, and which data must exist before assembly release.
Recommended controls include:
Flush or replace contaminated oil coolers and clean galleries thoroughly
Treat cooler replacement as mandatory, not optional, if bearing metal is present
Verify crankshaft finish before assembly; many builders specify a controlled low-Ra finish on bearing journals
Confirm connecting rod geometry after any bearing spin event
Check oil pump condition and pressure-relief valve operation
Use specified torque values and tightening sequence on caps and fasteners
Prime the lubrication system before first start
Re-test compression and oil pressure after rebuild
For buyers managing repeatable programmes, release should also be document-based. A practical sign-off pack often includes the crankshaft measurement sheet, housing-bore report, bearing size confirmation, torque record, pre-lube confirmation, first-start oil-pressure reading, and post-rebuild compression results.
Consider one common scenario: compression is low, the head comes off, rings are replaced, and the engine goes back out quickly because there is no obvious knock. Two weeks later, oil pressure drops hot, debris appears in the filter, and the engine returns. That second teardown is rarely caused by parts price. It is caused by incomplete diagnosis.
Where emissions-related durability is part of the overhaul programme, stable combustion and proper oil control still matter to broader engine performance, even though the compression test itself is not directly governed by an emissions regulation. Related compliance frameworks such as ECE R-83 may still matter at programme level in applicable markets.
For workshop networks and export rebuild kits, the lesson is blunt: low compression should trigger top-end diagnosis first, but not a top-end-only decision. In an engine compression test failure engine bearing case, the bottom end is often what separates a short repair from a durable rebuild. And commercially, the cheapest bearing quote is rarely the cheapest outcome if it leads to another strip-down, expedited freight, and more downtime.
Usually not directly. Compression loss is more often caused by valves, rings, head gaskets, or bore wear. Bearings matter because oil starvation, overheating, and bearing debris can be part of the same failure chain and damage the surfaces that do affect compression. If low compression appears together with low hot oil pressure, metallic debris, or knock, the bottom end should be inspected before parts are ordered.
Not automatically. The right move is to inspect and measure: review oil-pressure history, shell condition, journal finish, clearance, and contamination evidence. If wear, heat damage, or debris is present, replacing only top-end parts raises the risk of repeat failure. Buyers should also confirm whether the crank remains within standard size, because that determines whether standard shells or repair sizes are required.
Ask for dimensional inspection records, material data, lot traceability, compliance declarations where required, and evidence of process control under IATF 16949:2016 and ISO 9001:2015. It is also useful to request MOQ, price-break structure, lead time by SKU type, and confirmation of available repair sizes. This matters most in fleet, reman, and export programmes.
If you are reviewing engine bearing demand after compression-related failures, Driventus can support fitment review, drawing confirmation, MOQ and lead-time planning, and batch supply scheduling. You can request a quote at /contact.html