Dual Mass Flywheel How to Replace: Practical B2B Decision Guide
Understanding **dual mass flywheel how to replace** correctly is not just a technician issue. For distributors, workshop groups, and fleet service networks, it is a margin, warranty, and fitment-control issue.
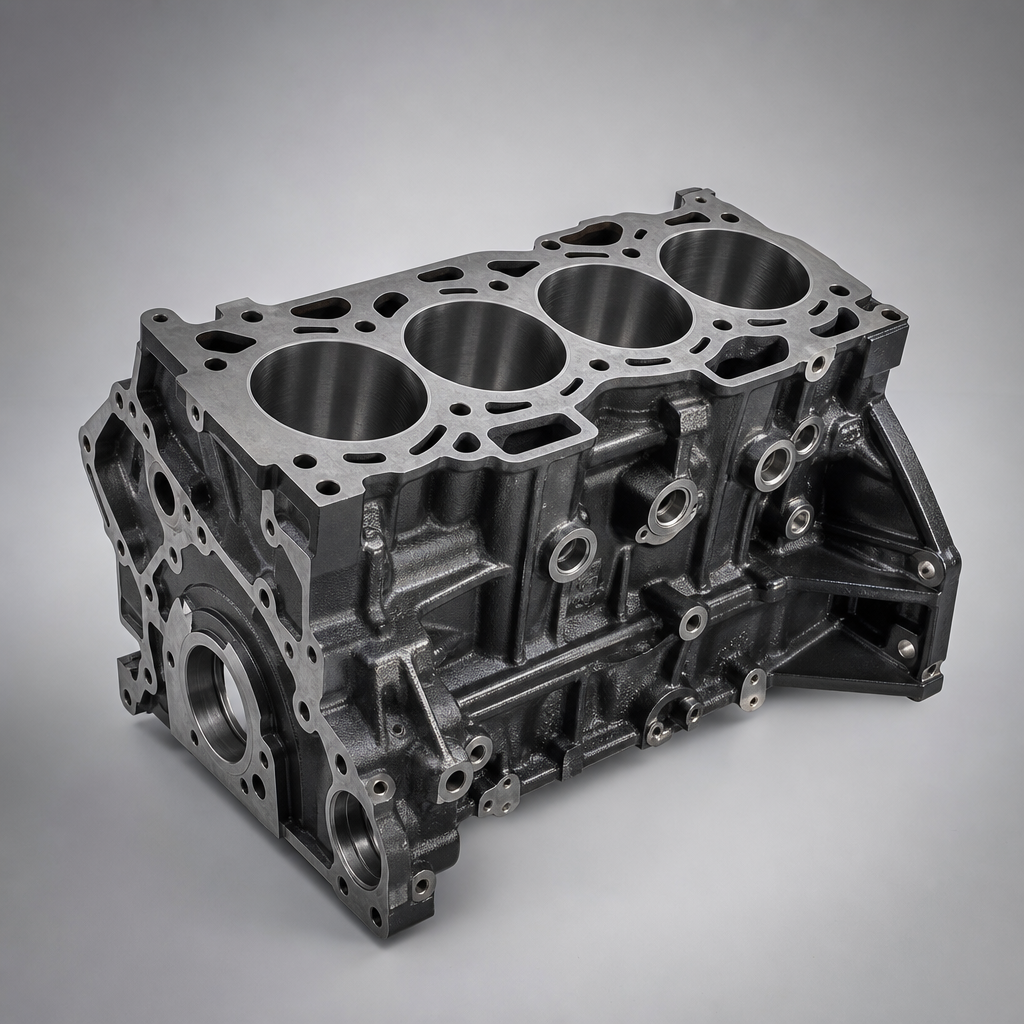
A DMF job usually means gearbox removal, so the labour exposure is high from the start. One wrong diagnosis, one reused bolt set, one missed oil leak, or one incorrect replacement part can turn a normal 4- to 8-hour job into a repeat claim that costs more than the flywheel. That is why this topic should be handled as a controlled process, not a generic clutch-change routine.
This article takes a more practical angle: first, how to decide whether the DMF really needs replacement; second, what should be checked before the gearbox comes out; third, the replacement sequence that prevents common failures; and finally, what buyers should verify with suppliers before stock reaches the workshop. The guidance is written for passenger-car and light commercial applications with conventional clutch and bellhousing layouts. Exact OE procedures, service bulletins, and torque data always take priority. Driventus is an independent aftermarket manufacturer; any OE or brand references are used for fitment identification only.
Decision point first: when does the DMF actually need replacement?
Not every noise around the bellhousing means the flywheel is finished. A good replacement decision comes from three things together: symptoms, visible condition, and measured movement.
Typical triggers include:
- Rattle at idle that changes when the clutch pedal is pressed or released
- Clutch judder on take-off, often worse when hot
- Excess rotational free play or rough, notchy movement between the two masses
- Blueing, scoring, heat spots, or cracks on the friction face
- Grease leakage from the internal damping system
- Worn or chipped ring gear teeth causing starter engagement issues
- Repeat clutch failure where vibration was never solved by replacing the clutch alone
- Harsh shutdown noise or driveline shunt linked to damping loss
The strongest workshop decisions are the ones that can be documented. On many passenger-car DMFs, technicians compare rotational free movement and axial rock against OE or supplier guidance. Depending on design, rotational free play is often checked at the friction-face circumference and may fall somewhere in a broad service range of about 8 mm to 25 mm, while axial rock may be around 0.5 mm to 2.9 mm. Those are not universal limits. They vary by diameter, spring design, and application. For B2B programmes, the key issue is simple: suppliers should provide a defined inspection method, not leave workshops to make subjective calls.
Heat damage deserves more weight than many workshops give it. Blueing, hot spotting, radial heat checking, or circumferential cracks usually point to slip temperatures high enough to affect friction behaviour and damping performance. If grease has migrated from the internal chamber, the decision is usually straightforward: replace.
Ring gear damage is another point often underestimated. Chipped, hooked, or battered teeth do not always mean the starter alone is at fault. Repeated poor engagement can go with DMF wear, and if the ring gear is compromised, replacement may be justified even when damping symptoms are borderline.
For fleet and trade workshop programmes, replacement is commonly paired with a full clutch kit. That avoids a second gearbox removal and keeps wear patterns consistent. Buyers should still verify critical fitment points before release to stock, including bolt pattern, friction diameter, register dimensions, overall offset, ring gear tooth count, and starter geometry. Typical checkpoints include friction diameters such as 228 mm, 240 mm, or 250 mm, crank patterns from 6-hole to 8-hole, and register tolerances often held around ±0.05 mm to ±0.10 mm depending on design.
If a programme works from an OE reference such as OE 06A107065, that cross-reference should be checked against current data before it reaches workshop shelves. Supersessions and regional splits are common.
From the supply side, replacement frequency affects stock logic. Fast-moving European passenger-car references may justify stocking with MOQ levels of 20 to 50 pcs per reference, while niche LCV references are often better handled as scheduled-order or mixed-container items. Typical aftermarket lead times are often 30 to 45 days for repeat references and 45 to 75 days for new or customised programmes.
Where importer audits or customer compliance requirements apply, supporting records should align with recognised systems such as IATF 16949:2016, ISO 9001:2015, and REACH (EC) No 1907/2006.
Before the gearbox comes out: rule out the faults that imitate a bad DMF
This is where expensive mistakes are avoided. If the complaint is actually caused by poor combustion, a release-system issue, or gearbox noise, replacing the DMF will not fix the vehicle — it will only create a labour dispute.
Quick diagnostic framework
1. Confirm the symptom on a road test: idle rattle, take-off shudder, driveline vibration, harsh engagement, or shutdown noise. 2. Check for engine misfire, unstable idle, injector imbalance, or poor combustion quality. 3. Inspect clutch hydraulic operation, release travel, and pedal feel. 4. Listen for gearbox input shaft noise, release bearing noise, or differential-related sounds. 5. Scan for engine-management faults affecting torsional behaviour or idle stability. 6. Inspect starter operation if ring gear damage or poor engagement is suspected. 7. Review service history for recent clutch work, oil leaks, or repeat vibration complaints.
Capture baseline data before disassembly where possible. Note idle stability, misfire counters, and whether vibration is felt through the pedal, gear lever, or body shell. During the road test, record the exact trigger point — for example take-off in 1st gear at 1,100 to 1,500 rpm, hot restart, or shutdown after a loaded drive cycle. That detail matters during warranty review because it separates genuine DMF faults from mount issues, injector imbalance, and clutch contamination.
Once the gearbox is removed, record the old assembly before cleaning it. For workshop groups and distributor-backed repair programmes, a basic photo pack makes later claims much easier to assess.
A practical minimum evidence pack is:
- 4 to 6 photos of the friction face and ring gear
- 1 photo of the crank mounting face
- 1 photo of the clutch driven plate wear pattern
- 1 note of vehicle mileage and VIN/application code
- 1 note confirming whether bolts were renewed and whether oil contamination was present
Parts that should usually be renewed at the same time
- Dual mass flywheel
- Clutch cover and driven plate
- Release bearing or concentric slave cylinder
- Flywheel bolts where specified as single-use
- Clutch cover bolts if torque-to-yield
- Pilot bearing or bush where fitted
- Rear crankshaft oil seal if seepage is present
- Transmission input seal if leakage is evident
For B2B planning, these related items are often what separates a first-time repair from a comeback. Saving a small amount by reusing a marginal CSC, release bearing, or leaking seal can create repeat labour claims worth 3x to 10x the cost of those omitted parts.
Procurement teams should favour suppliers that support kit rationalisation across related items through our catalog and documented controls under a formal quality system. Bundled supply can also improve MOQ flexibility and replenishment planning.
How to replace a dual mass flywheel without creating a comeback
The exact order depends on the vehicle, but the control points below are the ones that most often determine whether the repair stays fixed.
| Step | Operation | What to verify |
|---|---|---|
| 1 | Disconnect battery and secure vehicle | Prevent starter activation and ensure safe lifting |
| 2 | Remove transmission per workshop manual | Do not let load hang on the input shaft or clutch |
| 3 | Remove clutch assembly | Note wear pattern, heat marks, contamination, or release issues |
| 4 | Inspect old flywheel in situ | Check backlash, rock, grease loss, hot spots, cracks, and ring gear |
| 5 | Lock crankshaft and remove flywheel bolts | Follow sequence; avoid impact tools unless data permits |
| 6 | Clean crank mounting face | Remove burrs, oil, sealant residue, corrosion, and debris |
| 7 | Compare new flywheel with old unit | Verify register bore, offset, bolt pattern, ring gear position, and friction face |
| 8 | Install new flywheel with new bolts | Use the specified tightening sequence, torque, and angle method |
| 9 | Fit clutch using alignment tool | Confirm disc orientation and tighten cover evenly |
| 10 | Reinstall transmission | Never pull gearbox into place with bellhousing bolts |
| 11 | Check release system | Confirm full travel and no hydraulic leakage |
| 12 | Road test | Verify idle noise, take-off smoothness, shift quality, and residual vibration |