Cracked Cylinder Head or Head Gasket: Buyer Diagnosis
A cooling complaint is rarely a parts decision at first sight. Coolant loss, oil contamination, white vapour, pressure in the expansion tank, or repeated combustion leakage may be blamed on the head gasket when the real fault is a cracked cylinder head. The reverse is just as expensive: a cylinder head is replaced even though the cause is clamp-load loss, fire-ring damage, incorrect liner protrusion, poor surface finish, wrong gasket thickness, restricted coolant flow, or an assembly error.
For distributors, repair chains, fleet operators, and sourcing teams, that distinction affects more than one invoice. It decides warranty responsibility, labour recovery, vehicle downtime, stocking logic, and whether the next purchase order solves the problem or repeats it. This article treats cracked cylinder head head gasket complaints as an evidence problem: identify the leak path, document the surfaces and fasteners, verify the casting, then decide what to buy. It also sets out what B2B buyers should require from head gasket suppliers, including measurable specifications, tolerances, MOQ, price, lead-time drivers, and claim evidence. Driventus is an independent aftermarket manufacturer; brand names are referenced for fitment only.
Start with the leak path, not the symptom label
A cracked cylinder head and a failed head gasket can produce the same workshop story because both disturb the separation between combustion pressure, coolant, and oil. The customer reports coolant loss. The technician sees white exhaust vapour, a hard upper hose, overheating, a cold-start misfire, or milky residue under the oil cap. Those are clues, not a verdict.
The deciding question is simple: where is the leakage path?
A head gasket seals the joint between block and cylinder head. It must contain peak combustion pressure that can exceed 60–100 bar in many petrol engines and 140–200 bar in modern diesel engines, while separating coolant and oil passages at much lower pressure. A cylinder-head crack is inside the casting. Typical locations include the bridge between valve seats, injector or spark-plug bores, pre-combustion chambers on older diesel engines, and coolant jackets. In those cases, coolant or combustion gas may bypass the gasket entirely.
That is why symptom-based warranty approval fails. A returned gasket with combustion erosion at the fire ring, soot tracking, local bead collapse, or coating burn-through points toward a joint-sealing event. A clean gasket, combined with continued coolant loss and rapid cooling-system pressurisation, pushes the investigation toward casting porosity, a thermal crack, block distortion, liner-height error, or another engine-side defect.
Before approving a repeat claim, buyers should request the evidence that fixes the leak path:
Photos before cleaning, both sides of the gasket and both mating surfaces.
Torque record and fastener status.
Head and block flatness measurements.
Surface-roughness values, not just “machined” or “skimmed”.
Liner protrusion data where applicable.
Cooling-system pressure-test and combustion-gas test results.
Cylinder-head pressure-test results, preferably hot testing when heat-related cracking is suspected.
The part name on the claim form is not enough. The leak path is the claim.
Failure-mode map: what each complaint should trigger
The phrase cracked cylinder head head gasket appears because workshops and buyers often describe the problem before they know which component failed. That uncertainty is acceptable at intake. It is not acceptable when parts are ordered, claims are approved, or a supplier is blamed.
Use the complaint to choose the next test, not the replacement part.
</tr></thead><tbody> </tbody></table>Two patterns deserve special attention in B2B warranty files. First, a repeat failure after a recent gasket replacement is often an inspection failure, not automatically a product failure. Second, rapid pressurisation from cold with no obvious fire-ring damage should not be closed until the cylinder head and block have been tested. Those are the cases that become expensive disputes.
Eleven checks before anyone orders parts
A replacement head gasket should not be used as a diagnostic tool. It should be fitted after the sealing surfaces, fasteners, cooling system, liner height where relevant, and cylinder head have been verified.
Use this sequence for repair chains, warranty teams, importers, and distributors reviewing repeated claims:
1. Record the complaint before disassembly. Note coolant level, oil condition, exhaust smoke, misfire codes, overheating history, recent repairs, mileage after repair, and whether the vehicle was driven after a temperature warning. 2. Confirm cap and system pressure. Check the radiator or expansion-tank cap rating, commonly 0.9–1.5 bar on light vehicles. Pressure-test the system at the specified cap pressure. A 10–15 minute hold is a useful screen, but the vehicle procedure takes priority. 3. Test for combustion gas in coolant. Block-test fluid or an exhaust-gas analyser can confirm combustion leakage into the cooling system. It does not prove the gasket is the only fault. Rising CO or HC at the expansion tank is stronger evidence than vapour observation. 4. Run a cooling-system pressure test. Pressure loss with no external leak may mean internal coolant entry, a cylinder-head crack, an intake-system leak on some engines, an EGR cooler issue on some diesel engines, or coolant entering a cylinder. 5. Perform a cylinder leak-down test. Bubbles in the expansion tank during leak-down testing identify the affected cylinder and narrow the inspection area. Test each cylinder at TDC compression. A 6–8 bar shop-air input is common, but follow the tester specification. 6. Inspect the removed gasket before cleaning. Look for fire-ring fretting, burn-through, coating removal, uneven crush, witness marks around coolant holes, and wrong orientation. Photograph both sides before wiping or solvent cleaning. 7. Measure head and block flatness. Use a calibrated precision straightedge and feeler gauges or coordinate measurement. Check lengthwise, crosswise, and diagonally. Many aluminium light-vehicle heads are rejected around 0.05–0.10 mm total deviation over the full length; cast-iron and heavy-duty limits may differ. 8. Check surface roughness. Modern MLS head gaskets usually need controlled finish. A practical workshop and purchasing target for many MLS applications is about Ra 0.4–1.2 µm, with no deep cutter marks, chatter, or smeared aluminium. Composite gaskets may tolerate rougher finishes, but the supplier and engine specification override generic values. 9. Verify liner protrusion where applicable. Wet-liner and some heavy-duty engines can repeat combustion leakage if liner height is wrong. Typical protrusion windows may be 0.03–0.12 mm, with cylinder-to-cylinder variation controlled to about 0.02–0.03 mm. Use the engine data. 10. Pressure-test the cylinder head. Cold checks can miss thermal cracks. Where available, hot pressure testing for aluminium heads suspected of heat cracking is often performed at 80–90 °C and 2–4 bar, depending on the fixture and casting. 11. Audit fasteners and torque procedure. Confirm whether torque-to-yield bolts are specified, whether threads were cleaned, whether blind holes contained coolant or oil, and whether tightening sequence, angle stages, and lubrication instructions were followed. A typical procedure may combine an initial torque stage with 90° + 90° angle turns. Do not substitute a generic torque value.
If any one of these checks is missing from a repeat-failure claim, the commercial decision is being made with incomplete evidence.
Spec deep-dive: what the gasket can prove, and what it cannot
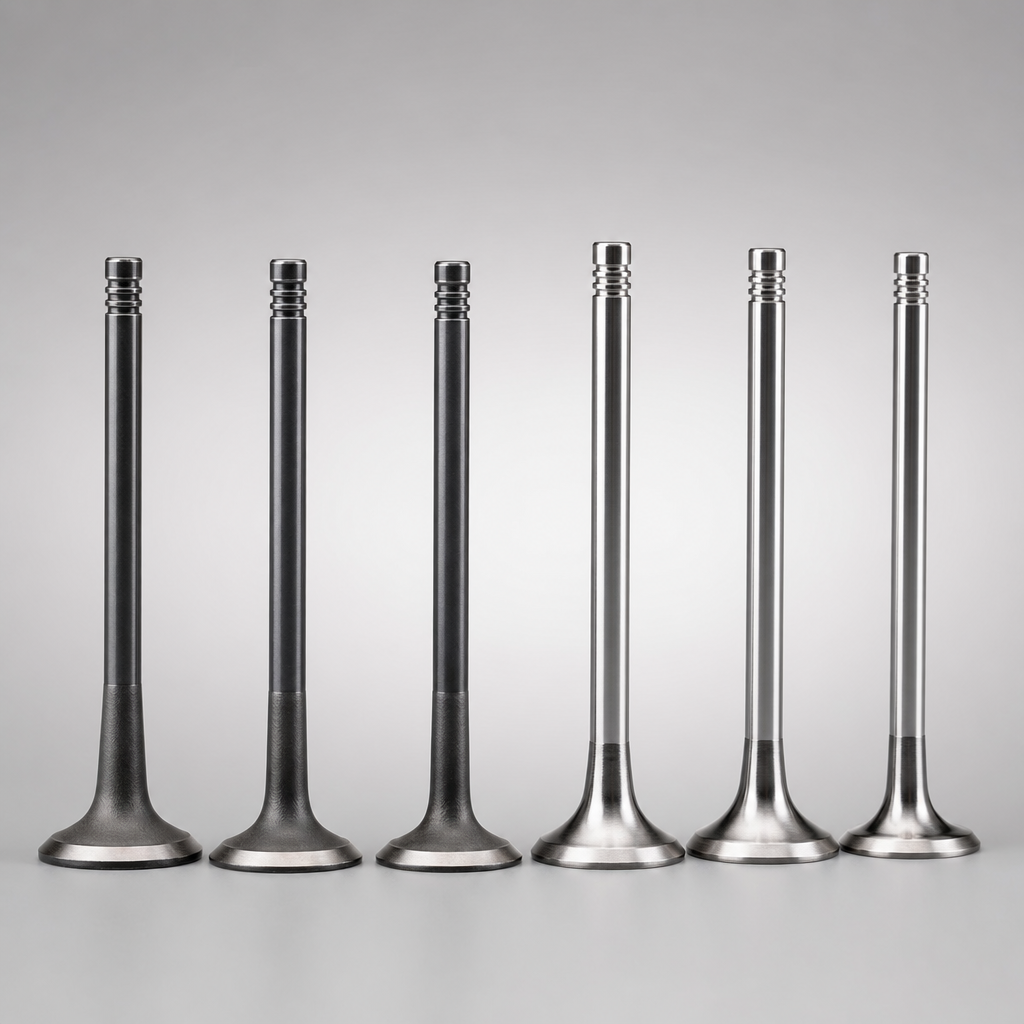
Most current light-vehicle engines and many commercial applications use multi-layer steel (MLS) head gaskets with embossed sealing beads and elastomeric or fluoroelastomer coatings. Older engines, specialist repairs, and some heavy-duty applications may use composite, graphite-faced, copper-faced, or steel-reinforced designs, often with dedicated fire rings.
The construction is not a marketing preference. It must match engine design, clamp load, combustion pressure, coolant chemistry, surface condition, and required compressed thickness.
Procurement specifications should define these features clearly:
Layer count and material: commonly 2–5 layers for MLS designs using stainless spring steel or coated steel, or an approved composite construction when the application requires it.
Bore diameter and fire-ring geometry: matched to the engine bore, combustion sealing requirement, and oversize service condition if relevant. Critical bore and fire-ring features are often controlled within about ±0.05–0.15 mm, depending on design and tooling capability.
Oil and coolant hole position: aligned to block and head passages without restricting flow or creating local hot spots. Dowel and passage positions are critical-to-function dimensions.
Thickness after compression: important for compression ratio, piston-to-valve clearance, piston protrusion, and cam timing on some engines. Buyer specs should distinguish free-state thickness from compressed thickness and define the measuring load.
Coating type and coverage: selected for micro-sealing, coolant and oil compatibility, and assembly behaviour. Typical coating thickness may be only 10–30 µm per side, so scratches, blistering, or poor cure can matter.
Bead height and bead consistency: affects local sealing stress around cylinders, oil galleries, and coolant passages. Production control should include bead-height sampling, not only visual inspection.
Orientation and identification marks: batch traceability, fitting direction, TOP/FRONT markings, and thickness codes where applicable.
Flatness and packaging condition: bends, dents, and coating abrasion can create sealing defects before installation. MLS gaskets should ship flat, protected from point loads, moisture, and layer-to-layer rubbing.
Returned-part analysis has limits. Fire-ring soot tracking, localised bead collapse, coating burn-through, and gas cutting support a combustion leak at the joint. Uniform crush with no gas tracking does not prove the gasket is good in every respect, but it shifts attention to the cylinder head, block deck, liner height, overheating history, coolant flow, or assembly procedure.
In other words, a gasket can show where sealing stress failed. It cannot, by itself, certify that the casting, deck, bolts, liner heights, and coolant system were correct.
Sourcing controls that prevent repeat warranty loops
For aftermarket buyers, the risk is rarely one isolated gasket. It is inconsistent supply across many engine families, batches, packaging formats, and repair locations. A head gasket for a high-volume petrol engine, diesel van, light commercial fleet, or mixed repair-chain programme must remain dimensionally stable and traceable across production lots.
Build the purchase specification around controls that can be measured:
Confirm drawings or approved samples for bore size, oil holes, coolant holes, dowel locations, edge profile, layer stack, coating area, and total thickness.
Define dimensional tolerances, especially for critical-to-function features. As a starting point, buyers often control total thickness to ±0.03–0.08 mm, bore diameter to ±0.05–0.15 mm, and passage/dowel location to ±0.10–0.25 mm, adjusted for the application and drawing.
Require material declarations for steel grades, coatings, elastomers, graphite/composite materials, and restricted substances where applicable.
Review production controls for stamping, deburring, forming, bead height, coating, curing, visual inspection, and packaging flatness. Ask for sampling frequency, gauge calibration status, and control-plan records.
Check batch traceability from raw material to finished gasket. Lot codes should remain visible through distribution and identify coil/lot, coating batch, production date, inspection record, and packing lot.
Specify packaging that prevents bending, coating abrasion, corrosion, and moisture exposure during sea freight and warehouse storage. Practical bulk packaging includes flat inner boards or sleeves, anti-moisture bags where needed, carton crush protection, and pallet strapping that does not bow the gaskets.
Confirm whether the supplier can support private-label kits with head bolts, valve cover gasket, intake/exhaust gaskets, stem seals, valve-stem seals, or other related components where required.
Agree claim-handling evidence in advance: photos, installation data, returned-part condition, measurement records, torque procedure, surface finish, overheating history, and whether the head was pressure-tested.
MOQ and price are usually driven by tooling status, material stack, coating, kit content, packaging, and inspection requirements. Existing catalogue items may be available from lower MOQs. New drawings or private-label kits usually require higher MOQs because tooling, printing, validation, and packaging setups must be amortised.
For cleaner RFQs, separate the commercial variables: unit price at 100/300/500/1,000+ pieces, tooling or sample charge, first-article cost, carton quantity, and sea or air freight method. Lead time should also be broken down. Existing items move fastest when stock or semi-finished inventory exists; new tooling, coating validation, and private-label packaging can add weeks. Ask for sample production, first-article approval, pilot lot, and mass-production timelines rather than one vague delivery date.
Driventus manufactures engine sealing components for aftermarket and custom programmes. Buyers can review our catalog, including related engine components, and assess our documented quality system. For drawing-based projects, samples, or private-label kits, our team can discuss custom manufacturing.
Documentation Q&A for audited gasket programmes
Head gaskets are not normally certified as stand-alone safety devices, but international buyers still need a disciplined quality and compliance file. The file supports customs clearance, customer audits, change control, warranty analysis, and repeat-order consistency.
Which quality-system references matter?
Area
Published standard or regulation
Buyer relevance
Automotive quality management
IATF 16949:2016
Process control, traceability, corrective action, change management
Quality management
ISO 9001:2015
General quality system structure and documented processes
Chemical compliance for EU market
REACH (EC) No 1907/2006
Substance declarations for coatings, elastomers, packaging, and supplied articles
Material reporting
IMDS practice where requested by customer
Useful for Tier-1, OEM-facing, and audited aftermarket programmes
Customs clearance, landed-cost control, and distributor receiving checks
</tr></thead><tbody> </tbody></table>What should be requested before bulk supply?
At minimum, ask for first-article inspection reports, lot-level certificates of conformity, material or coating declarations, and traceability records. Where contractually required, production part approval documents should be included. Higher-risk programmes should add a control plan with sample size, critical dimensions, acceptance criteria, inspection gauges, and reaction plan.
What changes require notification?
Material, coating, tooling, process location, heat treatment where relevant, printing, and packaging changes should be controlled. Any change that can affect sealing performance, corrosion resistance, thickness, bead geometry, fitment, or traceability belongs in the notification system.
How should OE cross-references be treated?
A catalogue cross-reference is not a quality record. If an OE part-number cross-reference is used for fitment, treat it as an interchange reference only, for example OE 06A… where applicable in a buyer’s dataset. Driventus is an independent aftermarket manufacturer; brand names are referenced for fitment only.
Decision gate: gasket only, head only, or both
A repair decision should be based on mechanical condition and total risk, not on the most familiar failure name. Replacing only the gasket is reasonable when the gasket shows clear sealing failure, the head passes pressure testing, deck surfaces are within specification, and the cooling-system fault has been corrected. It is not reasonable when overheating has warped the head, cracks are found, or repeated failures occur without root-cause correction.
Replace the head gasket only when:
Combustion leakage is traced to the gasket joint.
Cylinder-head pressure testing is acceptable, preferably including hot testing where thermal cracking is suspected.
Head and block flatness meet service limits; typical light-vehicle rejection limits may be around 0.05–0.10 mm over the full deck, but the engine specification is decisive.
Surface finish is compatible with the gasket construction, for example a controlled MLS finish around Ra 0.4–1.2 µm where required.
Liner protrusion is within specification where the engine uses replaceable liners, with cylinder-to-cylinder variation controlled.
New fasteners are used where torque-to-yield bolts are specified, and bolt length is checked against discard limits.
Torque sequence, angle tightening, thread preparation, washer condition, and lubrication instructions are followed.
The original overheating or cooling-system fault has been corrected, including thermostat, water pump, fan control, radiator restriction, cap pressure, and air bleeding.
Replace or recondition the cylinder head when:
Pressure testing identifies leakage through the casting.
Crack detection confirms a fracture between valve seats, injector bore, spark-plug bore, pre-combustion area, or coolant passage.
Warpage exceeds machining limits or the required surface finish cannot be achieved.
Previous machining has reduced deck thickness below the service limit.
Valve seats, cam journals, injector sleeves, glow-plug bores, or related head features fall outside repair limits.
Corrosion or cavitation around coolant passages prevents stable gasket sealing.
Replace both when: severe overheating has occurred, the gasket has gas-cut damage, and the head also fails inspection. This is the case where documentation matters most. For fleets and repair chains, recording the decision prevents future failures being grouped under a vague cracked cylinder head head gasket description without proof.
A practical Driventus workflow for repeat-failure accounts
Driventus supplies head gaskets and related engine components from Taizhou, Zhejiang, with production controls aligned to IATF 16949:2016 and ISO 9001:2015. Our role is repeatable sourcing for distributors, wholesalers, OEM/Tier-1 programmes, and multi-location repair chains. We do not claim approval or endorsement by vehicle manufacturers.
For customers facing repeated cracked cylinder head head gasket complaints, we recommend a workflow that separates application matching, product inspection, and field evidence.
1. Confirm the application and part configuration. Match by engine code, sample, drawing, buyer cross-reference, bore size, thickness grade, and gasket construction.
2. Verify measurable features. Inspect bore, thickness, passage locations, dowel alignment, edge profile, and critical coating coverage. For new or sensitive programmes, use sample and first-article review before larger purchase orders, including agreed measurement points and photo records.
3. Align kit and packaging requirements. Where commercially agreed, Driventus can support private-label packaging and kit configuration, including carton labels, bag labels, inserts, and barcode requirements.
4. Keep batch traceability usable. Lot records and corrective-action support are most valuable when the returned part can be linked to production and packing data.
5. Review field evidence before assigning cause. Share failed-part photos, vehicle application data, installation records, overheating history, torque information, surface-finish readings, flatness measurements, liner protrusion data where applicable, and cylinder-head pressure-test results. This allows engineering review to separate product fitment issues from overheating, machining, assembly, coolant-system, or cylinder-head cracking causes.
Typical B2B support includes:
Application matching by engine code, sample, drawing, buyer cross-reference, bore size, thickness grade, and gasket construction.
Dimensional inspection of critical features.
Material and coating review for MLS, composite, and application-specific designs.
Sample and first-article review.
Private-label packaging and kit configuration where agreed.
Batch traceability and corrective-action support for verified field issues.
Export documentation for markets in the EU, UK, US, Canada, Australia, Brazil, and other regions.
Technical discussion of returned-part evidence, installation records, and measurement data.
For quotation planning, share expected annual demand, first order quantity, packaging format, inspection requirement, and target market. Existing-range items can usually be quoted faster than drawing-based parts; custom tooling, private label printing, kit packing, and special inspections should be included in the price and lead-time discussion at the RFQ stage.
Frequently asked questions
No. Similar symptoms can come from either fault. A cracked head must be confirmed by pressure testing, dye penetrant inspection, magnetic particle testing where suitable, hot testing for heat-related cracks, or other casting inspection methods. Gasket evidence should be reviewed together with flatness, surface finish, fastener condition, liner protrusion where applicable, and cooling-system history.
No. MLS gaskets are common in modern engines, but the correct construction depends on the engine design, surface finish, clamp load, combustion pressure, and original sealing concept. Some older or heavy-duty engines may require composite or other gasket designs. Procurement specifications should follow the application requirement, not a general material preference.
Typical documents include certificate of conformity, dimensional inspection report, material or coating declaration, packing list, commercial invoice, and traceability records. For audited customers, IATF 16949:2016 and ISO 9001:2015 quality-system evidence, REACH (EC) No 1907/2006 declarations, first-article reports, and customer-specific inspection reports may also be requested.
Yes, Driventus can discuss custom manufacturing based on drawings, samples, engine applications, annual demand, and packaging requirements. Kit content can include related seals, bolts, or other engine sealing components where specification, MOQ, price target, lead time, and validation requirements are agreed before production.
If your team needs head gasket samples, application matching, quotation by MOQ tier, or support with repeat failure analysis, share the engine data, target quantity, packaging requirement, and inspection notes with Driventus. You can request a quote at /contact.html